

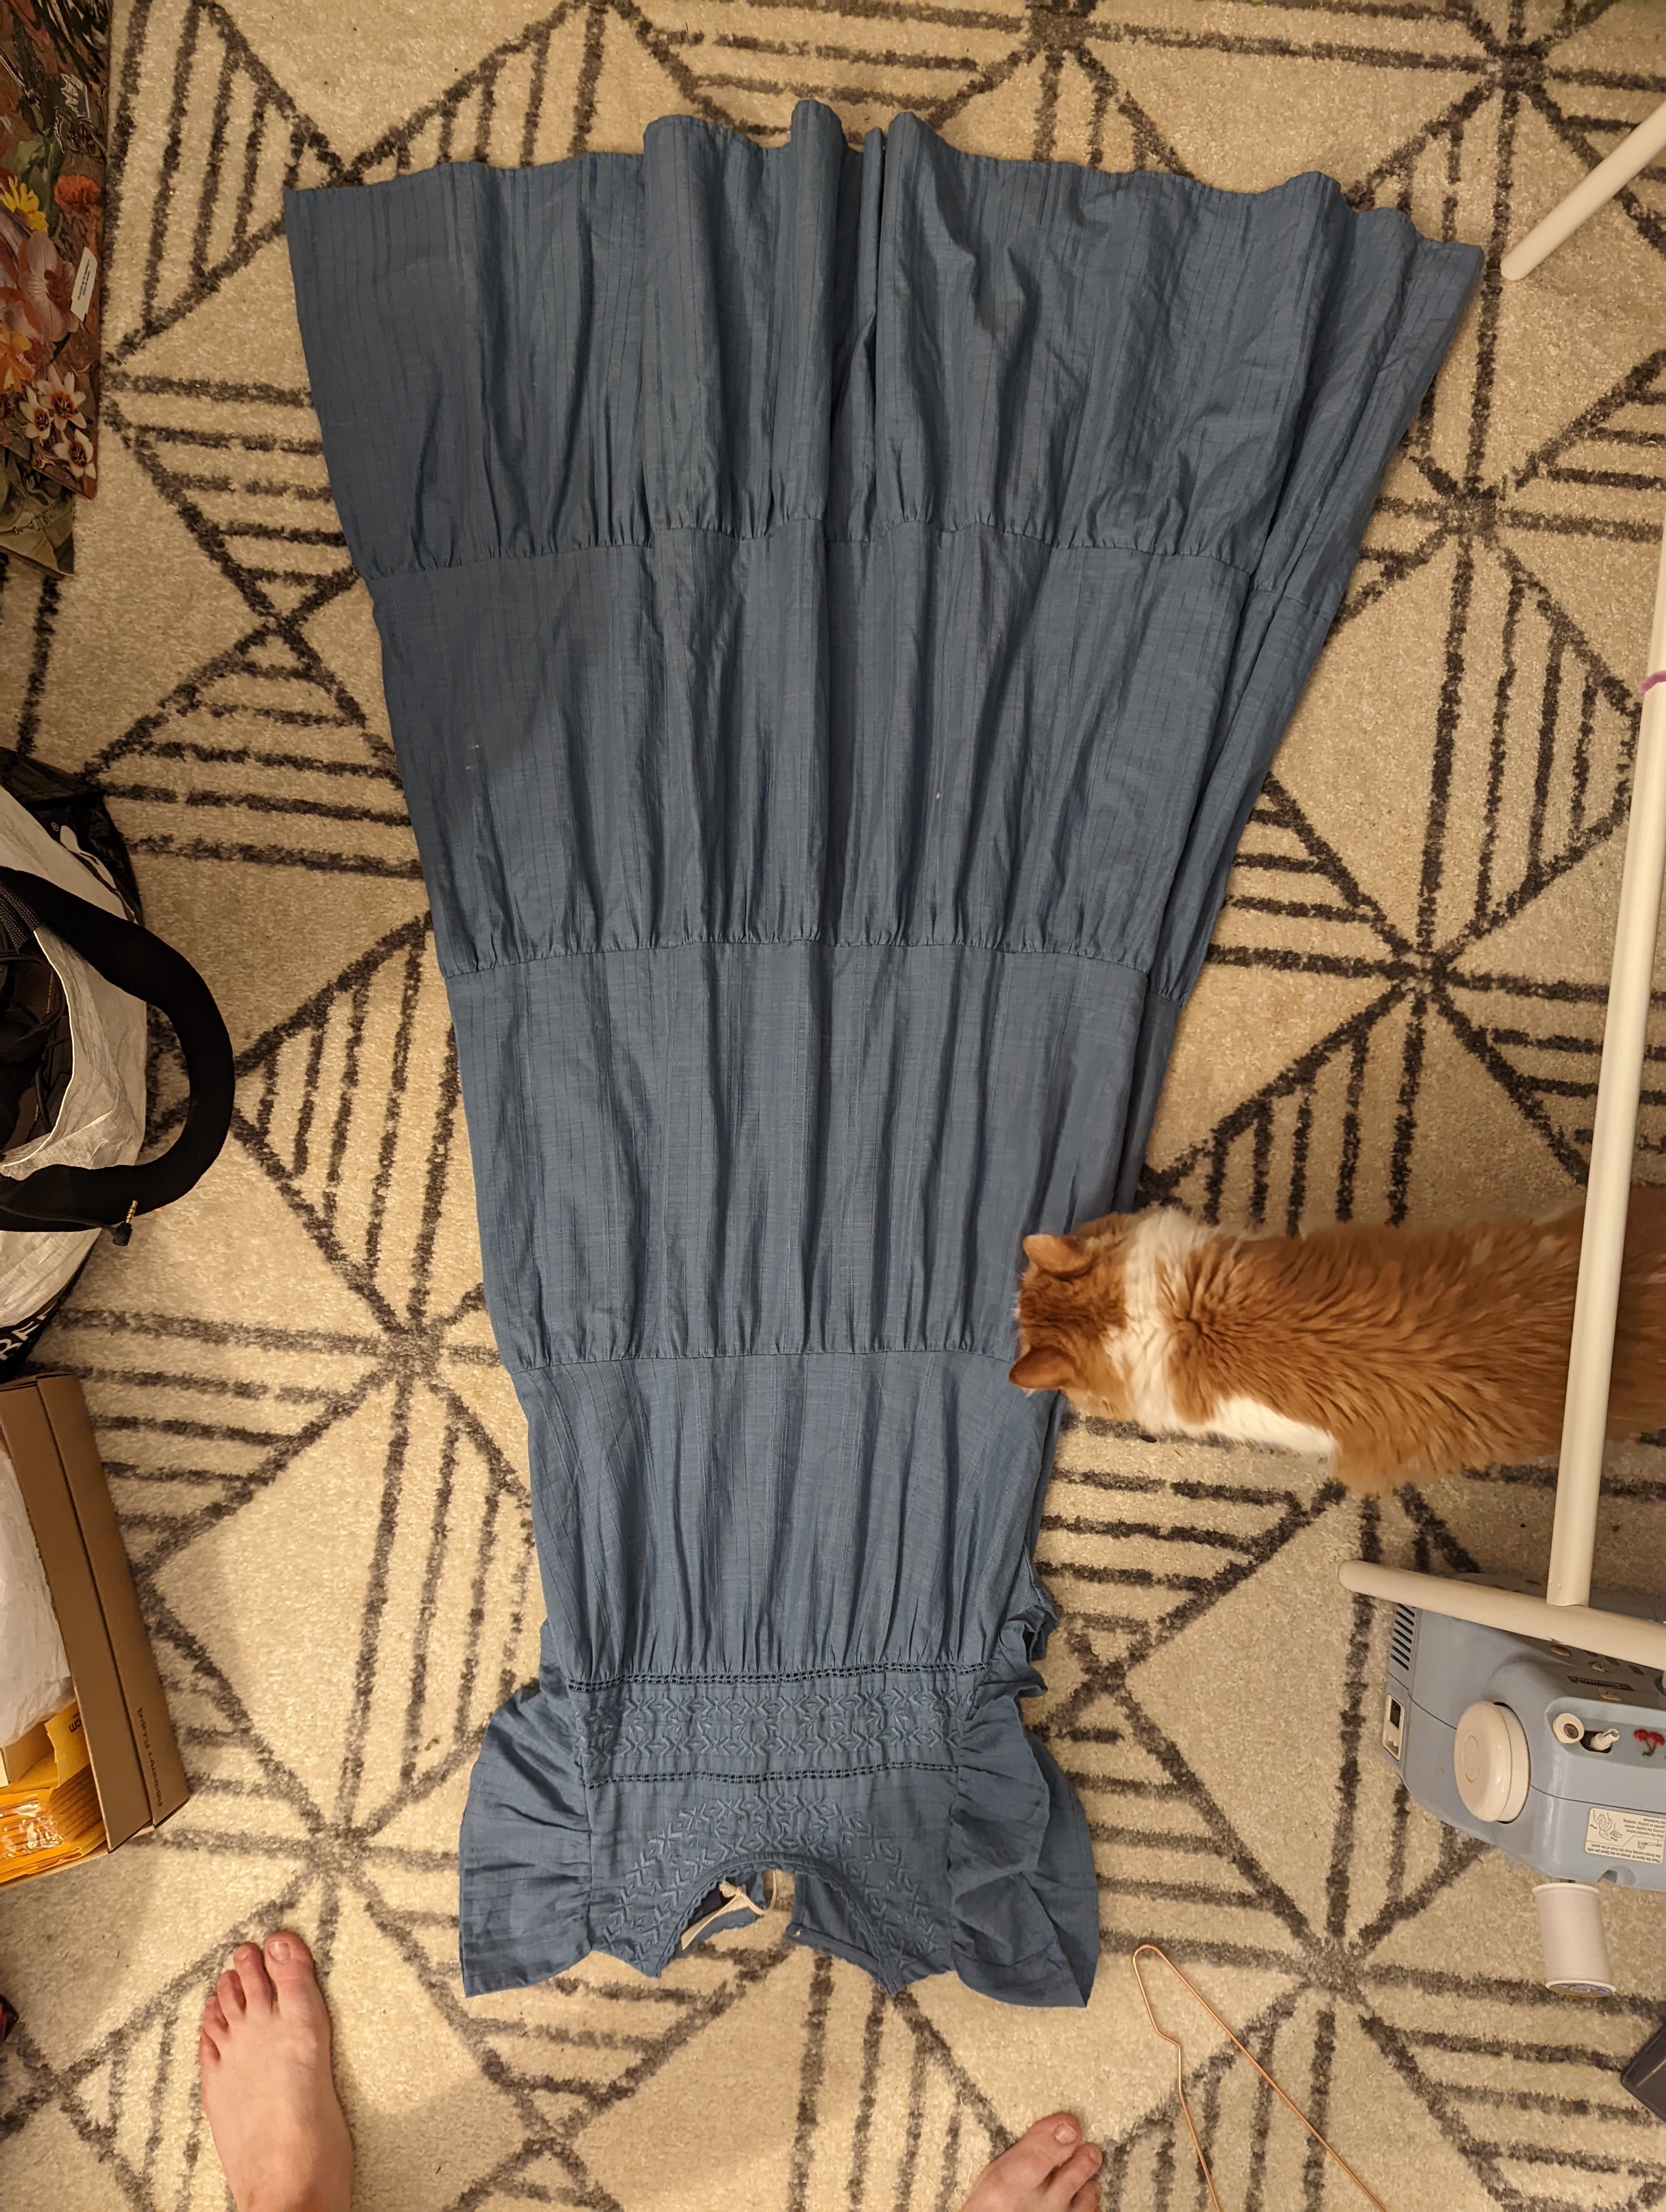
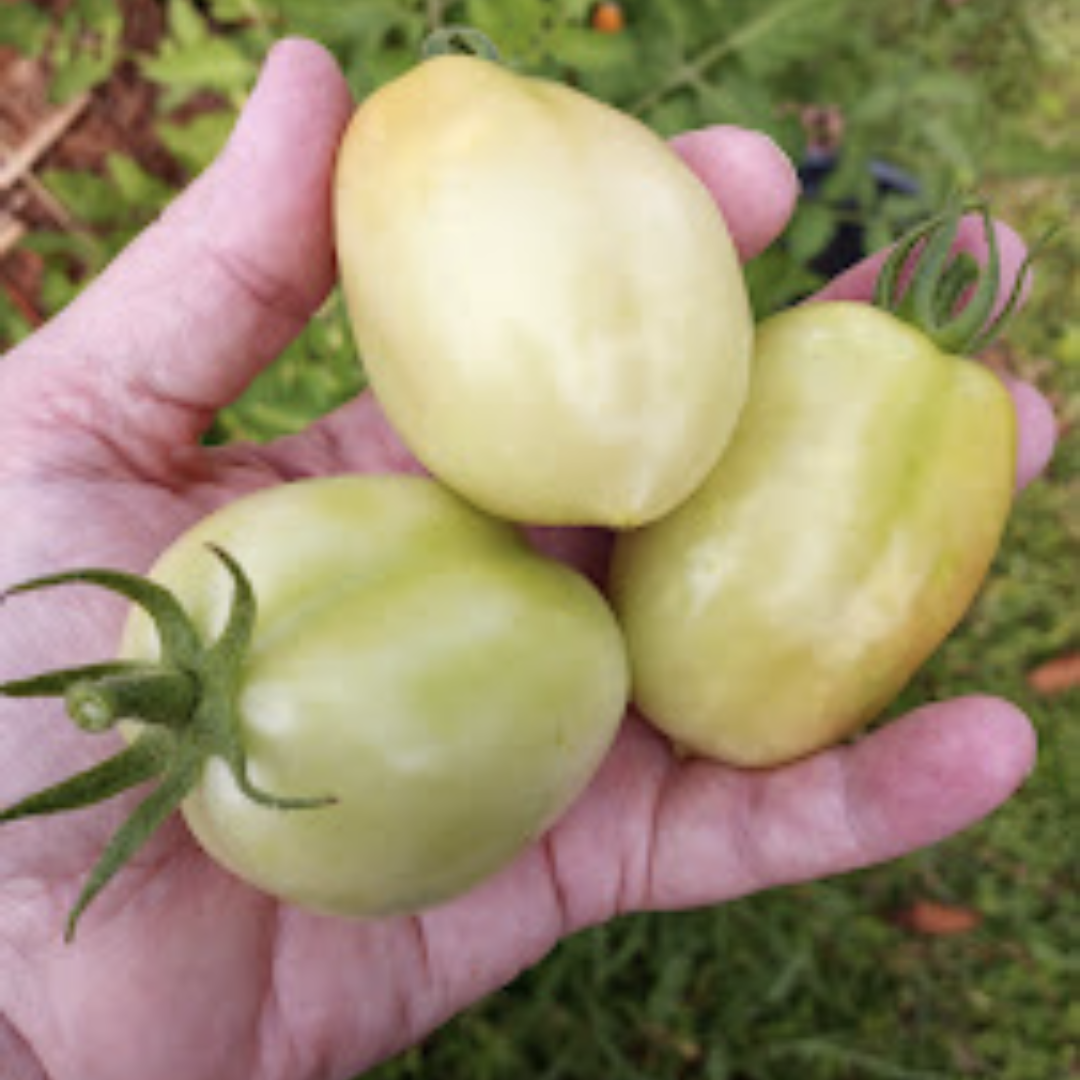
About 2 years ago, I got the above blue dress from the Target clearance rack for under $10. It was a little long, and I wanted it to be knee length, so I chopped the bottom 16″ off (my boyfriend said it went from “floor-length to whore-length,” which still makes me chuckle to think about). What you’re seeing here is the tier that I cut off, not knowing exactly what I would do with it, only that it was too nice to use as cabbage.
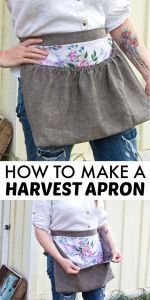
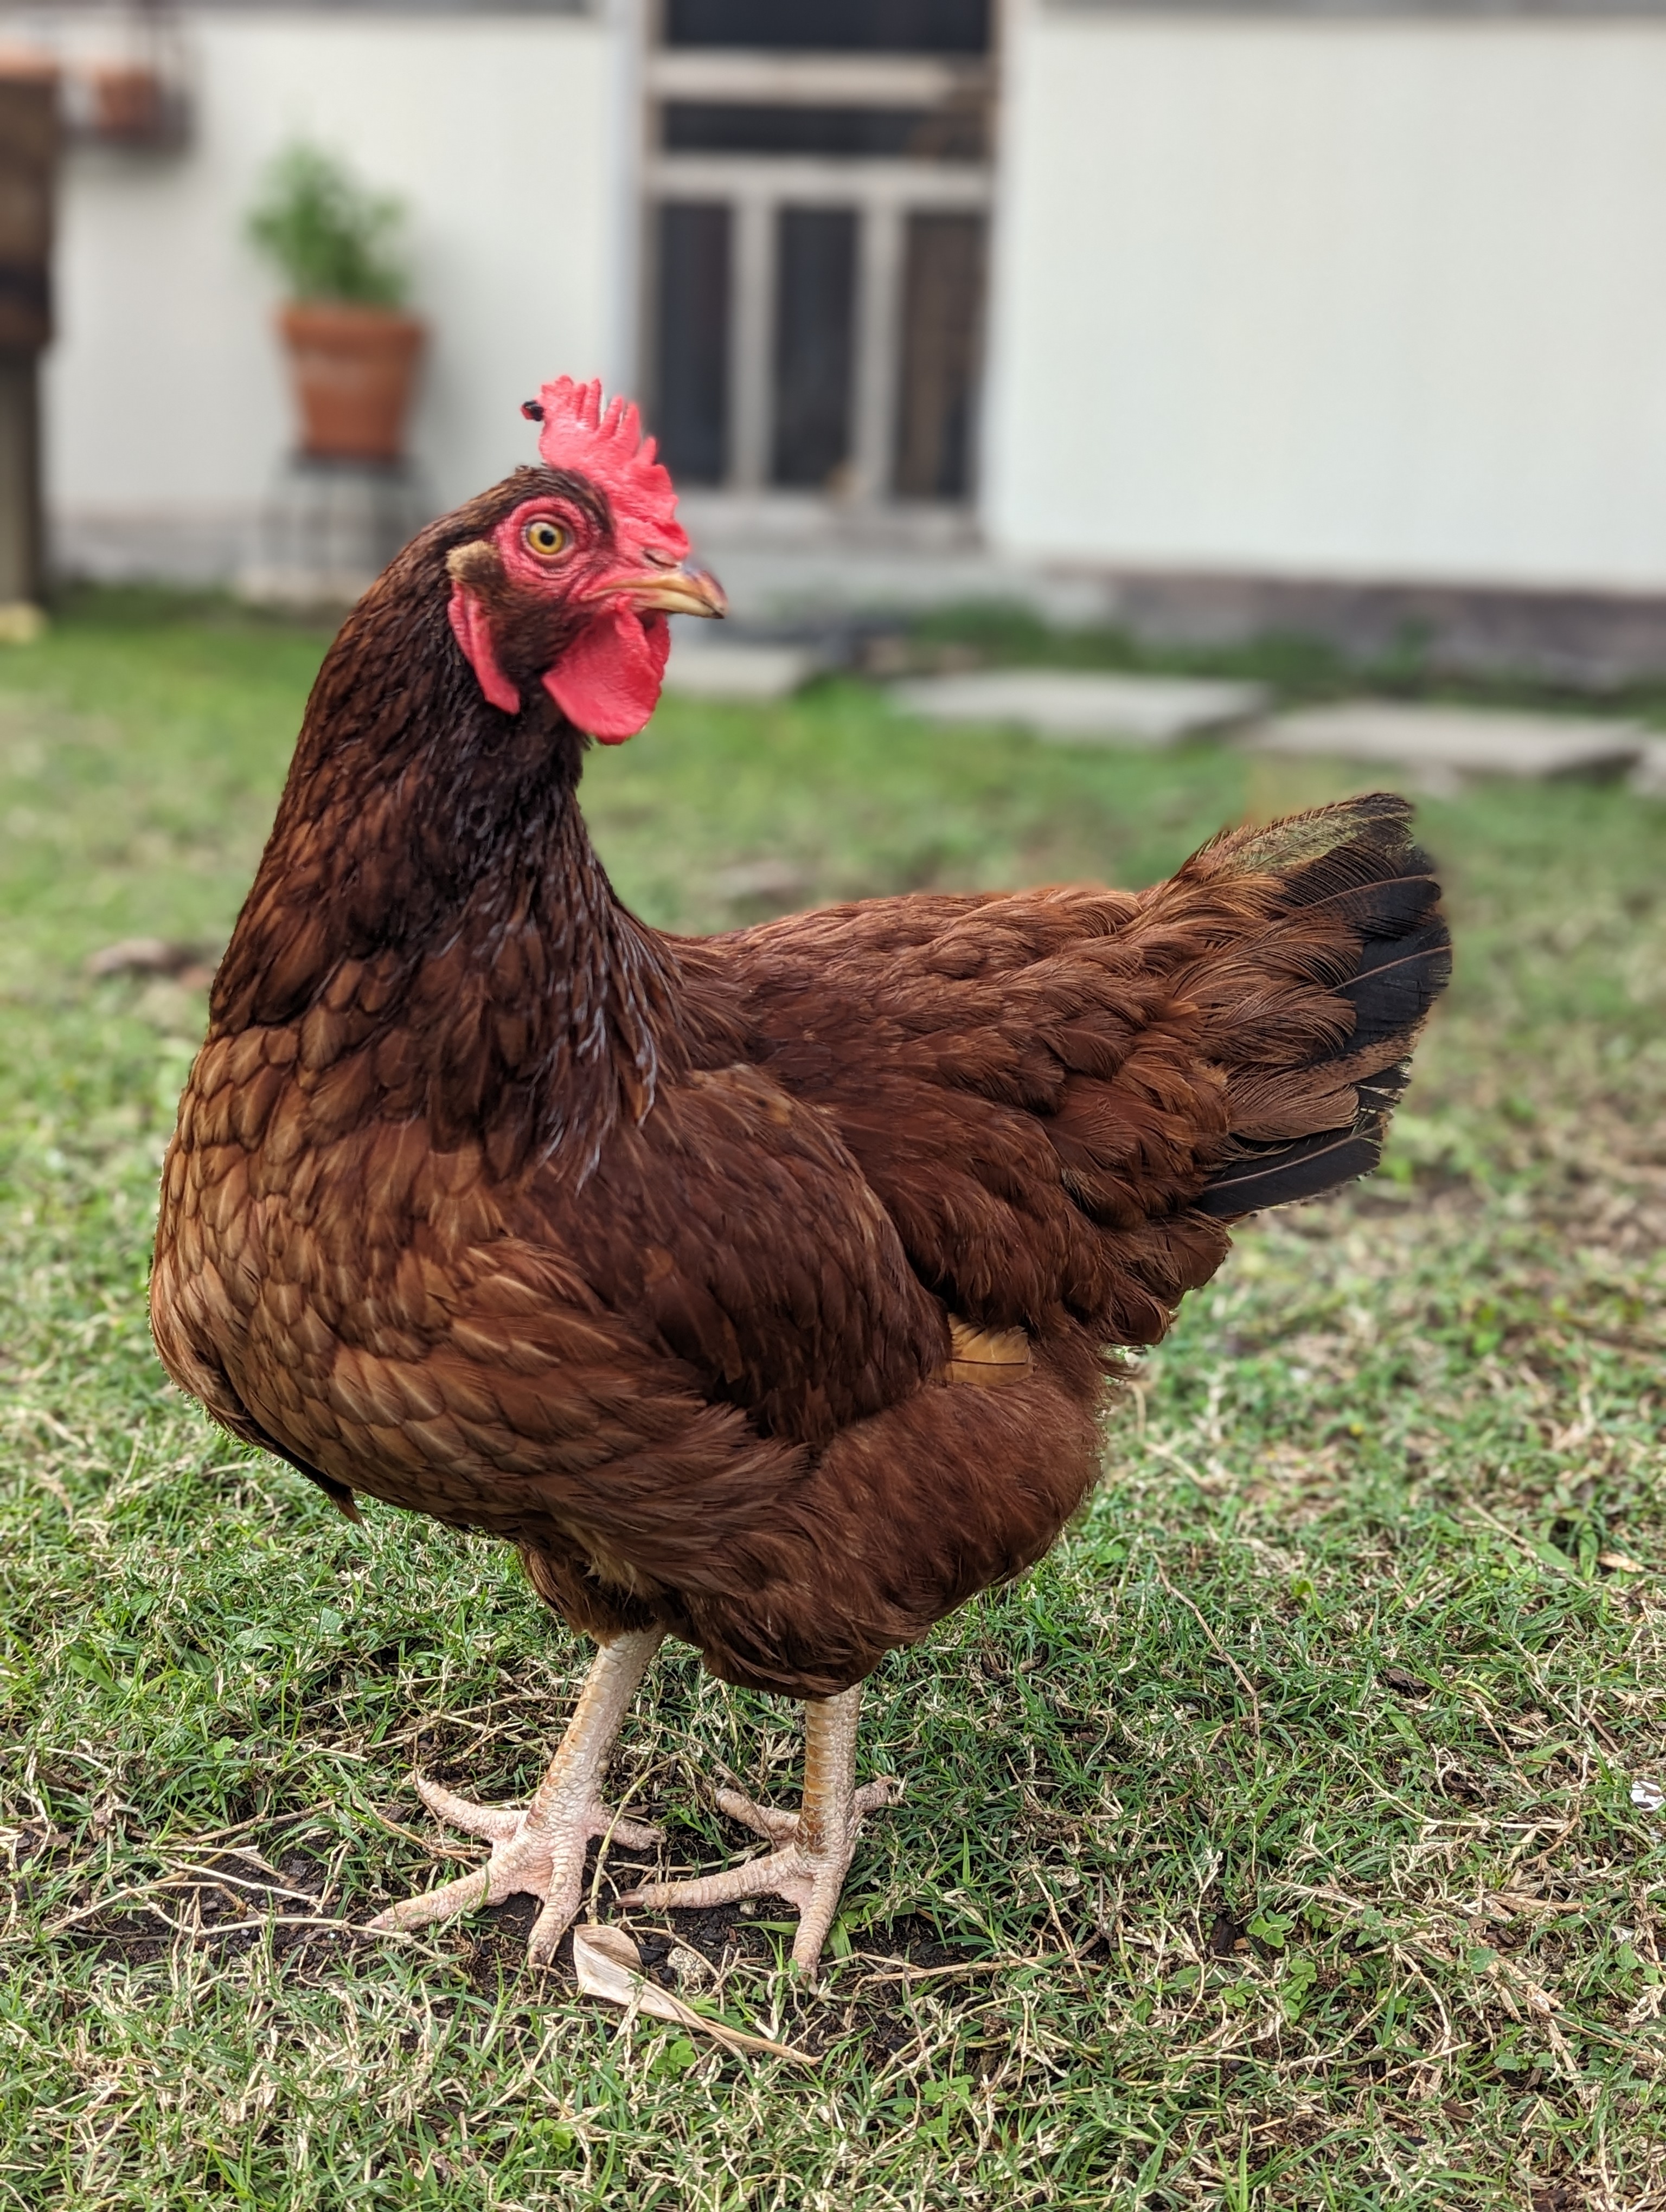
Then I saw this Pinterest pin for something that I thought my mom would appreciate! She’s been raising a few chickens, and cats, and growing some fruits and veggies in her retirement.

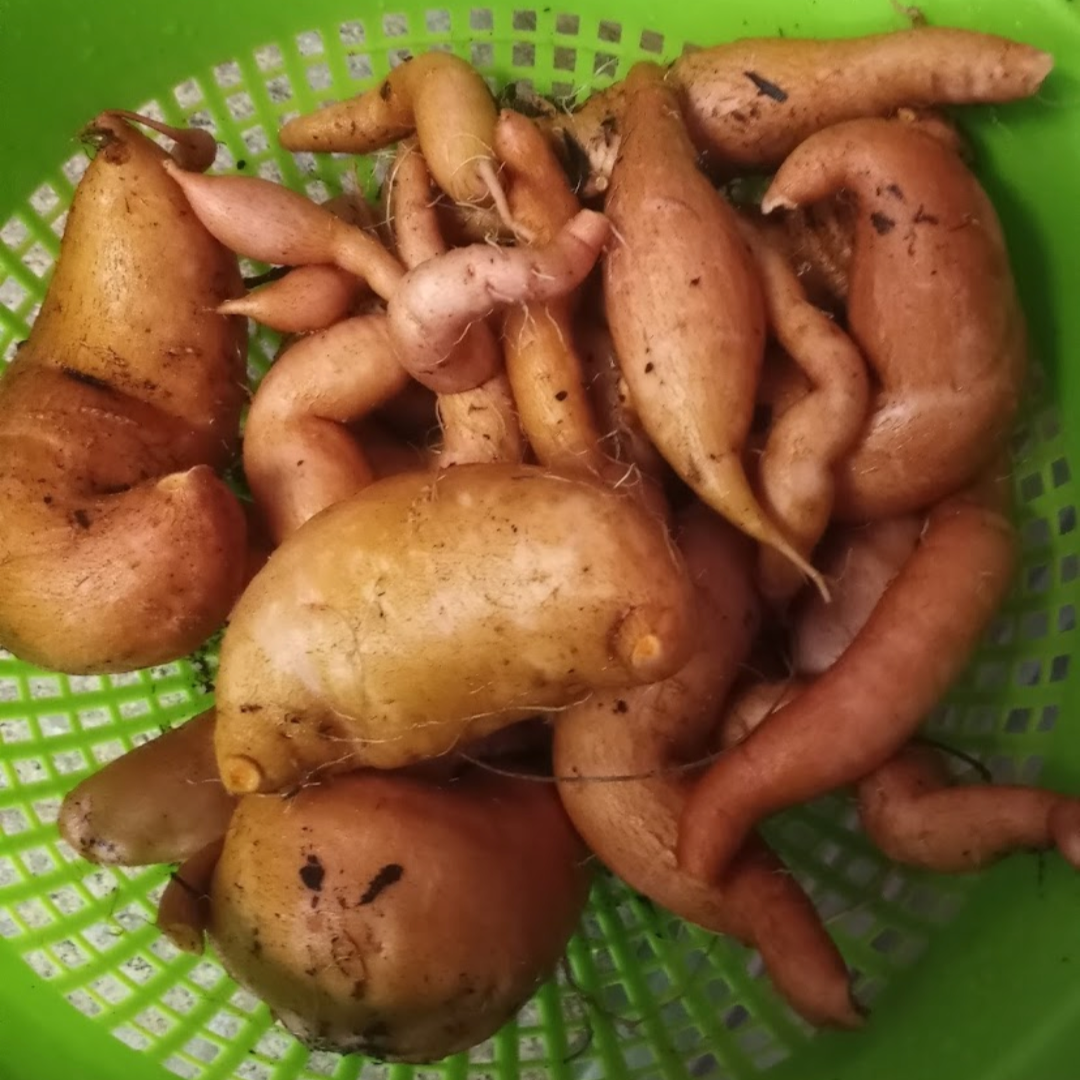
See? There’s plenty in need of harvesting here:


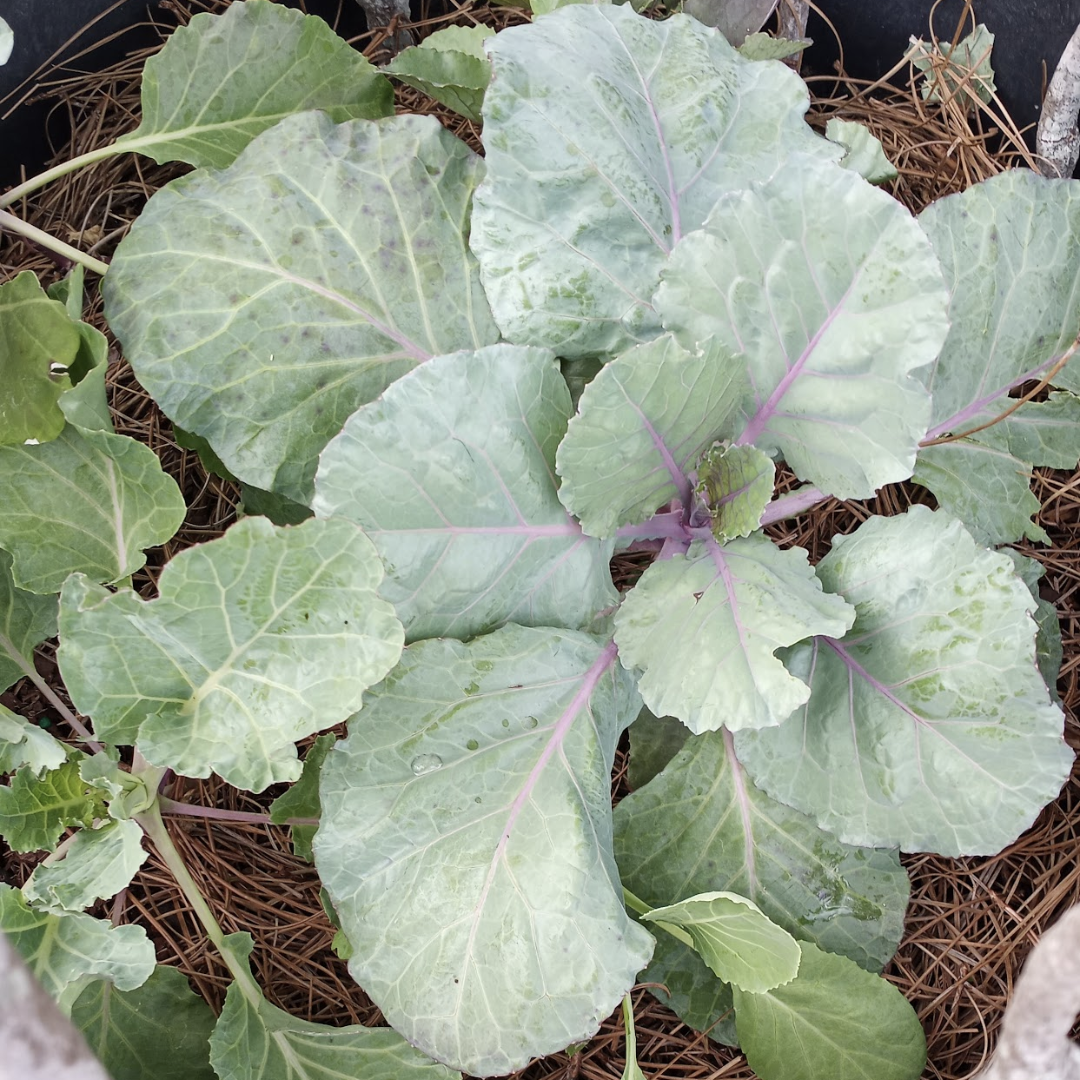

She’s got more going on than this, so OBVIOUSLY a harvest apron would be helpful! It also seemed easy enough to make, but of course, we hit some very unnecessary snags along the way (ah, hubris).
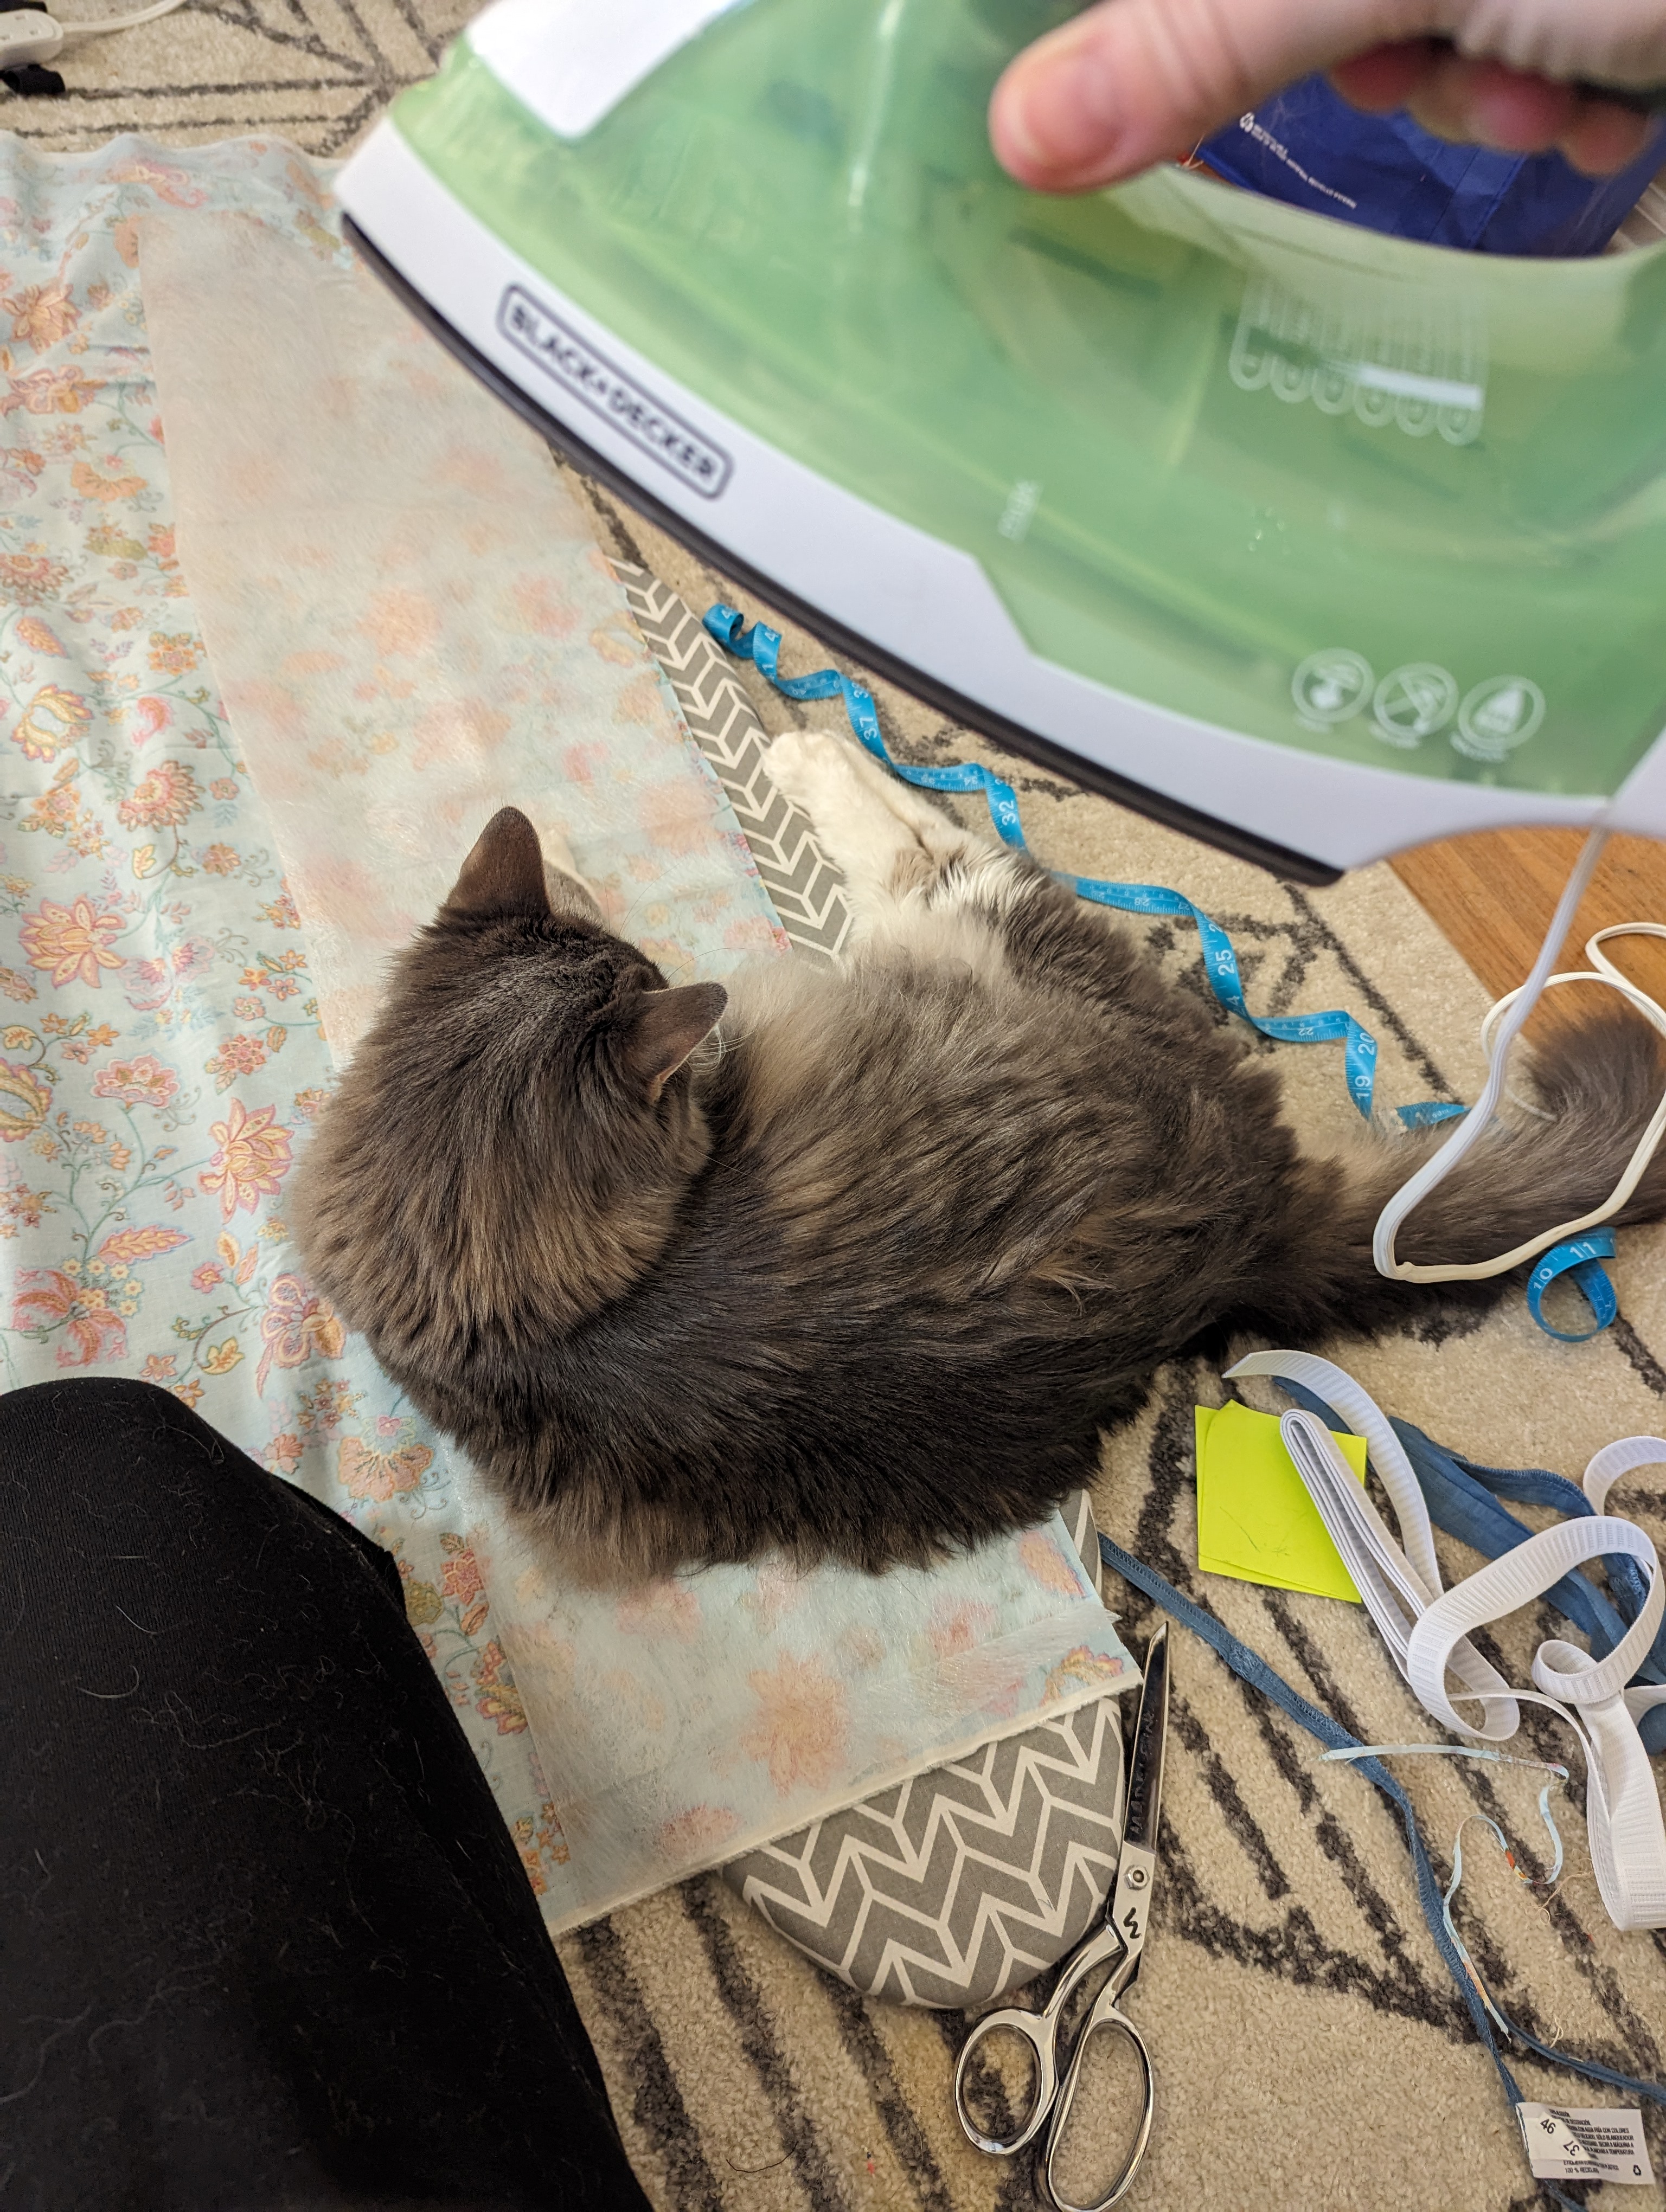
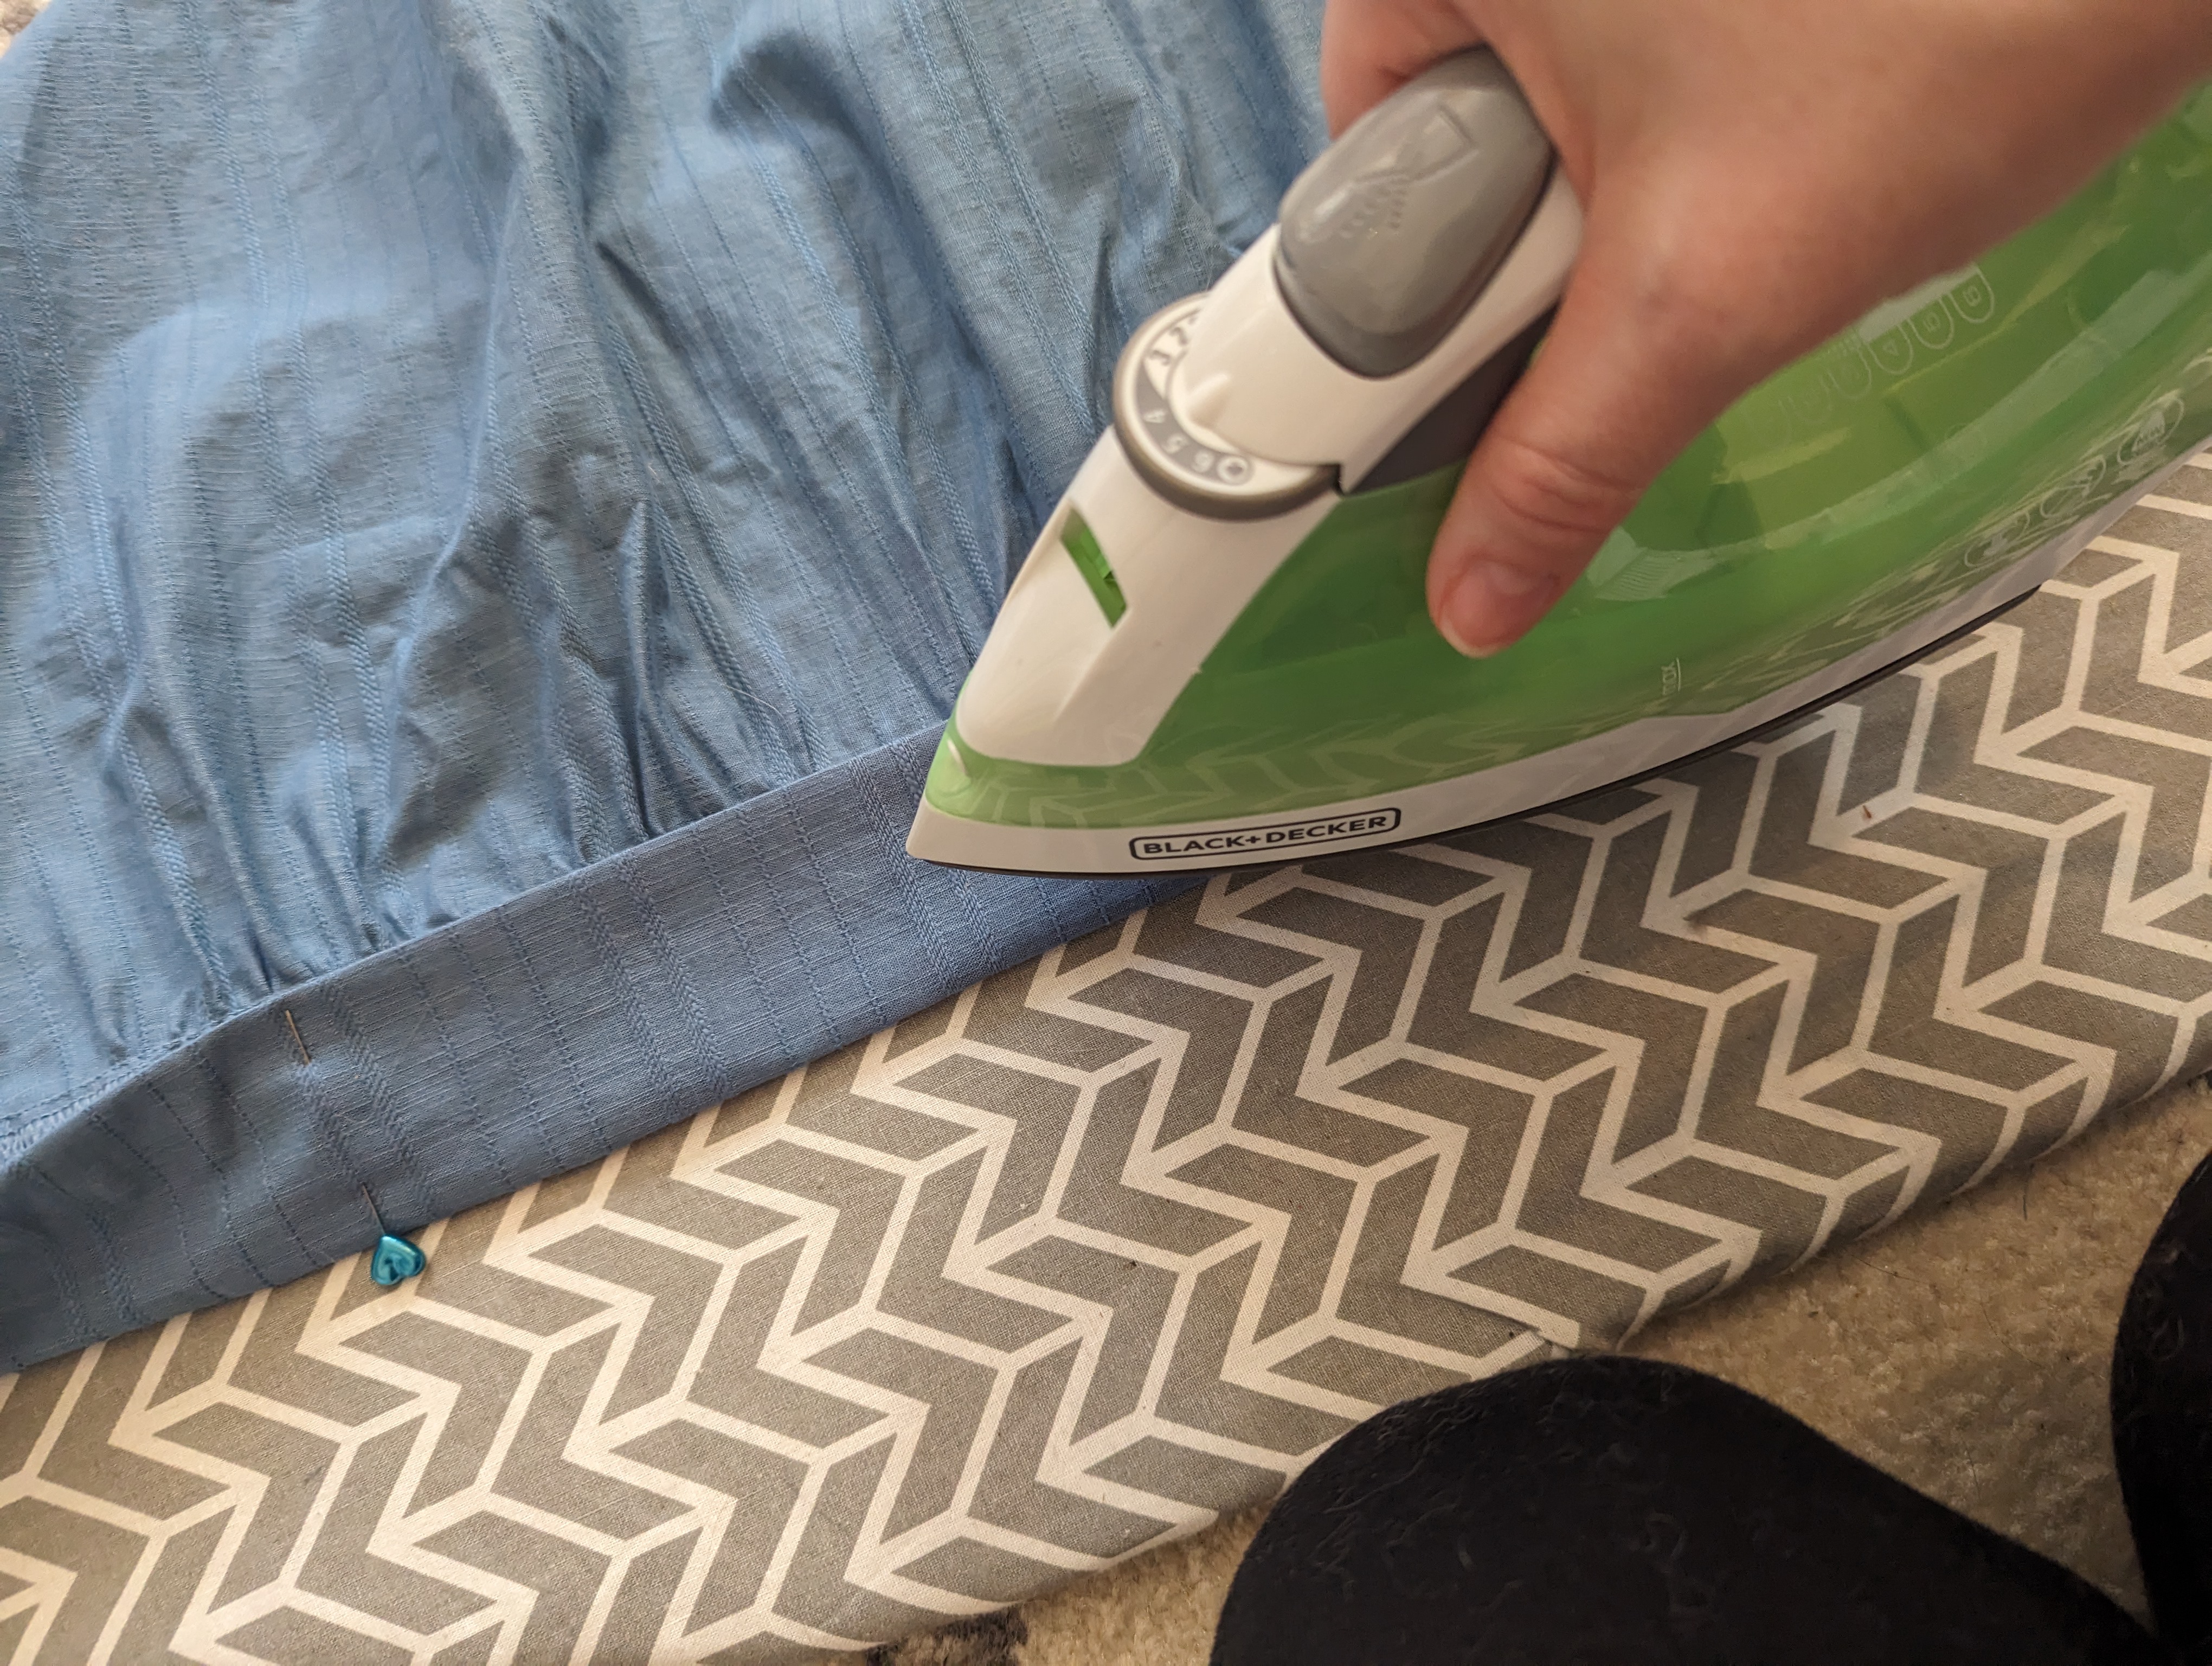
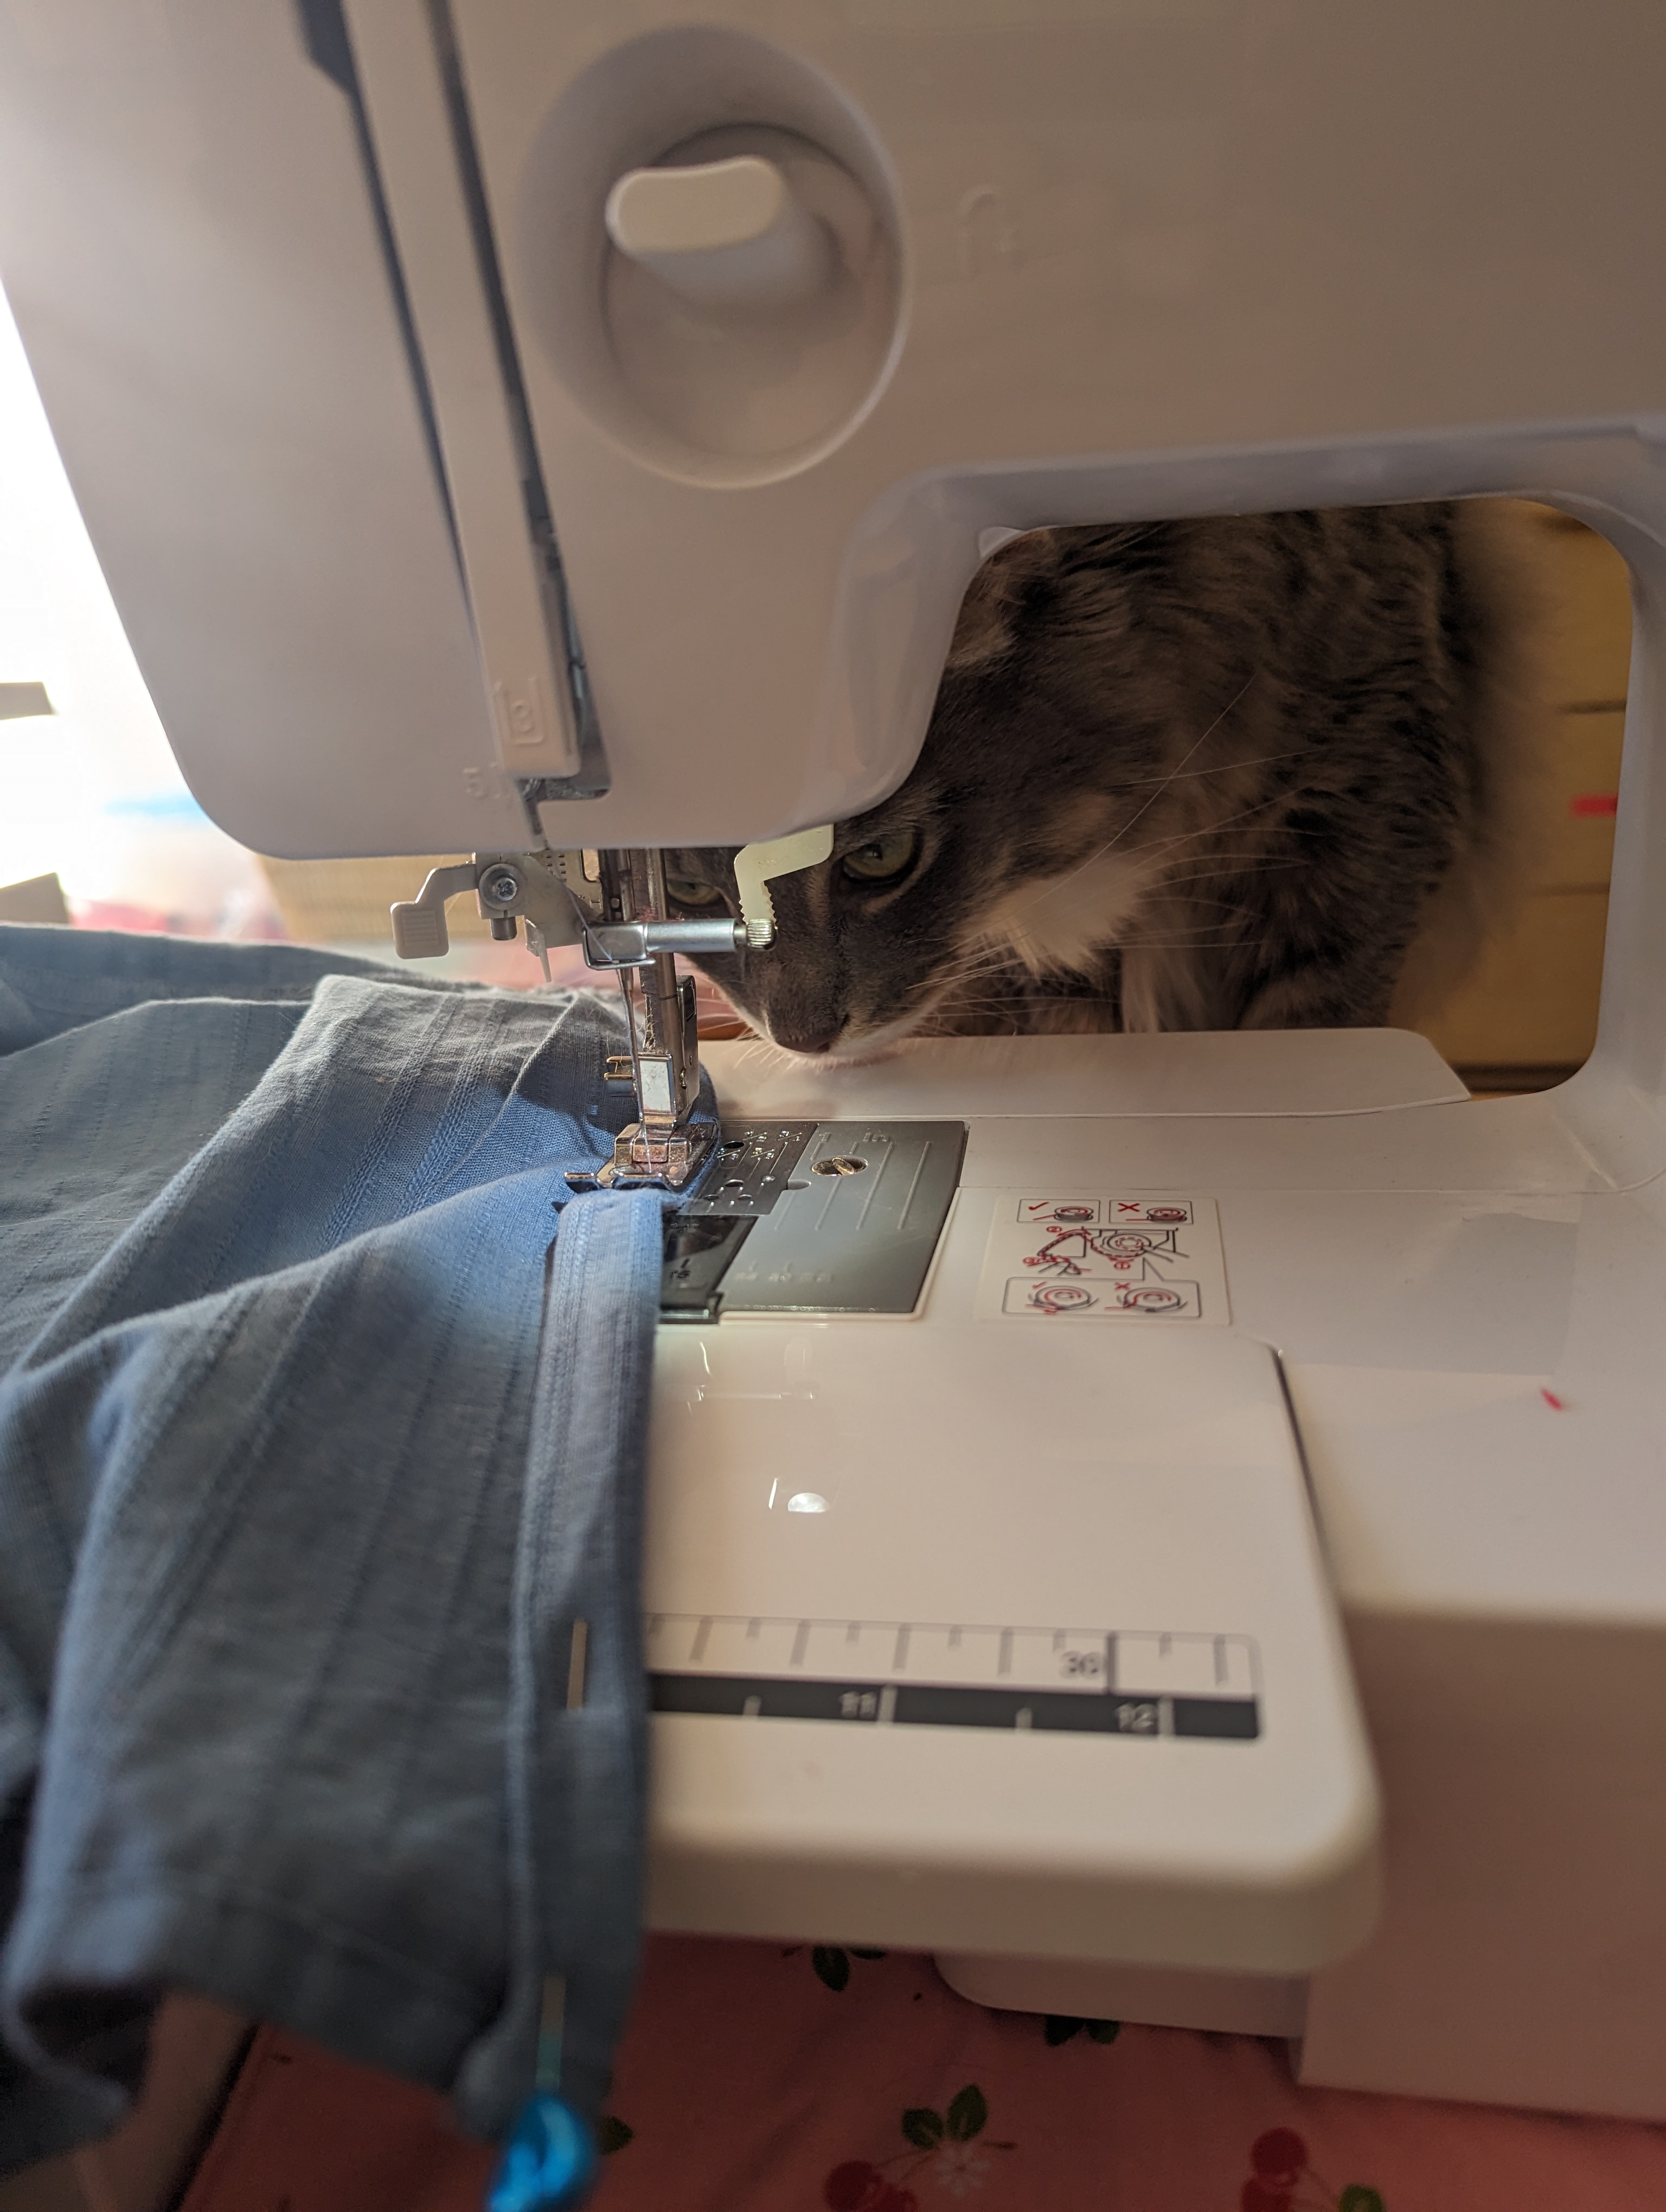
What felt like the right place to start was making a waistband, and I wanted to iron on some interfacing to give it strength. If you have cats you know you’re not allowed to move them when they settle down, even if they’re taking up the exact spot you need to do your work, which is a tiny ironing board on the floor, specifically, so I spent a little time distracting her with a string til she made the *choice* to leave. Cats, right?
So after ironing in all the interfacing, I folded about 1/4″ over at the hem, and then folded what was left in half. This gave me about a perfect 1.25″ waistband, which is deeply satisfying.
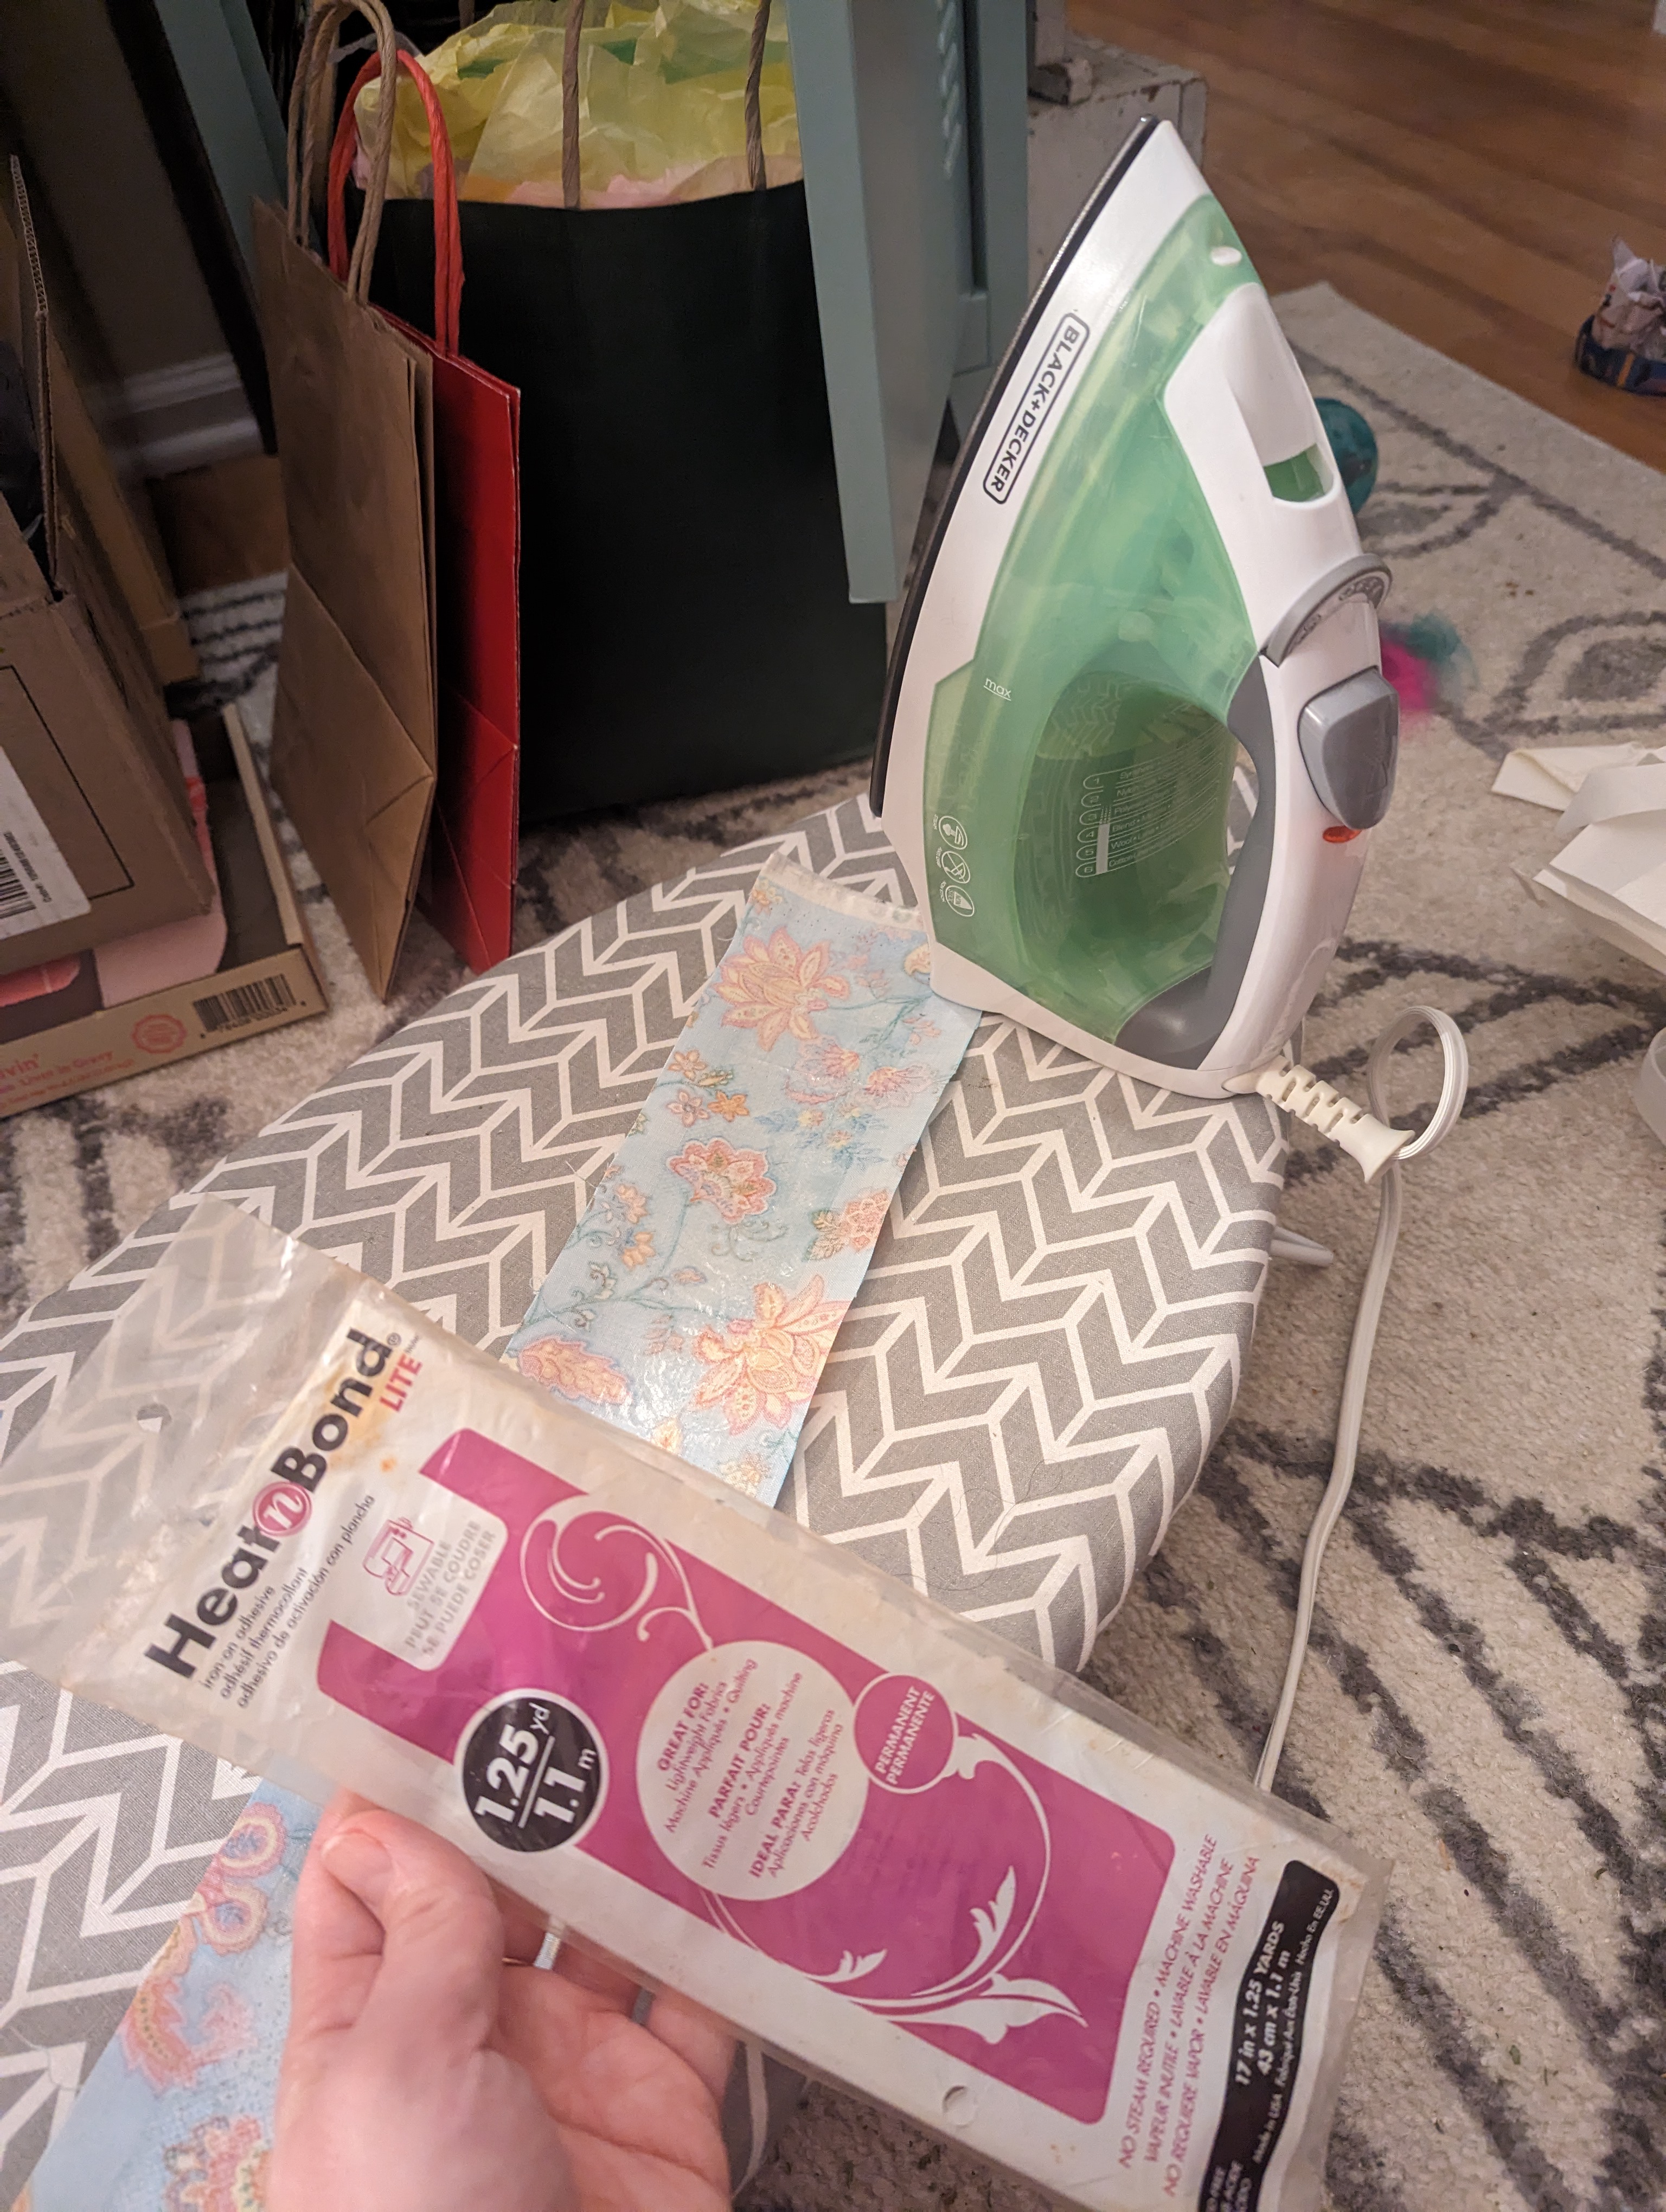
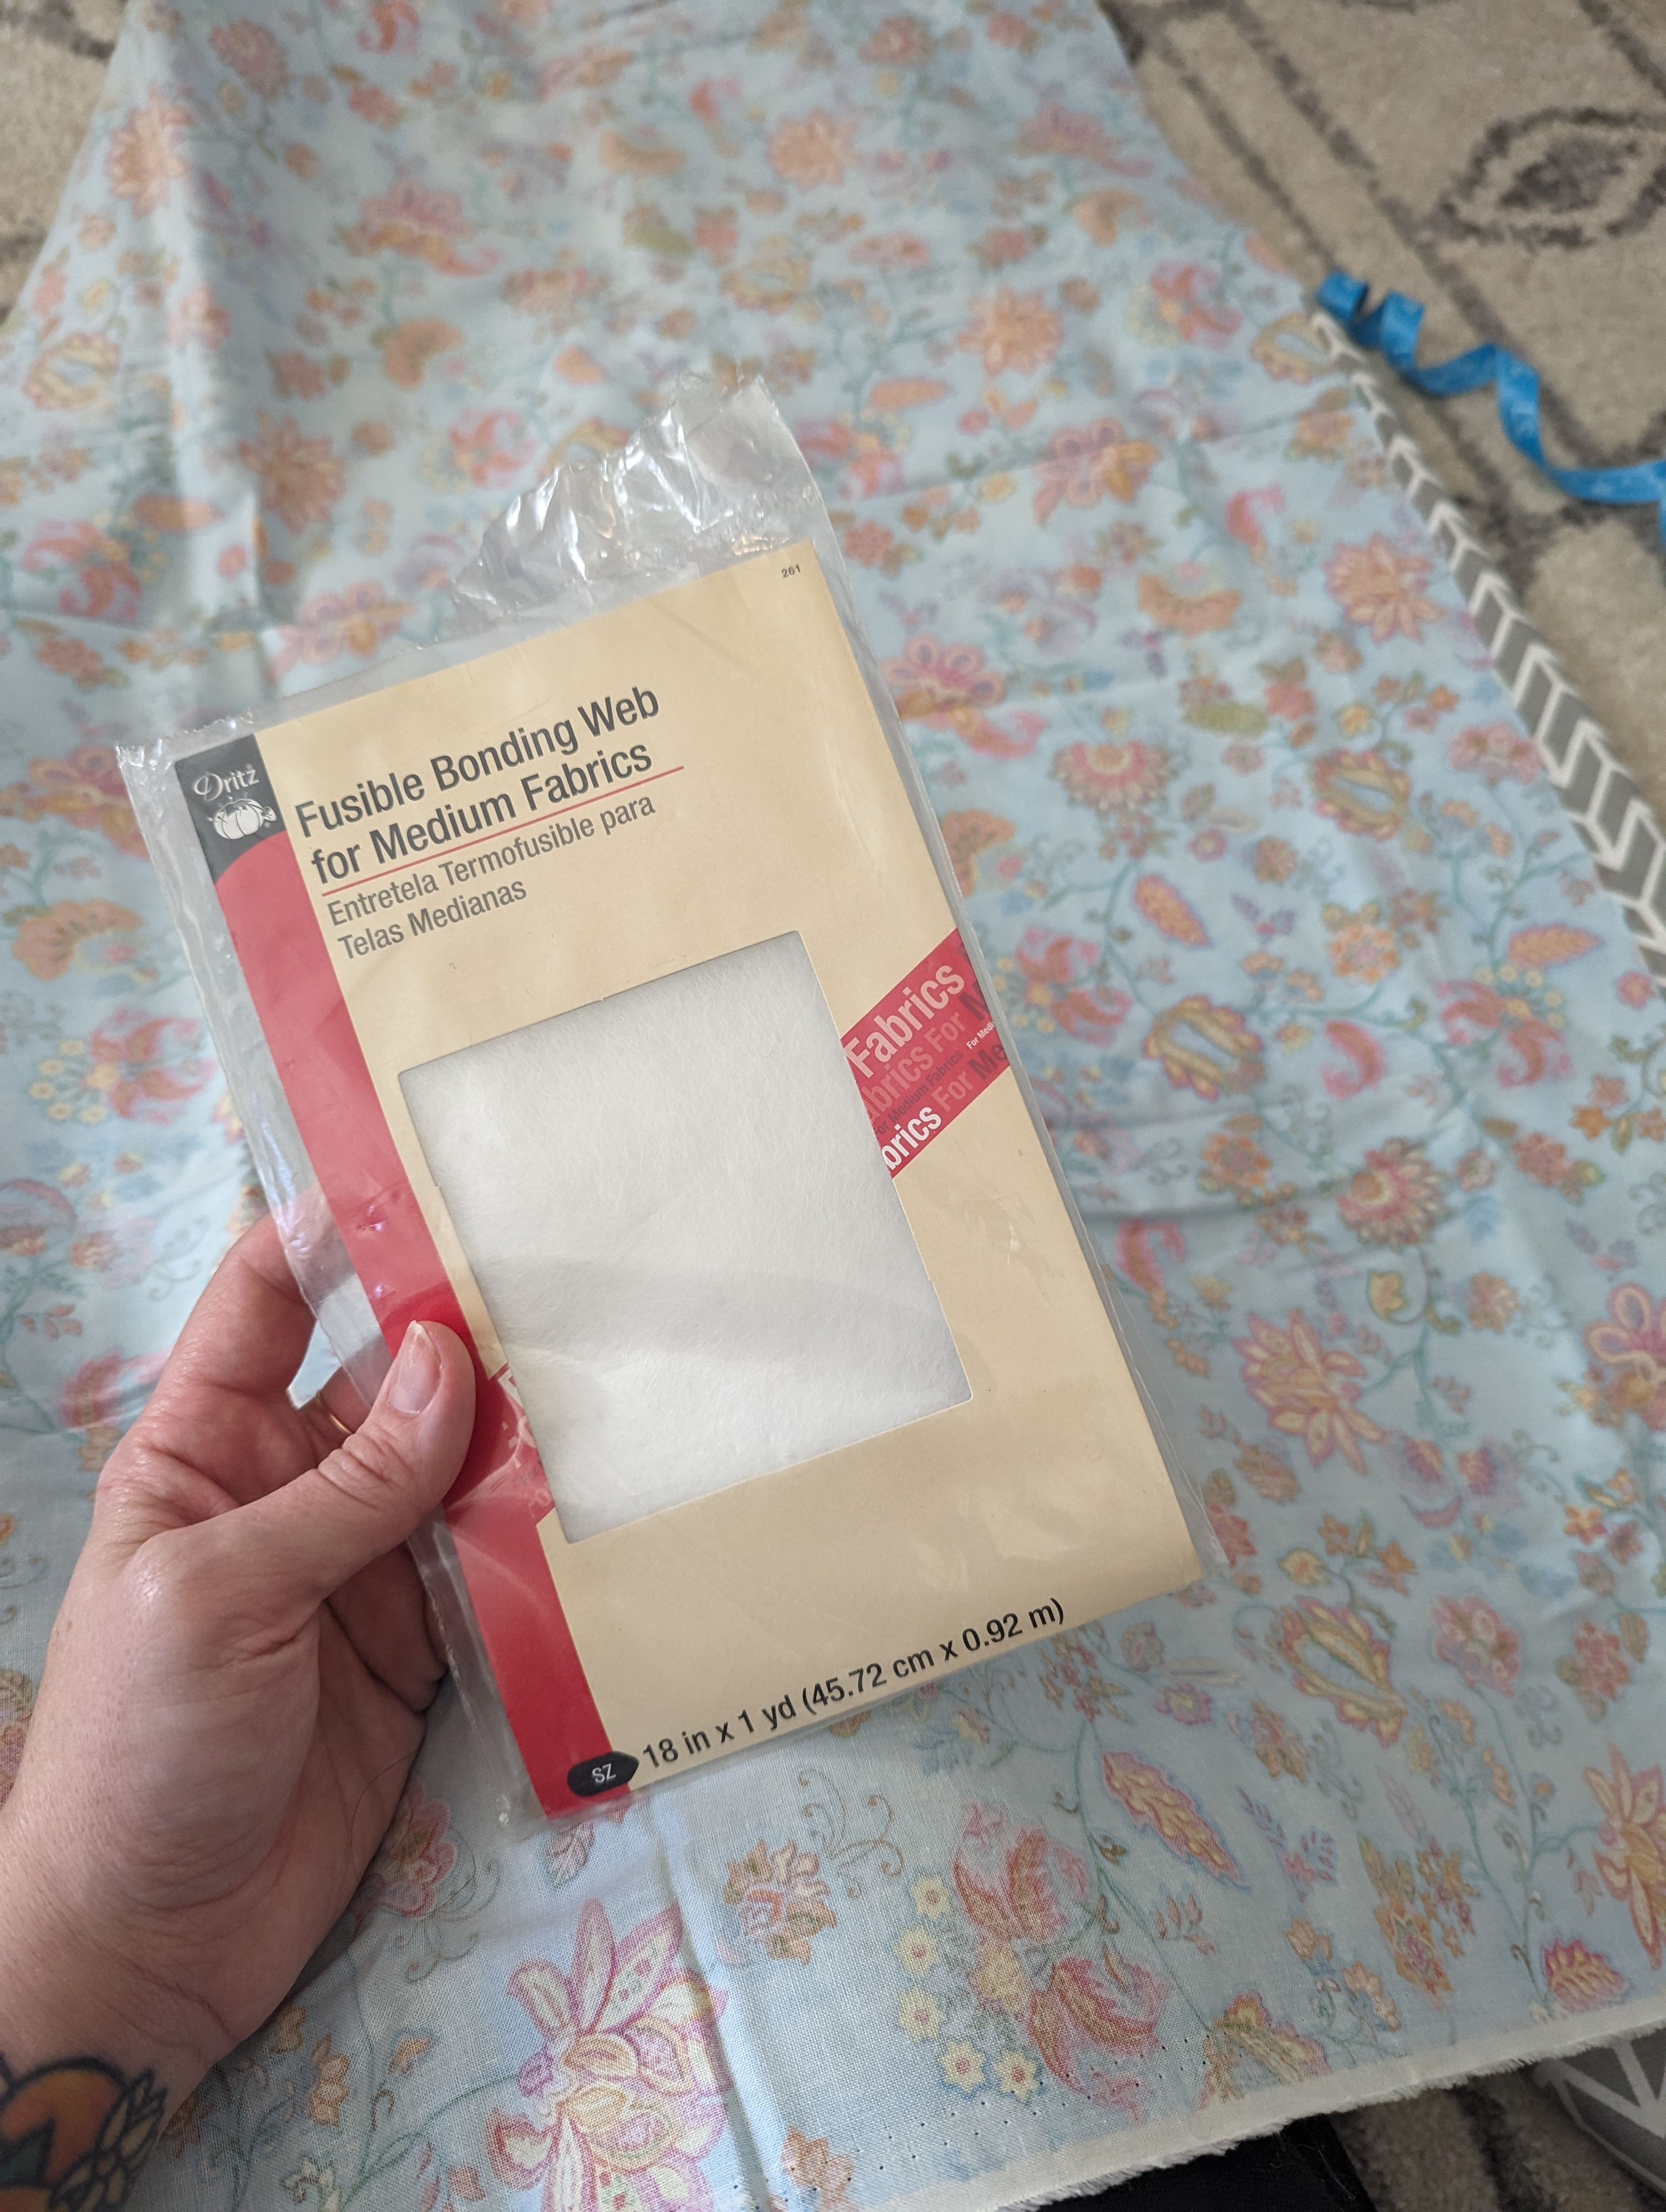
What I didn’t realize (deep sigh) was that rather than getting out the fusible bonding web, I inexplicably grabbed the iron-on adhesive paper…??? That’s something you would use to adhere a patch or applique, and pointedly made *not* to be sewn through. It was too chaotic to photograph, but as you can imagine, it made the next part of sewing the waistband a huge pain in the—
Clearly, we’re off to a great start. After repeatedly jamming a sticky needle slowly through the layers of fabric, the waistband was officially ON, at least. The next thing to do was make that very big pocket (the one for the taters).
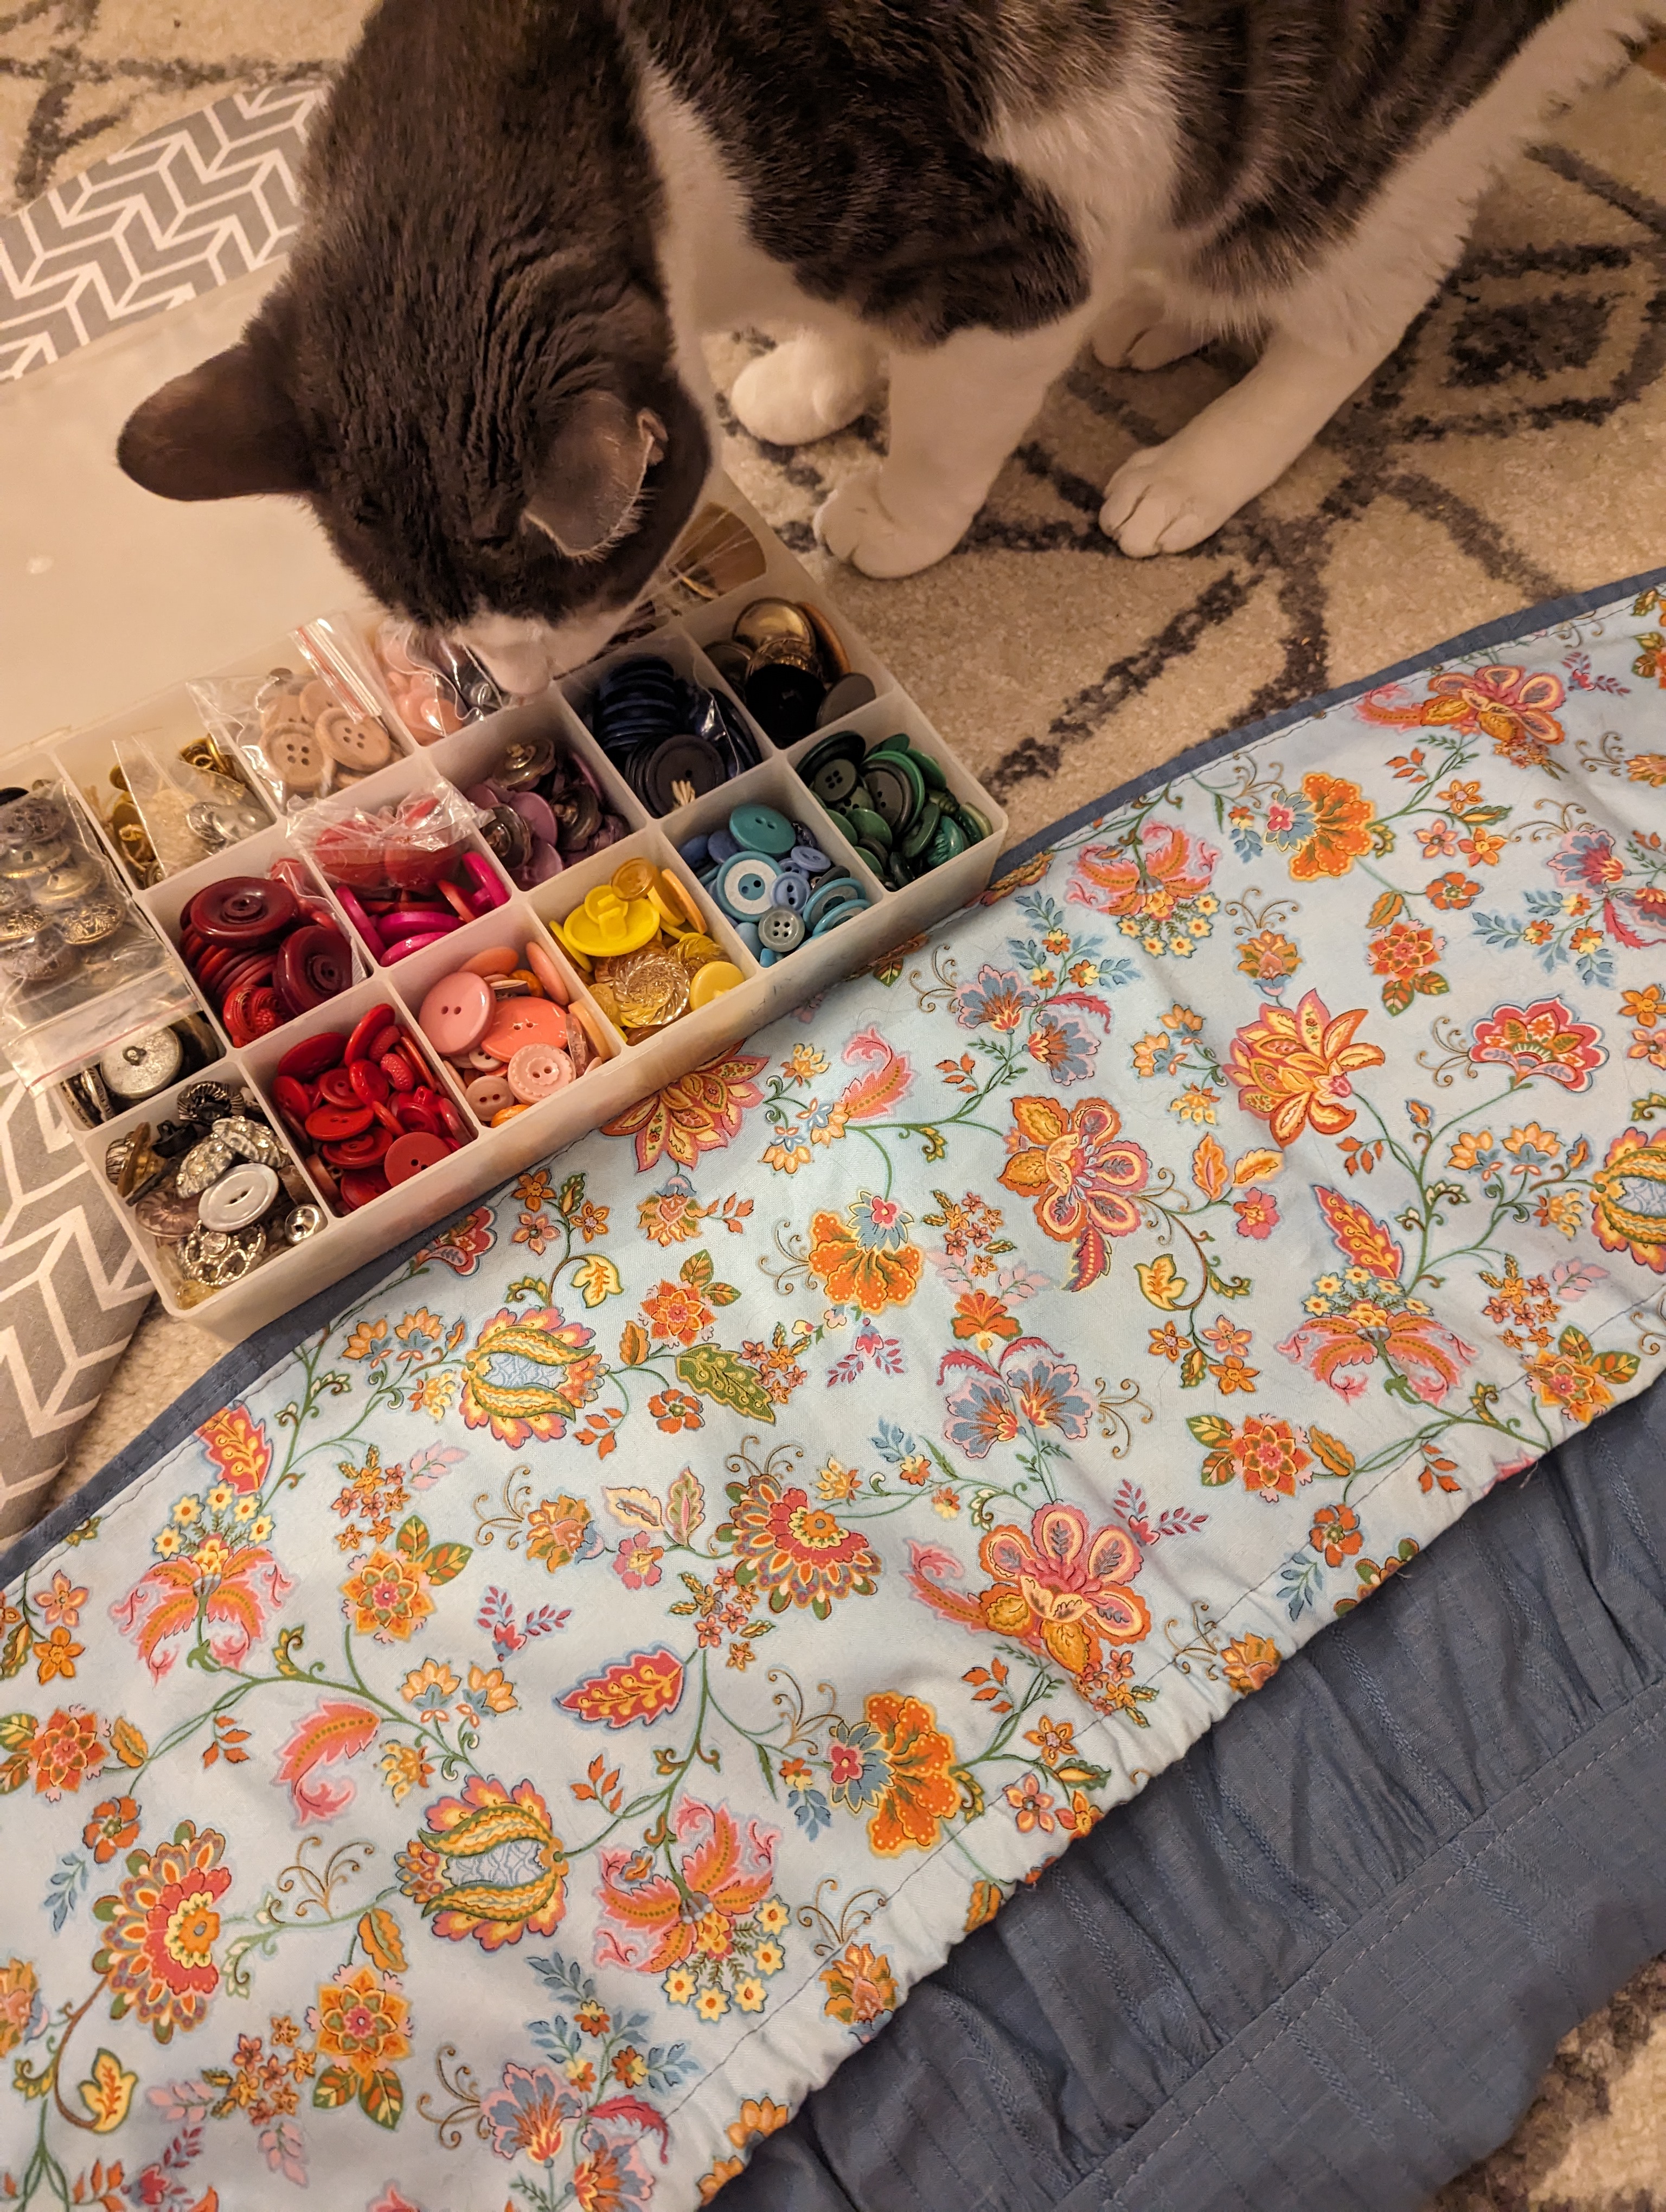
One of my students’ families donated a bunch of fabric to me, so I have this lovely robin’s egg paisley with pink and yellow accents. You’ll see it once Xantheppe gives it a thorough looking over…

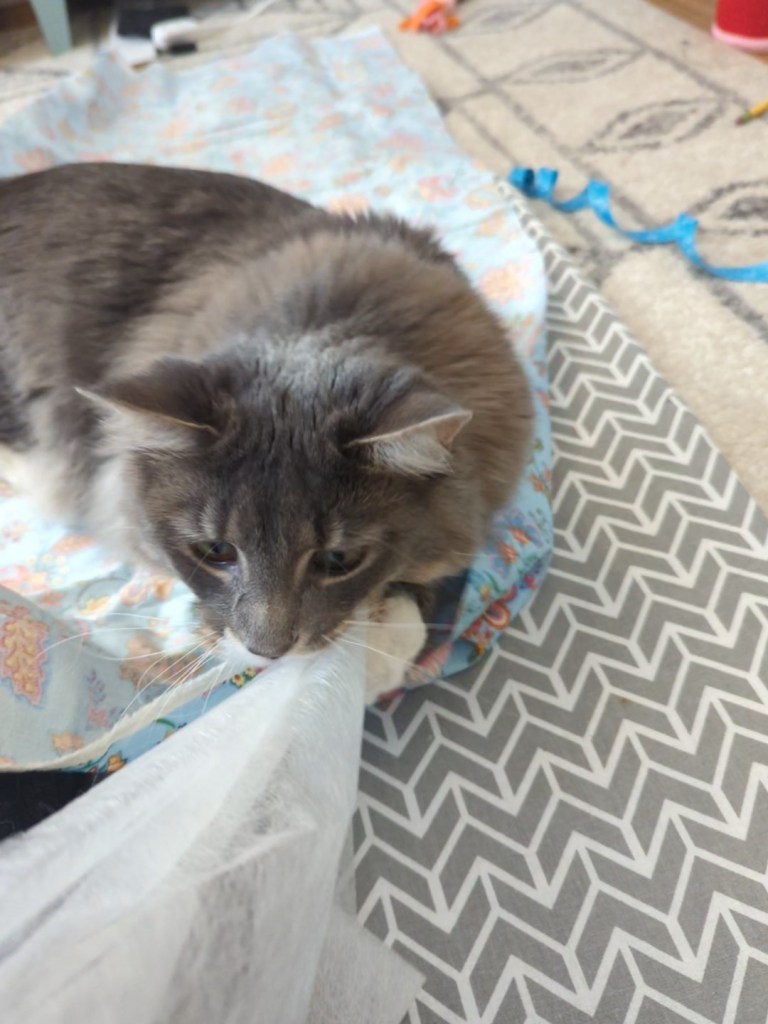

Now that we have her stamp of approval, here’s the fabric!

Next I needed to cut out the pocket from that lovely paisley. The pocket will be slightly narrower than the initial blue fabric, and we’re going to add elastic to it. I measured the blue fabric, and then figured that about 1 foot high by 2 feet wide would be a good pocket size. Before I could attach it to the blue fabric (both fabrics right sides together at the hem), the blue fabric needed a quick 1/3″ rolled hem on each of the sides.
I also needed a 3/4″ casing for the elastic at the top hem of the pocket. A casing is just a tunnel for the elastic to run through, so you don’t see it. If you didn’t mind seeing the elastic, you could leave it showing and just do a stretch zig zag stitch on top of it, and it will work just fine.

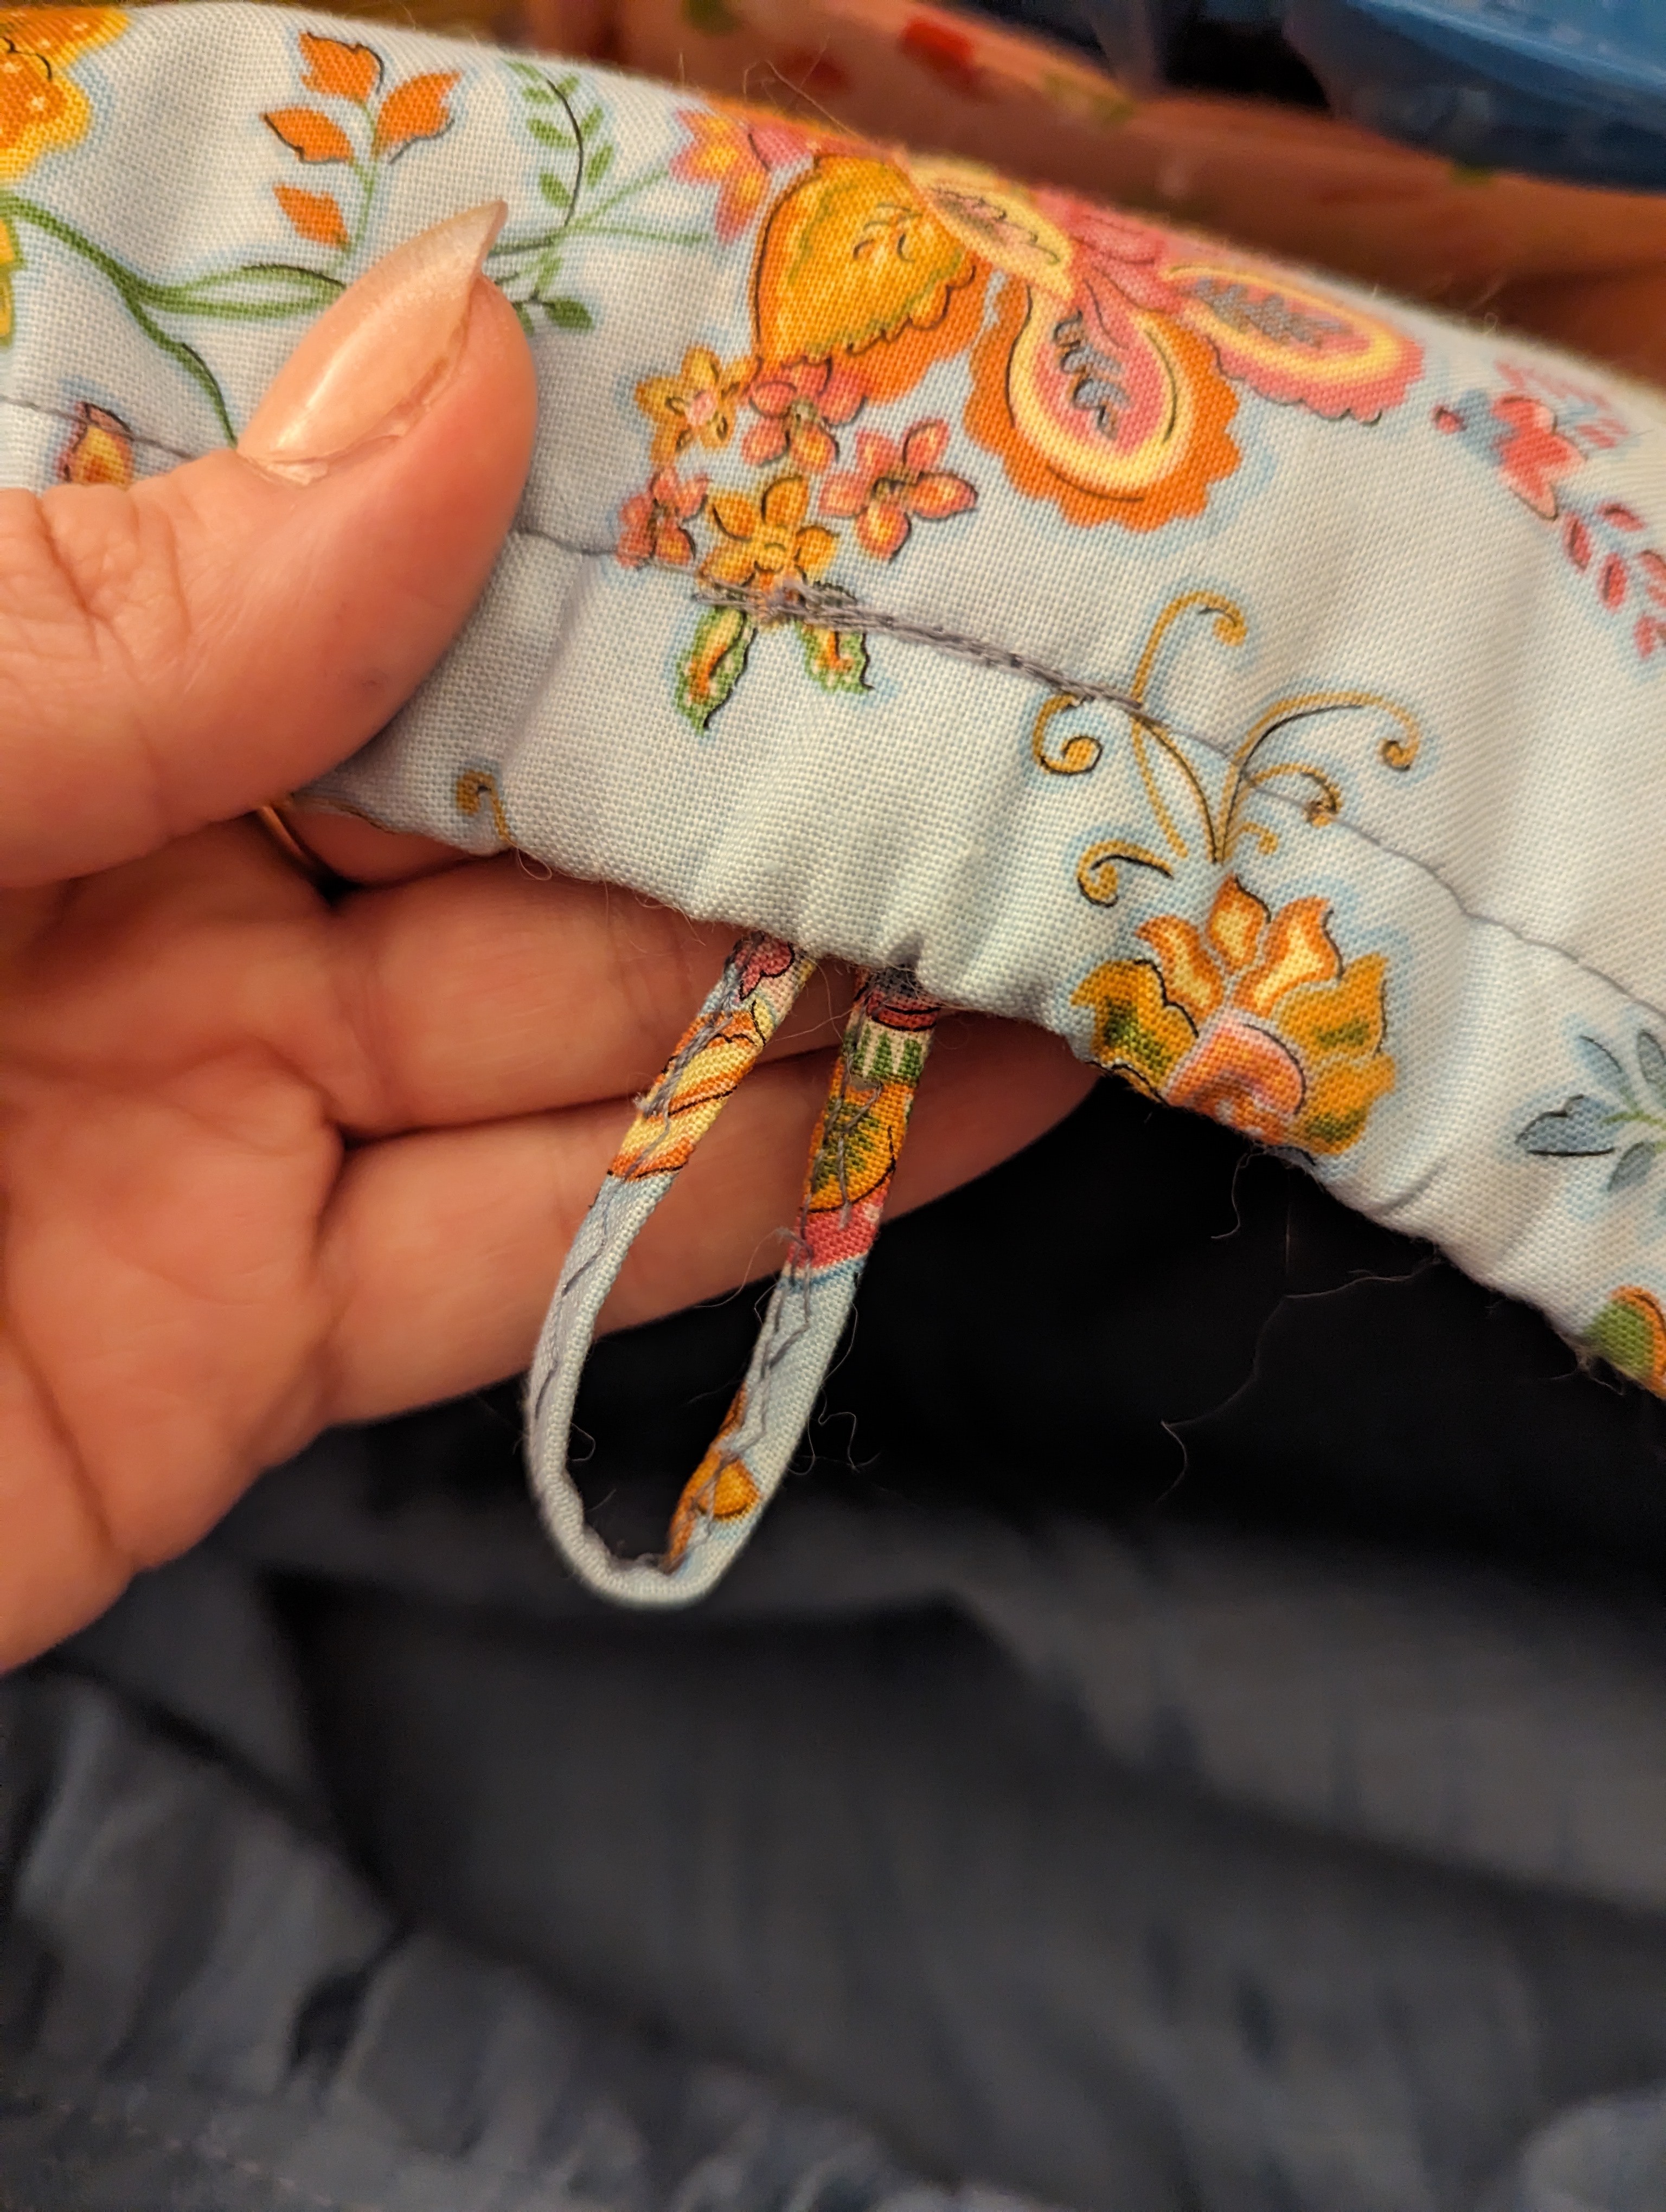
Now to install the elastic! Threading elastic can be tricky. You’d want a decent sized safety pin to hold on to the end of the elastic you’ll be pushing through the casing, and a pin to clip the opposite end of the elastic to your fabric. This way, you don’t accidentally pull the whole piece of elastic right out and have to start over. I went with the standard amount of elastic for waistbands, which is 2″ smaller than your measurement; e.g. if the pocket is 2 feet wide, the elastic would be 1 foot and 10″ wide. With everything pinned in place, you slowly start pinching and pulling your elastic through from one end of the casing to another. I find it kind of meditative. Just don’t let go of the safety pin, or it could spring back to the start!
After scrunching the elastic to the other end, stitch it in place at both edges of the casing, cutting off any excess that might be sticking out. It’s negligible, I promise. I think I could have even cut off more, but that’s just me being nitpicky. I had always envisioned this having a button so that my mom could adjust how open the pocket needed to be, which meant I got to use one of my boatload of vintage buttons!
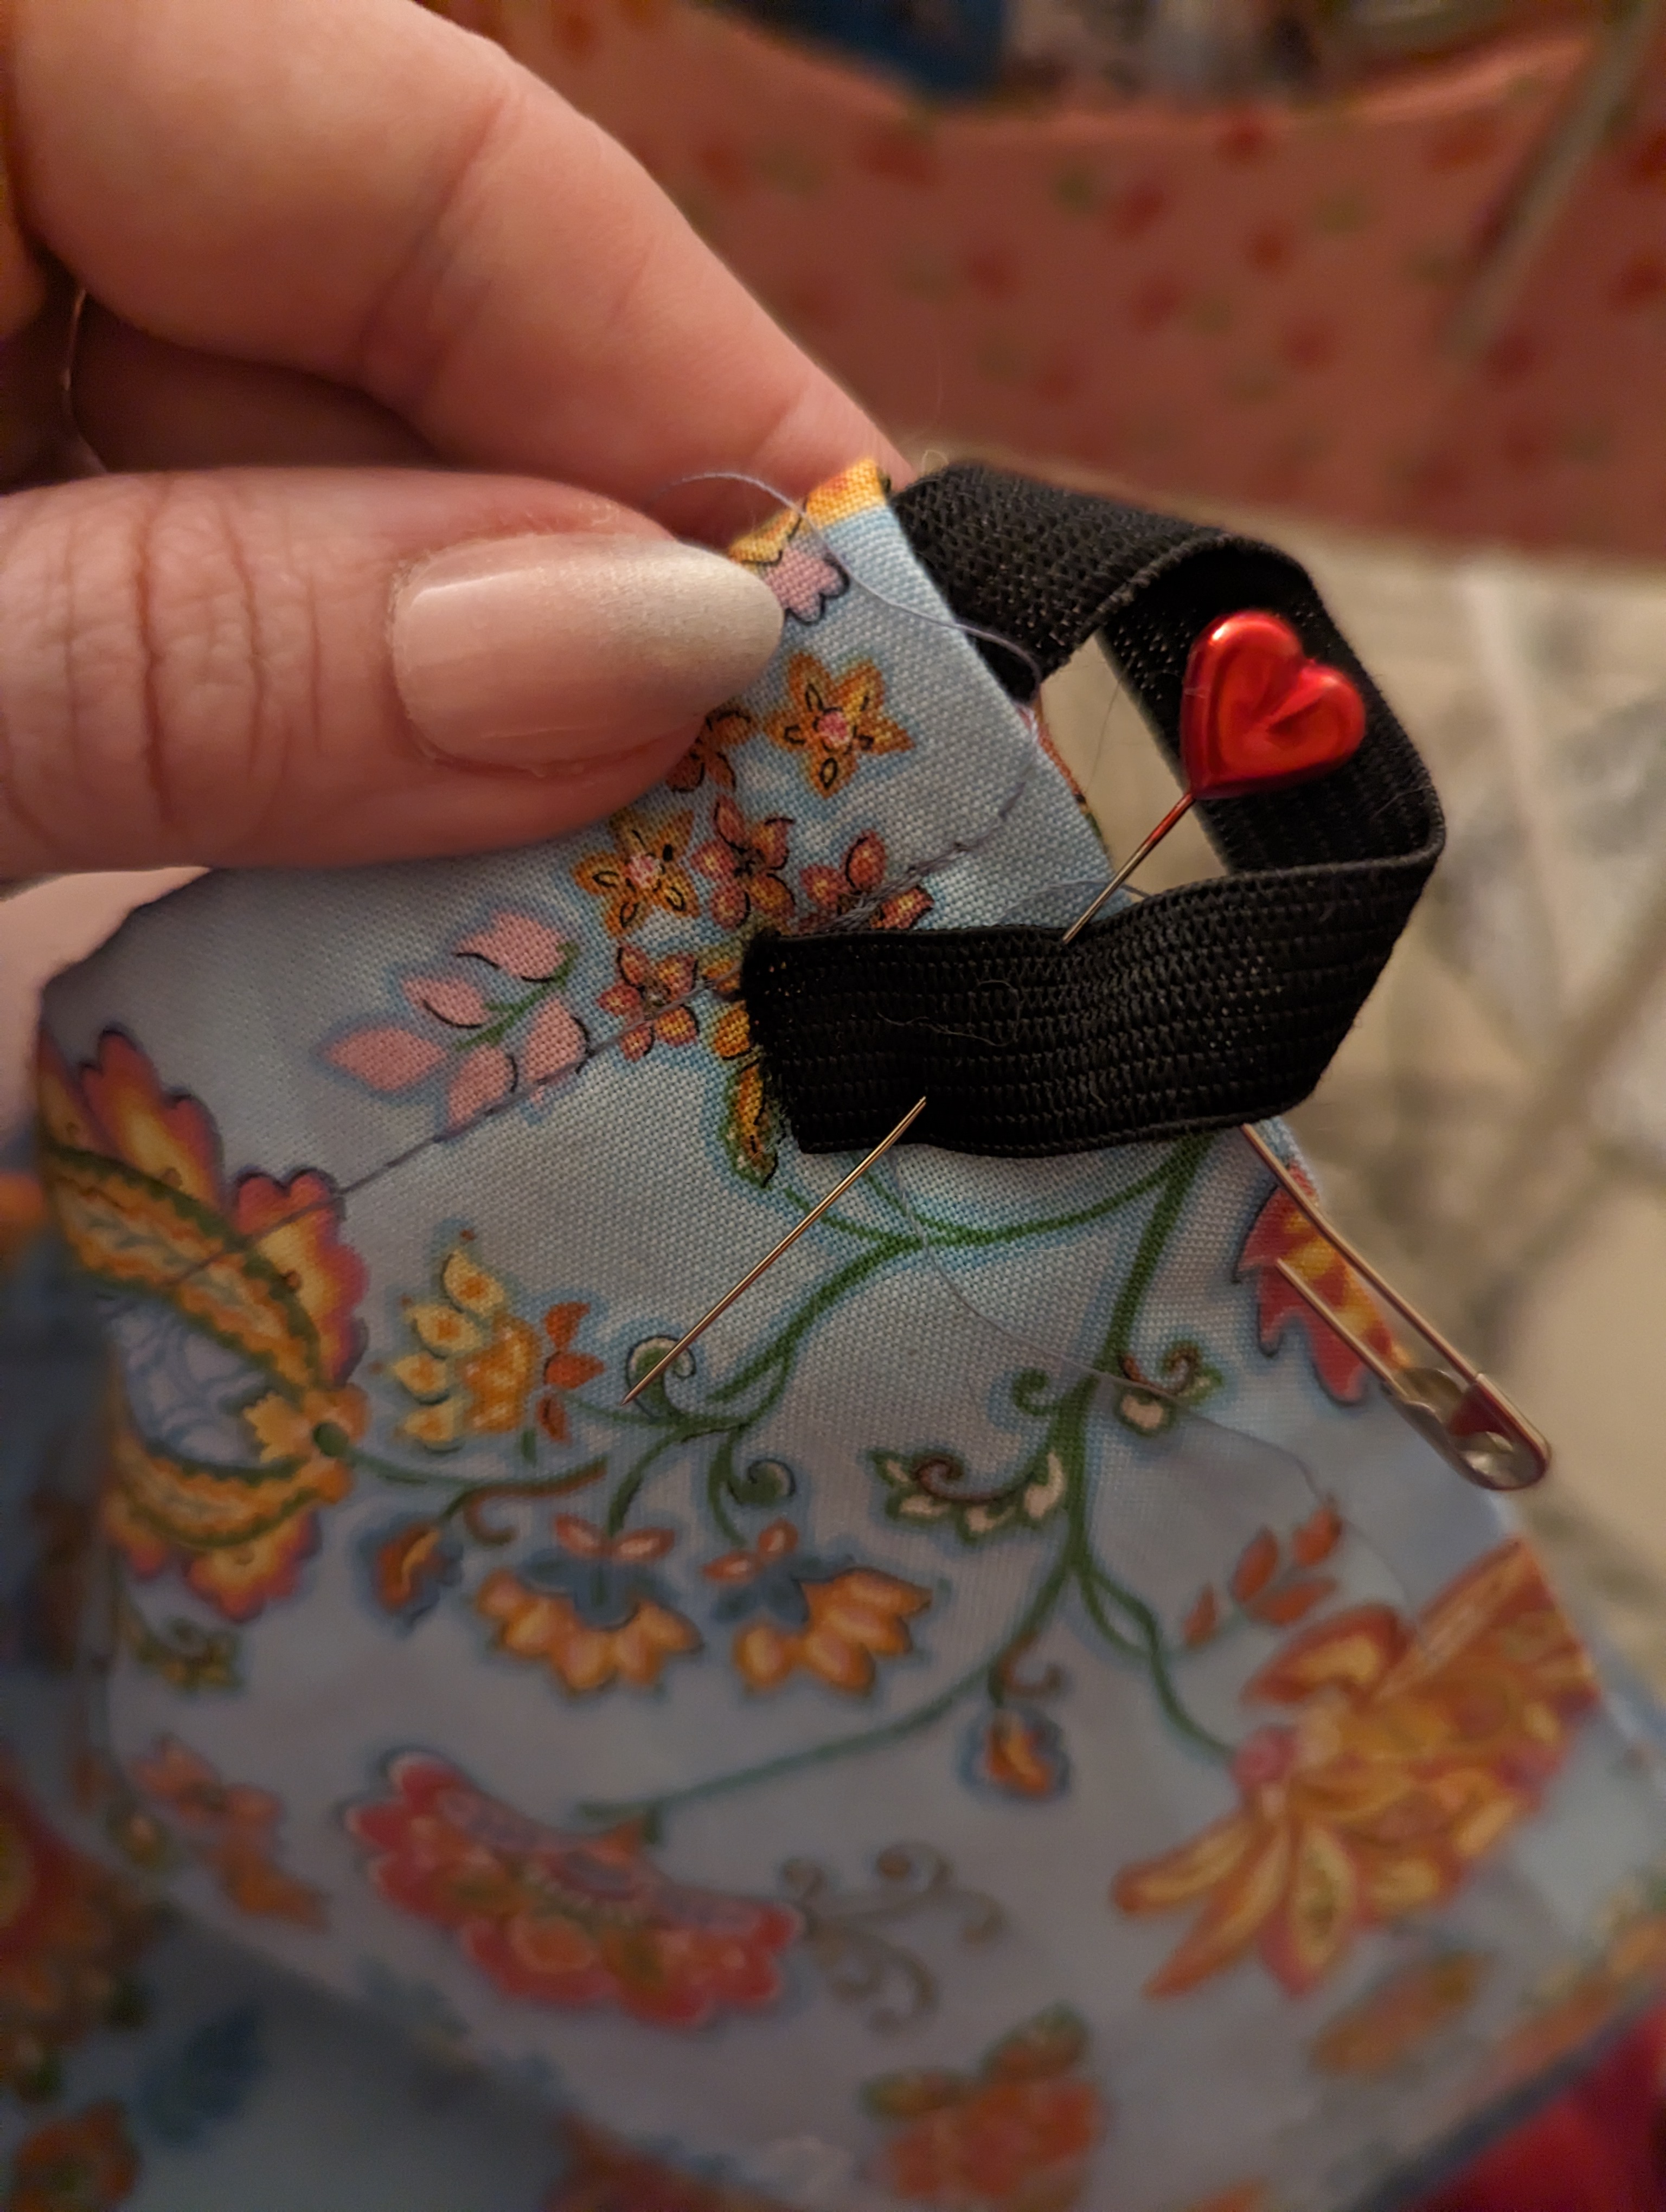
I tacked a fun pink button on to the center of the waistband. To hold the pocket to the button, I made a rouleau loop, which I fully eyeballed. A rouleau loop is just a thin strip of bias tape– mine was a little smaller than 1/4″ wide– which I pinned to the center of the pocket. I measured the loop up to the holes of the button (since that’s where the loop will rest). Finally, I marked and cut how much was needed to fit snuggly around the button.

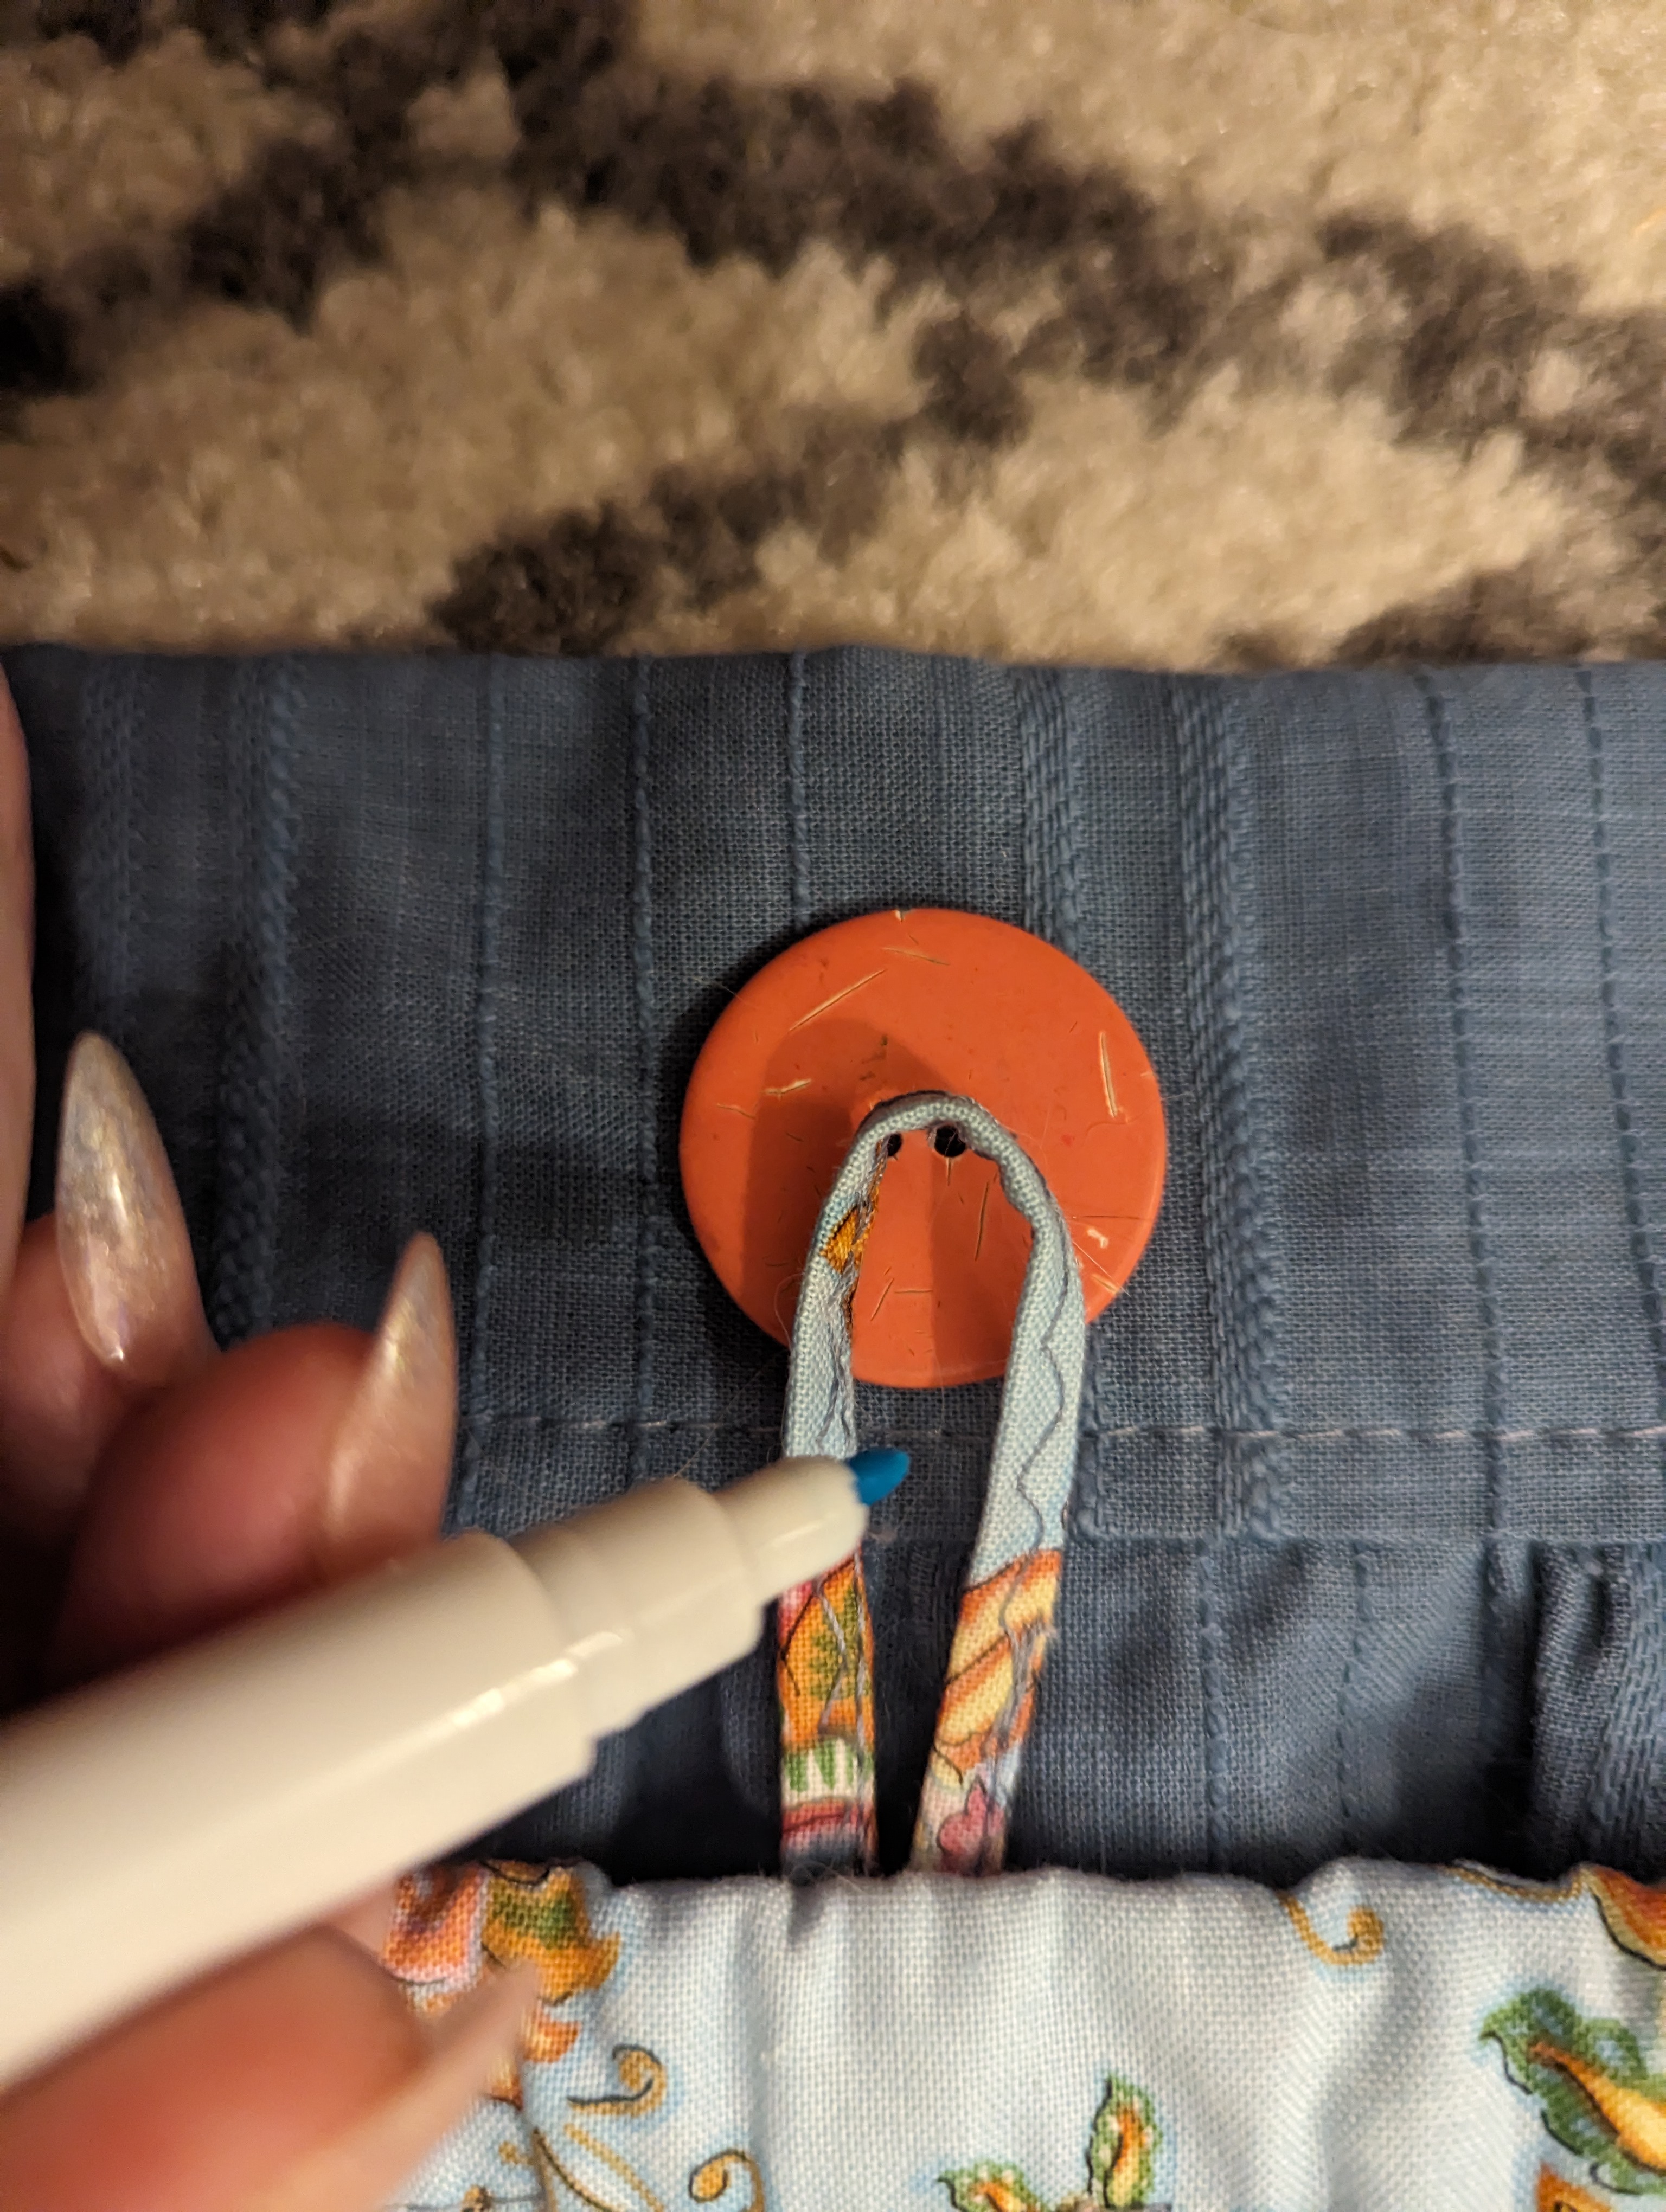
The button loop, or rouleau if you’re fancy, was the last step, and I attached it onto the inside of the pocket by hand (so it wouldn’t upset the elastic).
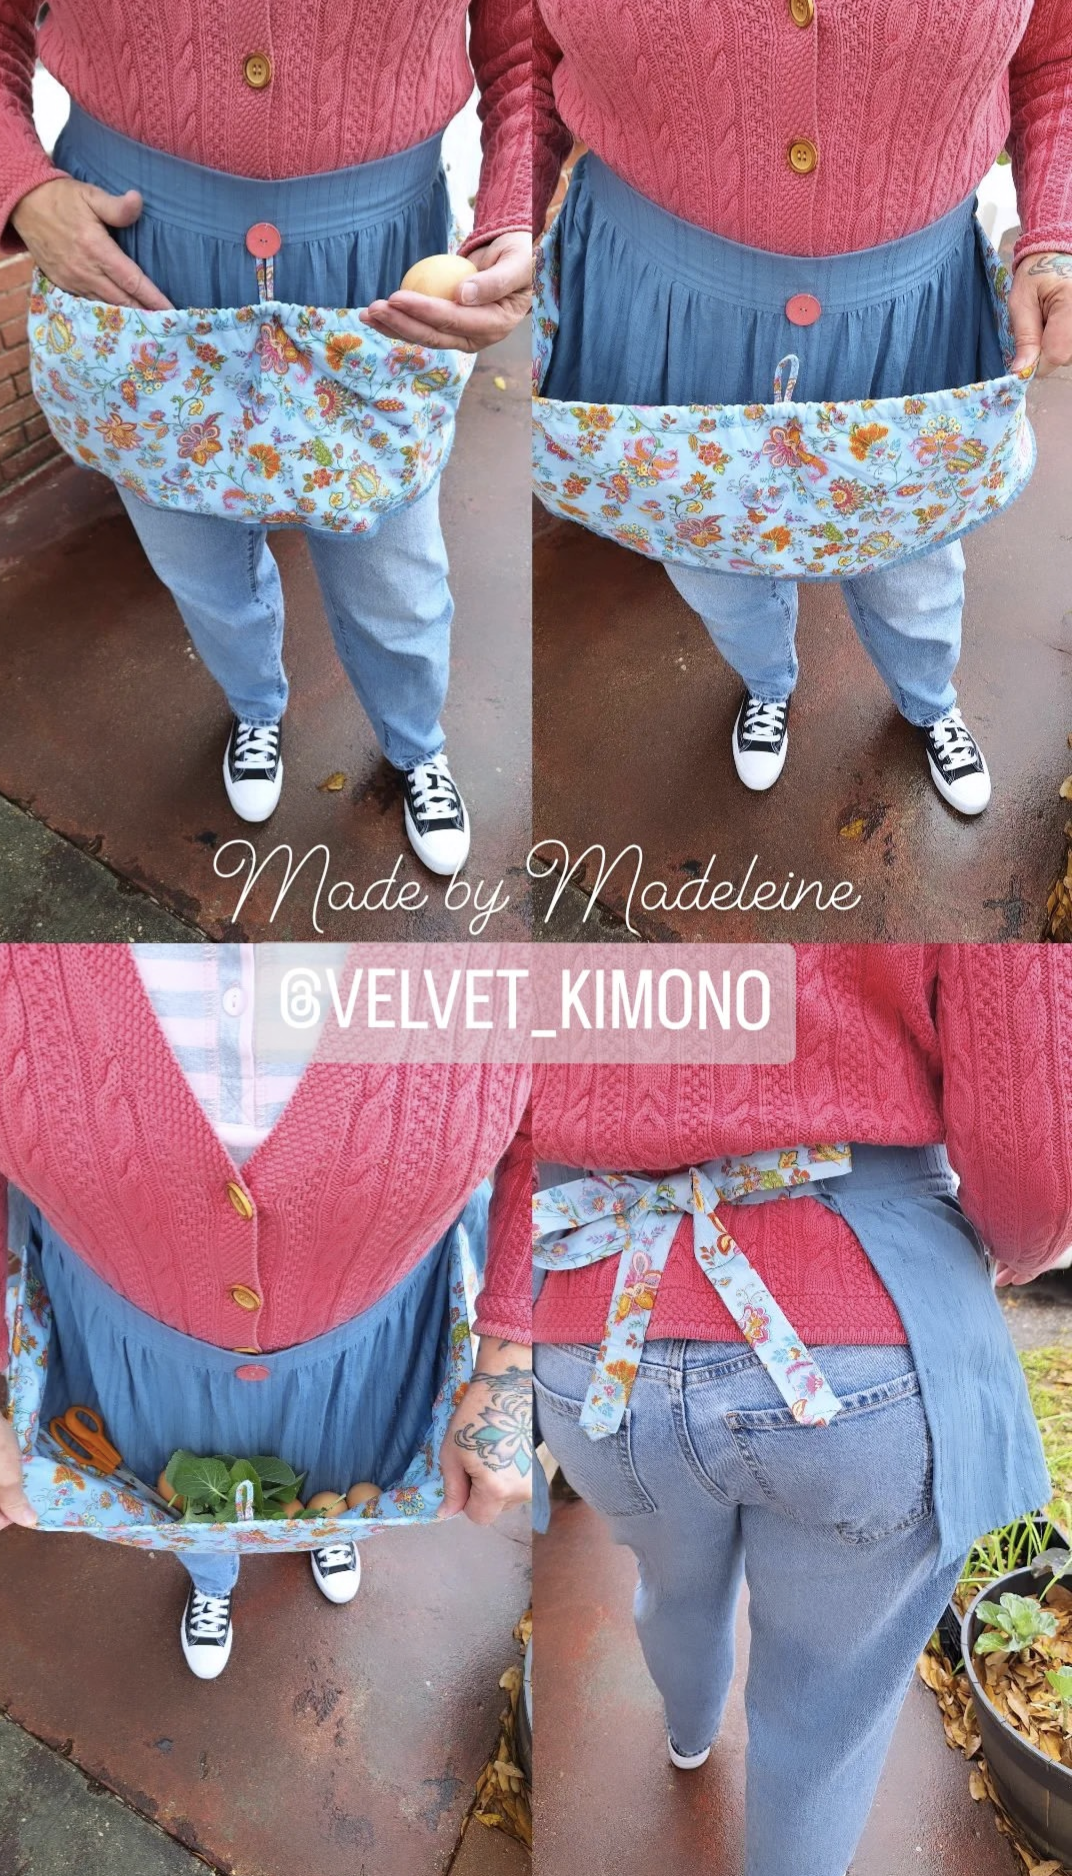
And now for the big reveal!
Here’s me in it before the hand off:

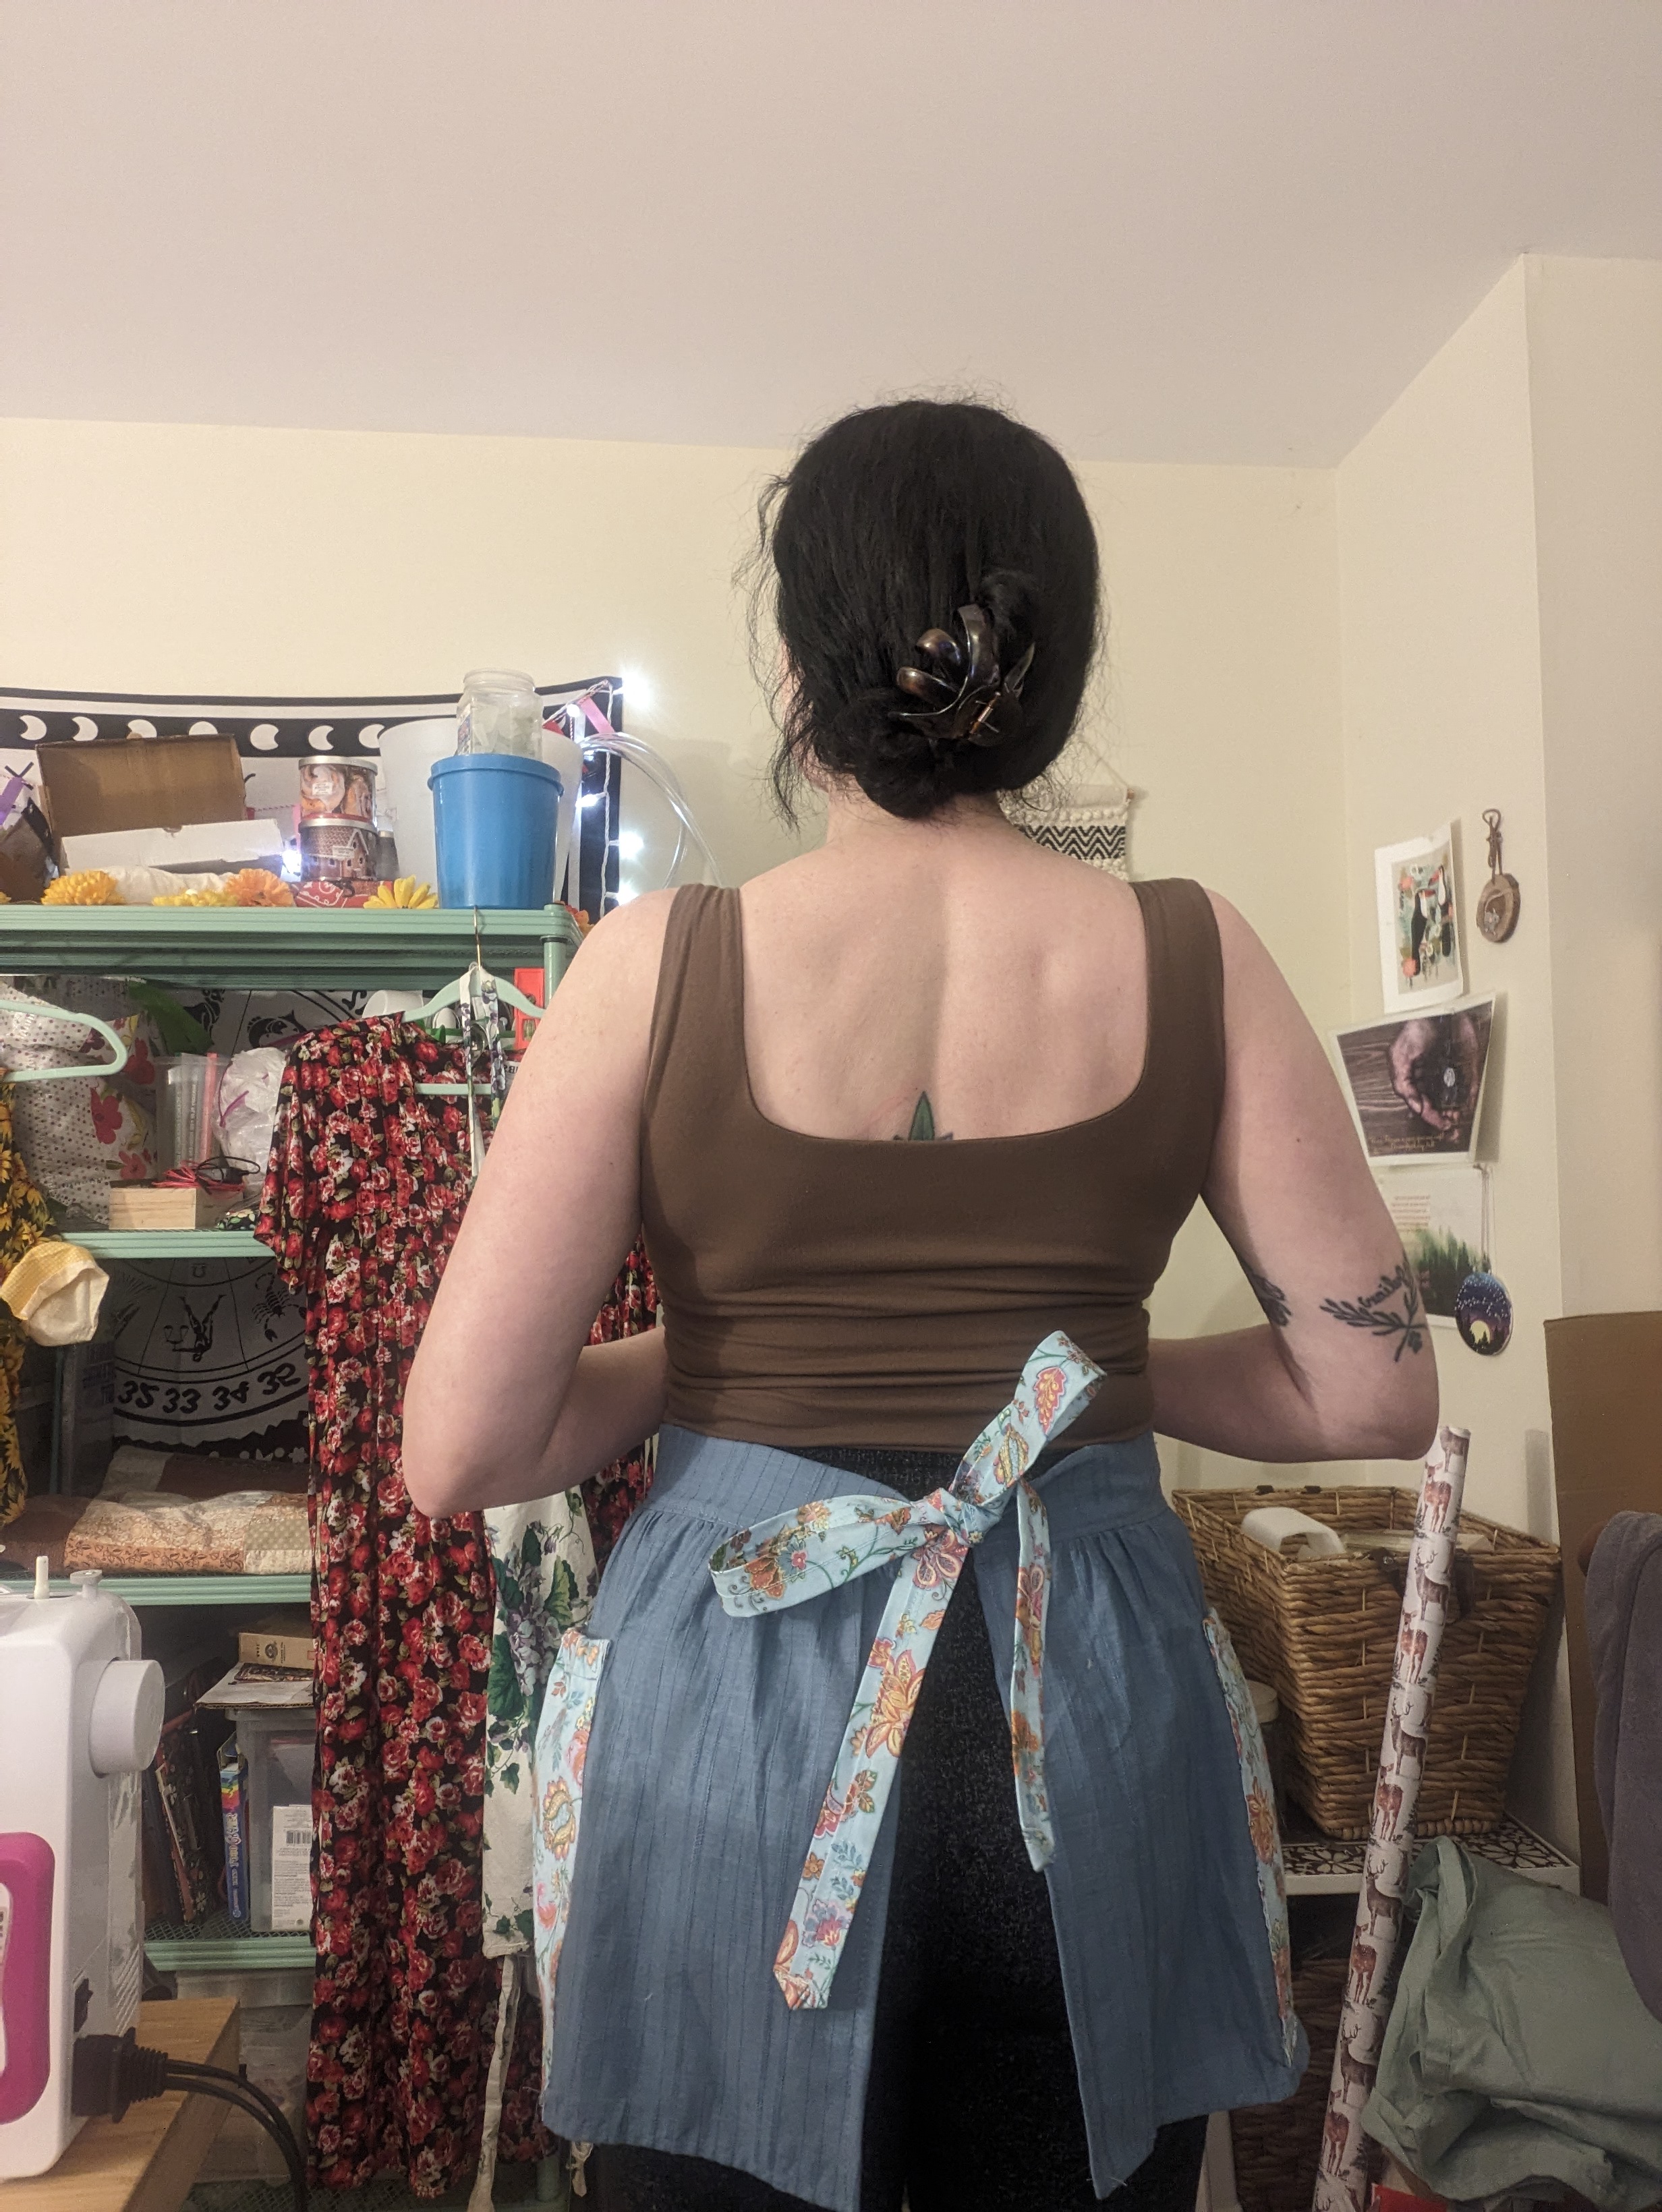

I think it came out pretty nice, despite the hiccups along the way! It even ties nicely in the back 😊 I gave this to my mom for Christmas, and she loved it, as shown in her Instagram post (she’s also an artist, see @laurieluskart on insta).
Anyway, my New Years resolution is to make more stuff (and thus more posts), so hopefully future Madeleine will do that!
Bye for now! ~Madeleine
One final note:
It felt really good to finally work on this again. I started it back when my sweet Amelia was still here, and it took a long time to get back to that project, but it’s been over a year since she passed, and if I didn’t finish it now, it would never get done. Anyway, if you can spare a dollar or so, consider donating to the Norwegian Forest Cat HCM (Hypertrophic Cardiomyopathy) research fund, so that no other wonderful kitties are victims of this devastating disease. It may sound silly to some, but I looked up to Amelia. She was brave, and curious, so so smart, and very sweet. I think of her everyday, and I can’t wait to see her again 💔
