

Lordy-loo, it’s been a MINUTE.
Suffice it to say that teaching Special Ed after a pandemic is *not* recommended. It was draining, disheartening, and even traumatic at times. I didn’t have much time for me or my beloved hobbies, and well, inertia.
This school year starts this week, and even though last year I was reprimanded/written up by my principal for not working enough on weekends (I kid you not. I have a copy of the letter from that meeting, and it has all the r/antiwork vibes), I plan on focusing on my hobbies more this year, and working less outside of my contracted hours. Rebellious, I know!

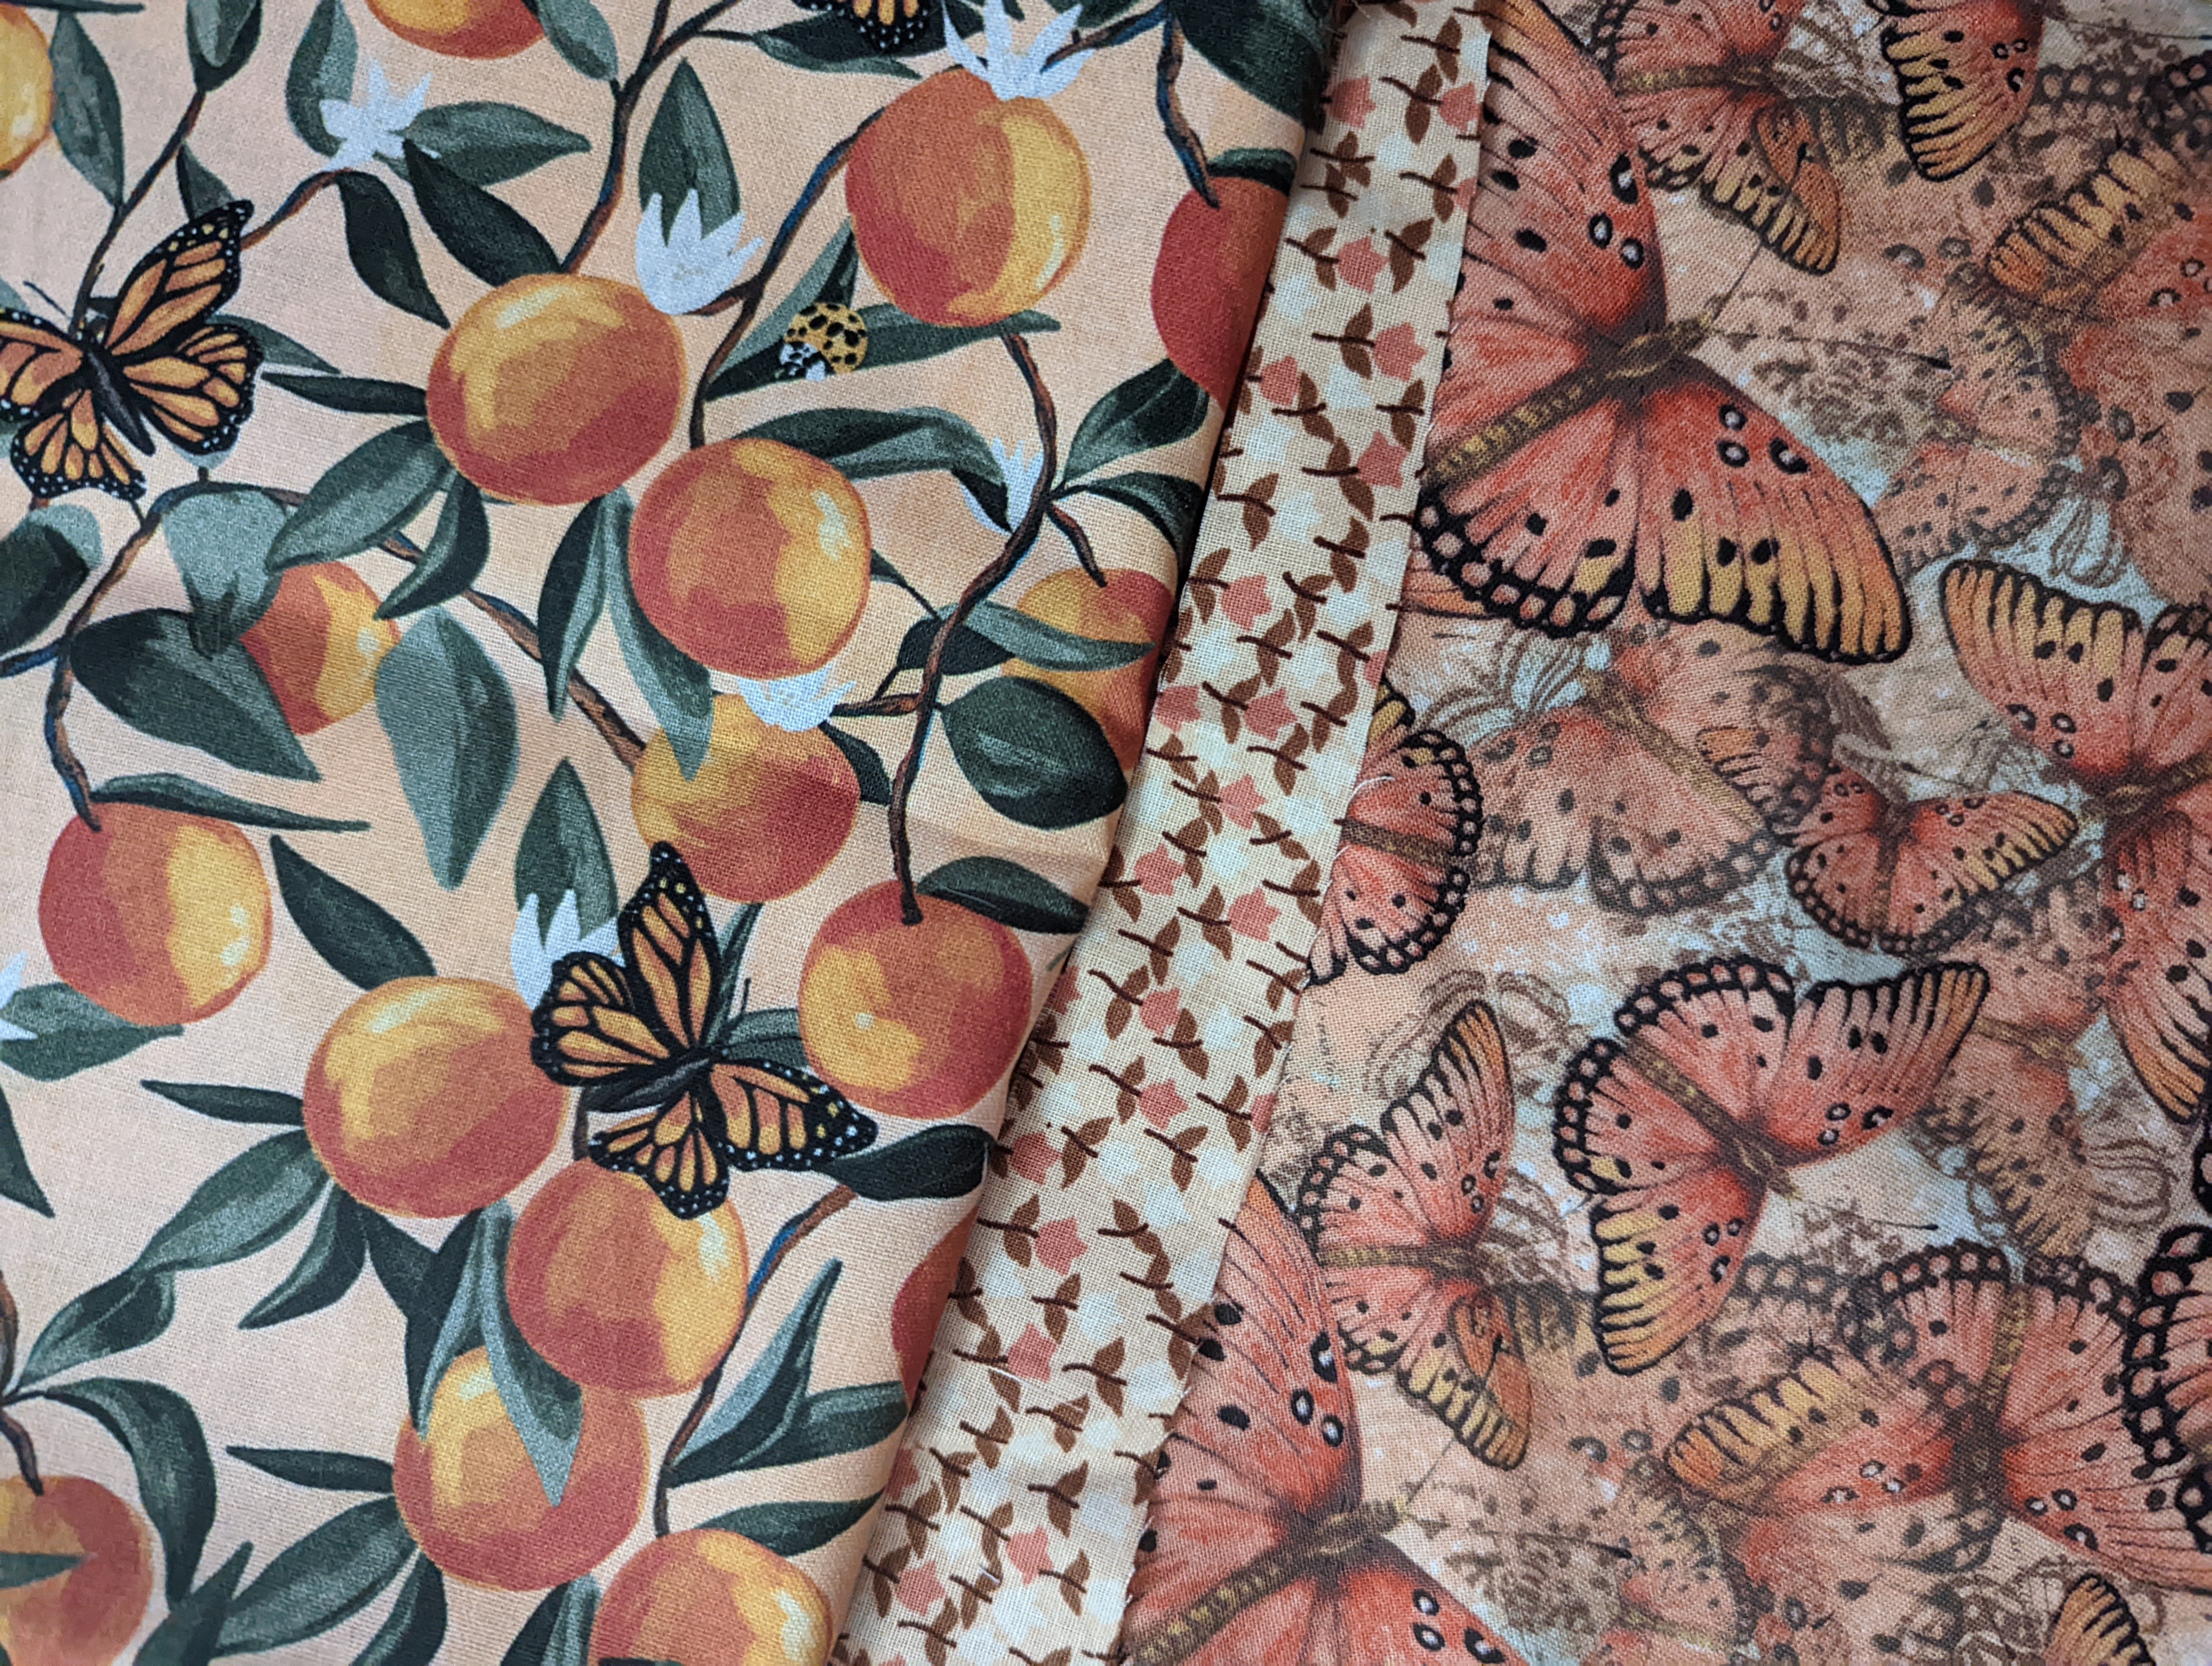
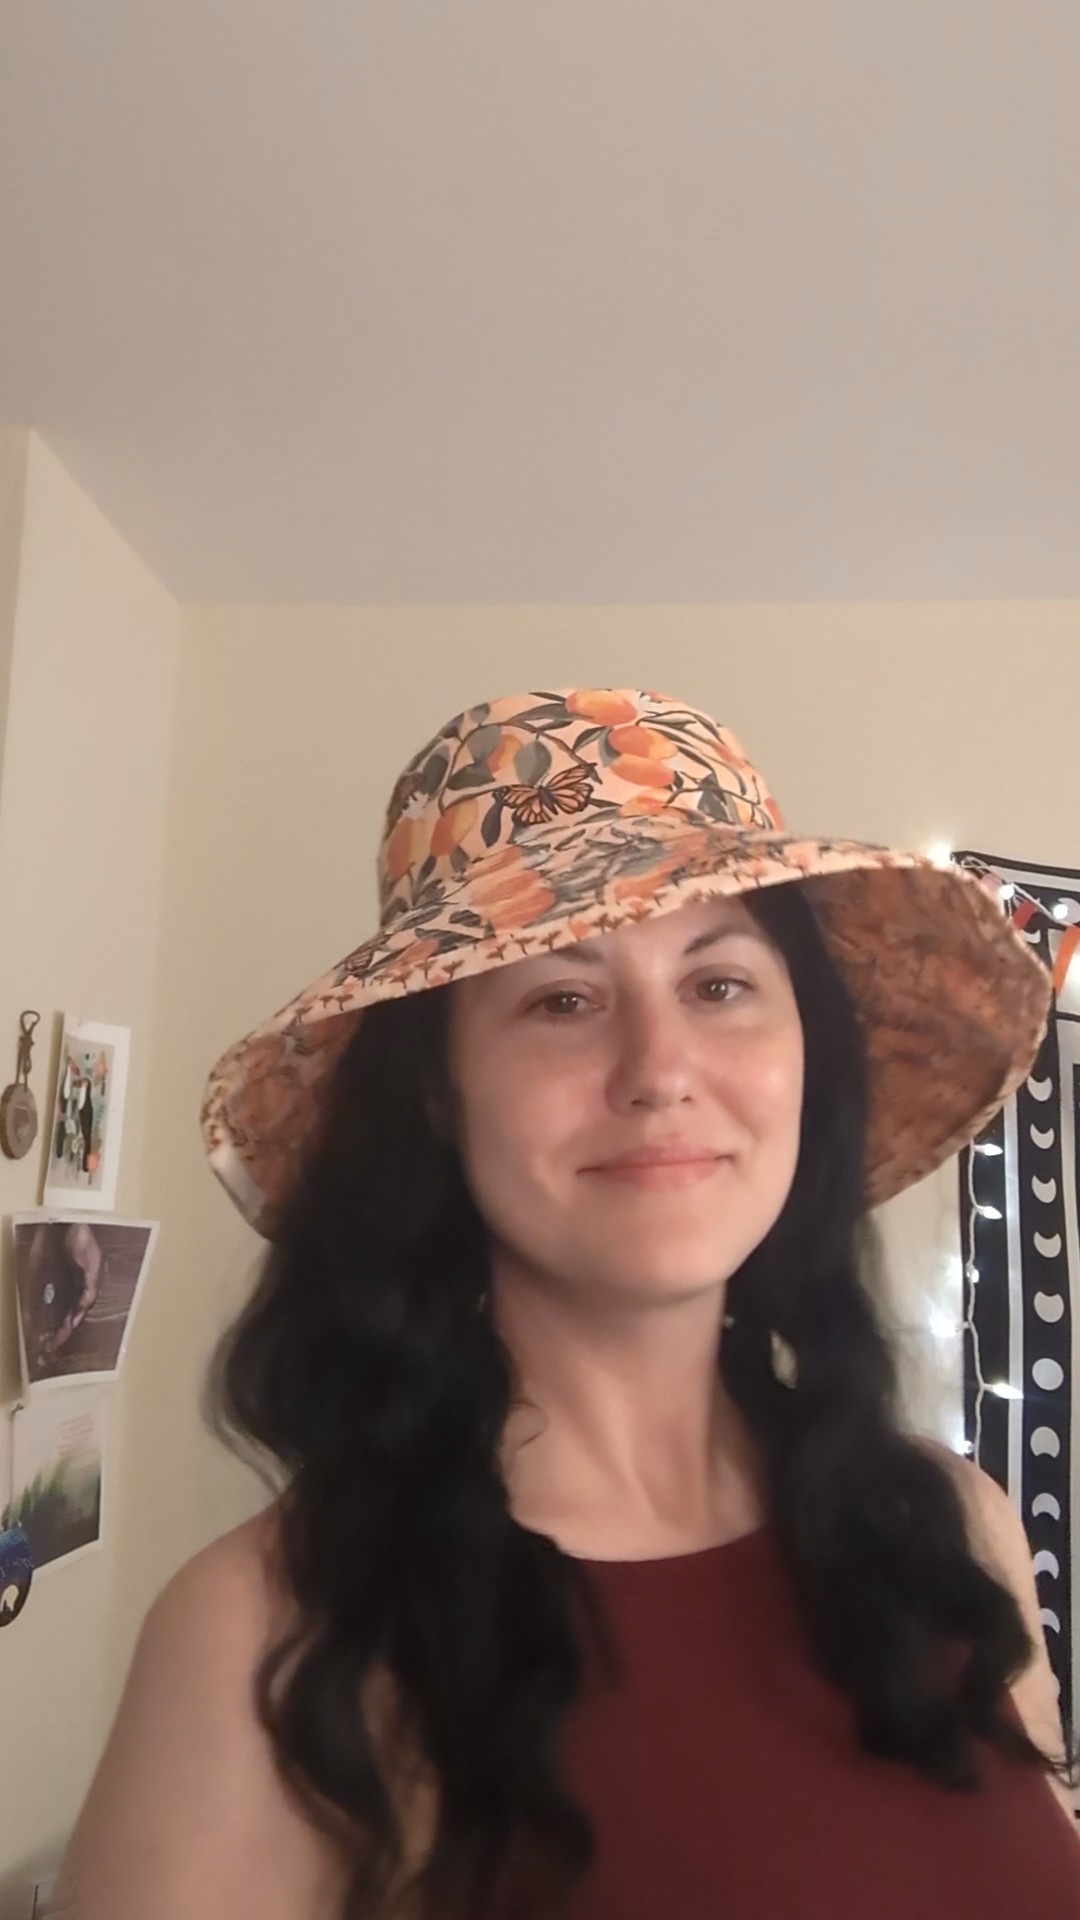
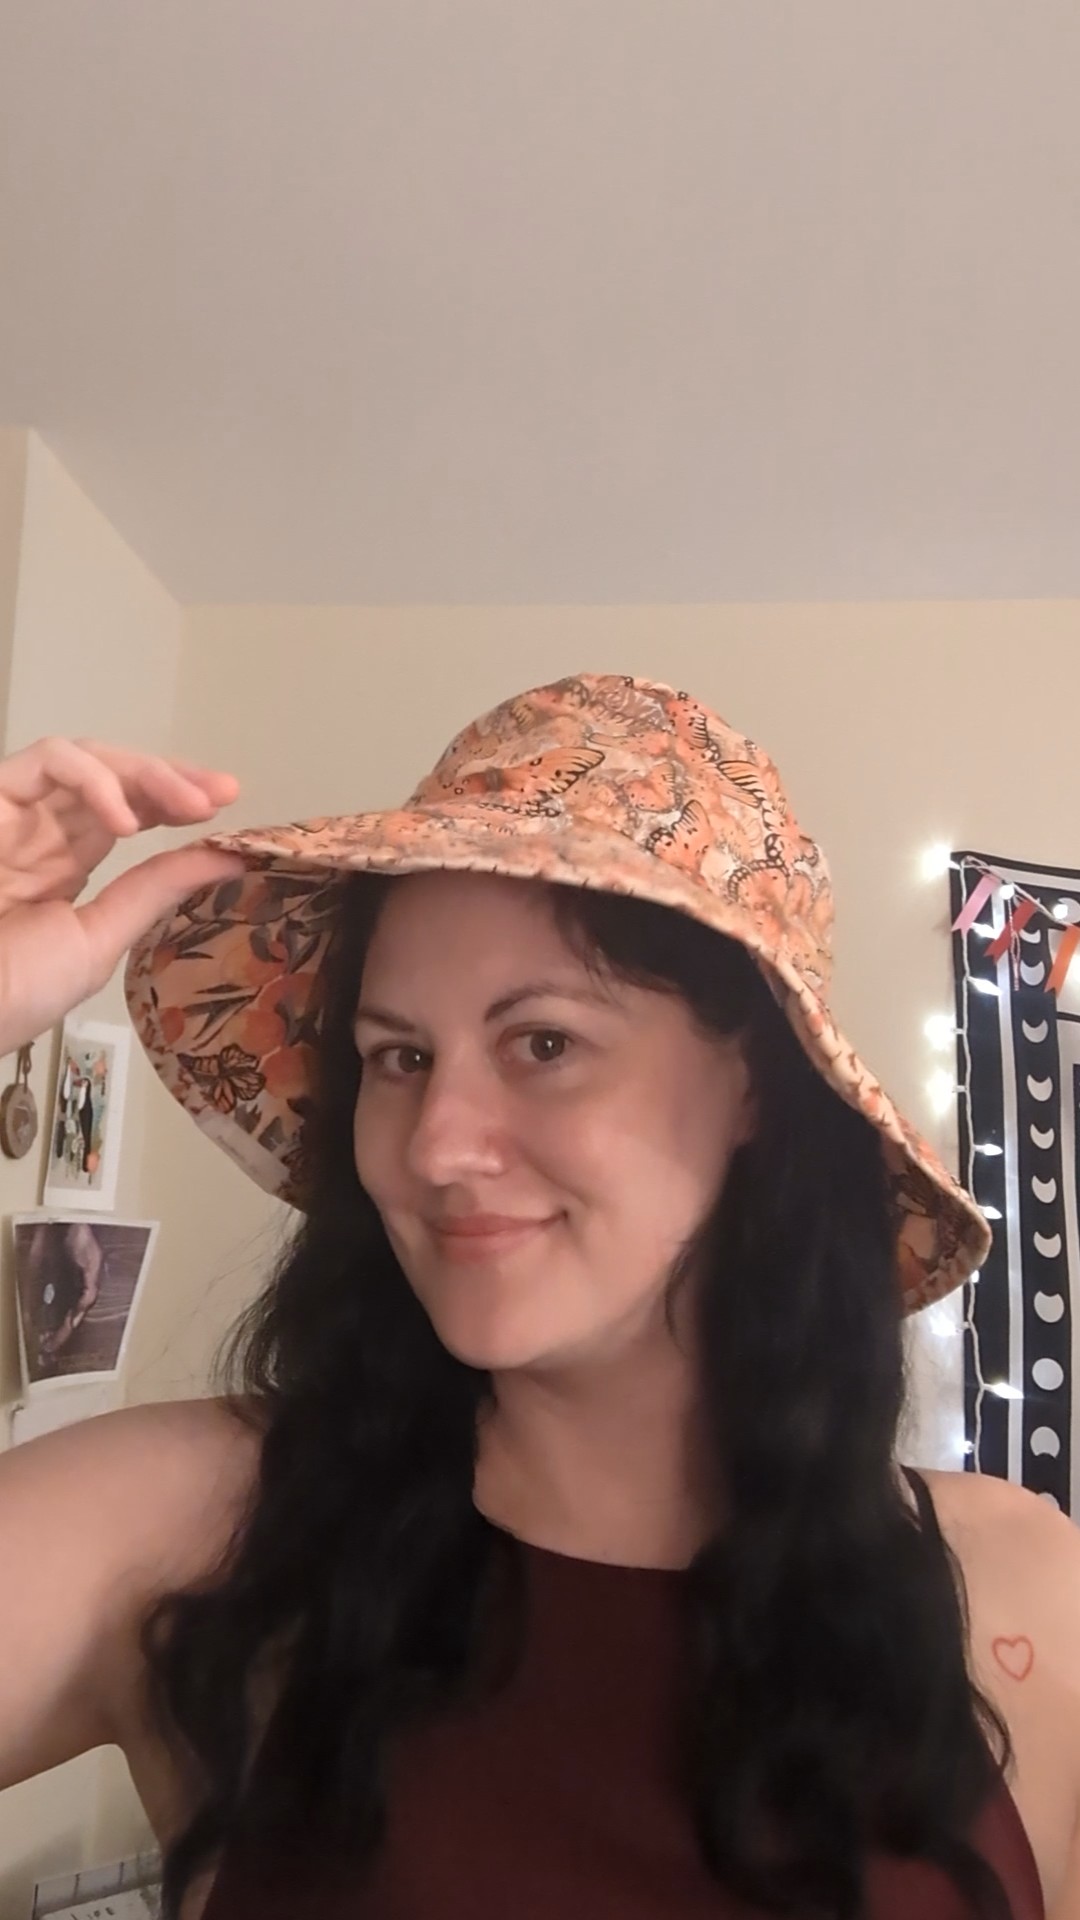
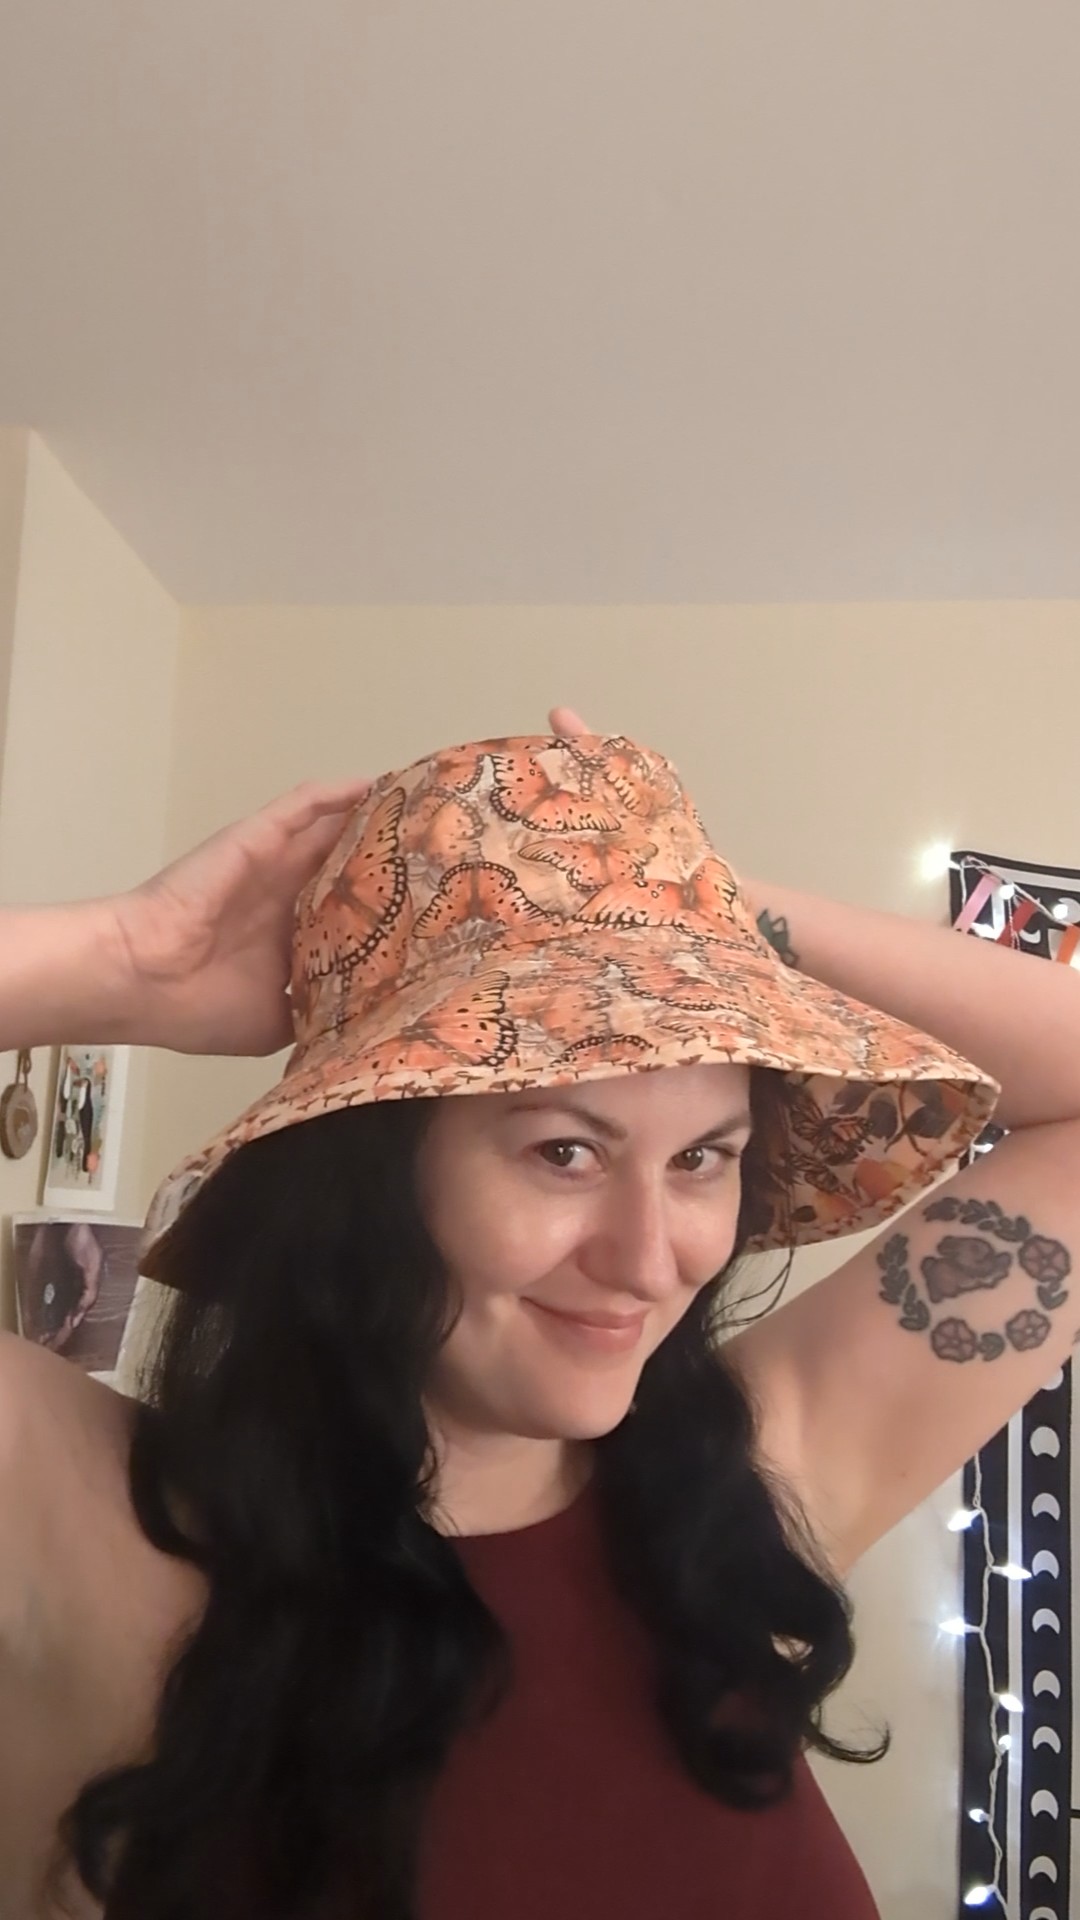
Of course, it wasn’t all bad. One of my students had a grandmother that owned a fabric shop, and once she retired, she donated a TON of fabric to me and the art teacher. Some small bits were these charming orange butterfly and peach prints. I love the warmth of the colors and could have made a ton of things with them, but I had only a yard of each, so I needed a nice, small project to use them on. I held on to the fabric for about 8 months before I got an idea.
In walks, this free pattern from Mood Fabrics.

This whole 90s revival came at just the right time. Mood’s website affirms that, “Bucket hats quickly became one of the most popular accessories last summer and it looks like they’re here to stay this season as well. Mood’s quick and easy new sewing pattern means that you can jump on this trend with ease! The best part? This pattern is fully reversible, so you can sew yours up as a 2-in-1 accessory or simply line it with a pop of color! Try yours in a crisp denim, comfy twill, or get vibrant with a holographic vinyl!”
This pattern is a downloadable PDF, so you’ll have to print it on your own. It is already set to print at 100% so you won’t have to adjust your printer sizing so long as you have it on 8.5″ x 11″ (A4) paper. I went to Office Max, and through a series of misprints, ended up with 4 color copies and spent about $17. That was frustrating, but whatever. I have backup copies now. I imagine if you read the Office Max printer instructions more carefully, you could print just one or two B&W copies for less than a quarter, and have yourself a less expensive copy of this free pattern.
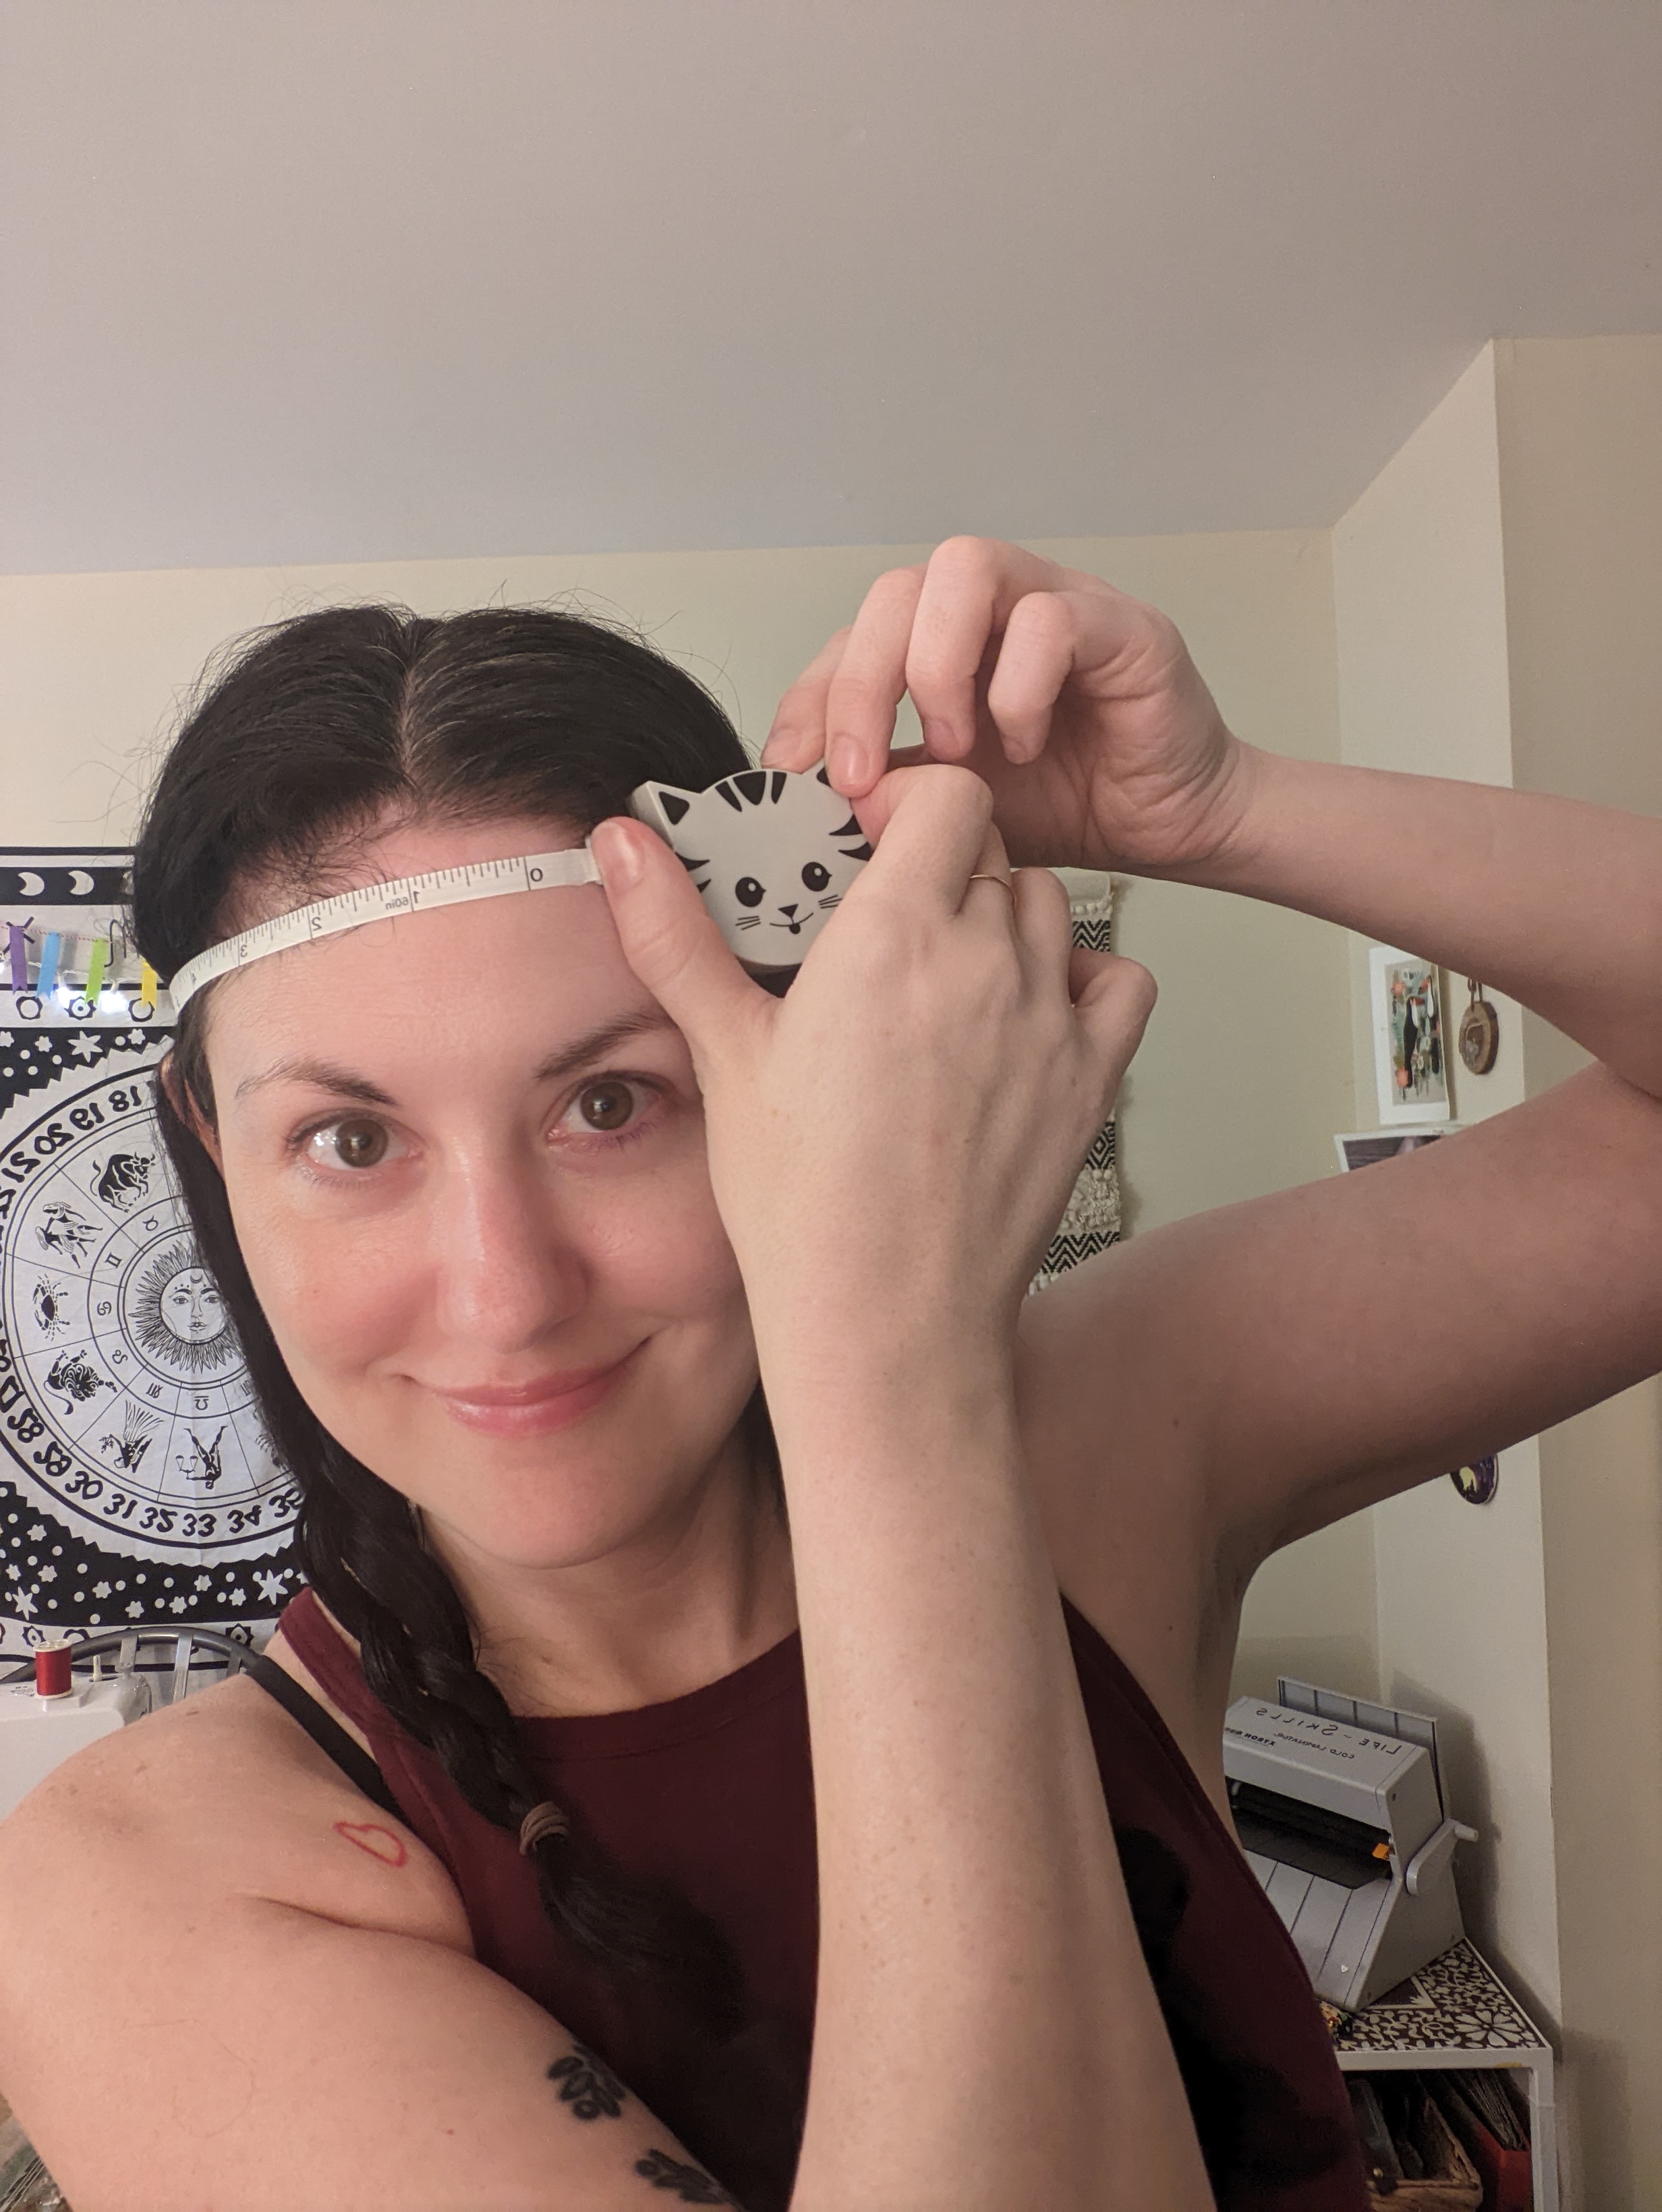
Since it’s a pattern that can be graded for infants to adults, you’ll want to measure your head before you cut anything. Most noggins are between 21 to 23 inches (about 53 – 58 cm). Mine’s exactly 21 inches, according to this kitten measuring tape.
I planned on making the reversible version, so I cut out double the copies of each of these pieces. I also cut out these pieces again in medium weight fusible interfacing, to give a little more structure to the cotton, but you don’t have to do that part if you use denim or something more sturdy.

The pattern has a Seam Allowance of 1/2″ inch (1.27 cm), instead of the usual 5/8th inch (1.6 cm), so I had to remind myself not to shift into autopilot and let my SA get out of control. I did the thing where you iron after every seam, which sometimes I skip, even though I know better. I was playing it pretty mindfully this time, and I think it really helped… like, maybe the experts are on to something. The interfacing stayed in place and maintained the hat’s reversibility, which was my main concern. However, as I do not have a tailor ham, I couldn’t iron the top of the hat itself, as it could cause the fusible interface inside to stick and create permanent wrinkles. I promise to get around to it before the hat needs to be washed!
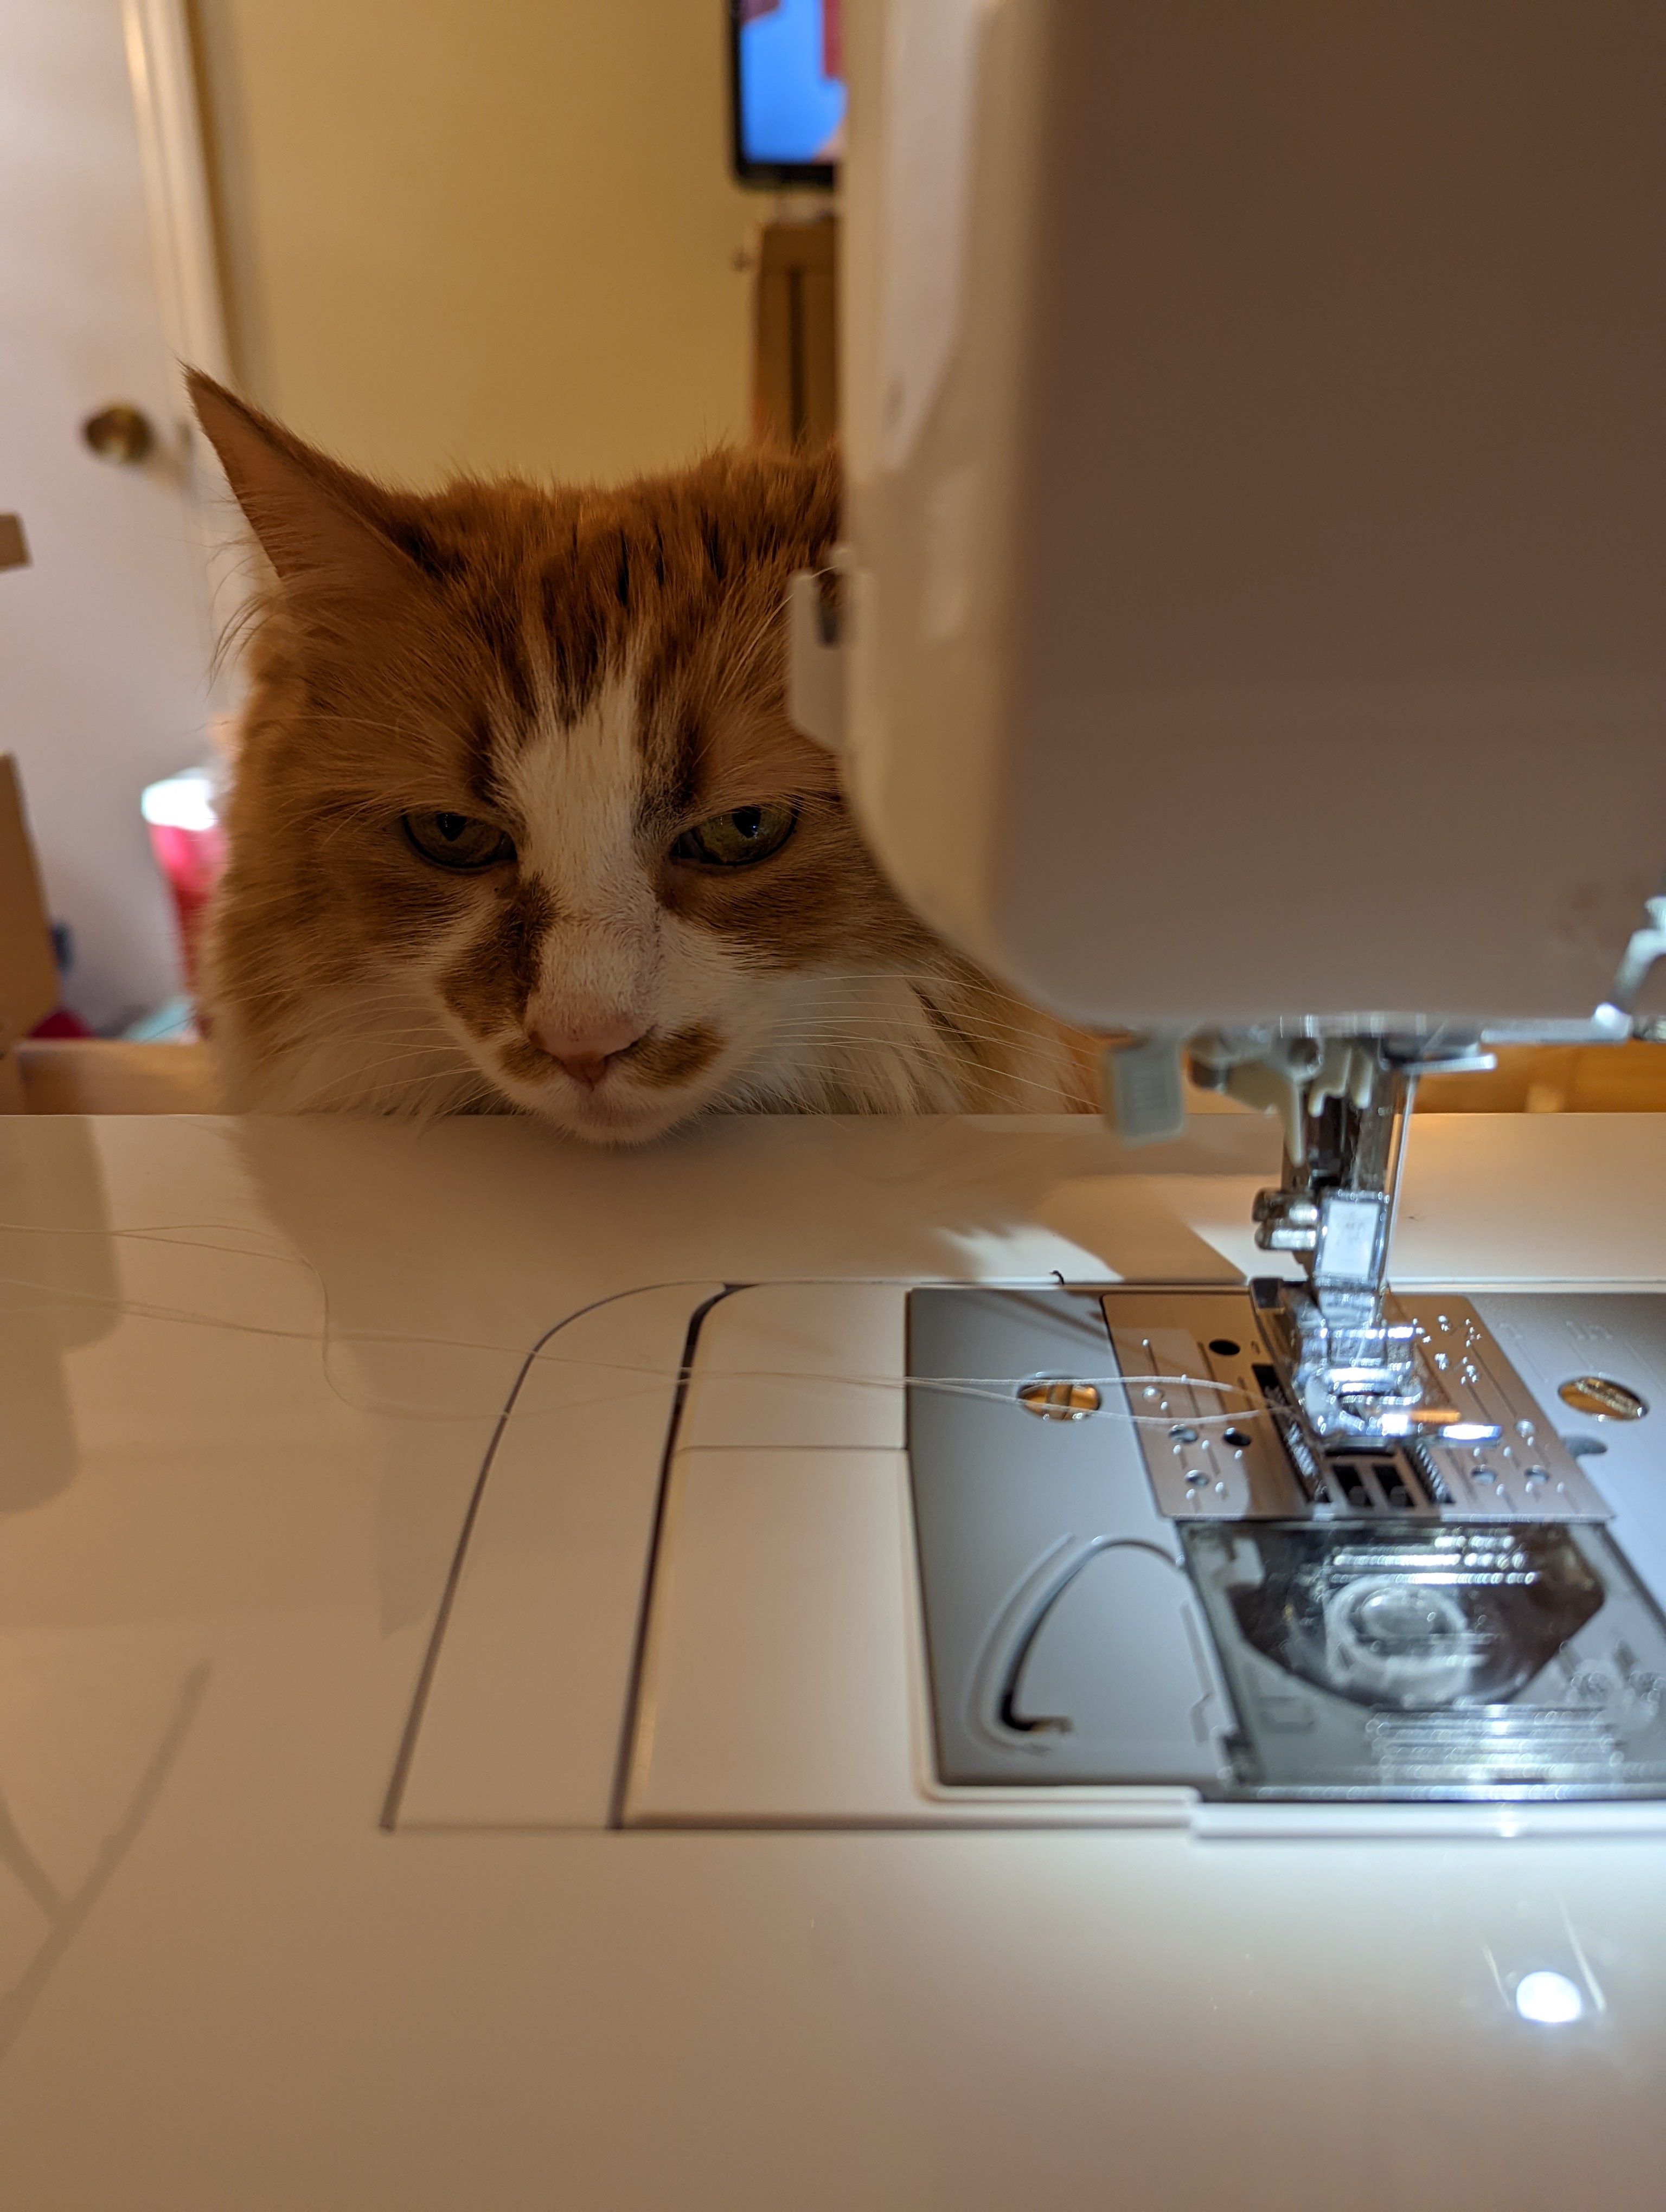
For some reason, I can’t find any of the pictures of me hunched over the sewing machine to assemble the dang thang, but just imagine you’re sewing on your machine while an orange and white kitten is pulling the pins out of the fabric, and swatting at the thread such that you have to restring the machine several times. She is also resting awfully close, and gets offended when the fabric inevitably touches her face.
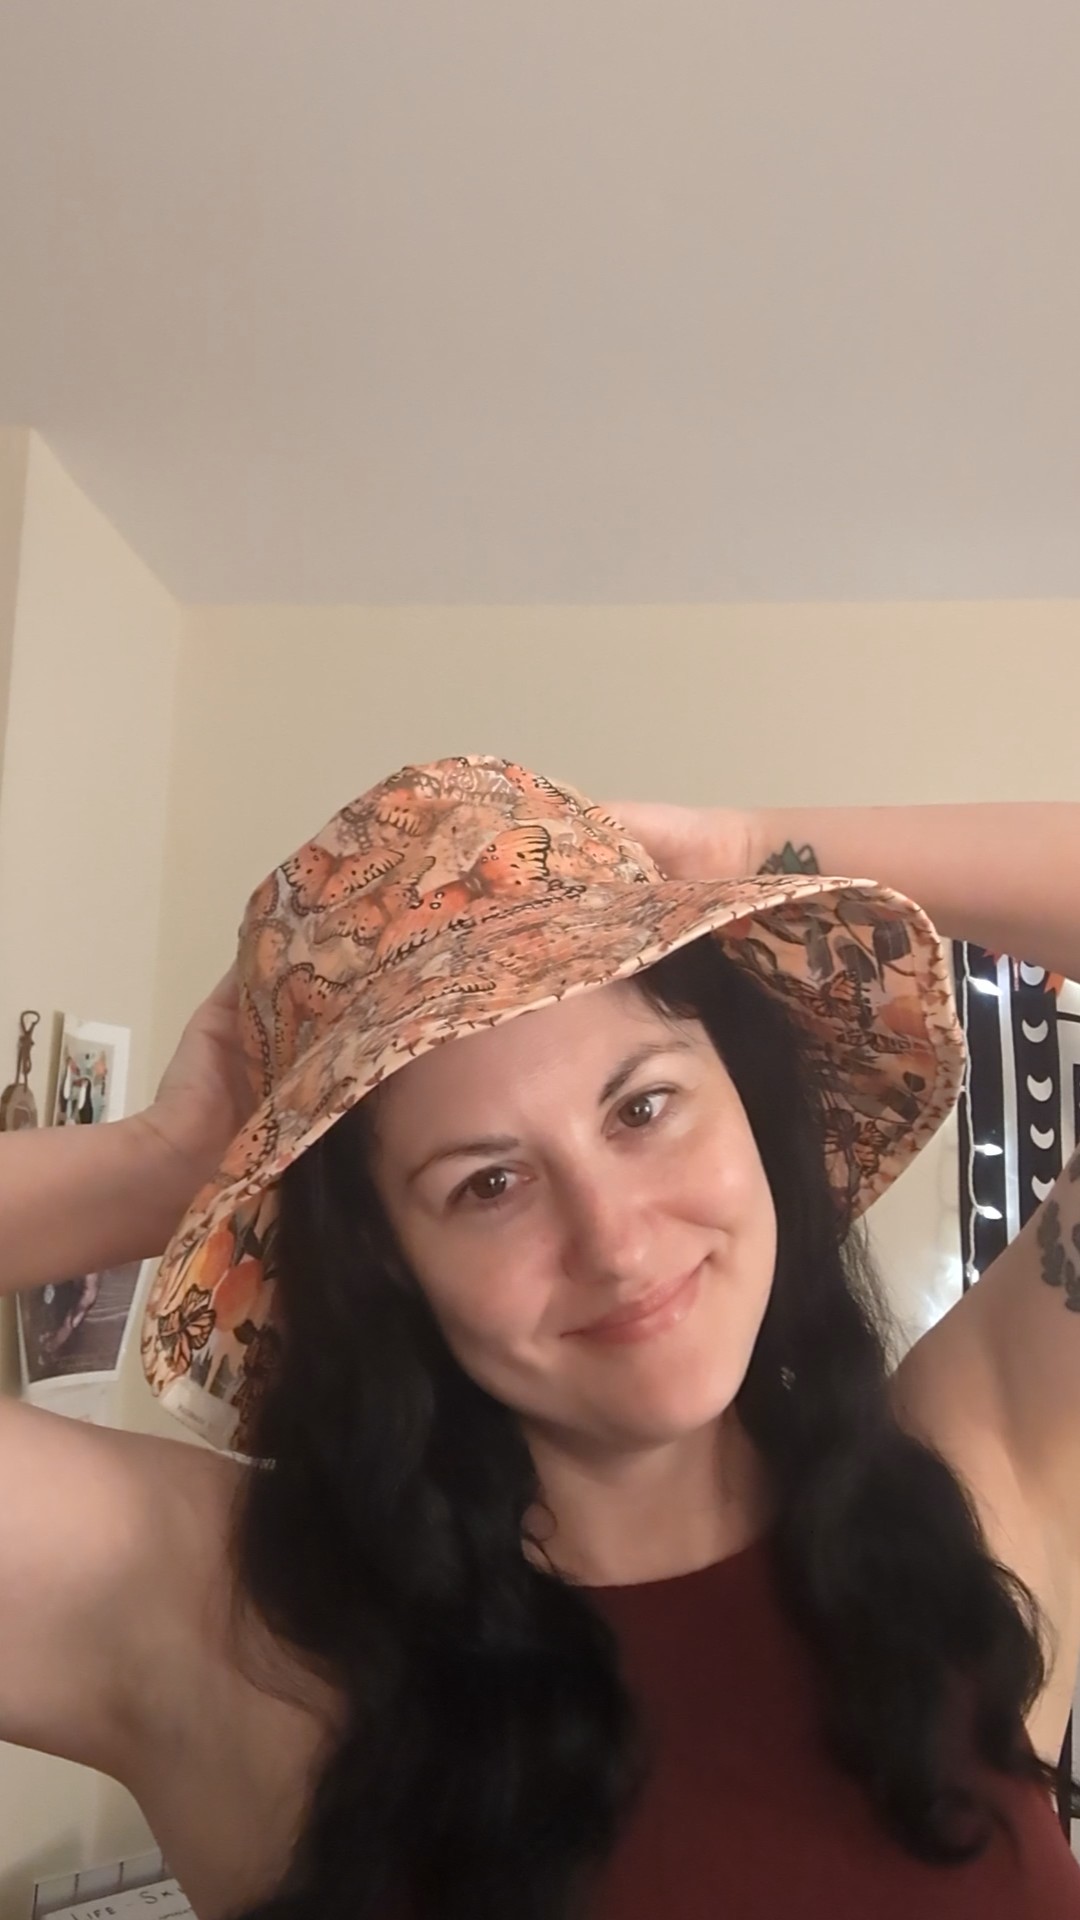
The pattern recommends that you attach the brims to the buckets as the final step, but I decided that I would create both hats individually, baste them together, and then sew concentric seams around the brim. This left the raw edge at the hem, which I hid with the floral bias tape I made. I think that if I had done it the way the pattern suggested, the reversible look would be somewhat compromised, because no matter how subtle you stitched, one side would definitely show where the seam was closed up. In my version, you can’t tell (IMO).
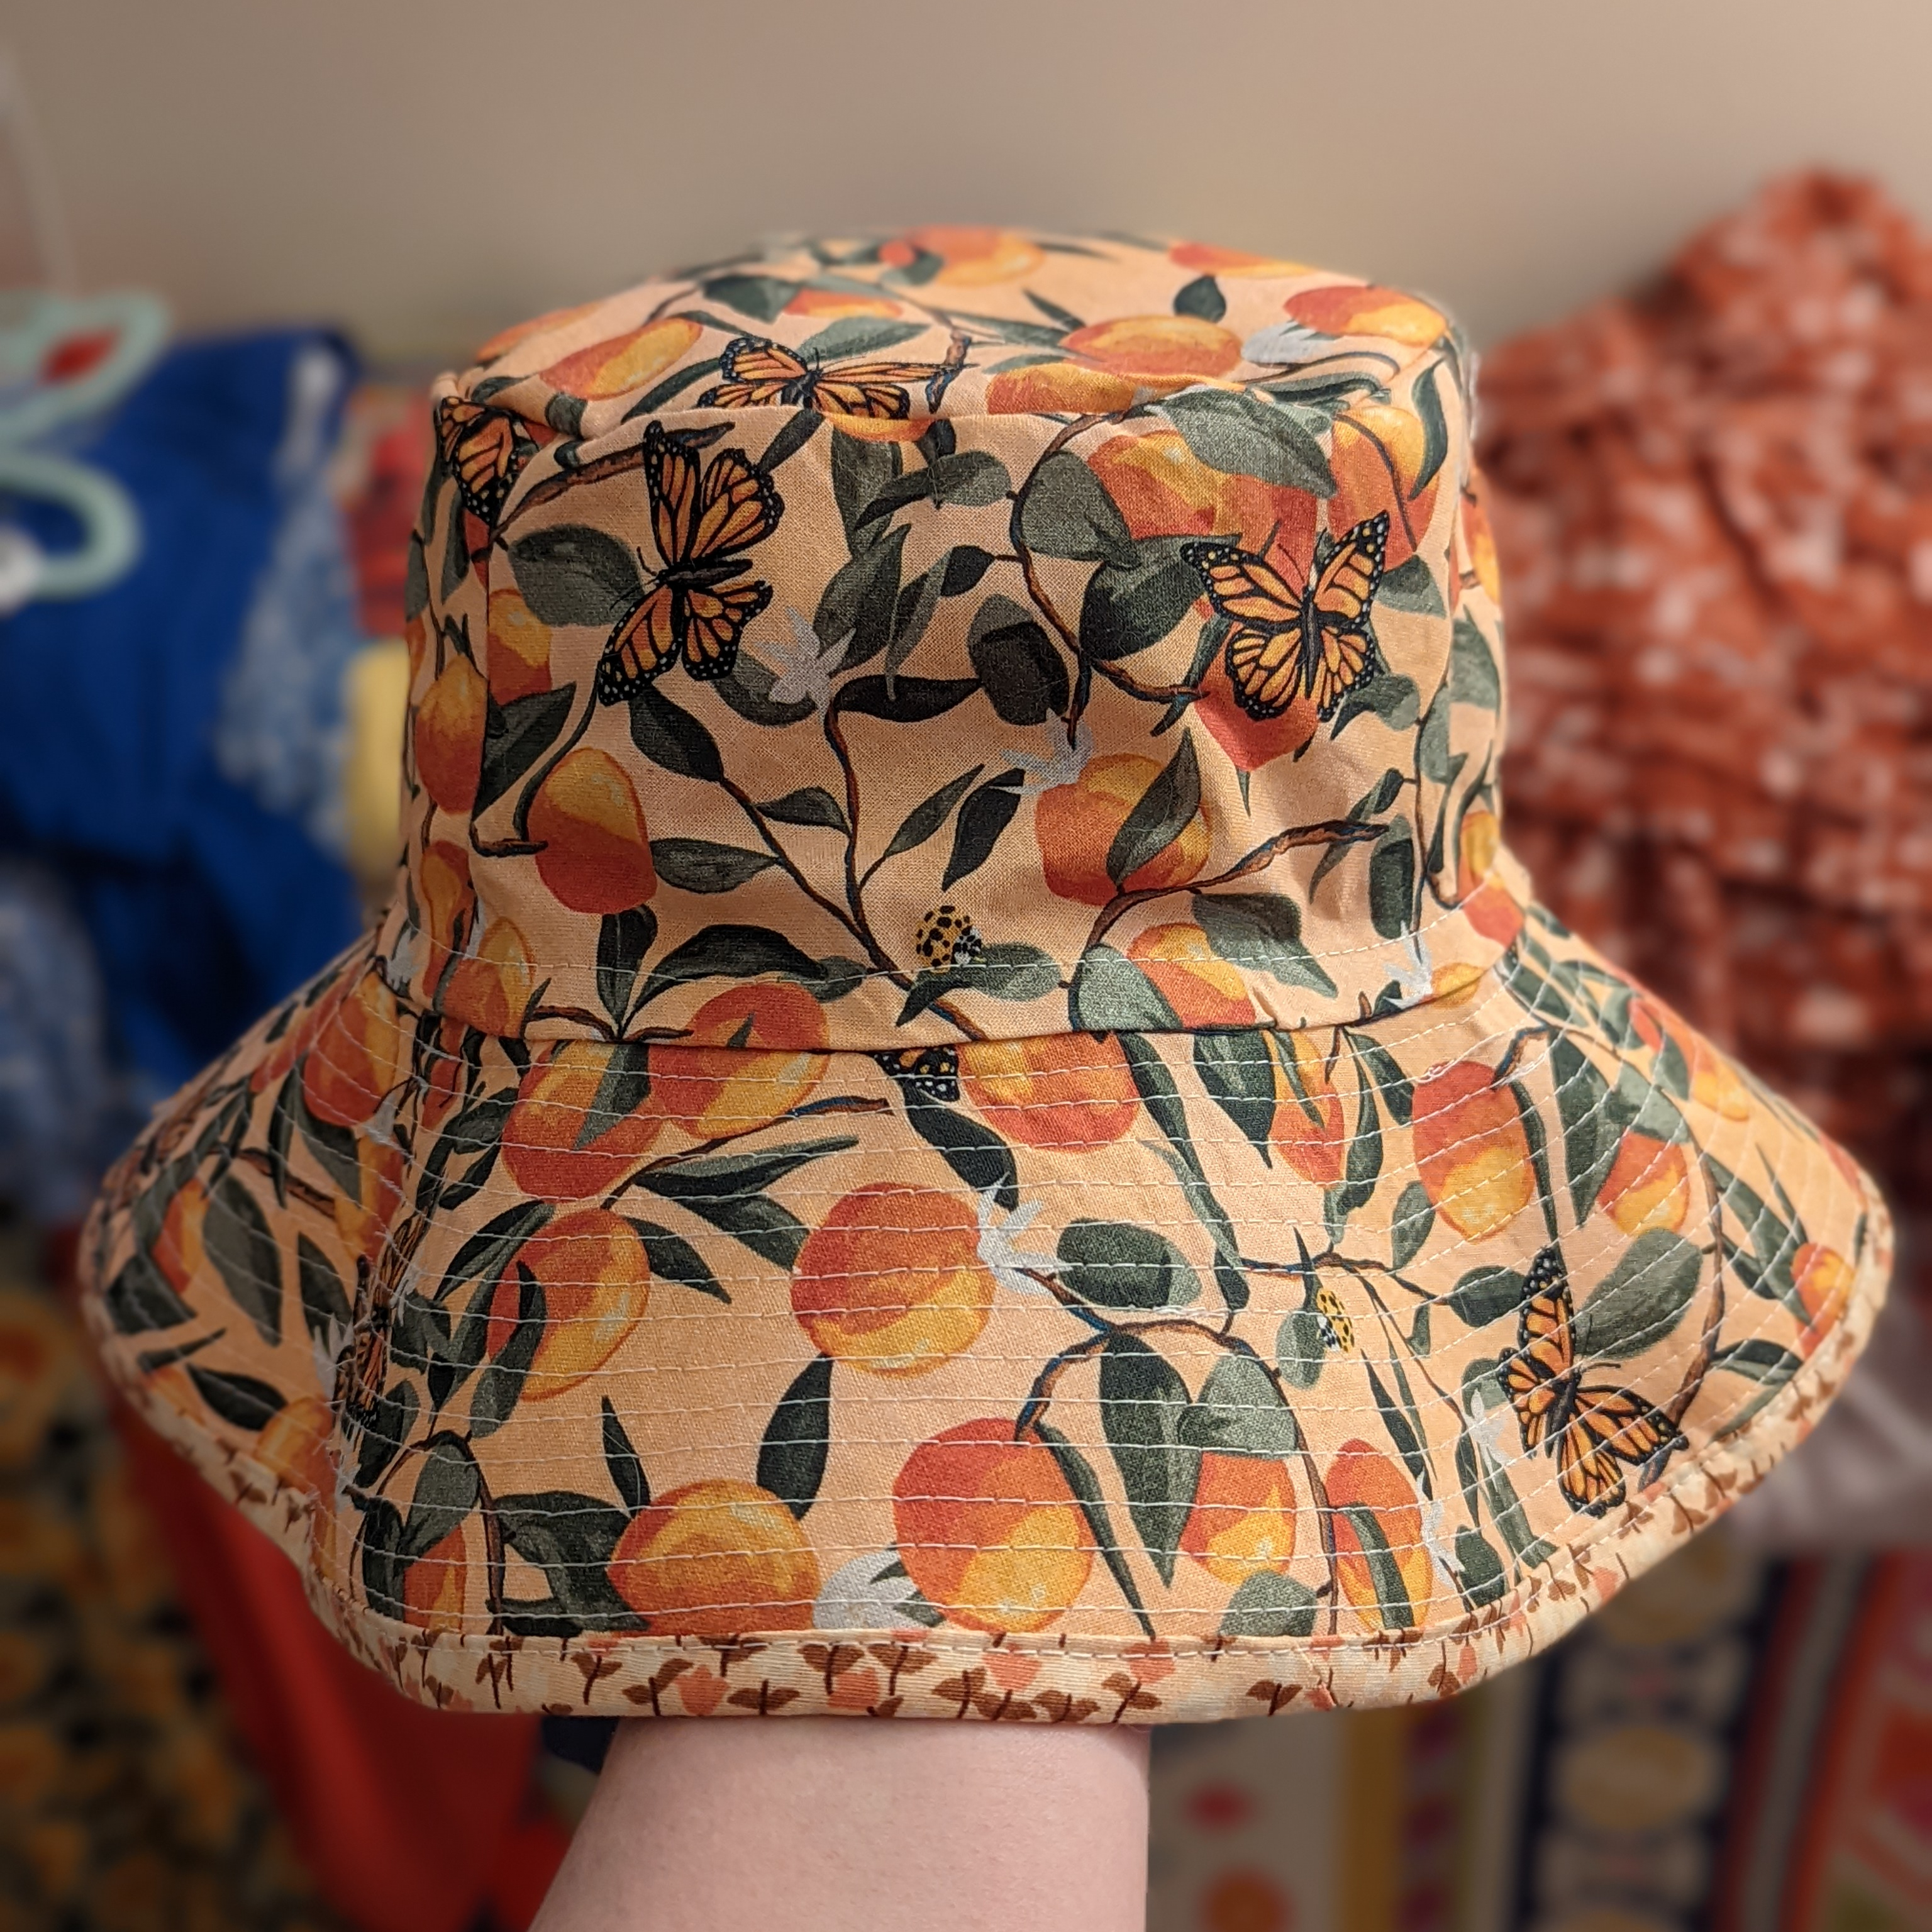
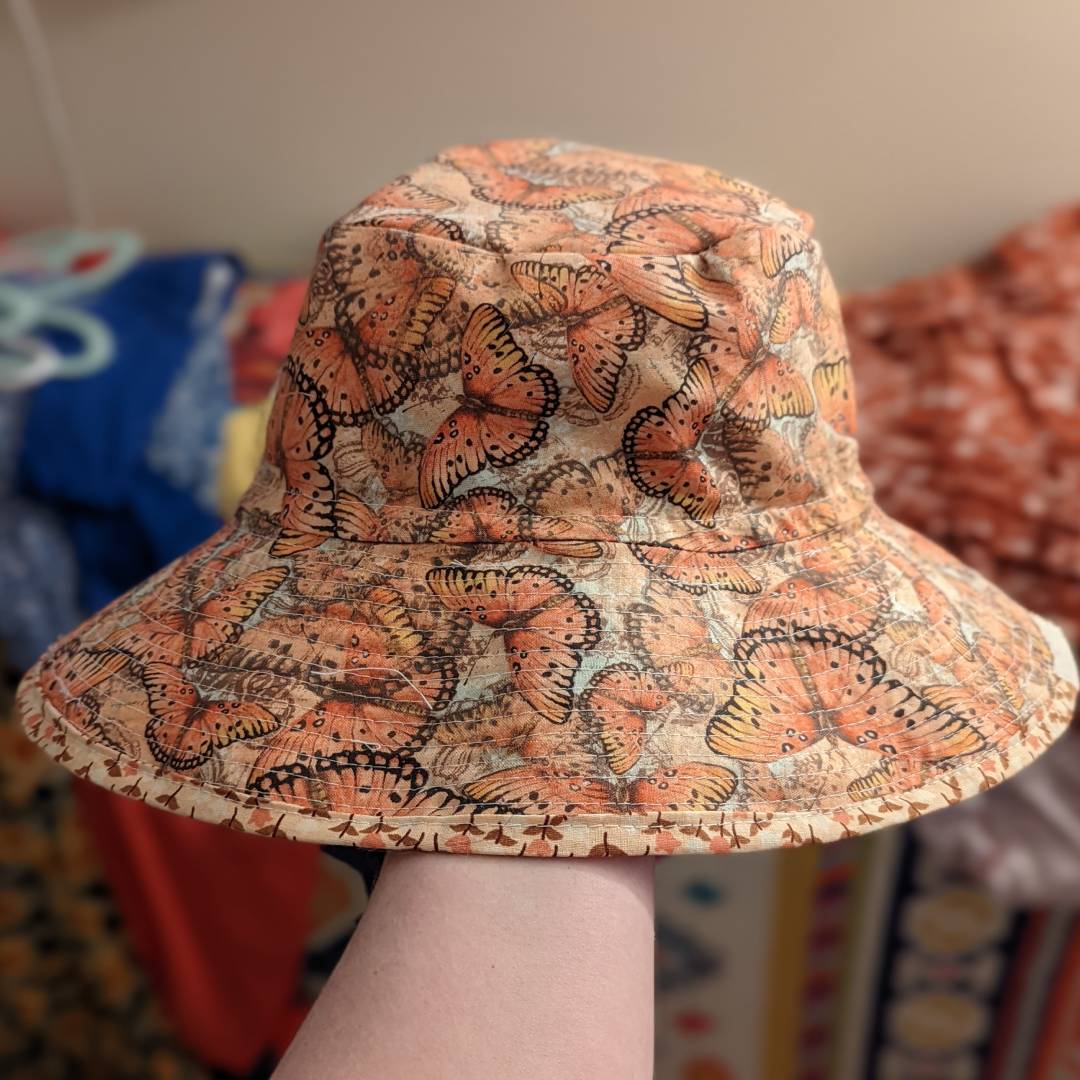
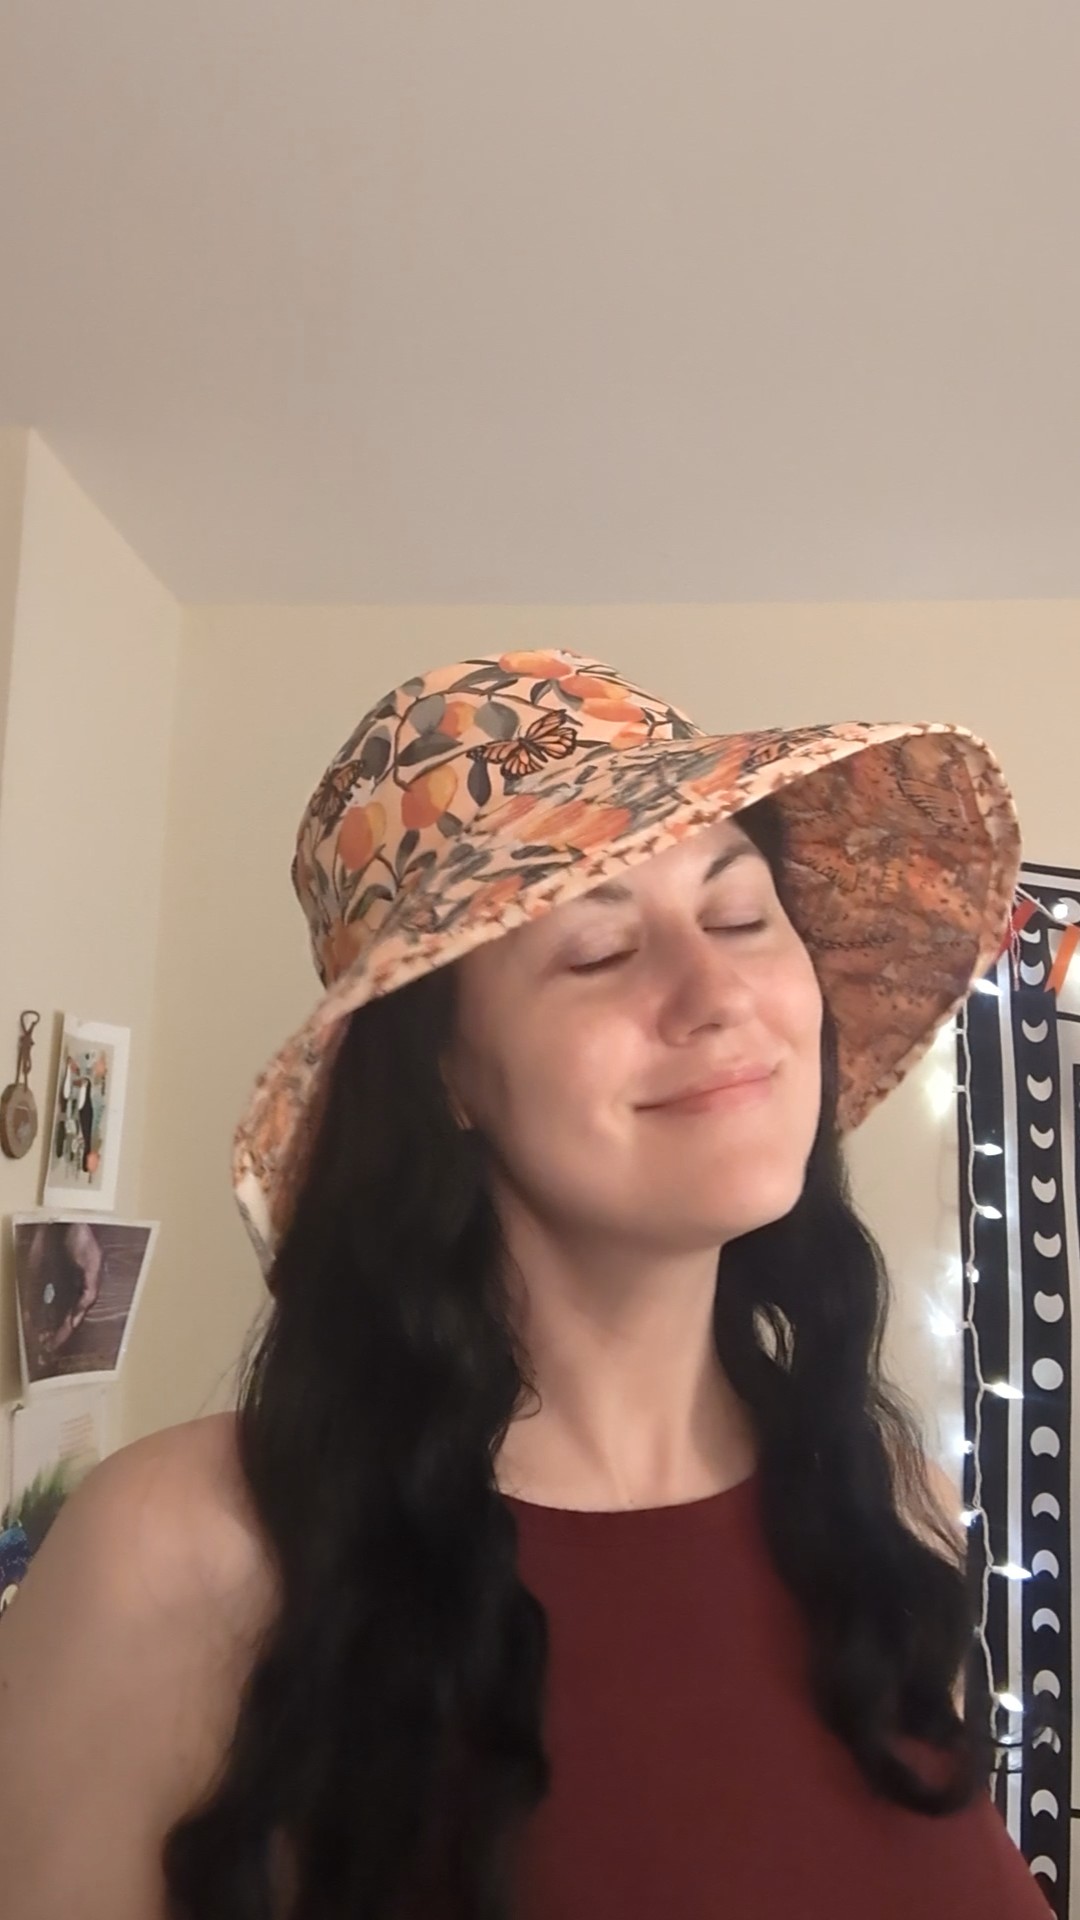
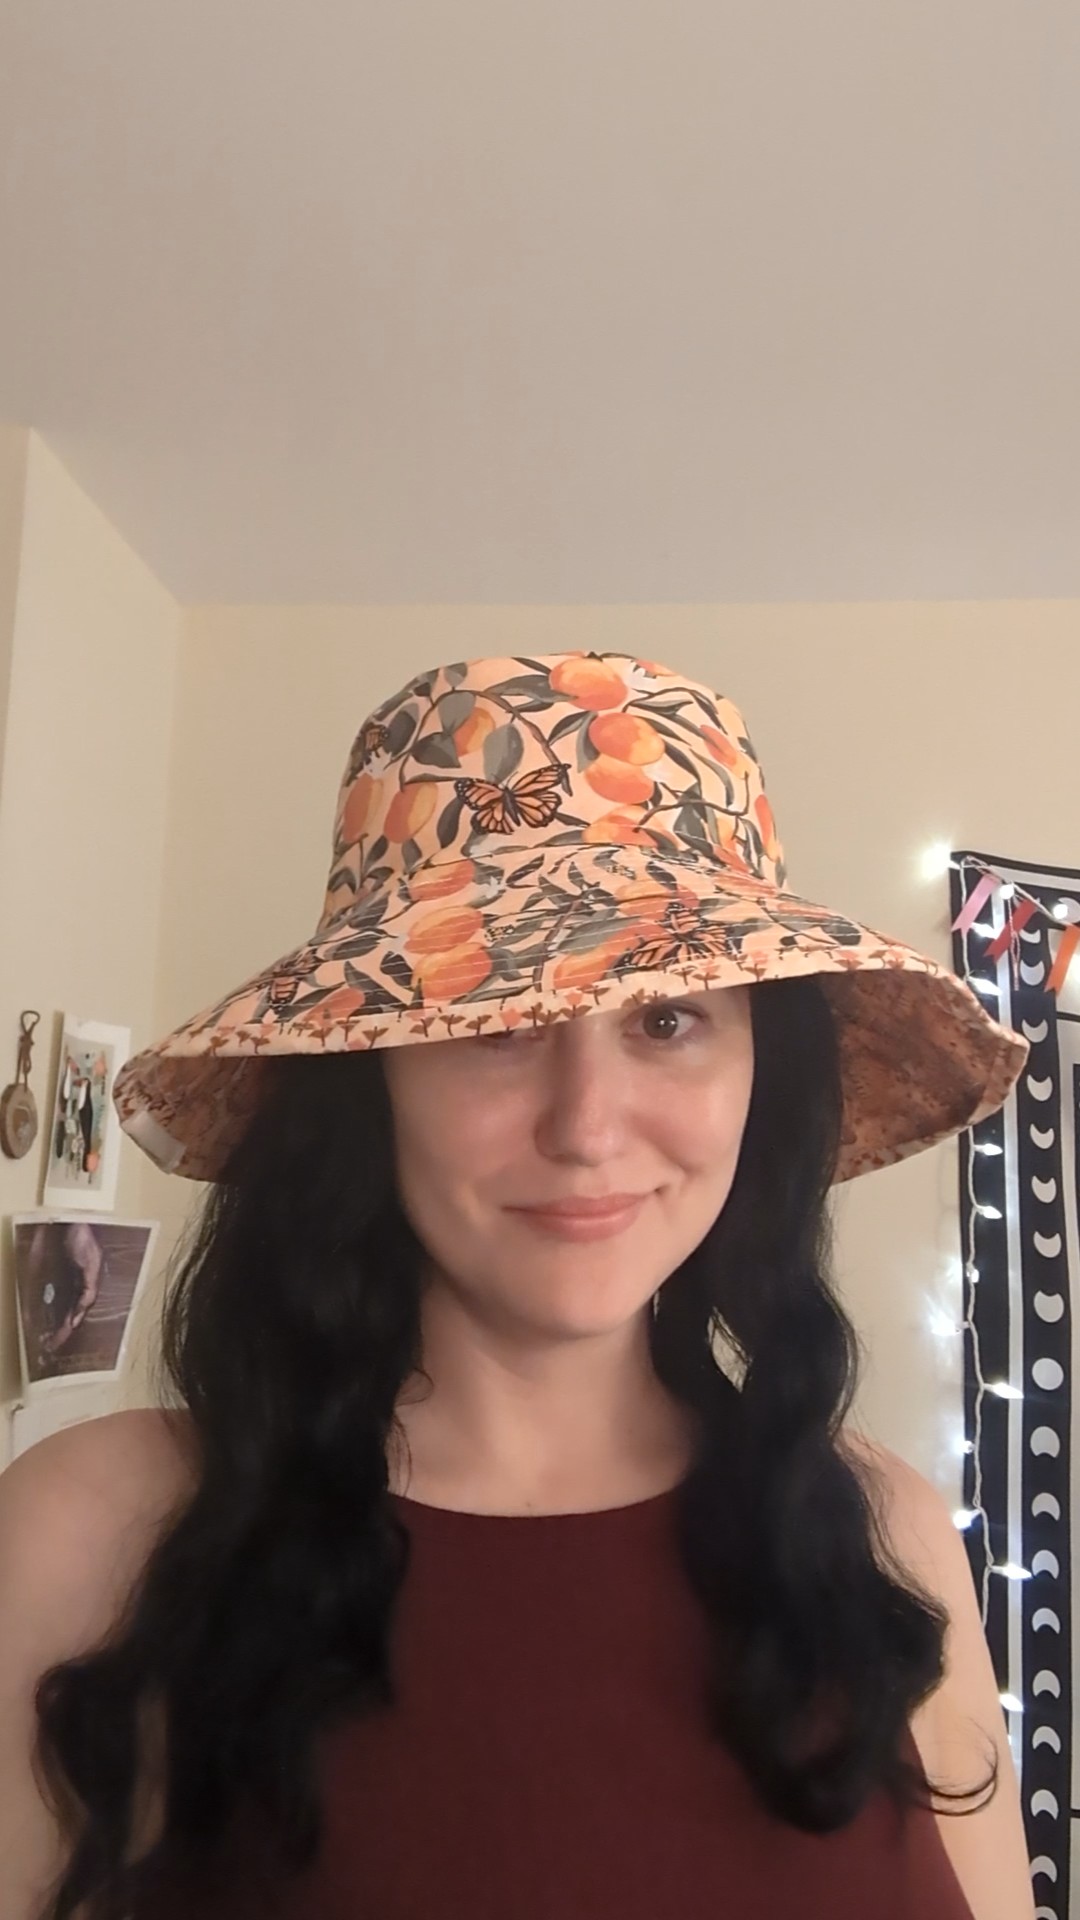
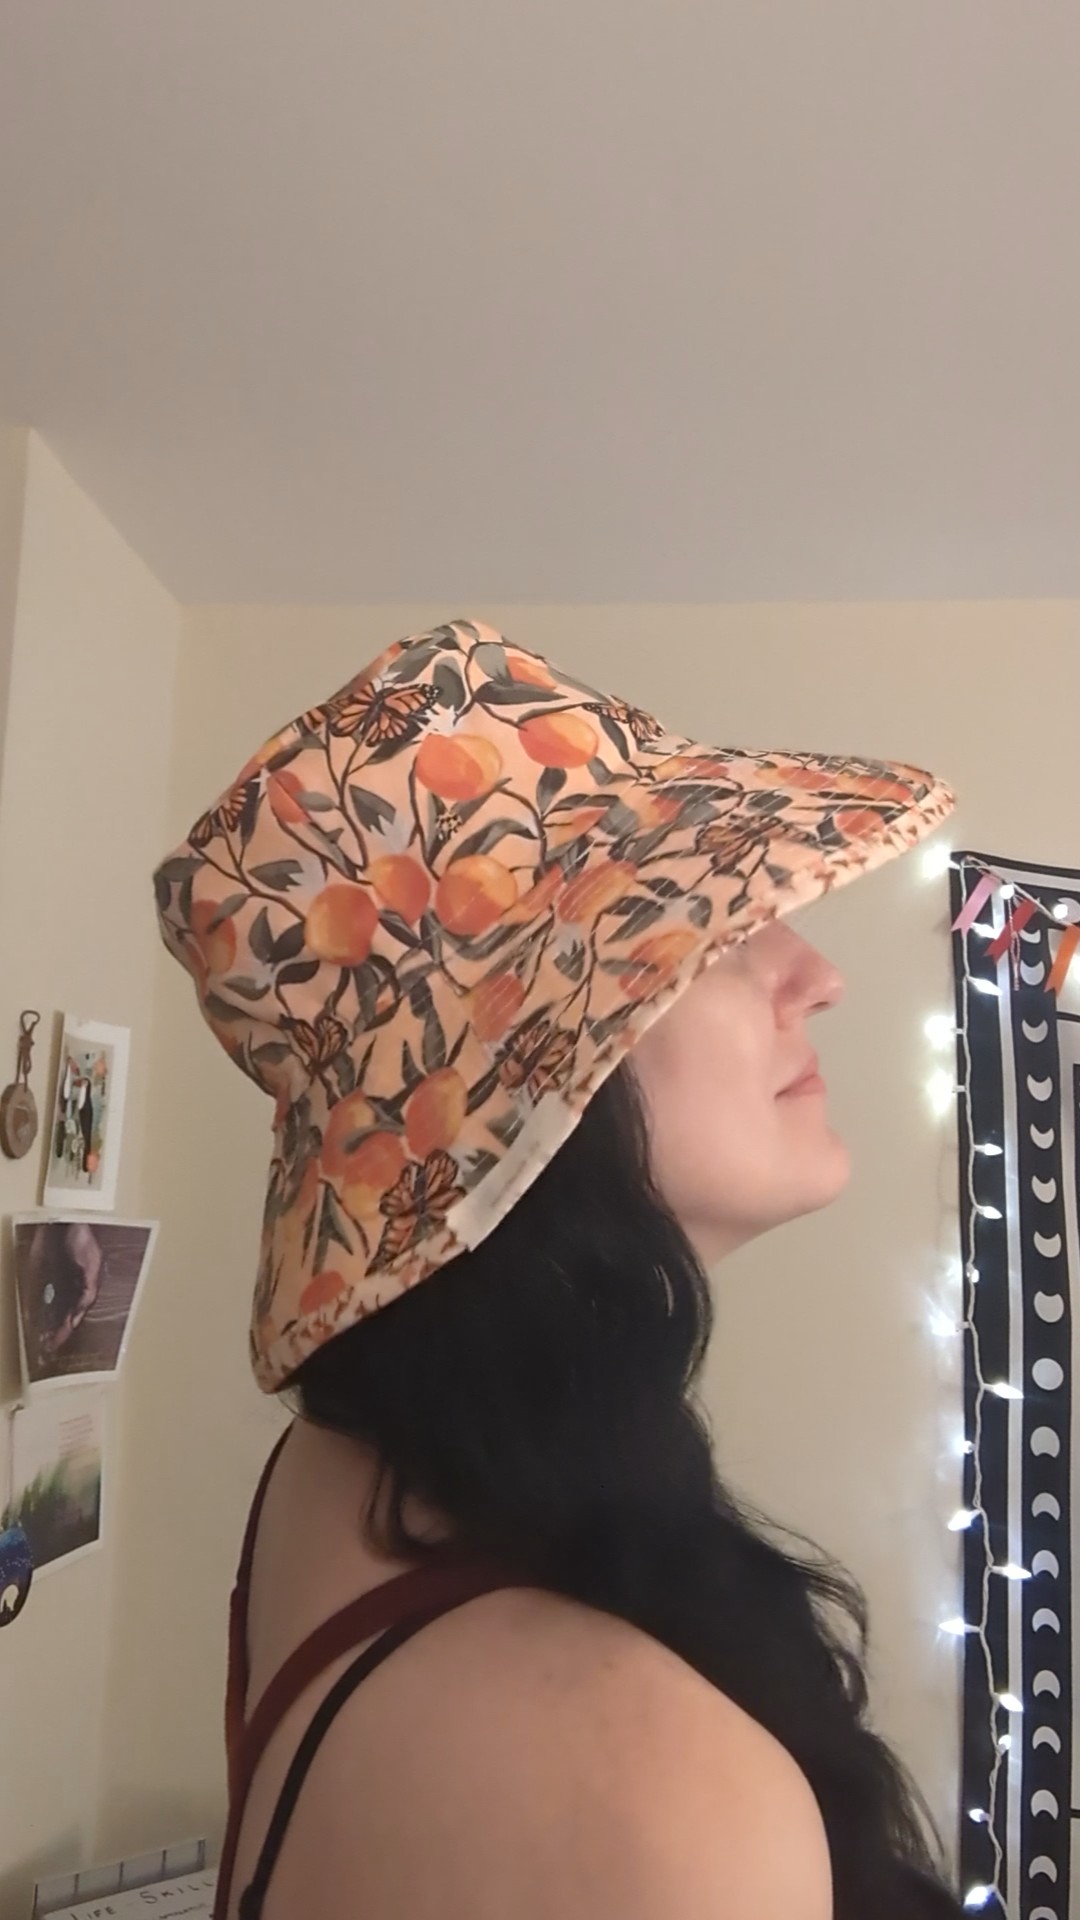
My pictures are quick and unedited, and done immediately after sewing (hence the string I didn’t notice until now on the butterfly side). The pics could definitely be staged better if I was trying to sell these or something, but this is the realness #nofilter. The hat itself is very comfortable to wear, not too loose or too tight, the brim doesn’t come down too far and obstruct your vision, and you could easily reduce the width of the brim if you needed to.
And with that… get ready for the photo shoot!


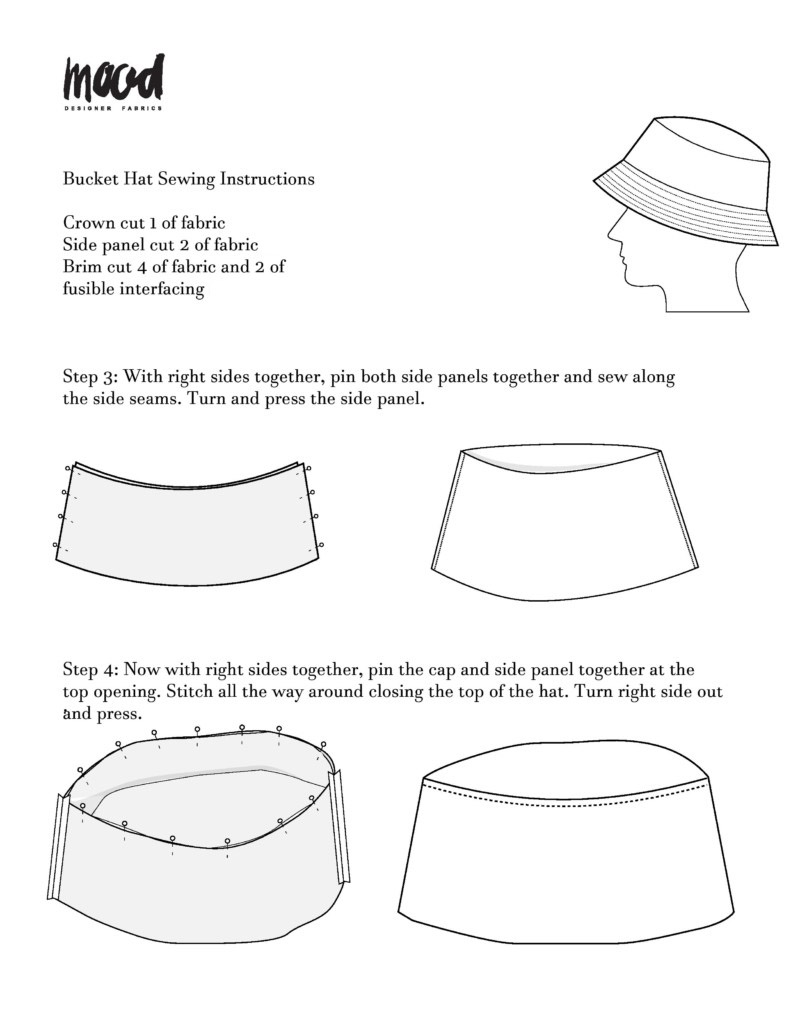
Overall, this pattern was really easy to read, simple to do, and the measurements were all perfect. Sometimes with a free pattern from the internet, the pattern hasn’t been thoroughly tested, and the pieces might not match up the way they should, or the sizing isn’t what it claims to be, but not in this case. Based on this pattern, I think we can trust Mood to deliver quality patterns, and they have TONS of free downloadable patterns for you to experiment with, which is fantastic as similar patterns can cost you up to $20 (or $17 at Office Max, sigh). Below are the instructions for this one if you’d like to preview the pattern for yourself:


Again, you can download this pattern here simply by entering your name and email at the bottom of the page: https://www.moodfabrics.com/blog/the-bucket-hat-free-sewing-pattern/
Bye for now!
~Madeleine
