

Despite, you know *gestures broadly at everything*, people are still making more people. One of them is my friend Jen. And while the idea of bringing another person into this *gesturing intensifies*, she is super excited.
One of the things that Jen is excited about is rocking this new being in the family gliding chair. (I’d call it heirloom, but it’s only from the 80’s). I did not see it as a unified chair, so I only have the cushions to show you.
Now here’s the thing. When people see that you can sew clothing, they assume you can sew a n y t h i n g. I gotta say, reupholstery is a whole different beast than tailoring. Nevertheless, I agreed to do it. For free. I’m a really good friend.
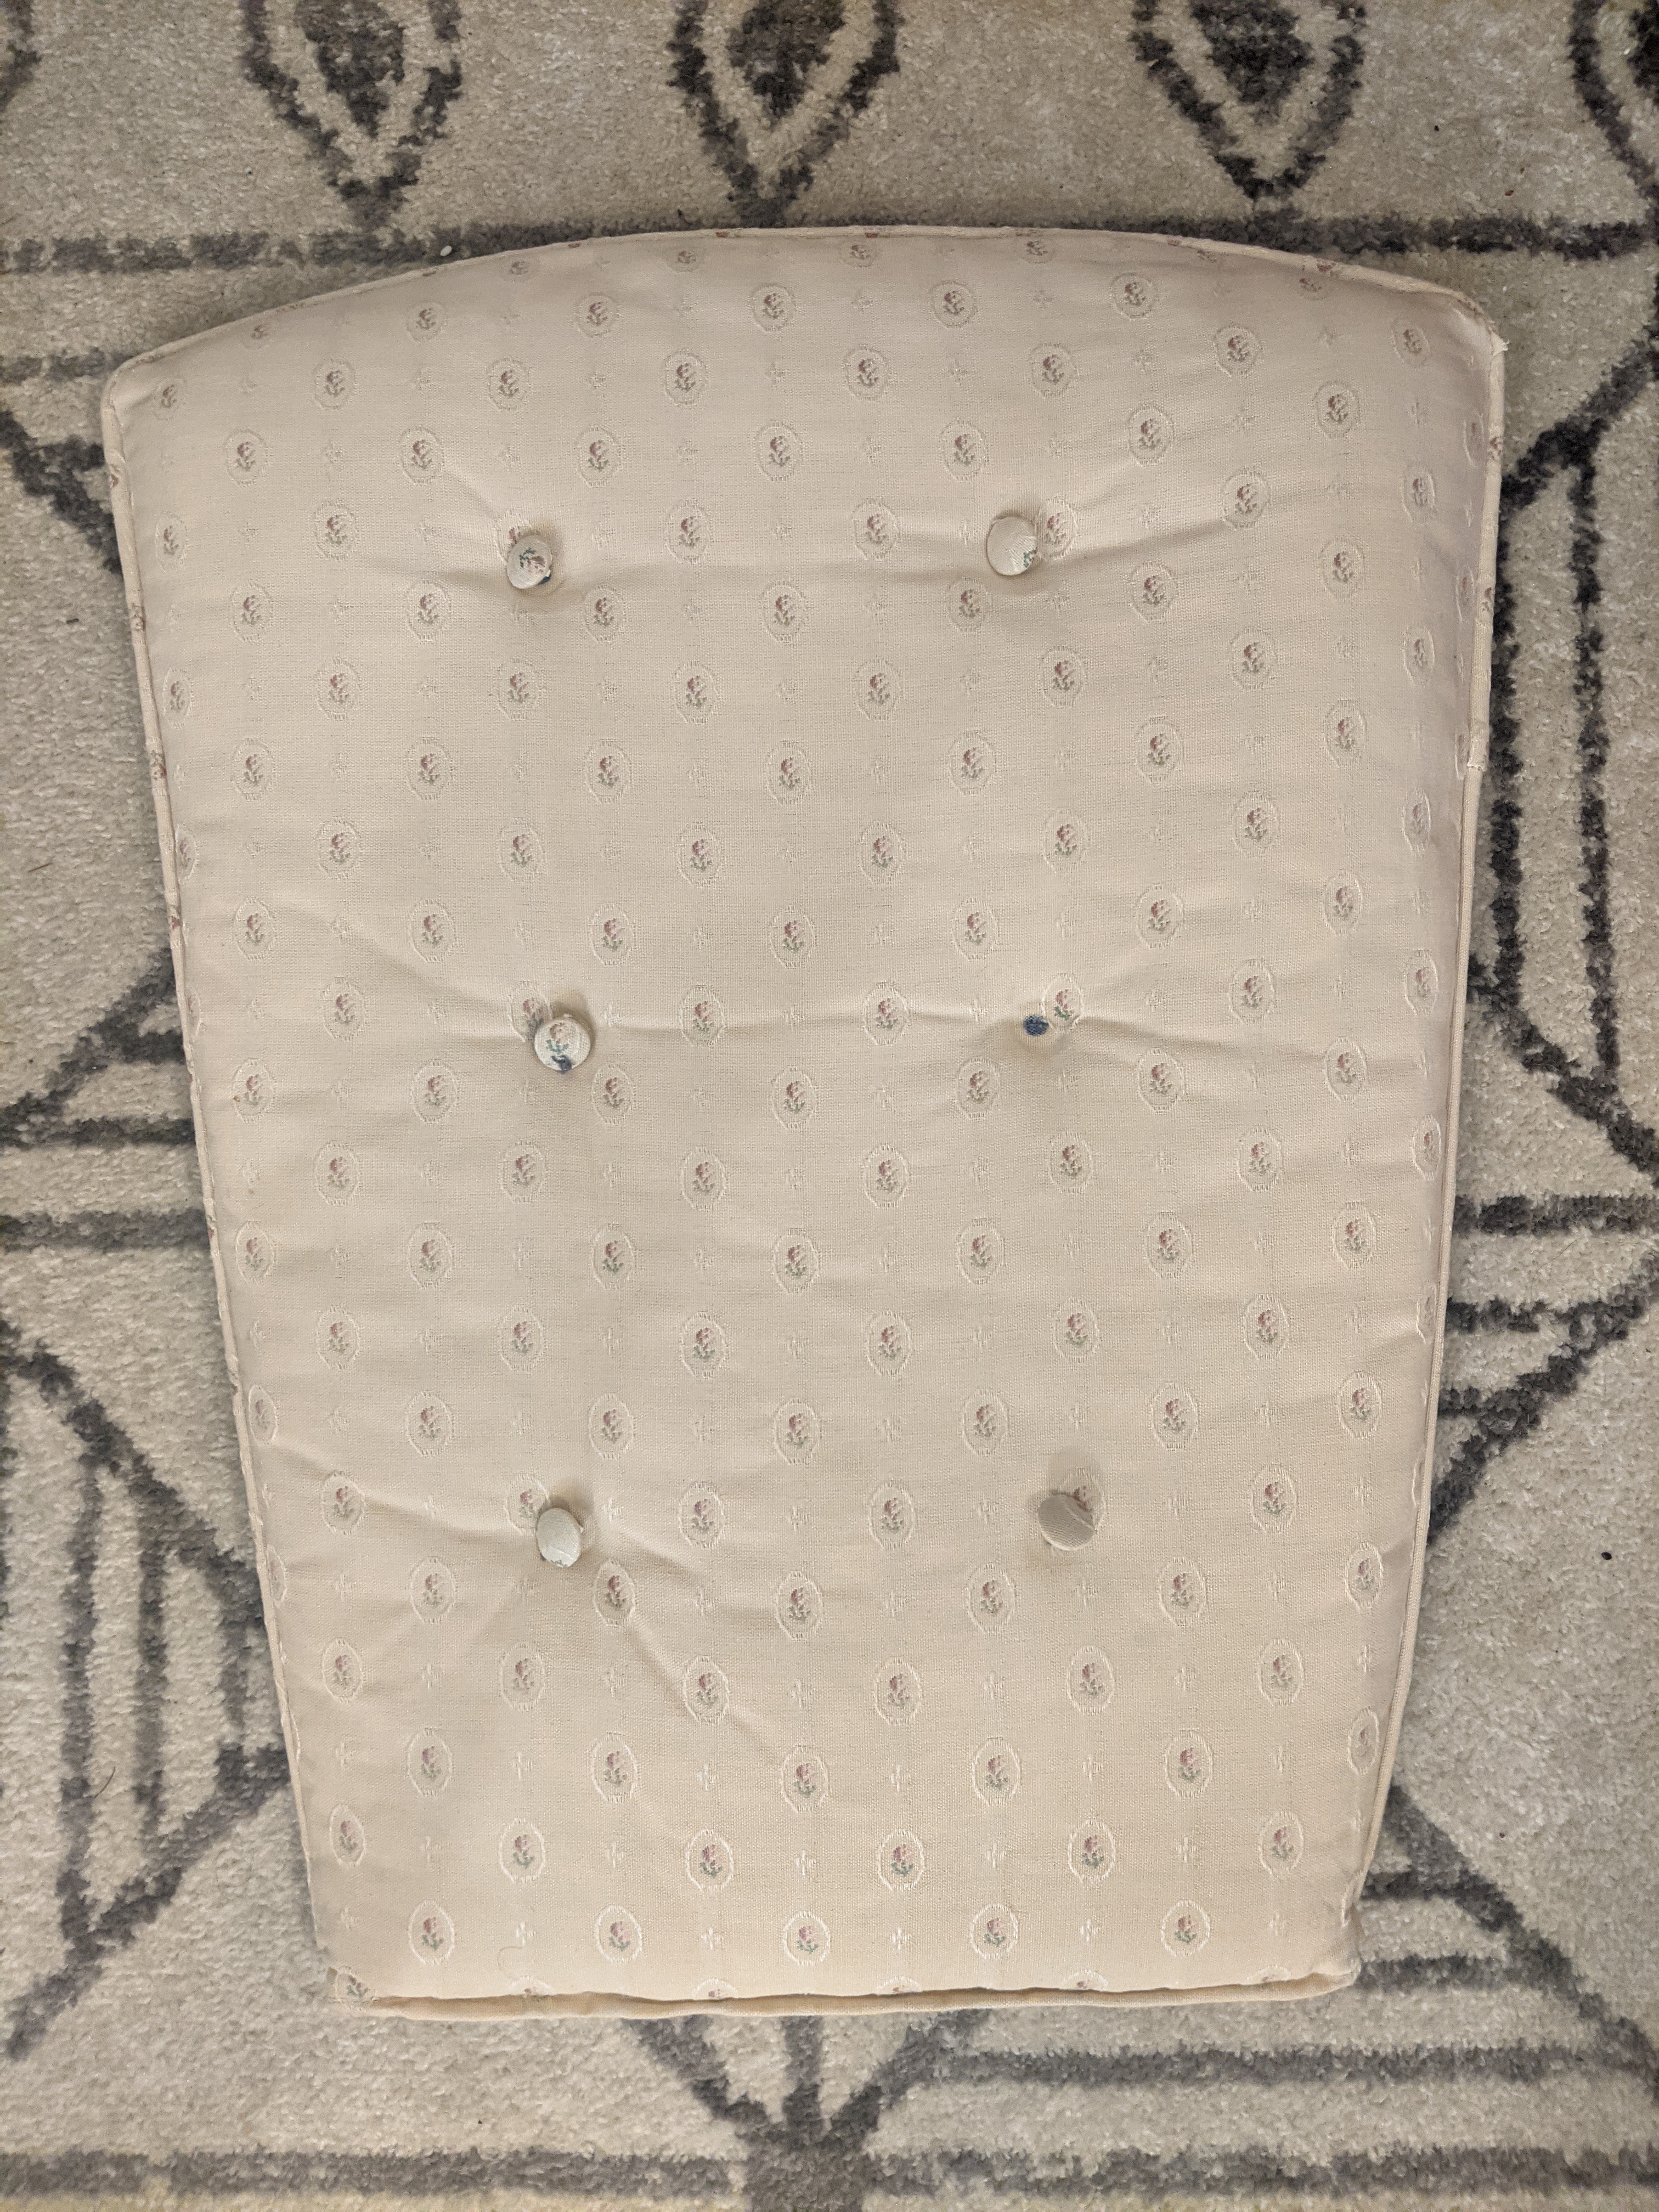
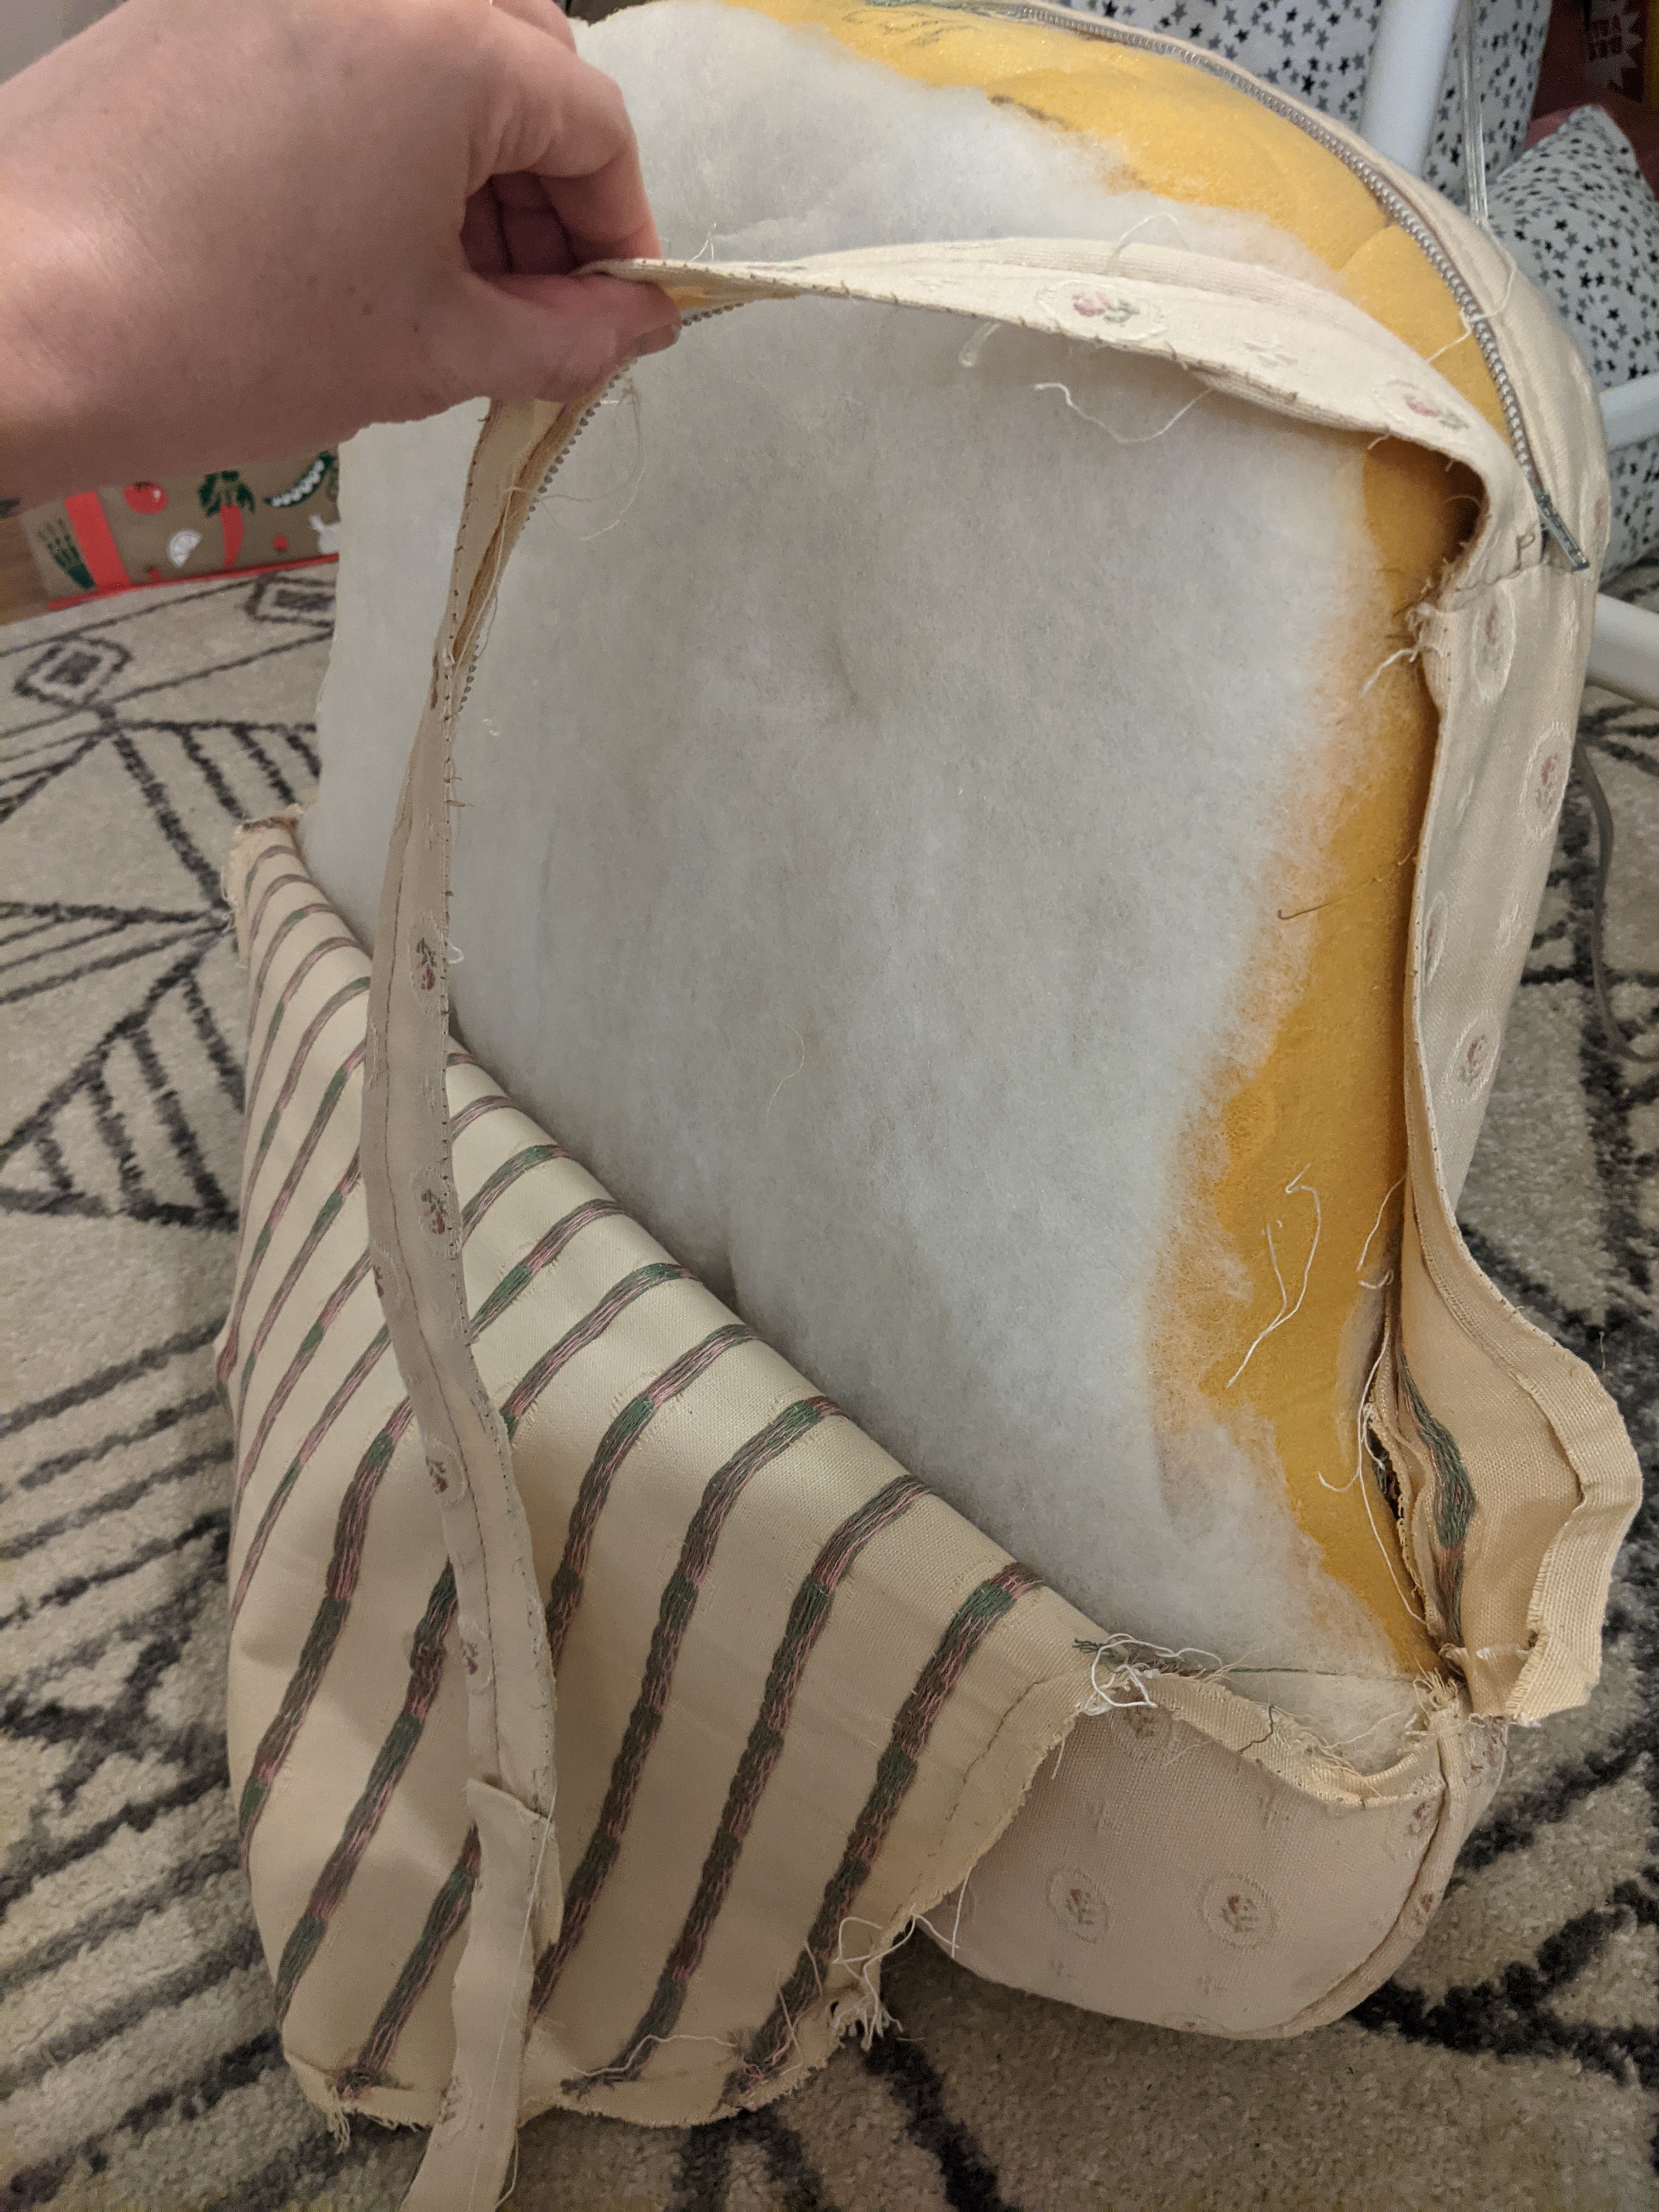
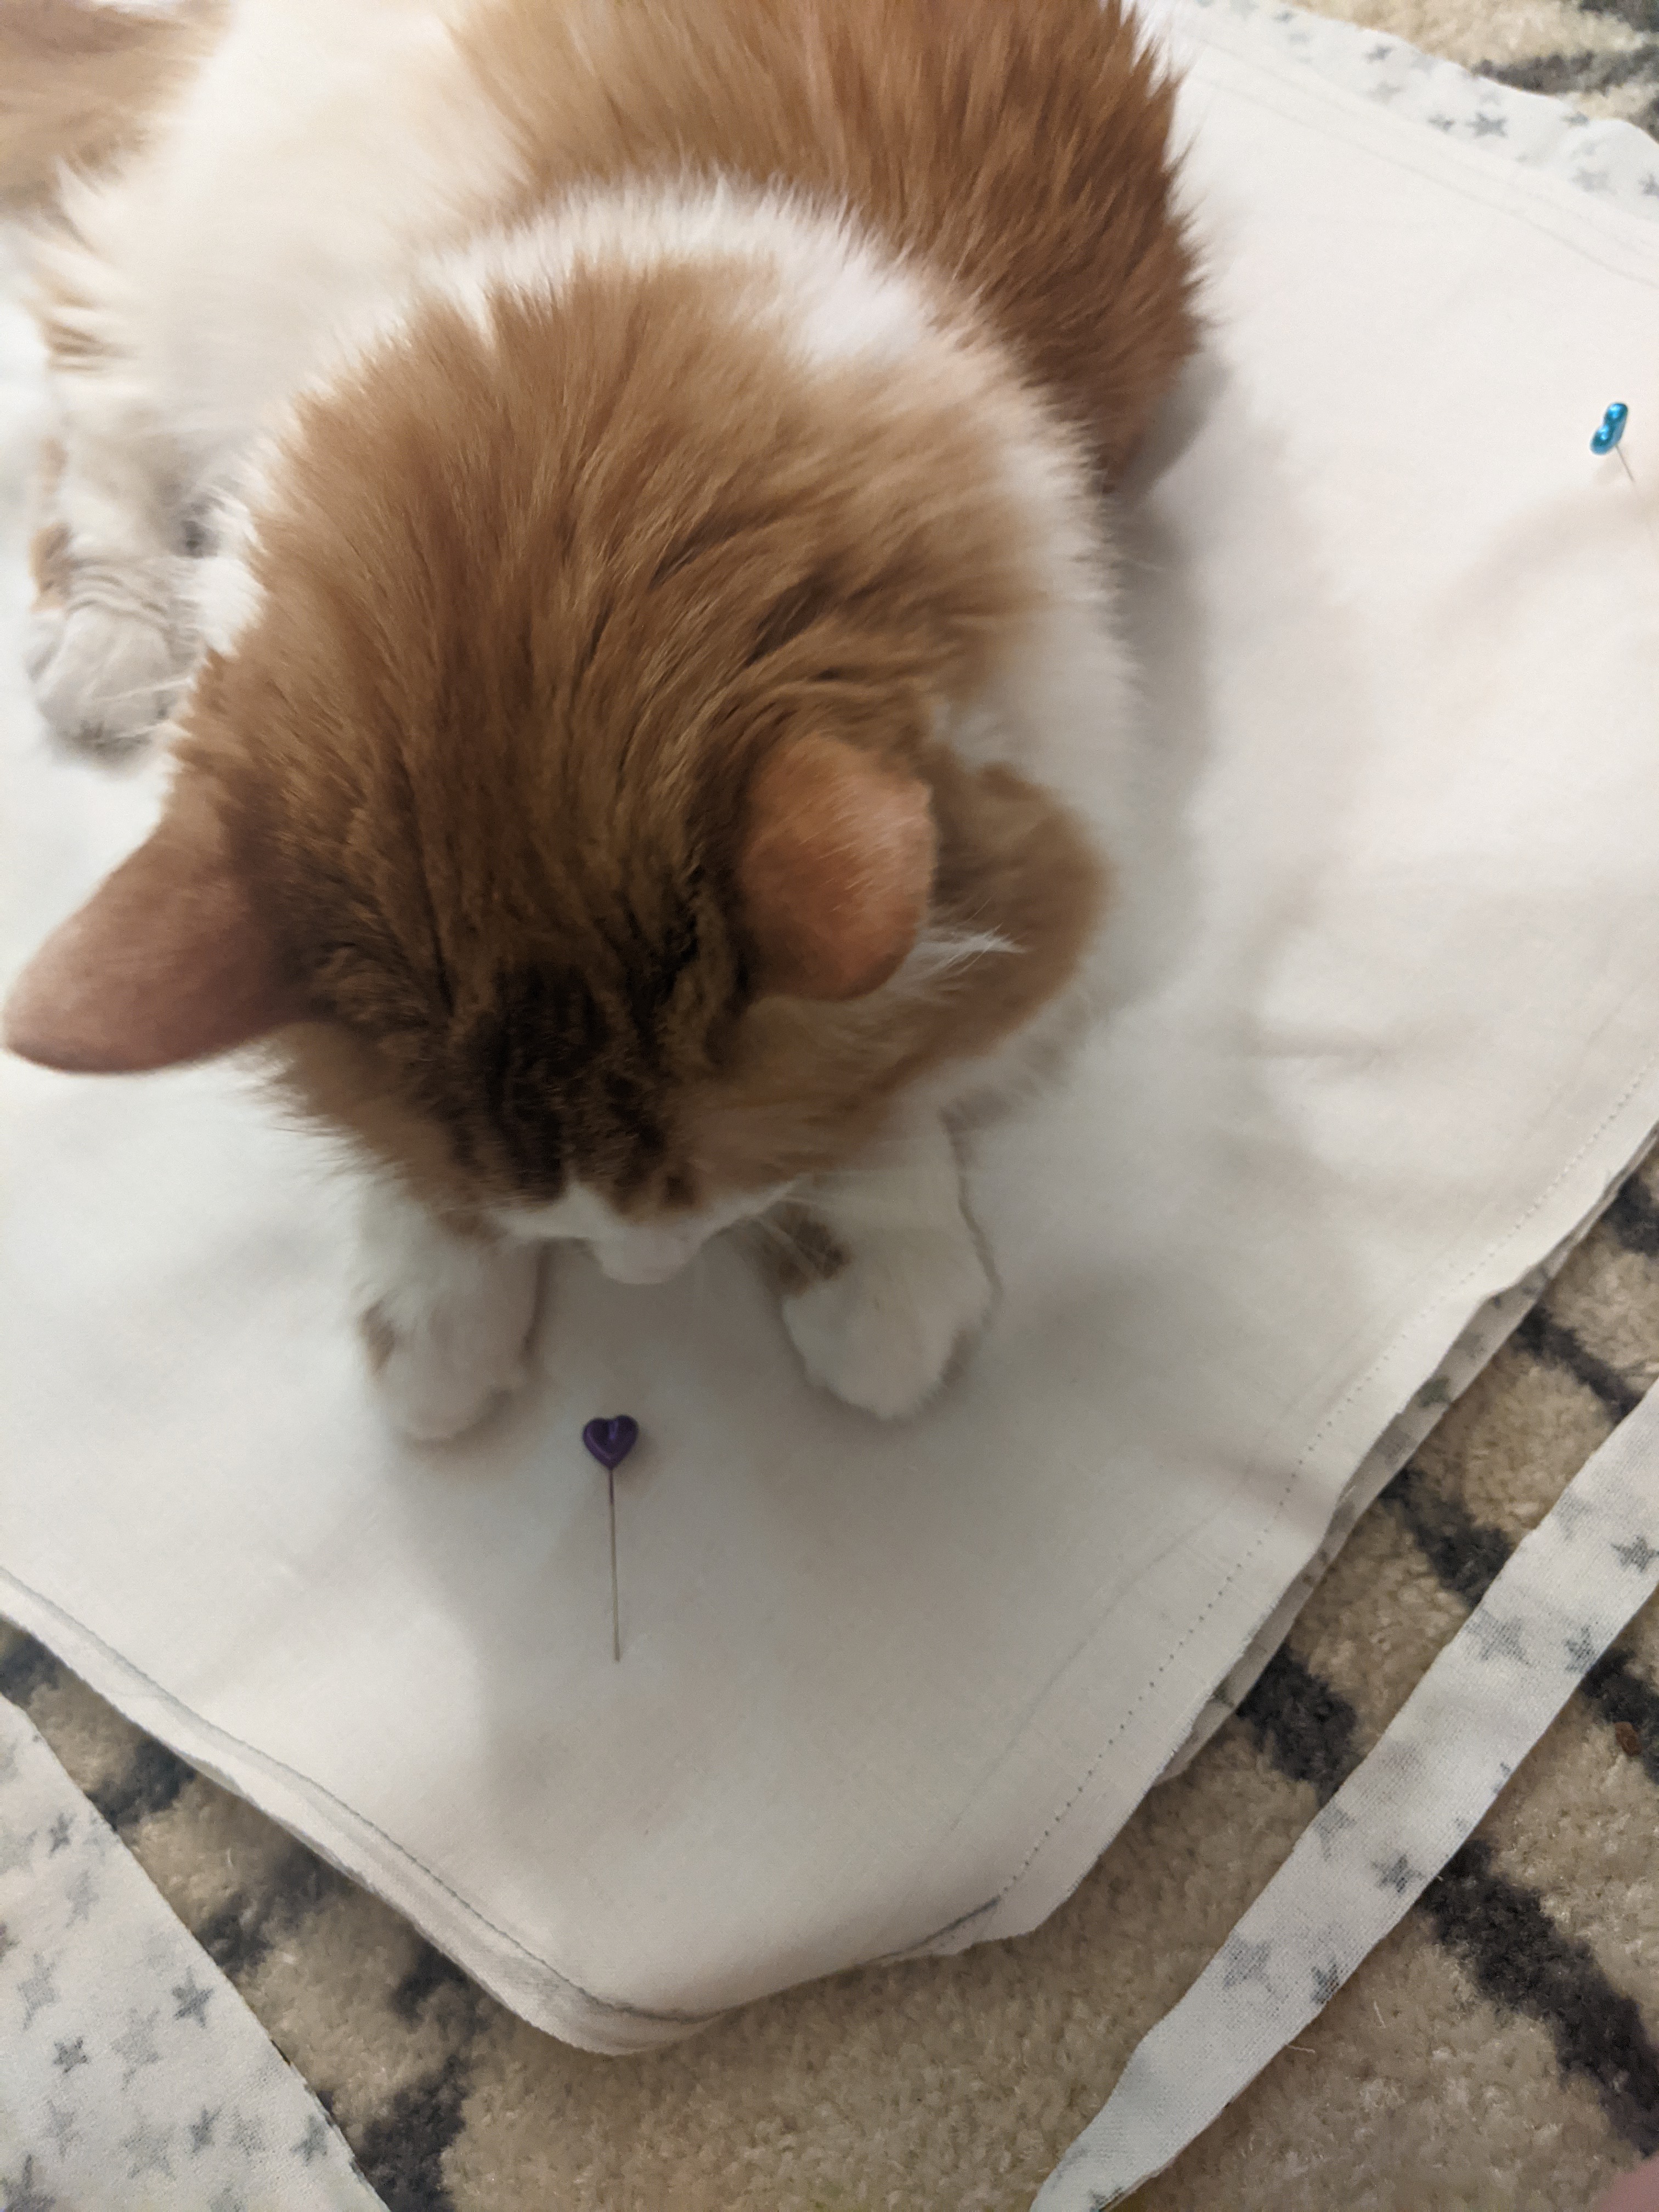
The first thing to do was remove the old fabric, which I did by cutting only the threads that held the seams together. That way, I could use the old fabric as a pattern for the new cover.
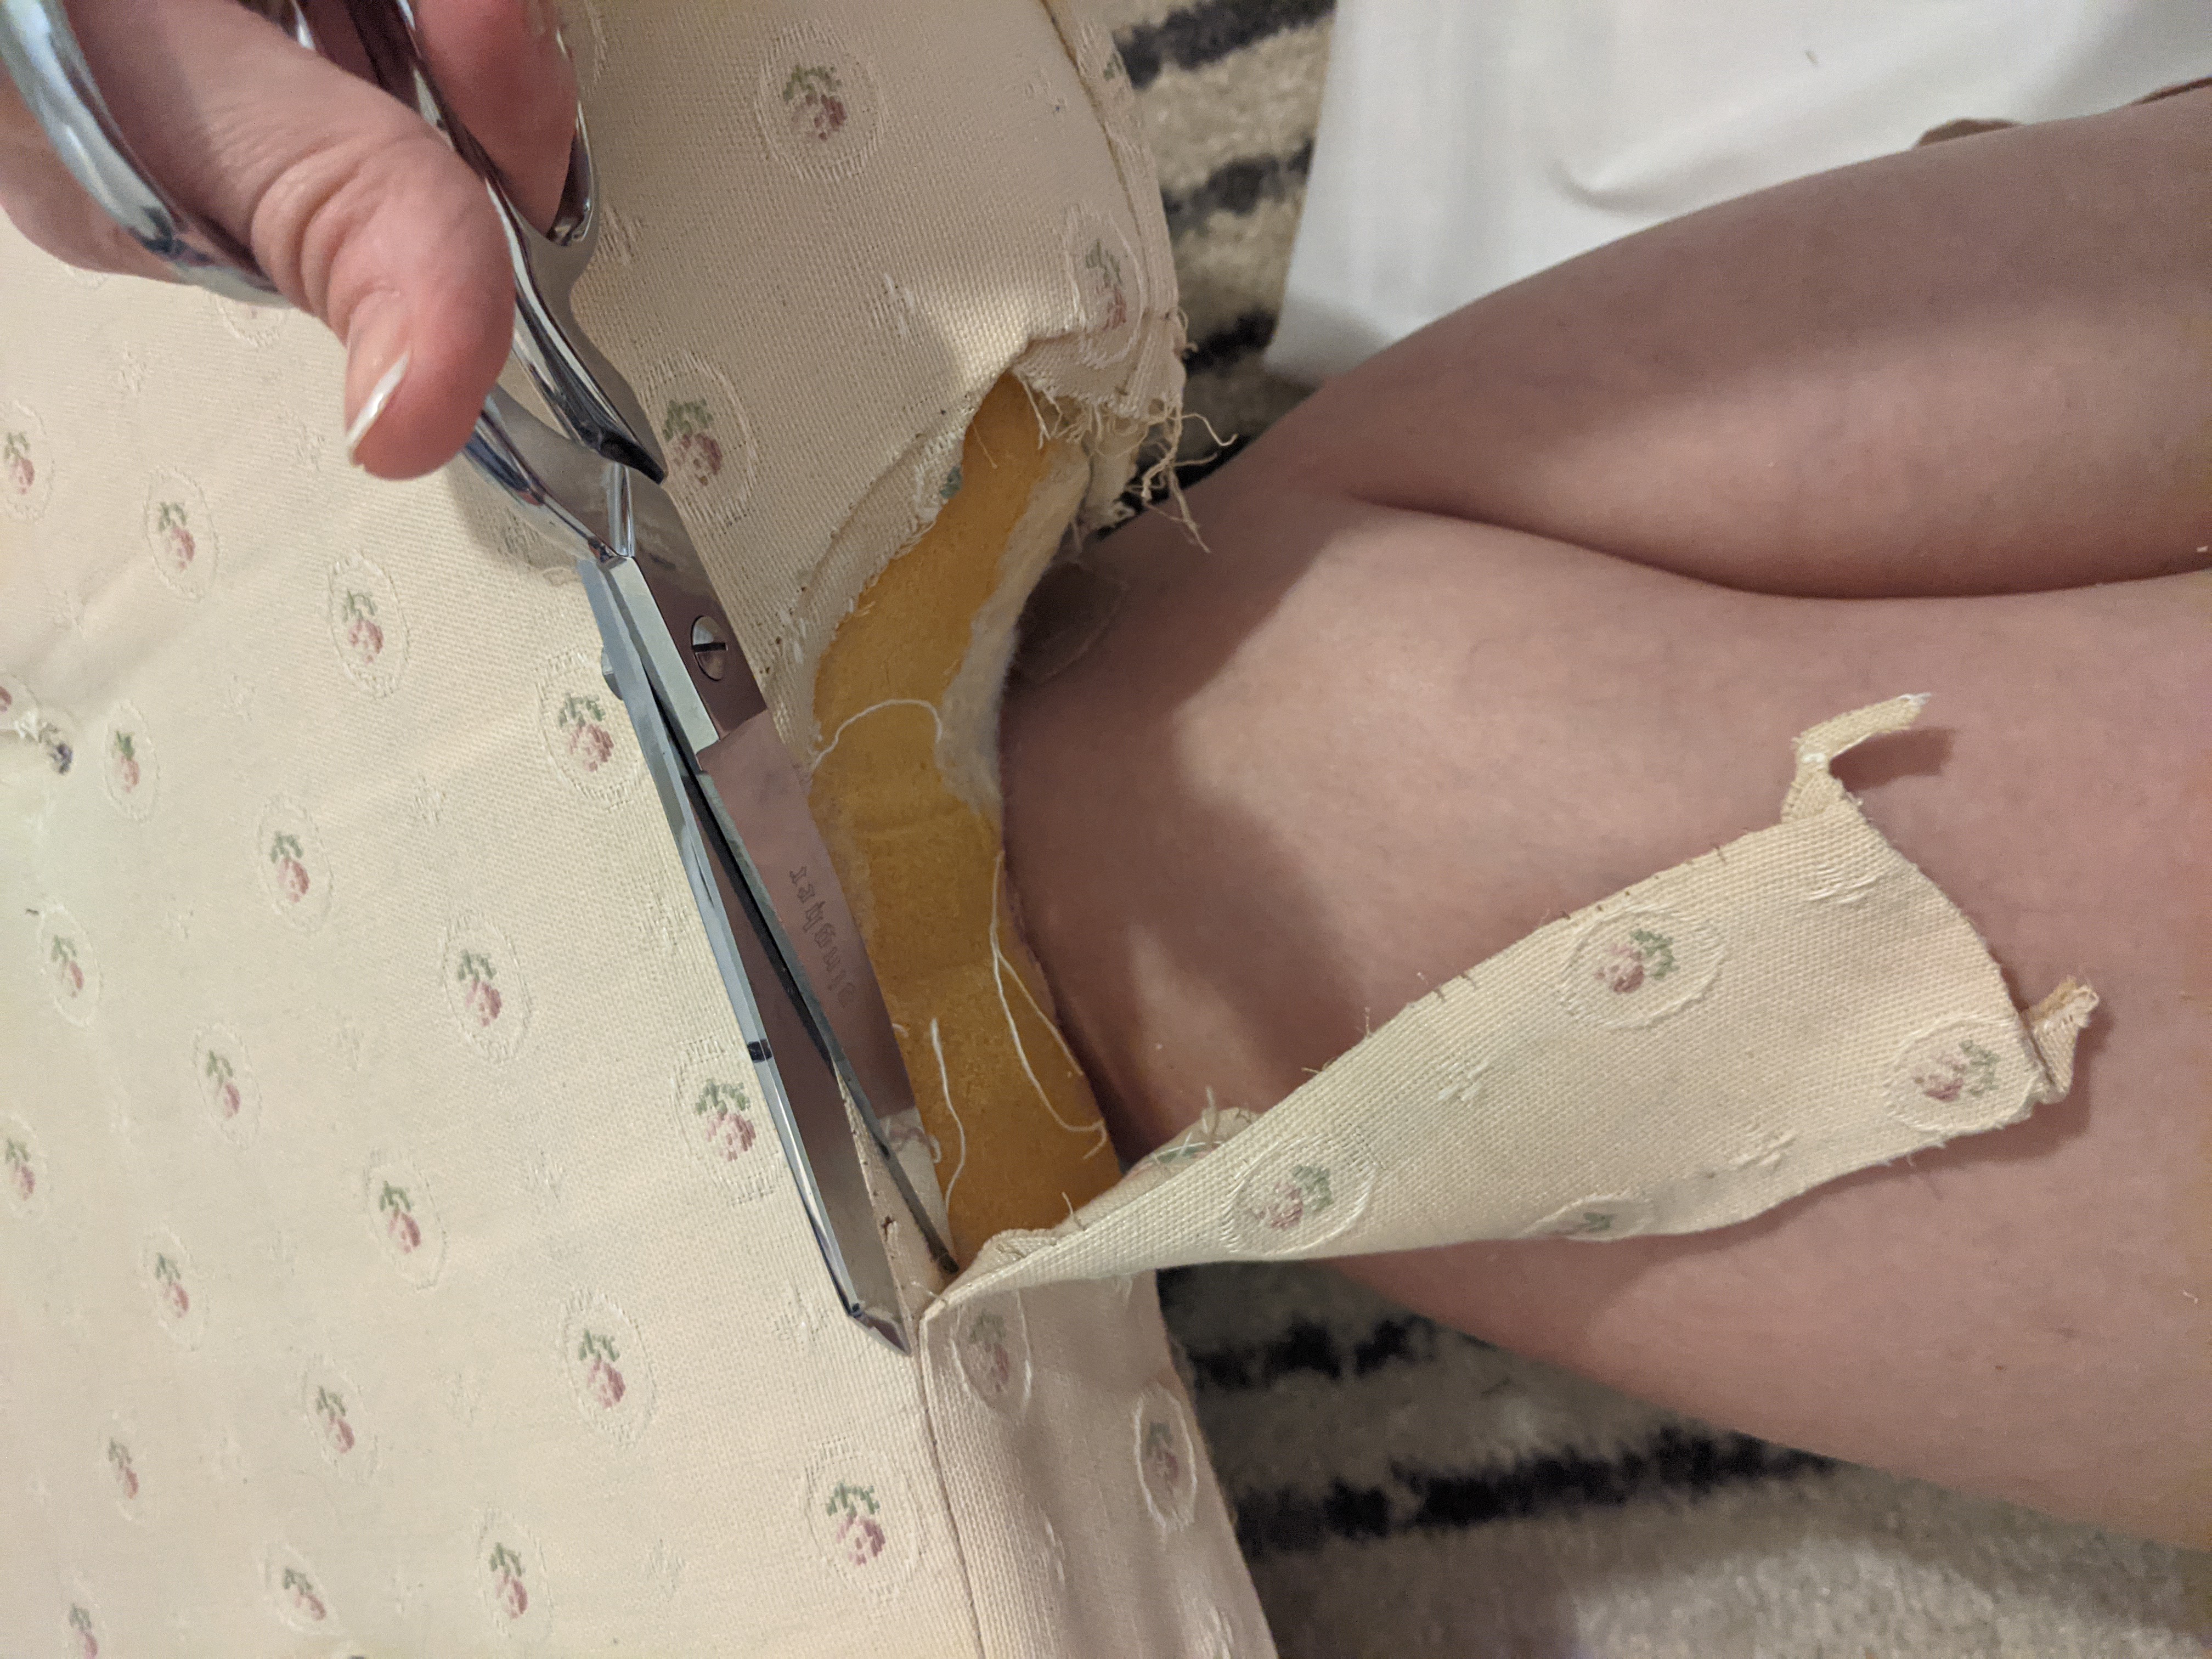
I clipped verrrrry slowwwwly so that I wouldn’t catch the fabric. I like using scissors rather than a seam-ripper, since those tend to pull on the fabric and cause warping or ravelling of the fabric, especially if the fabric is particularly delicate or old.
I then lost my mind apparently, and tried to make a pattern by tracing the whole thing in masking tape. This tape would then be laid out on the new fabric and I planned to add 1/2″ seam allowance. Below you can see what I was attempting with just the zipper and binding.
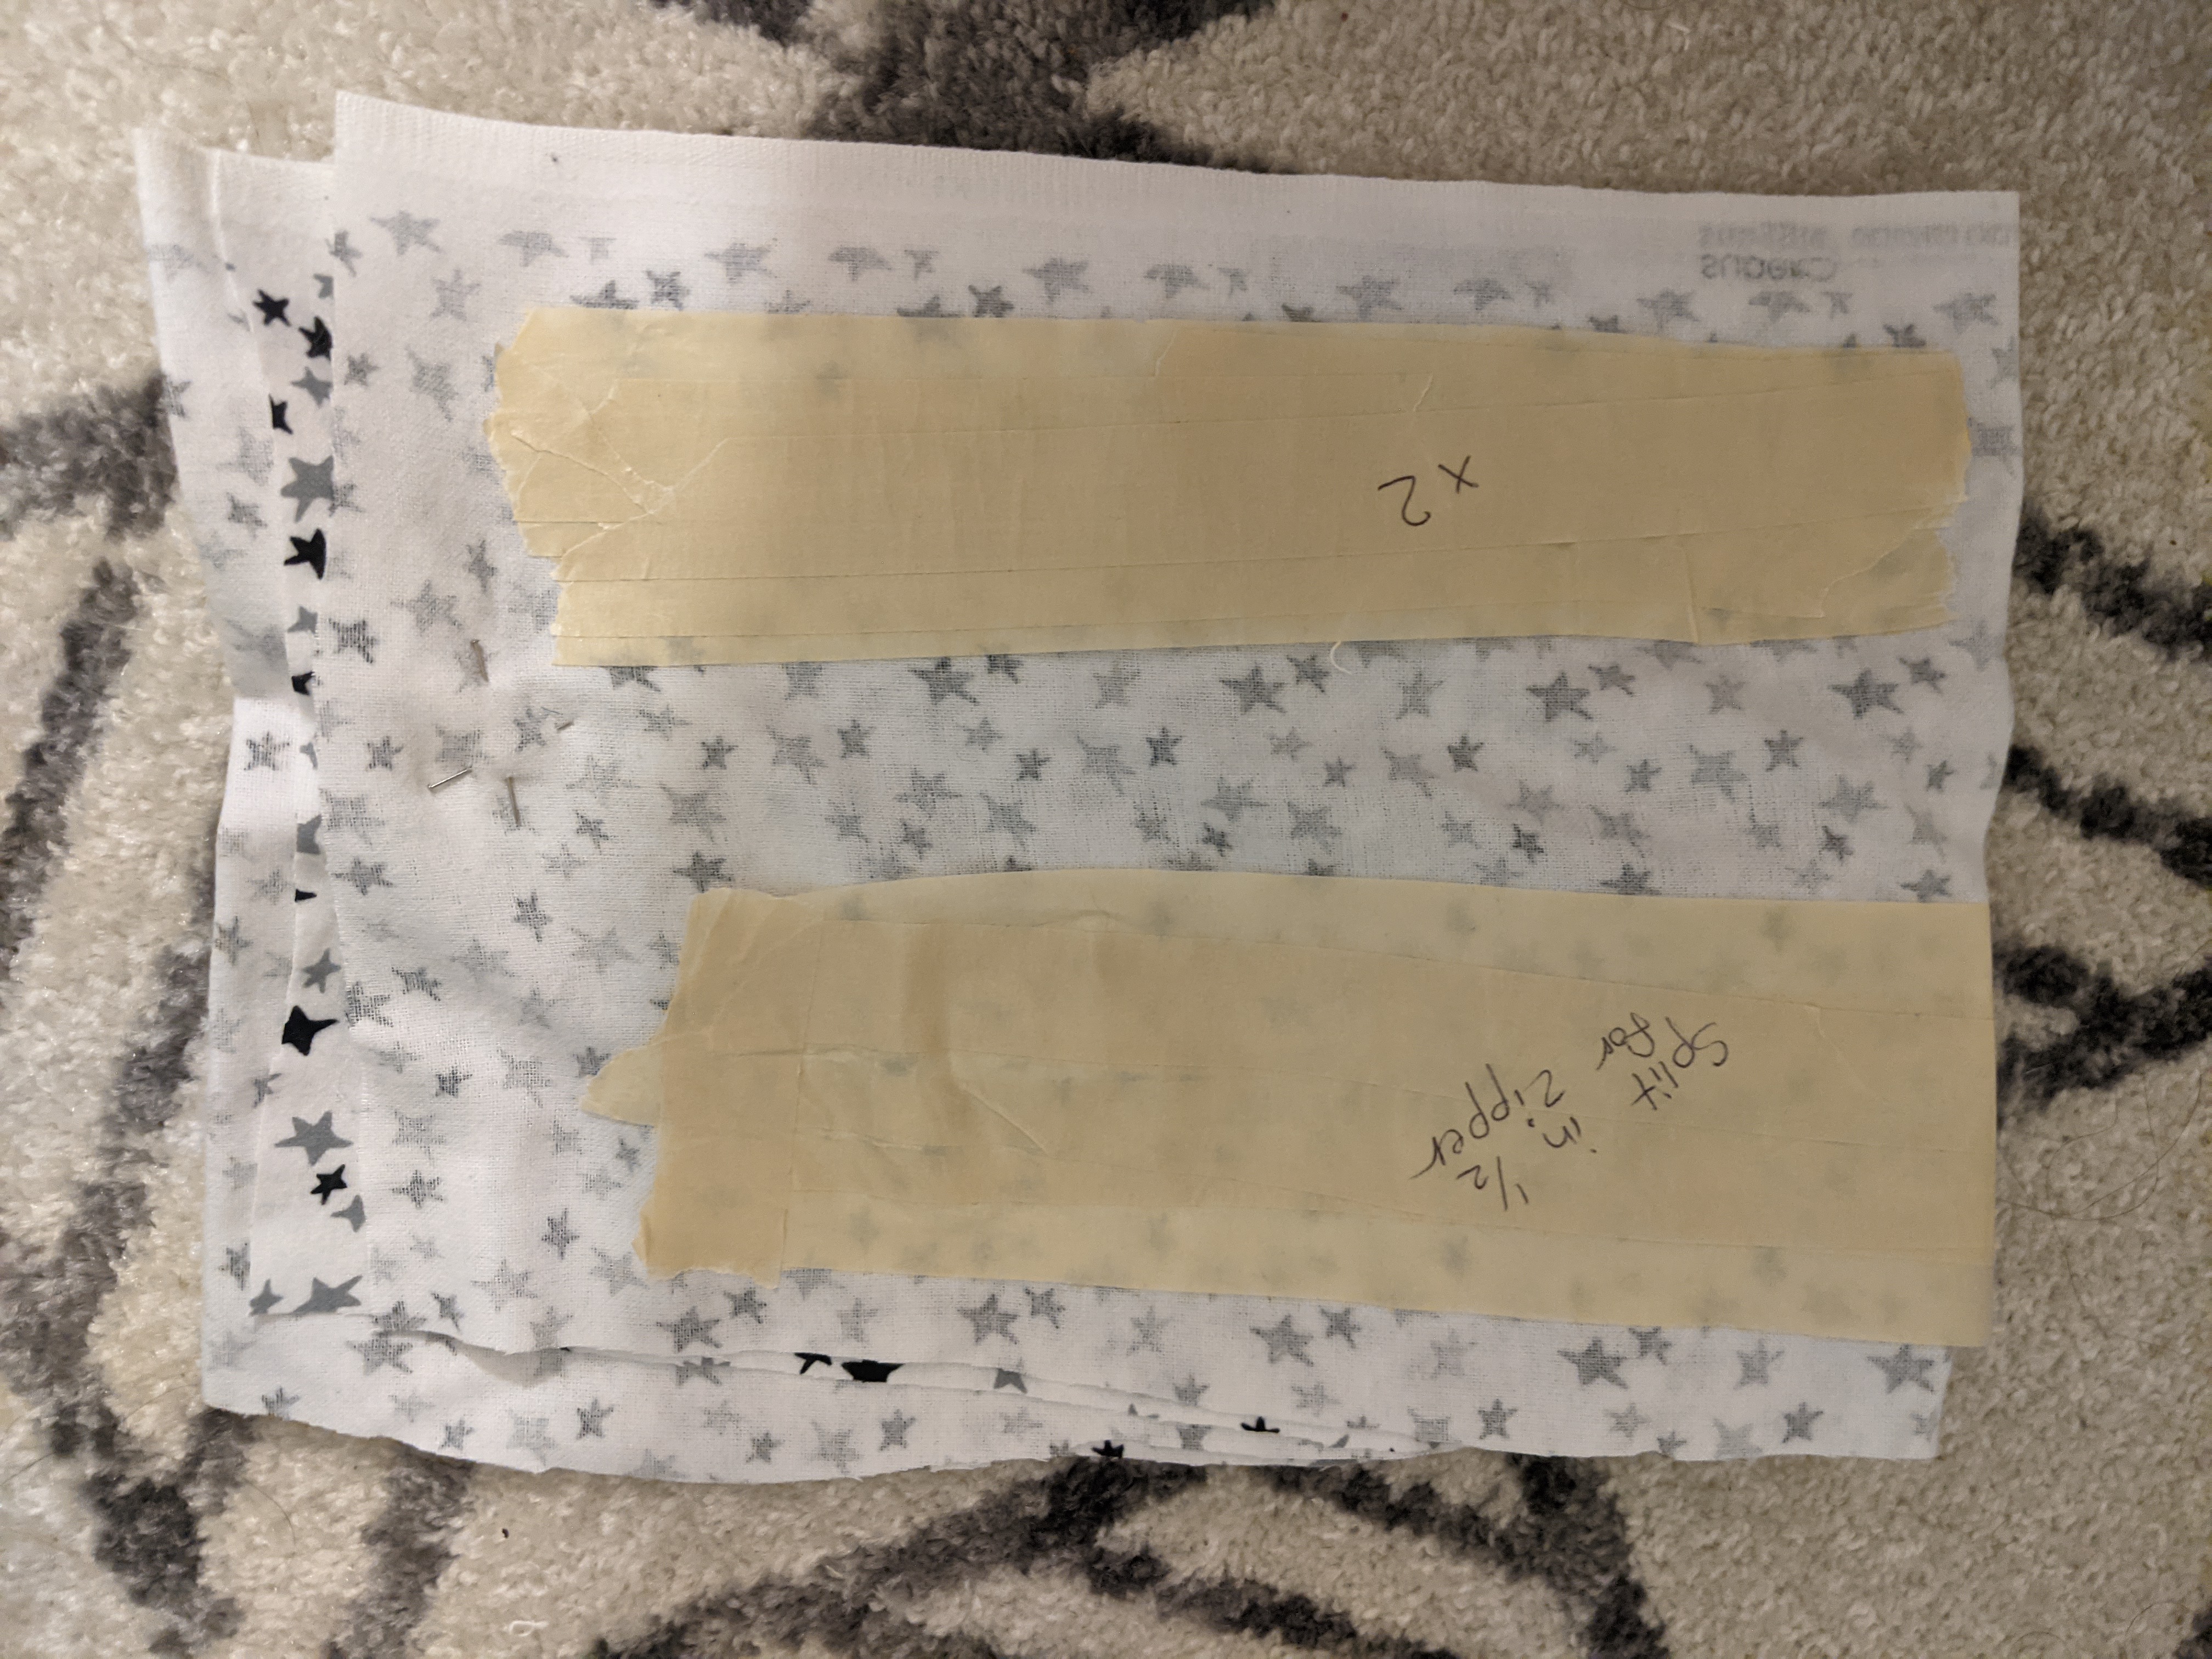
Thankfully sanity returned and I realized I already had the pattern. It was the old fabric itself, that I so carefully cut out. While I think the tape method would be good for missing or tattered fabric, this stuff was still holding up well, and less work for me.
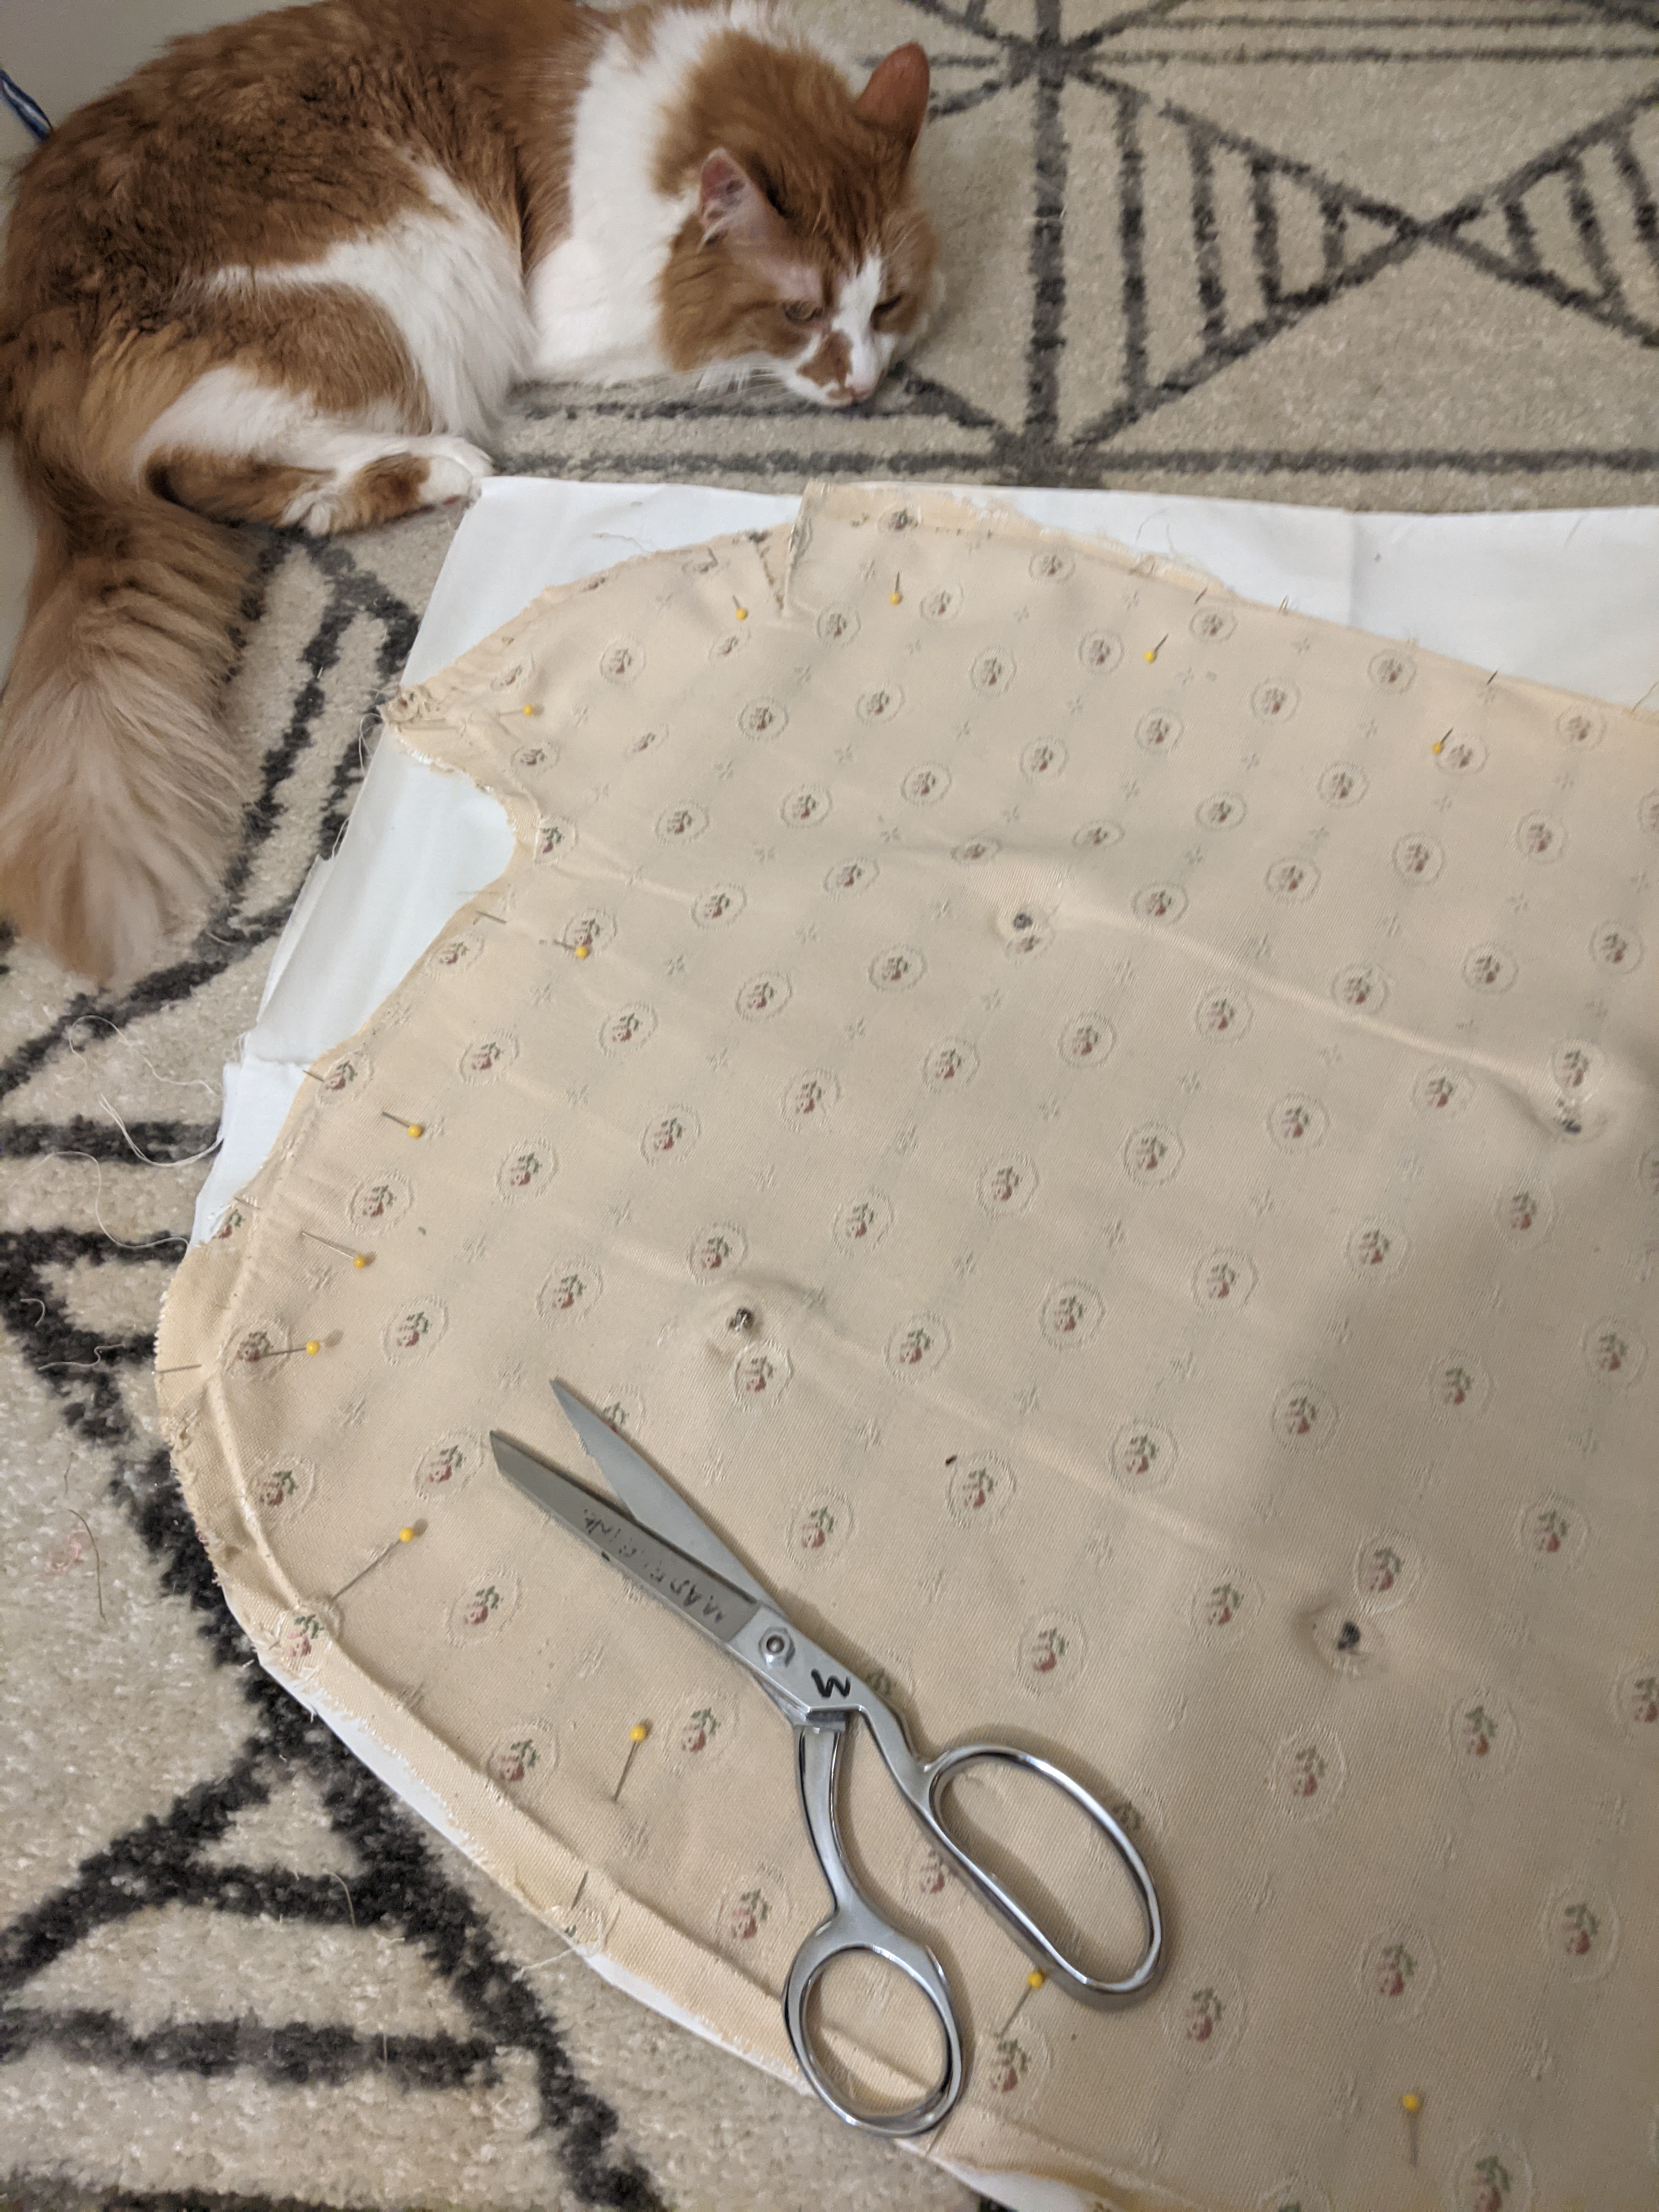
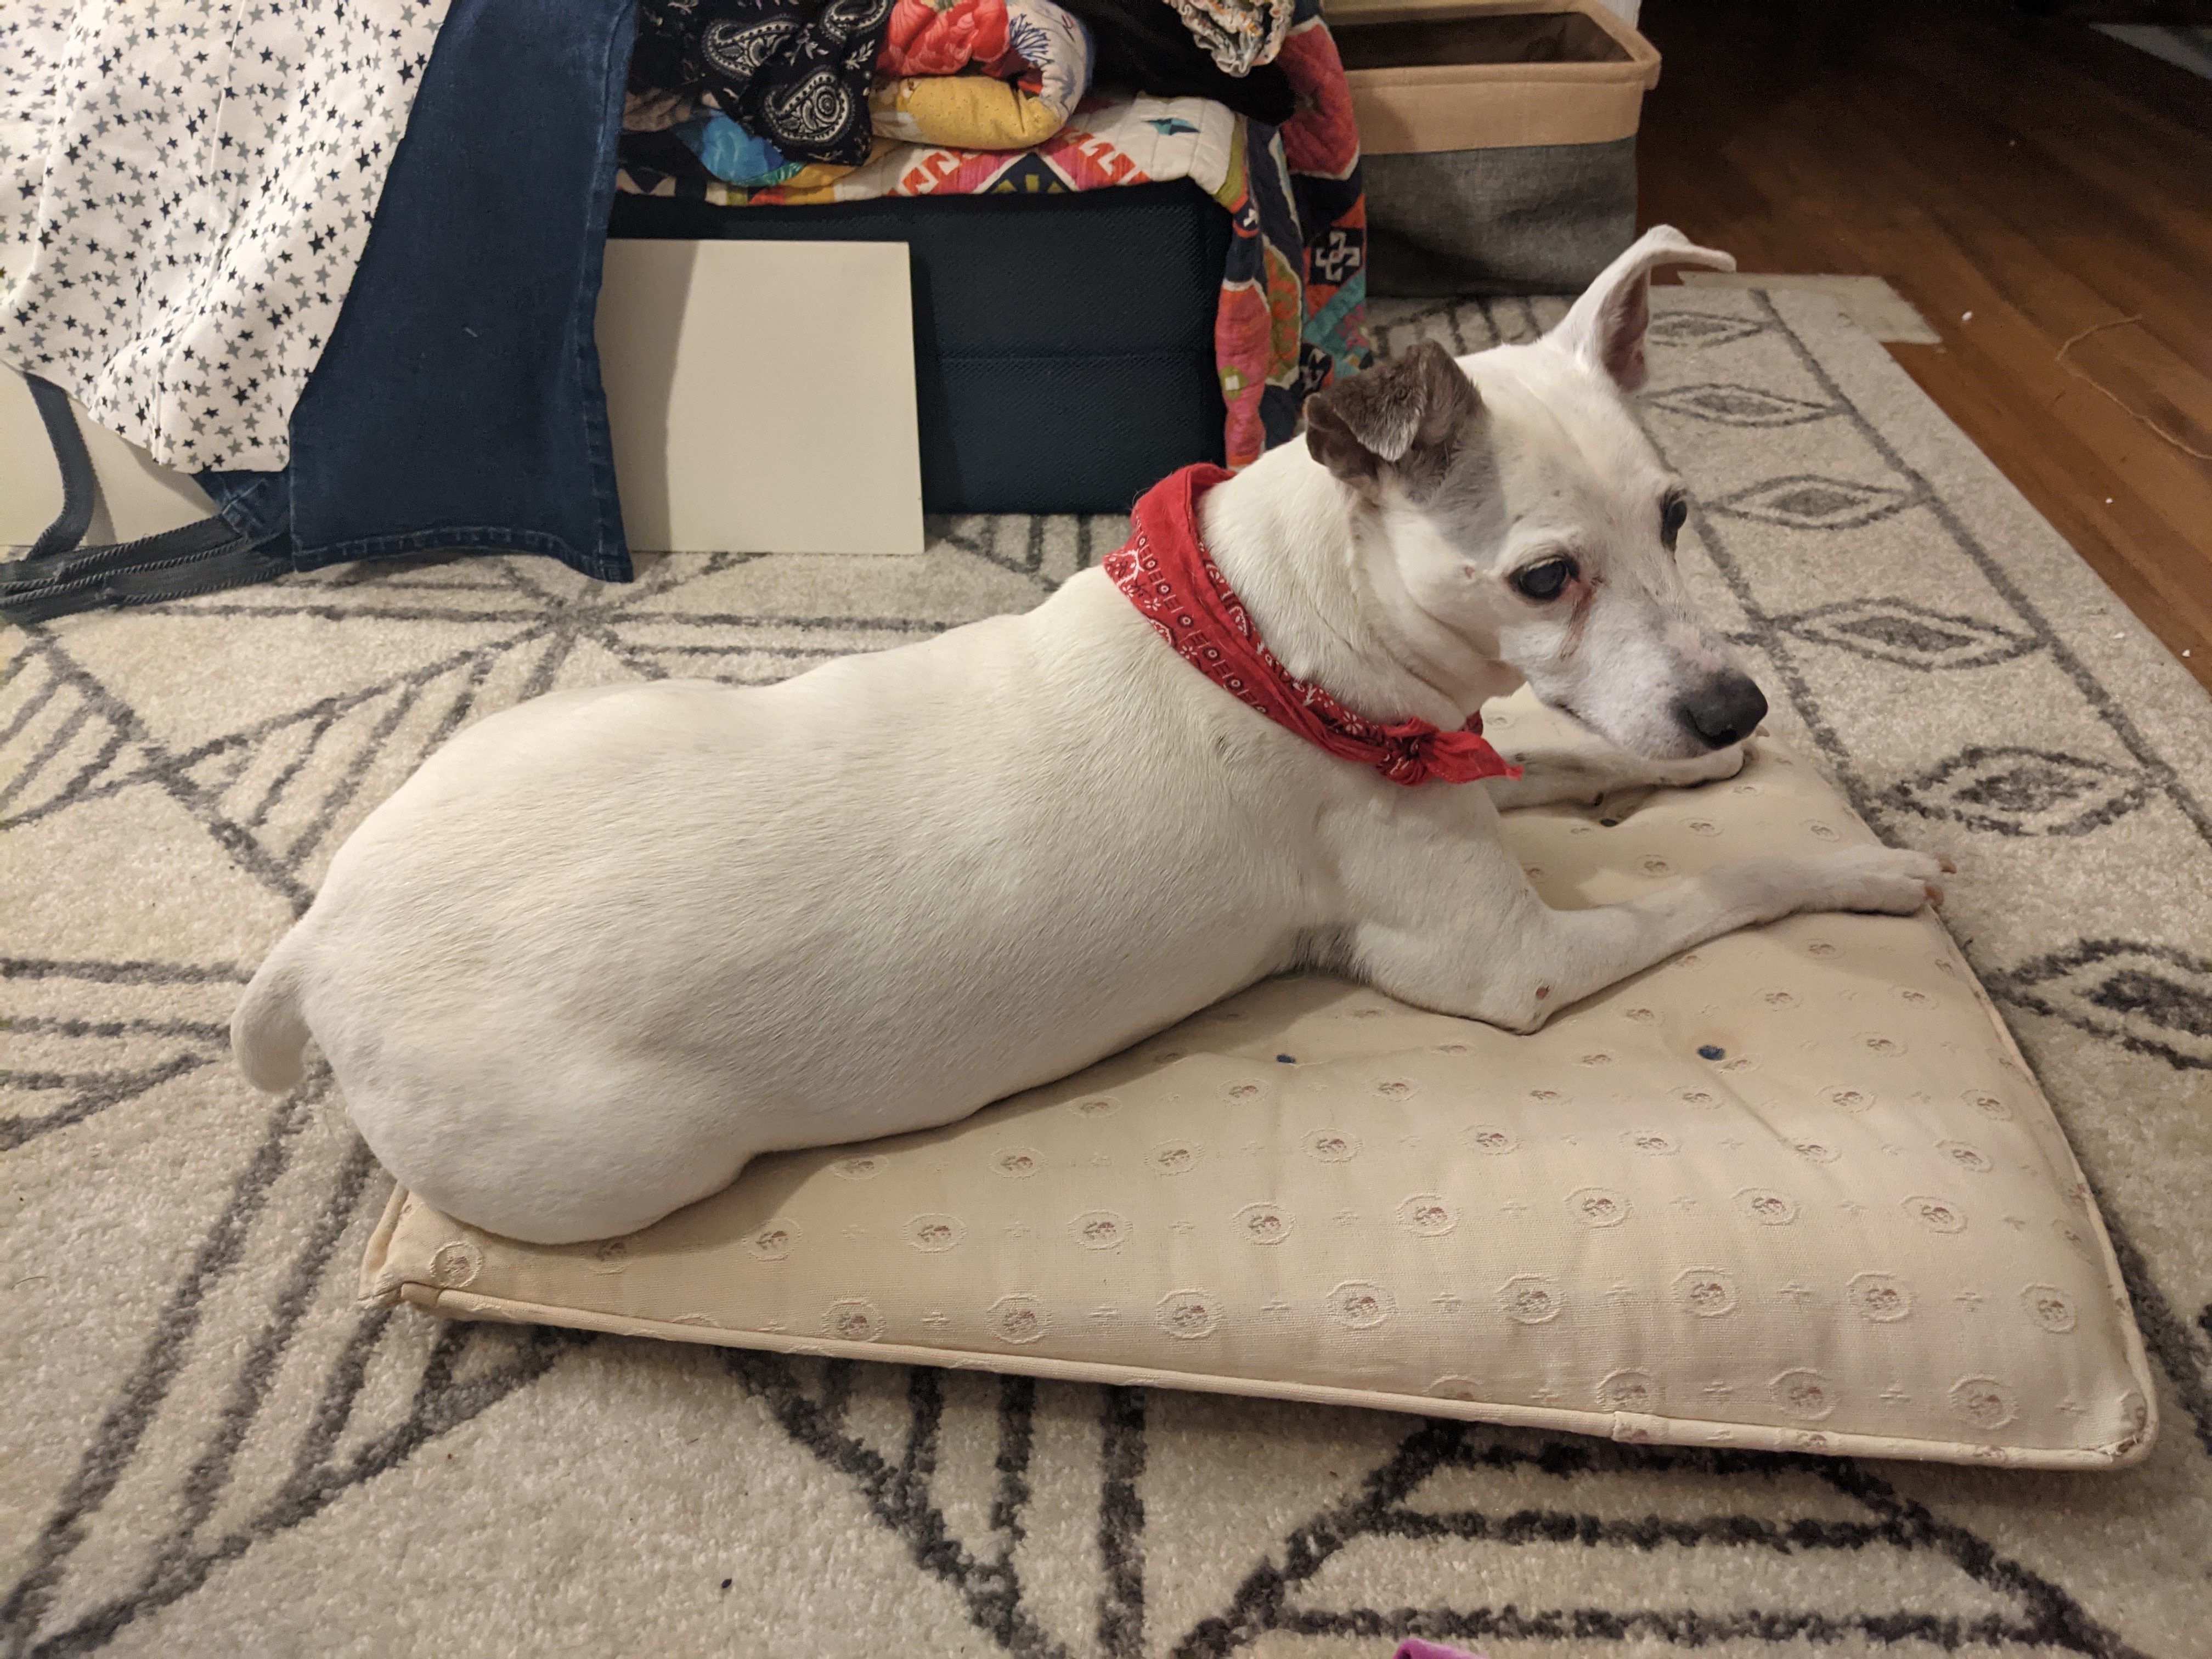
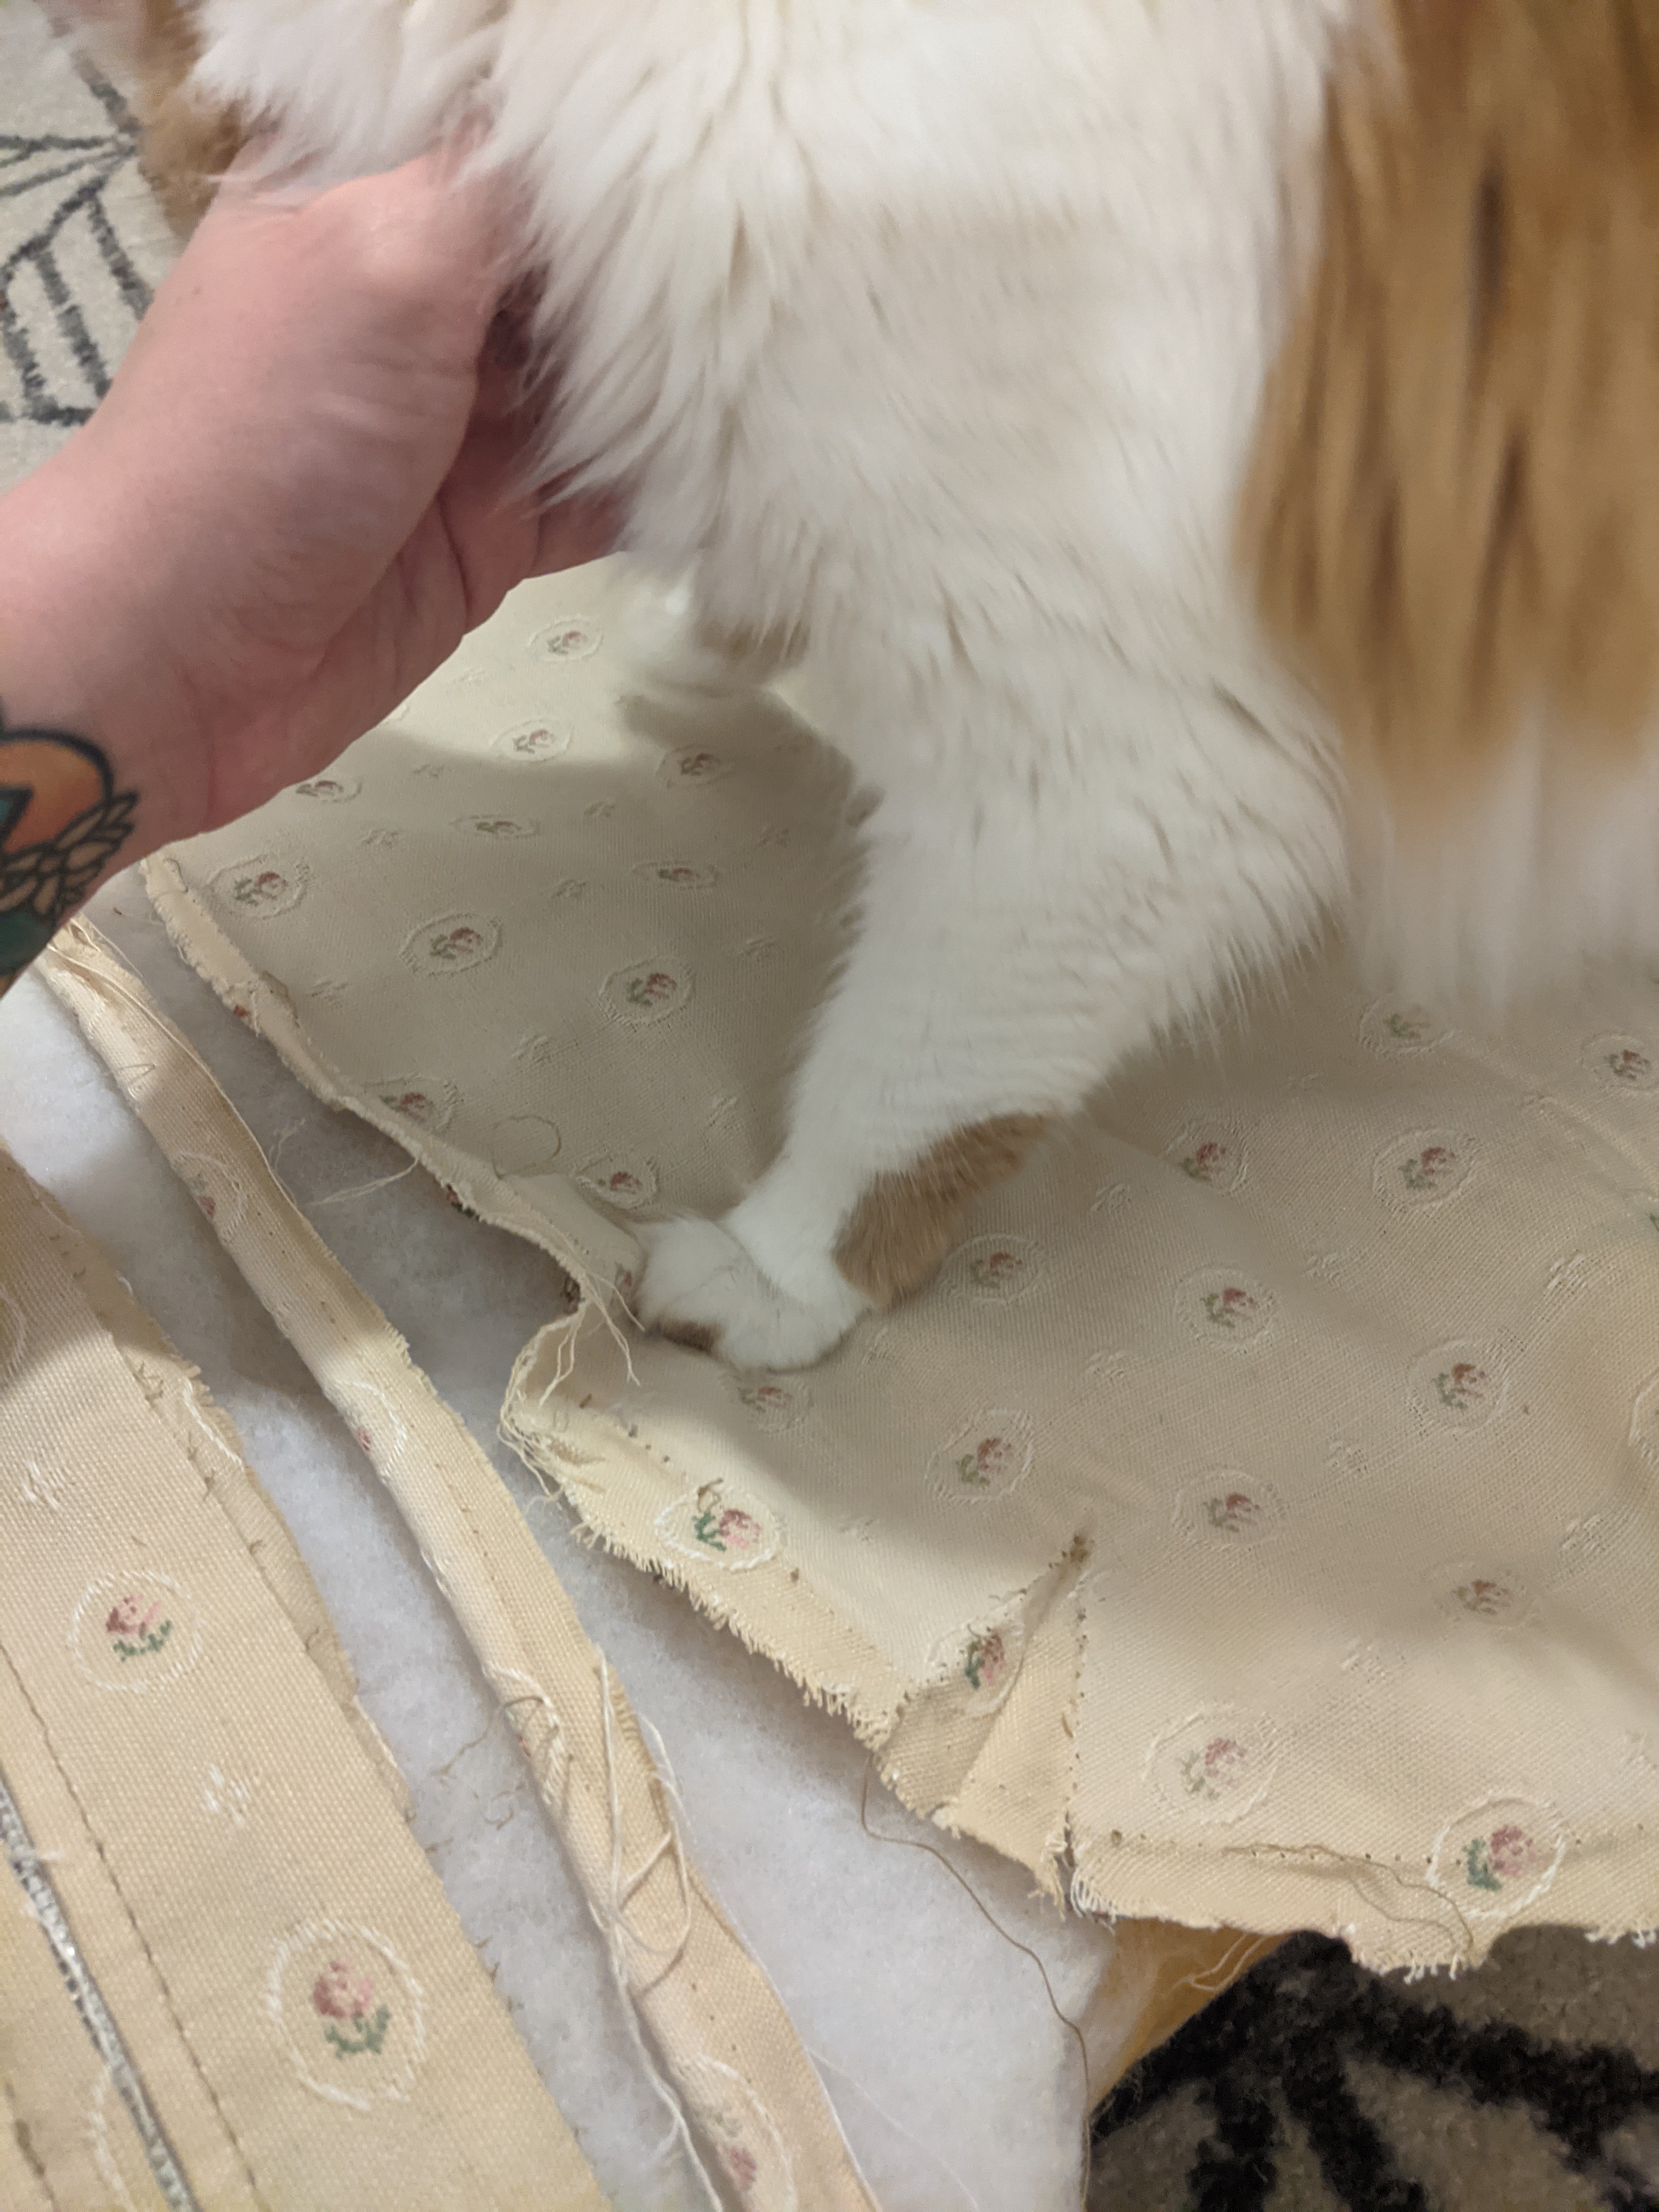
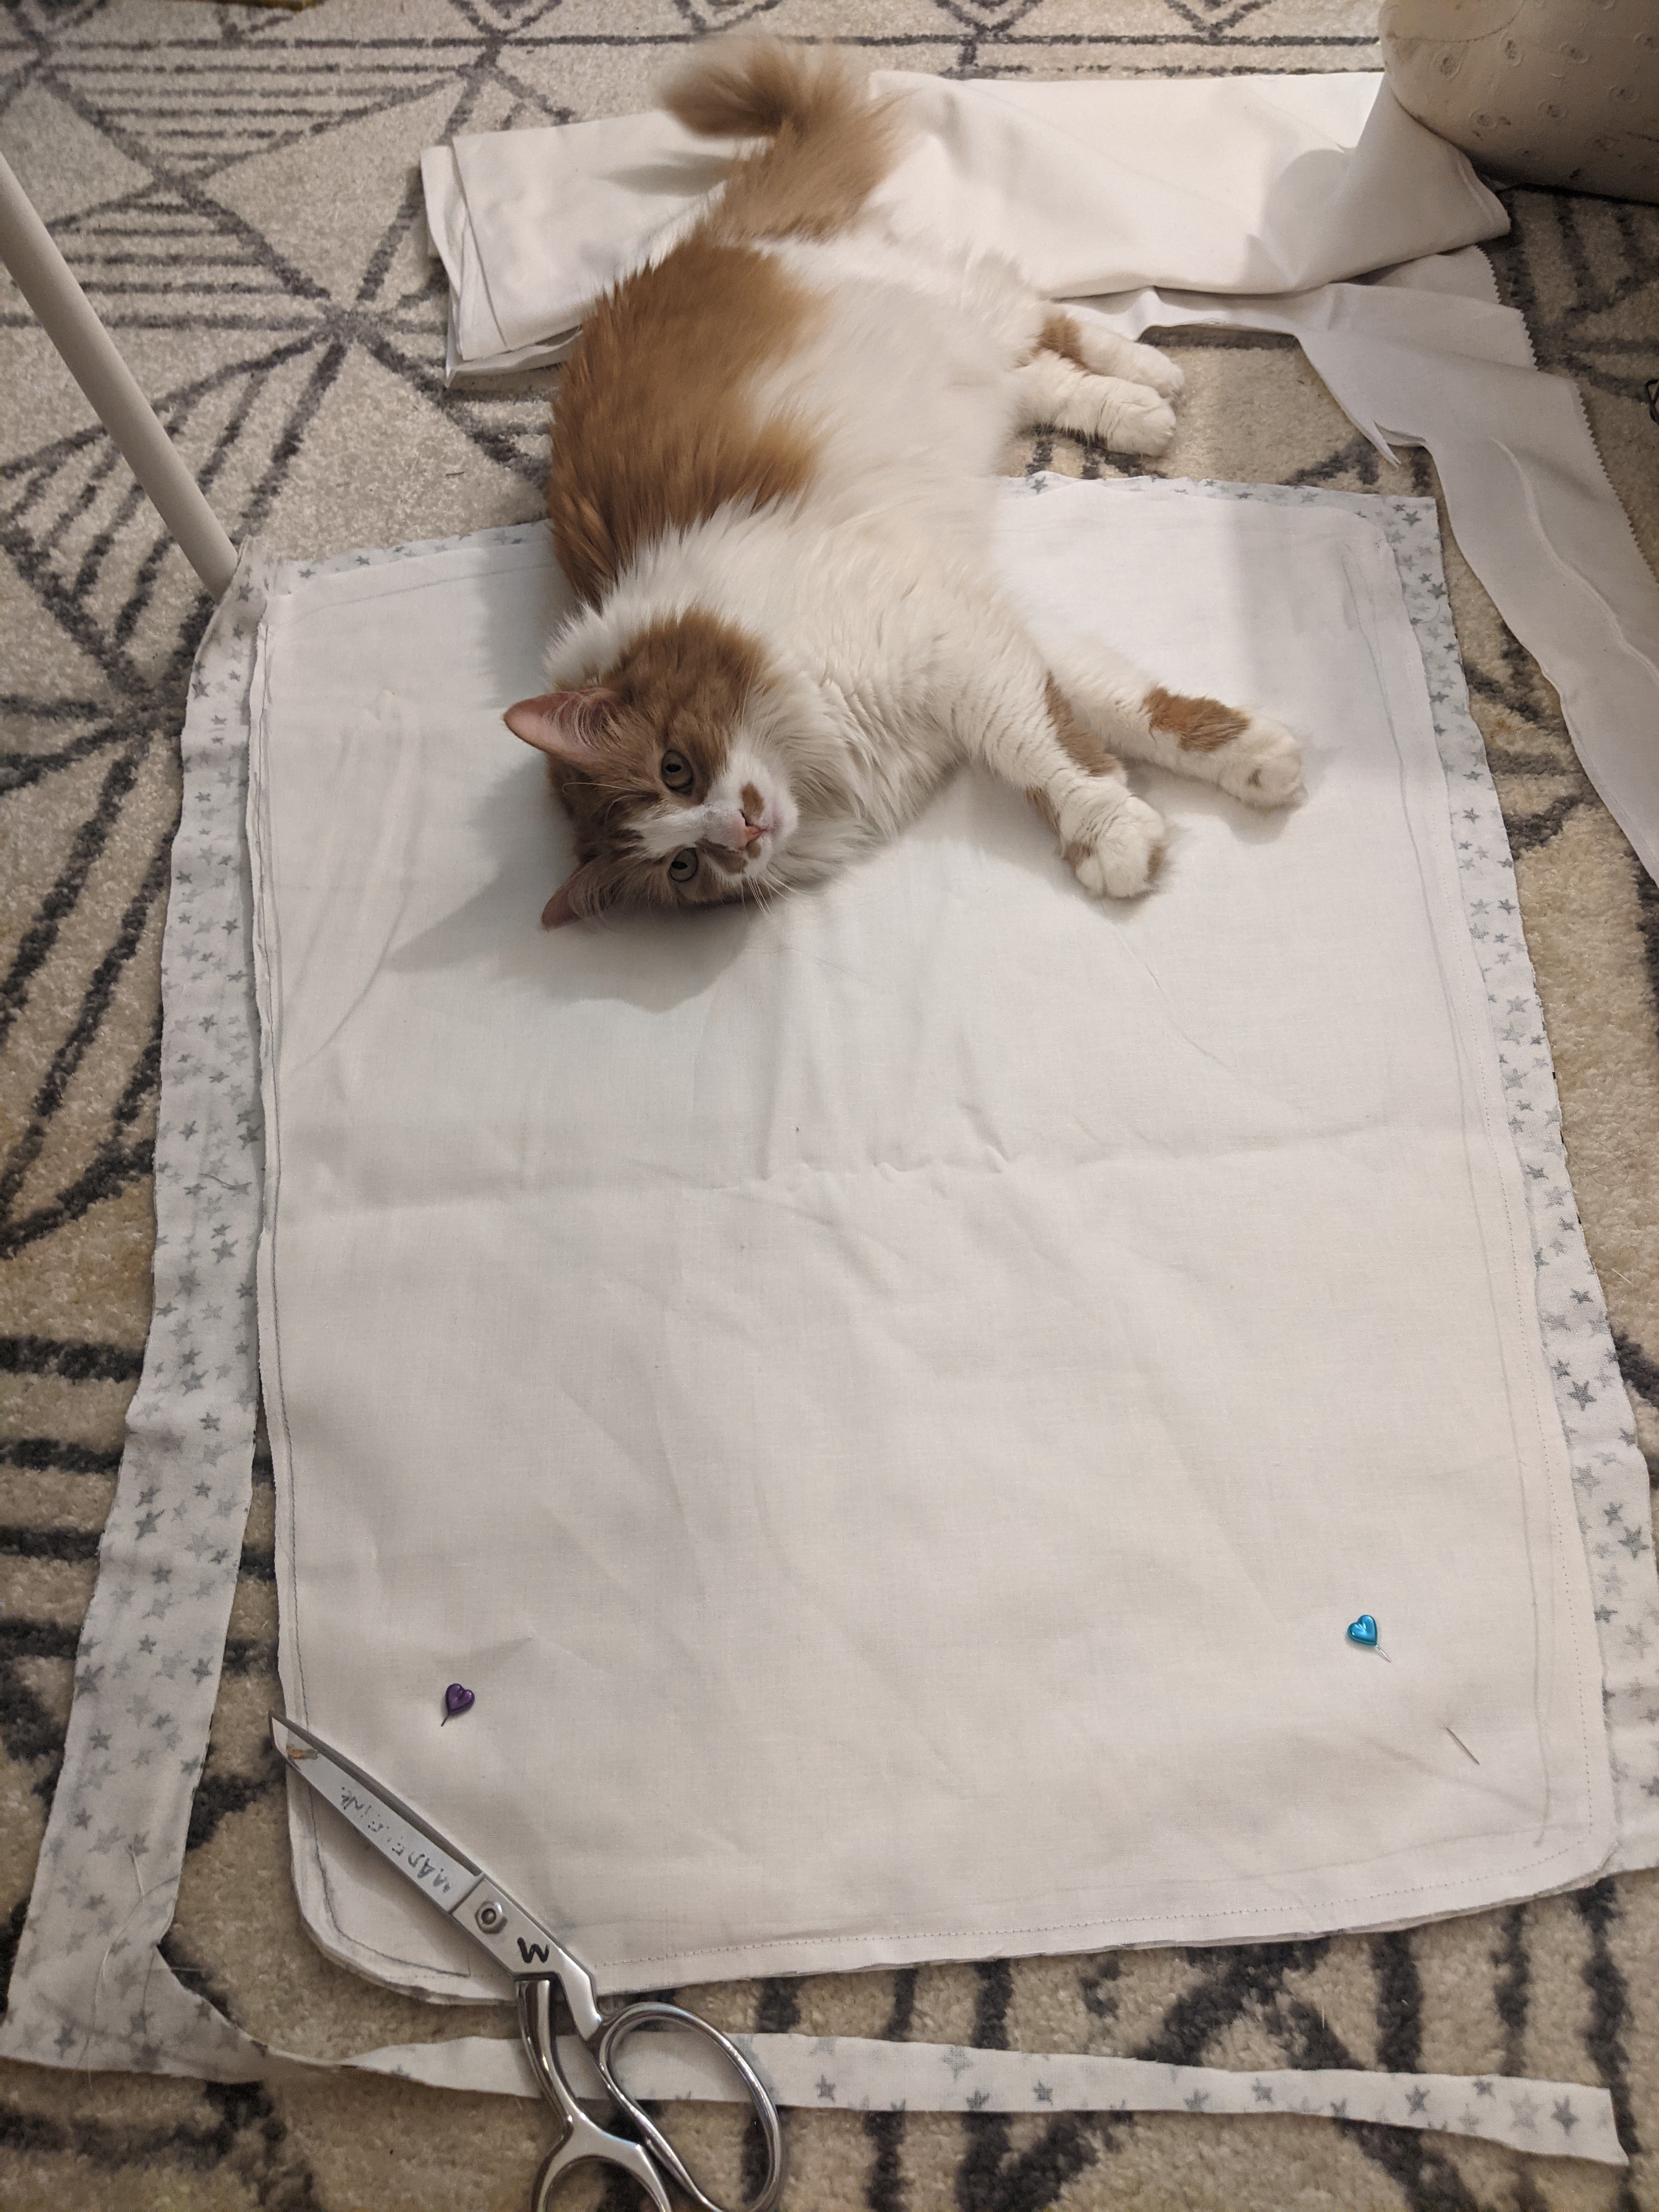
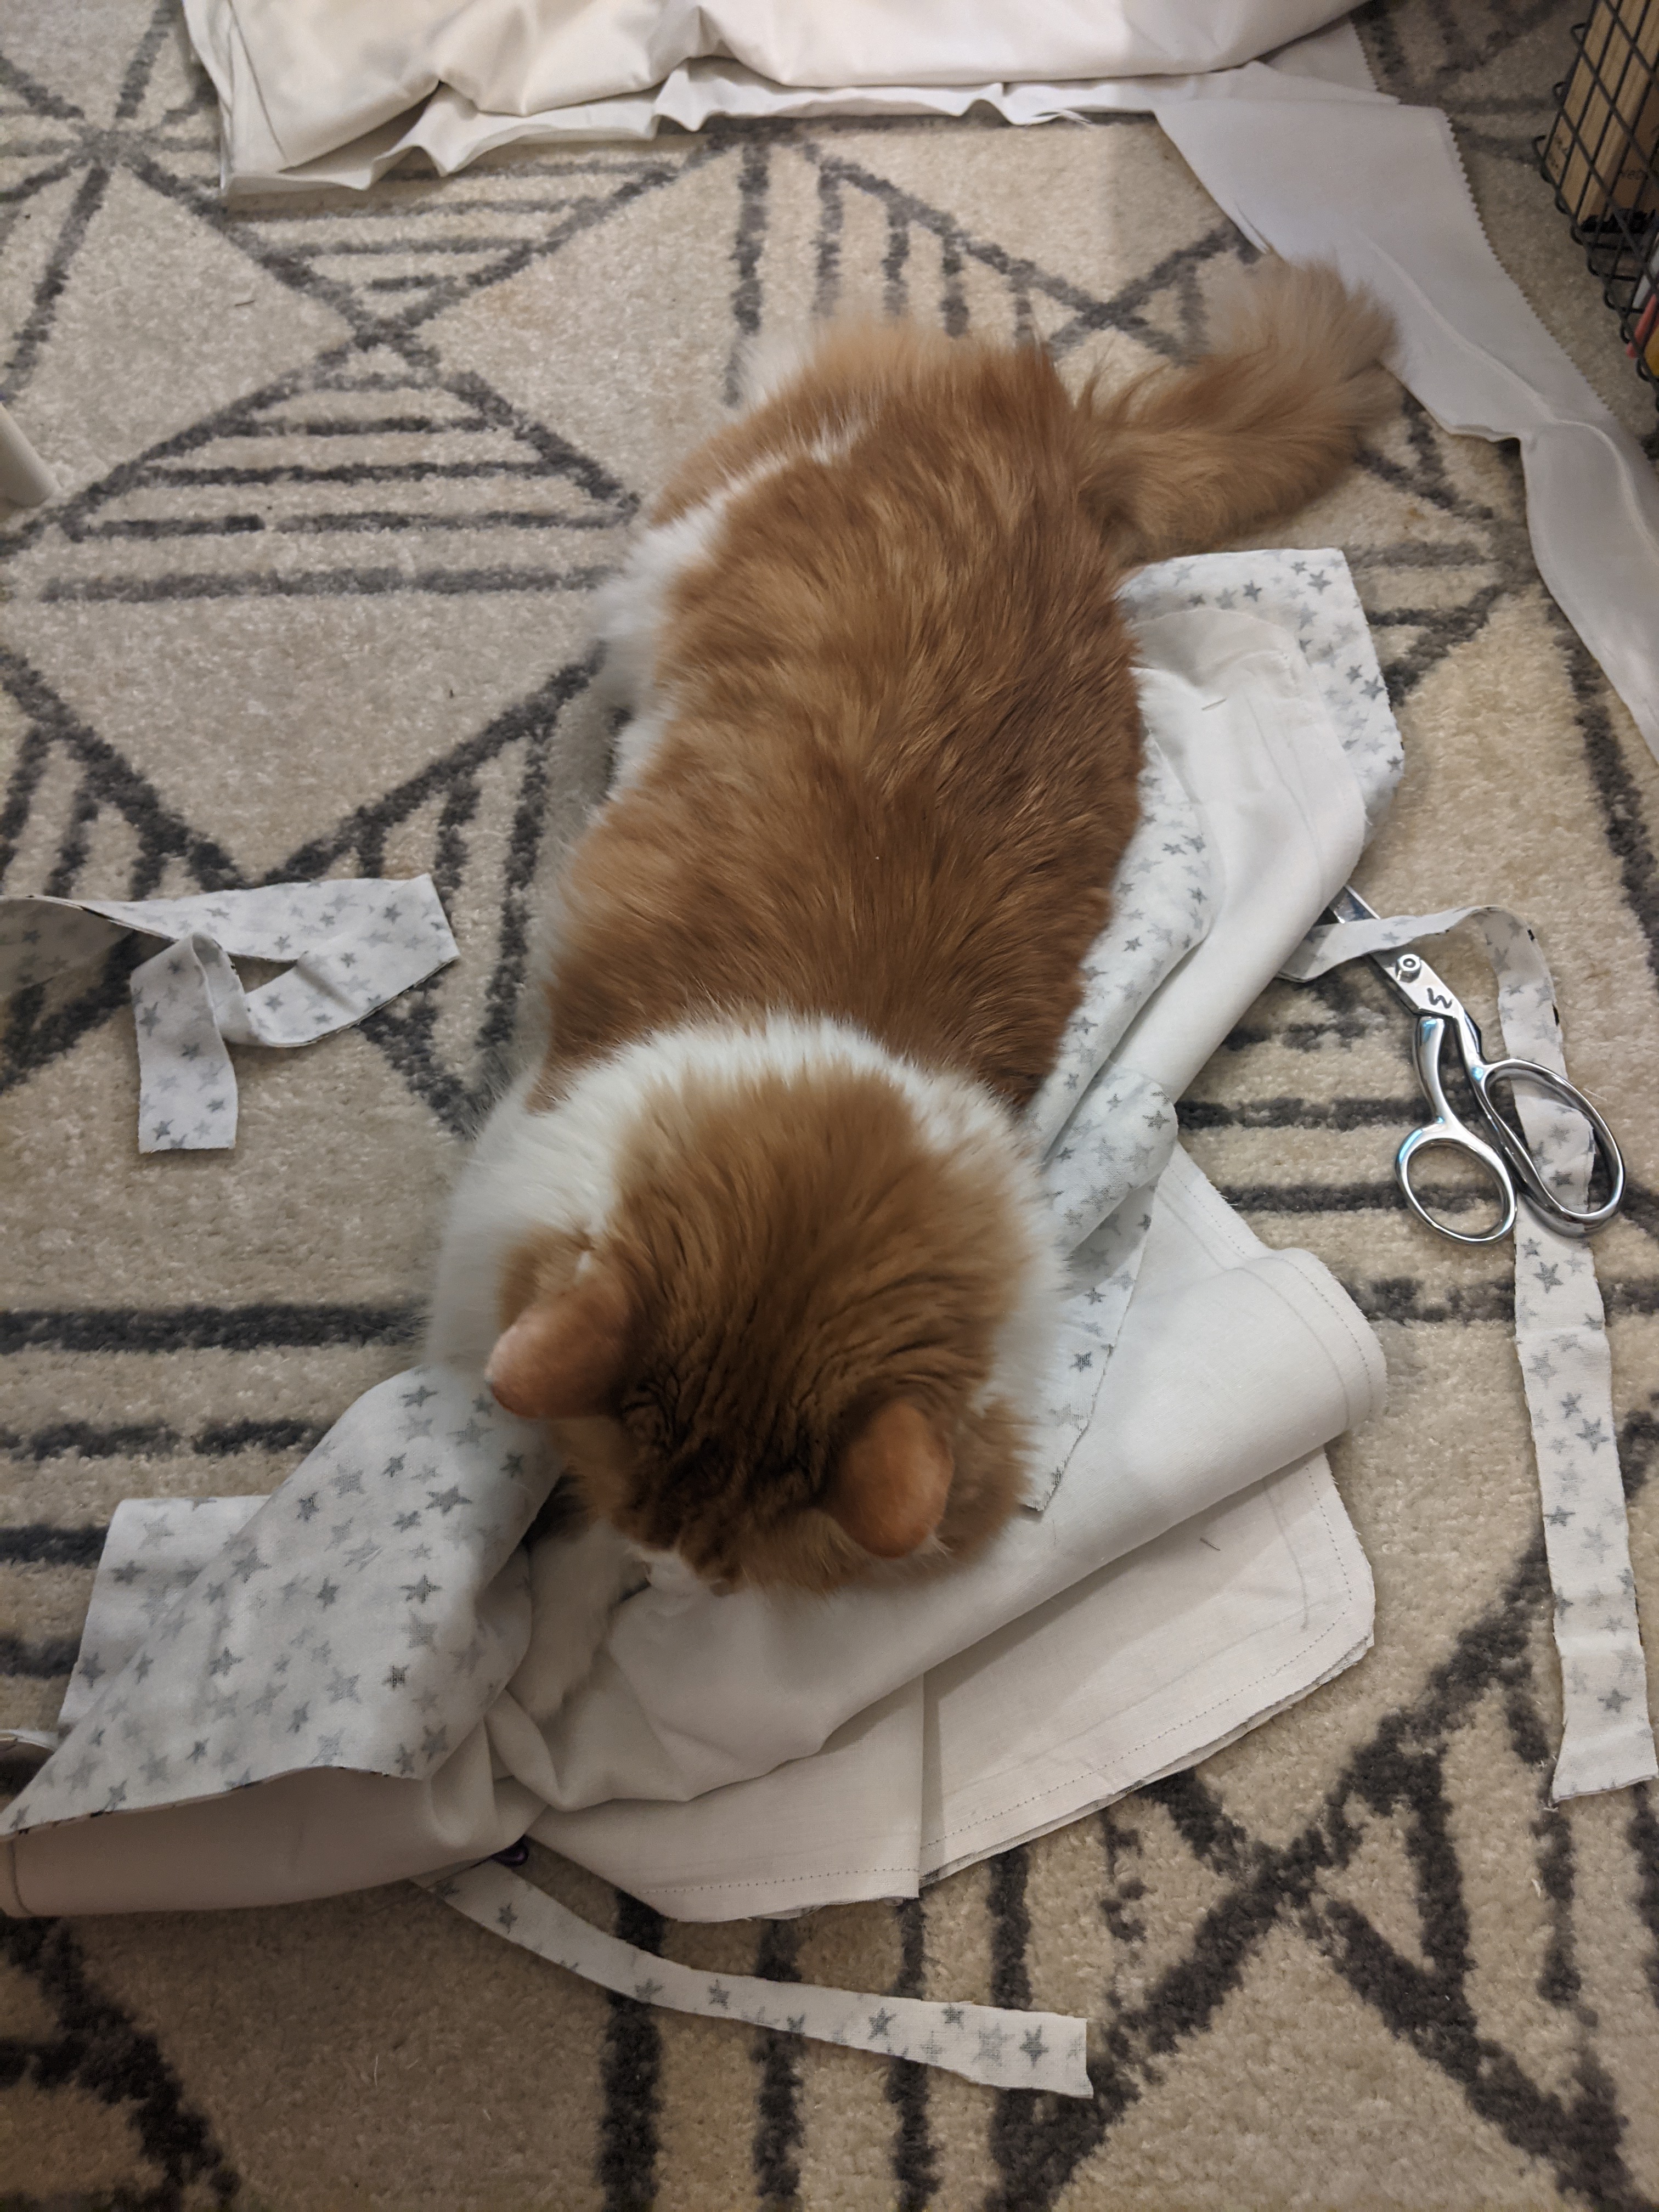
So now, with my project manager keeping an eye on me, I laid the old seat over the liner fabric, and began hesitantly to cut it out. Amelia checked for quality control every step of the way.
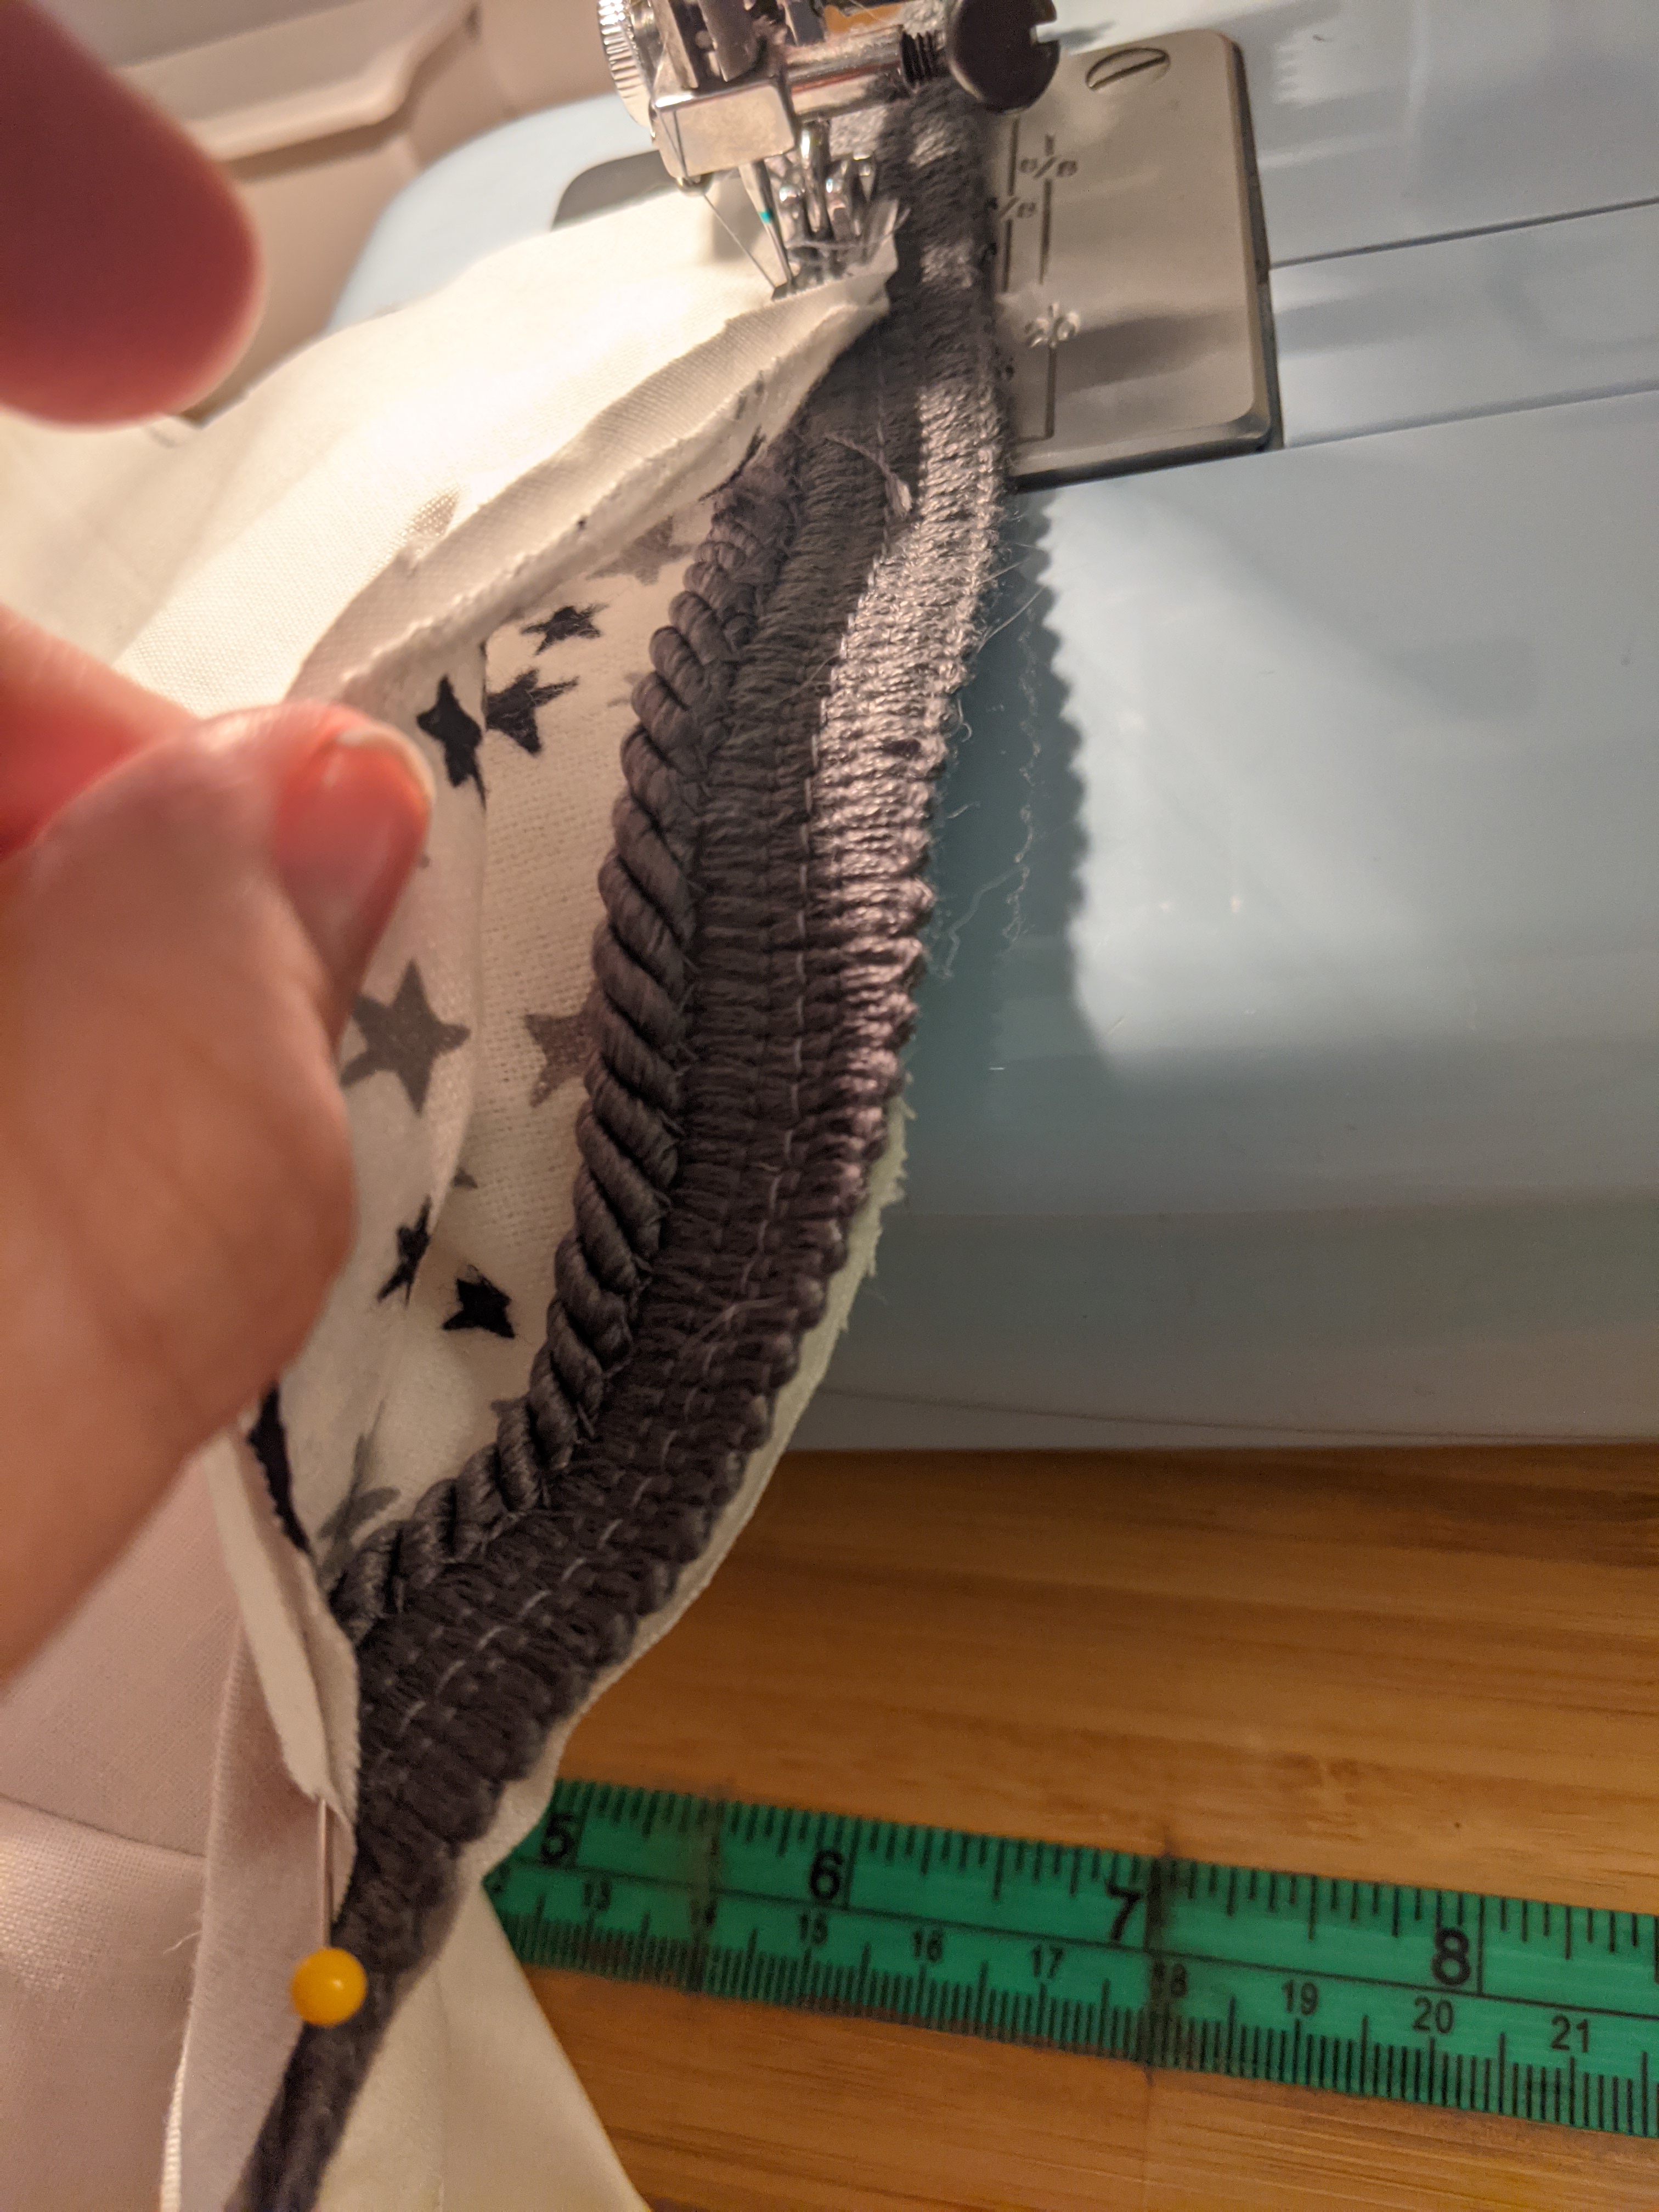
Once all the lining and new fabric cover pieces were cut out, it was time to reassemble the dang thang. As an added flourish, I placed some matching flanged piping cord (some rope with a 1/2 lip on it so you can sew it to stuff) between the outer fabric and the lining. To keep it from slipping and shifting around, I pinned and sewed it to the lining first.

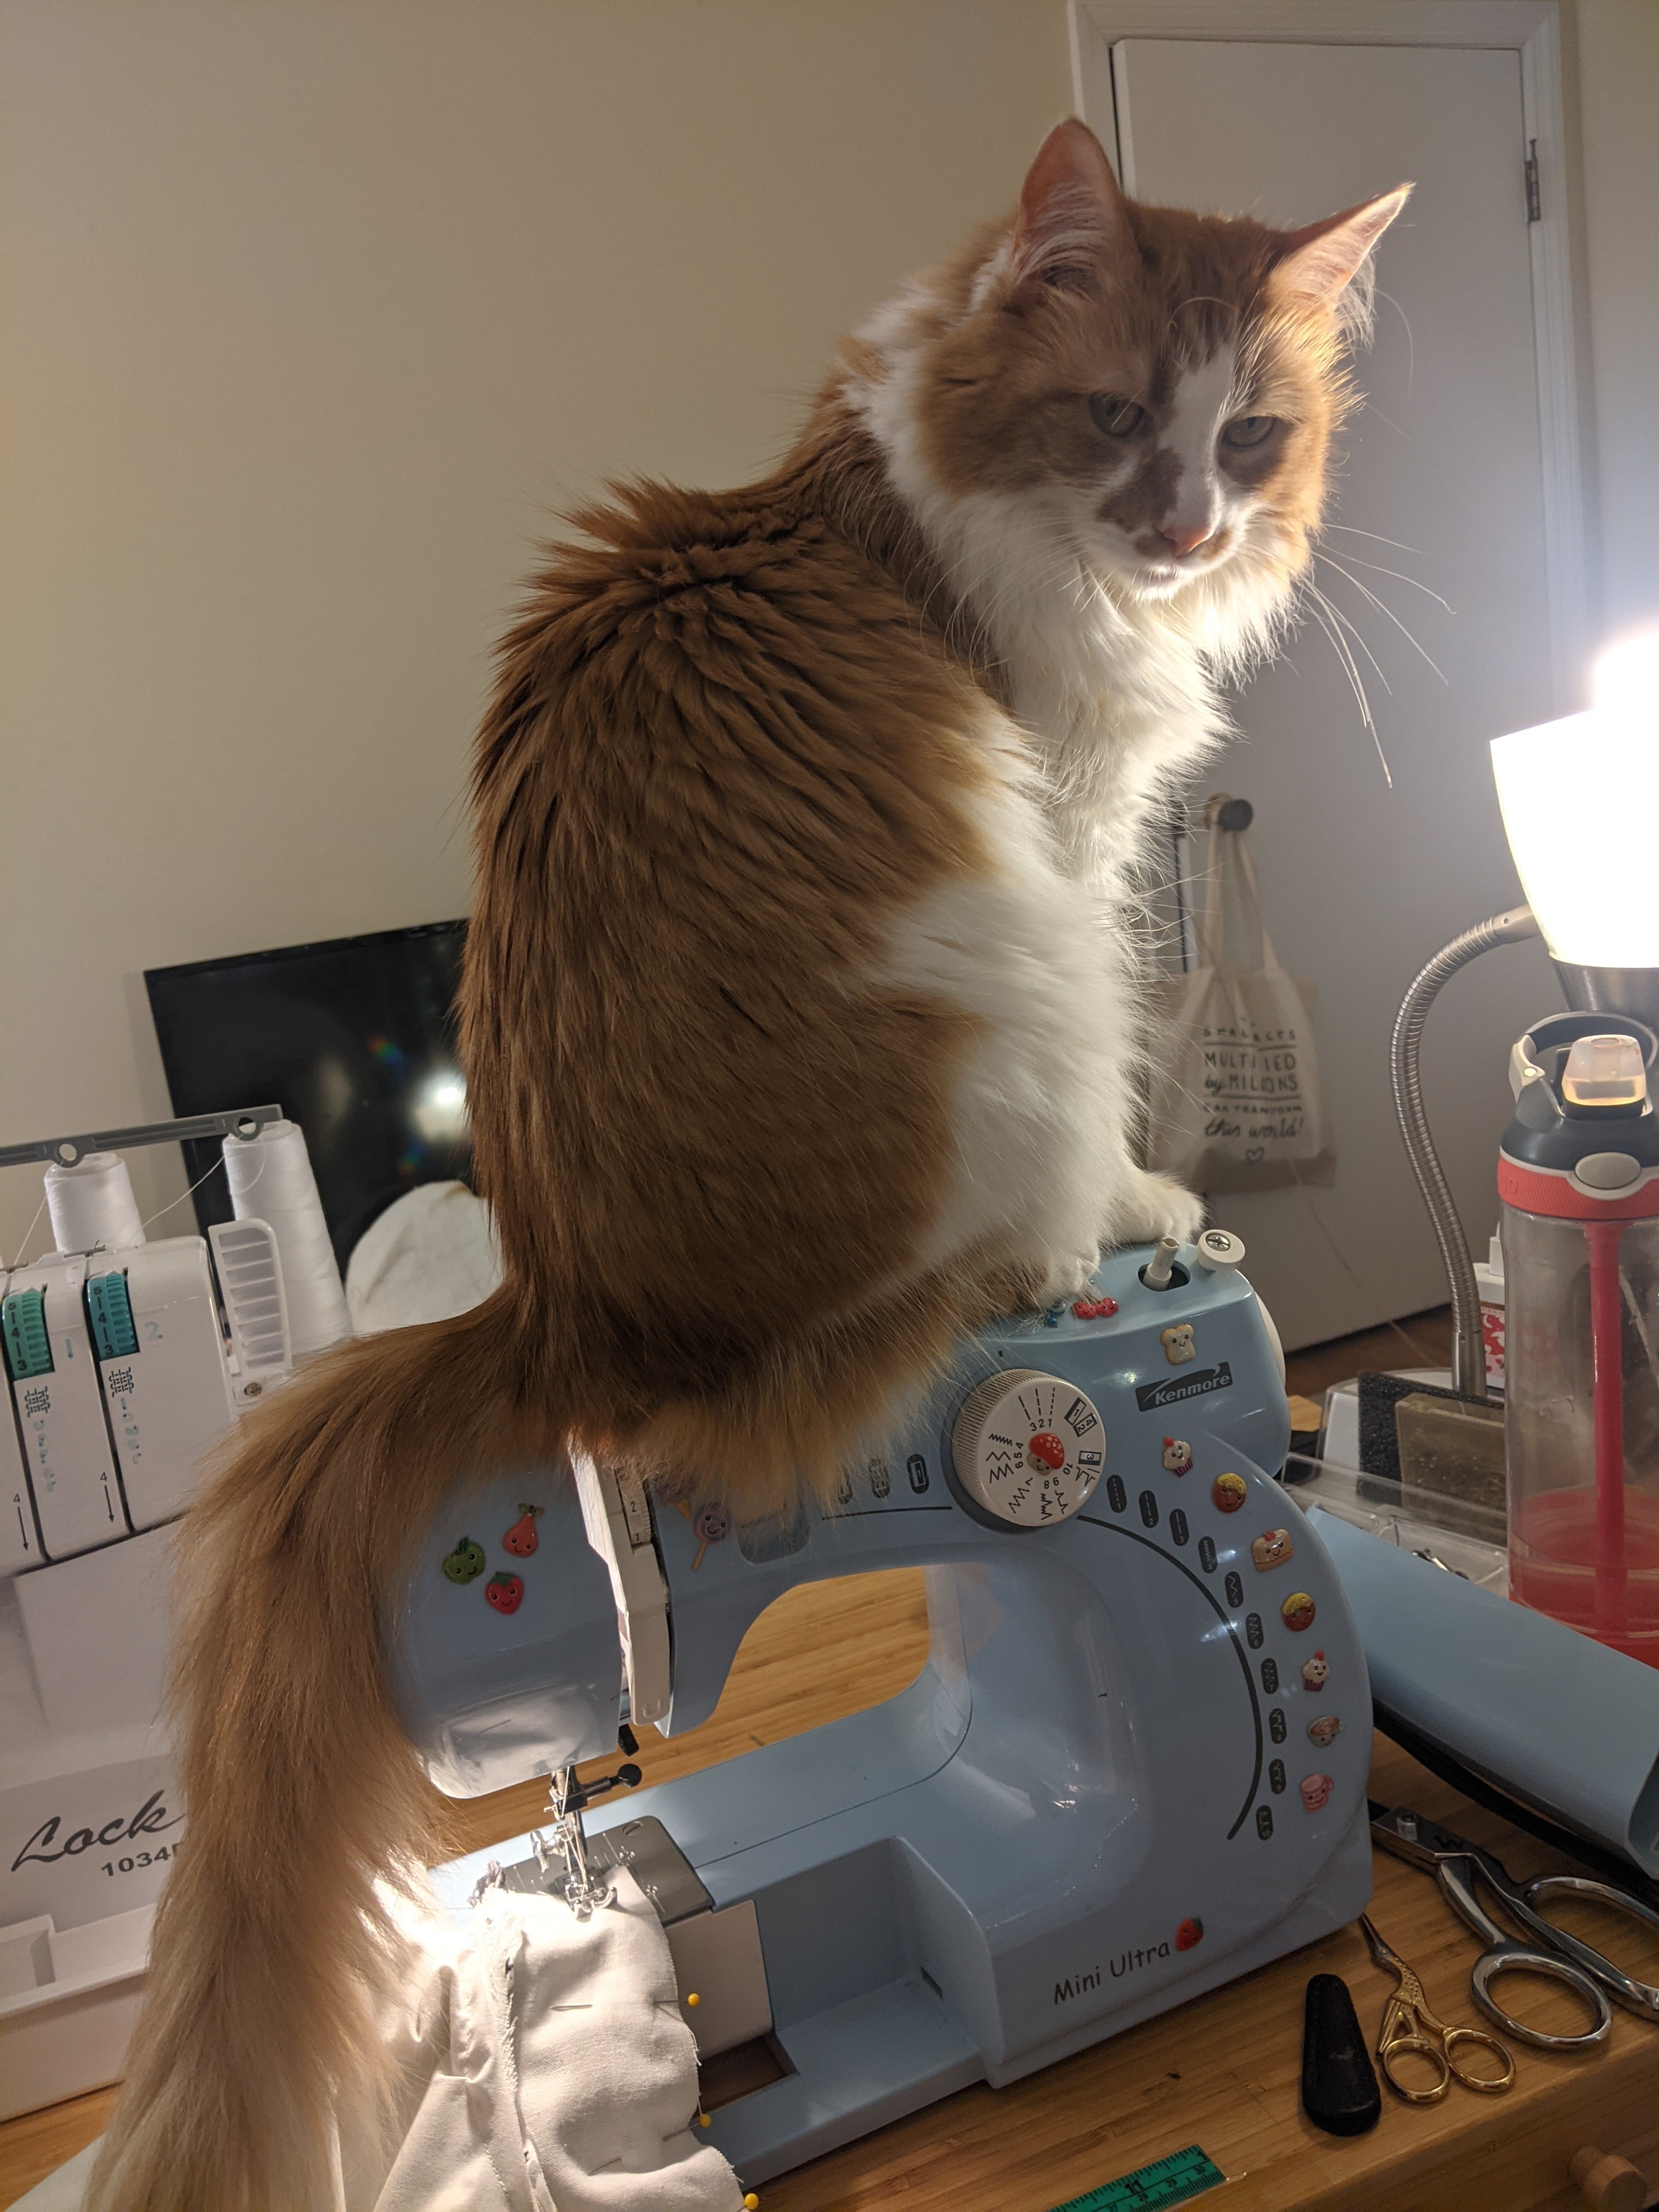
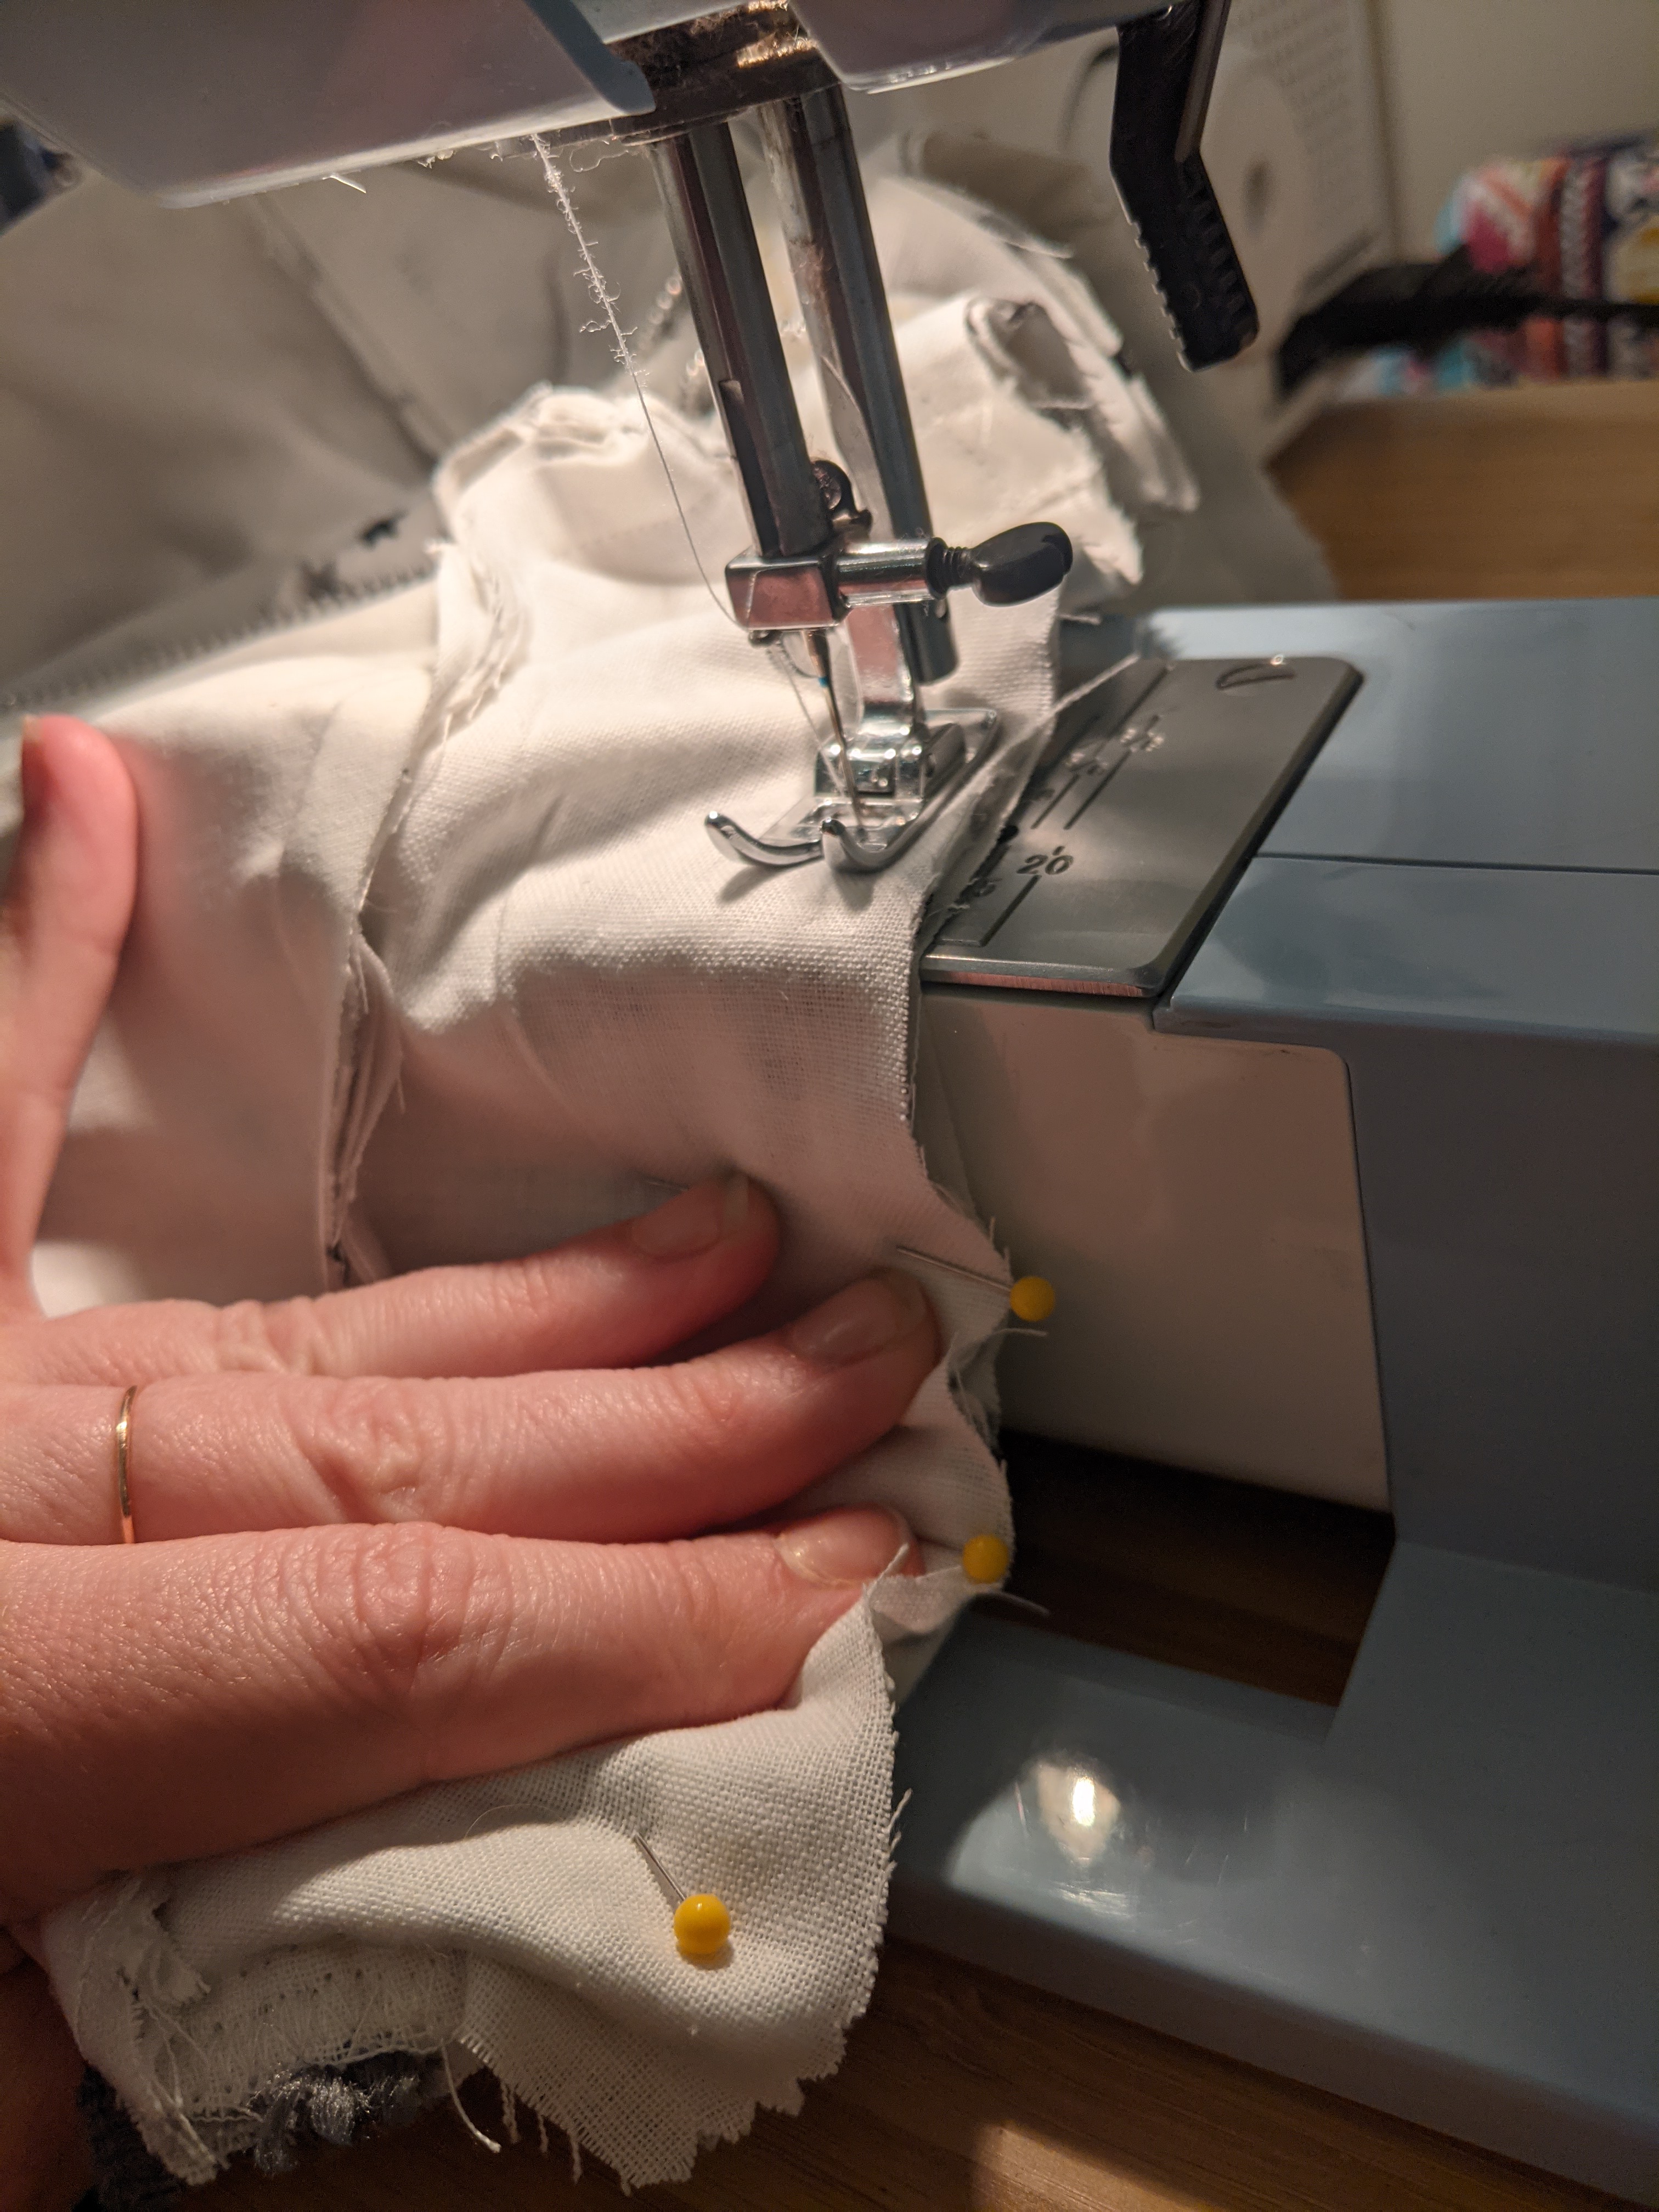
Things were chugging along just fine until my 20 year old Kenmore felt like 4 ply fabric was a bit too much to handle.
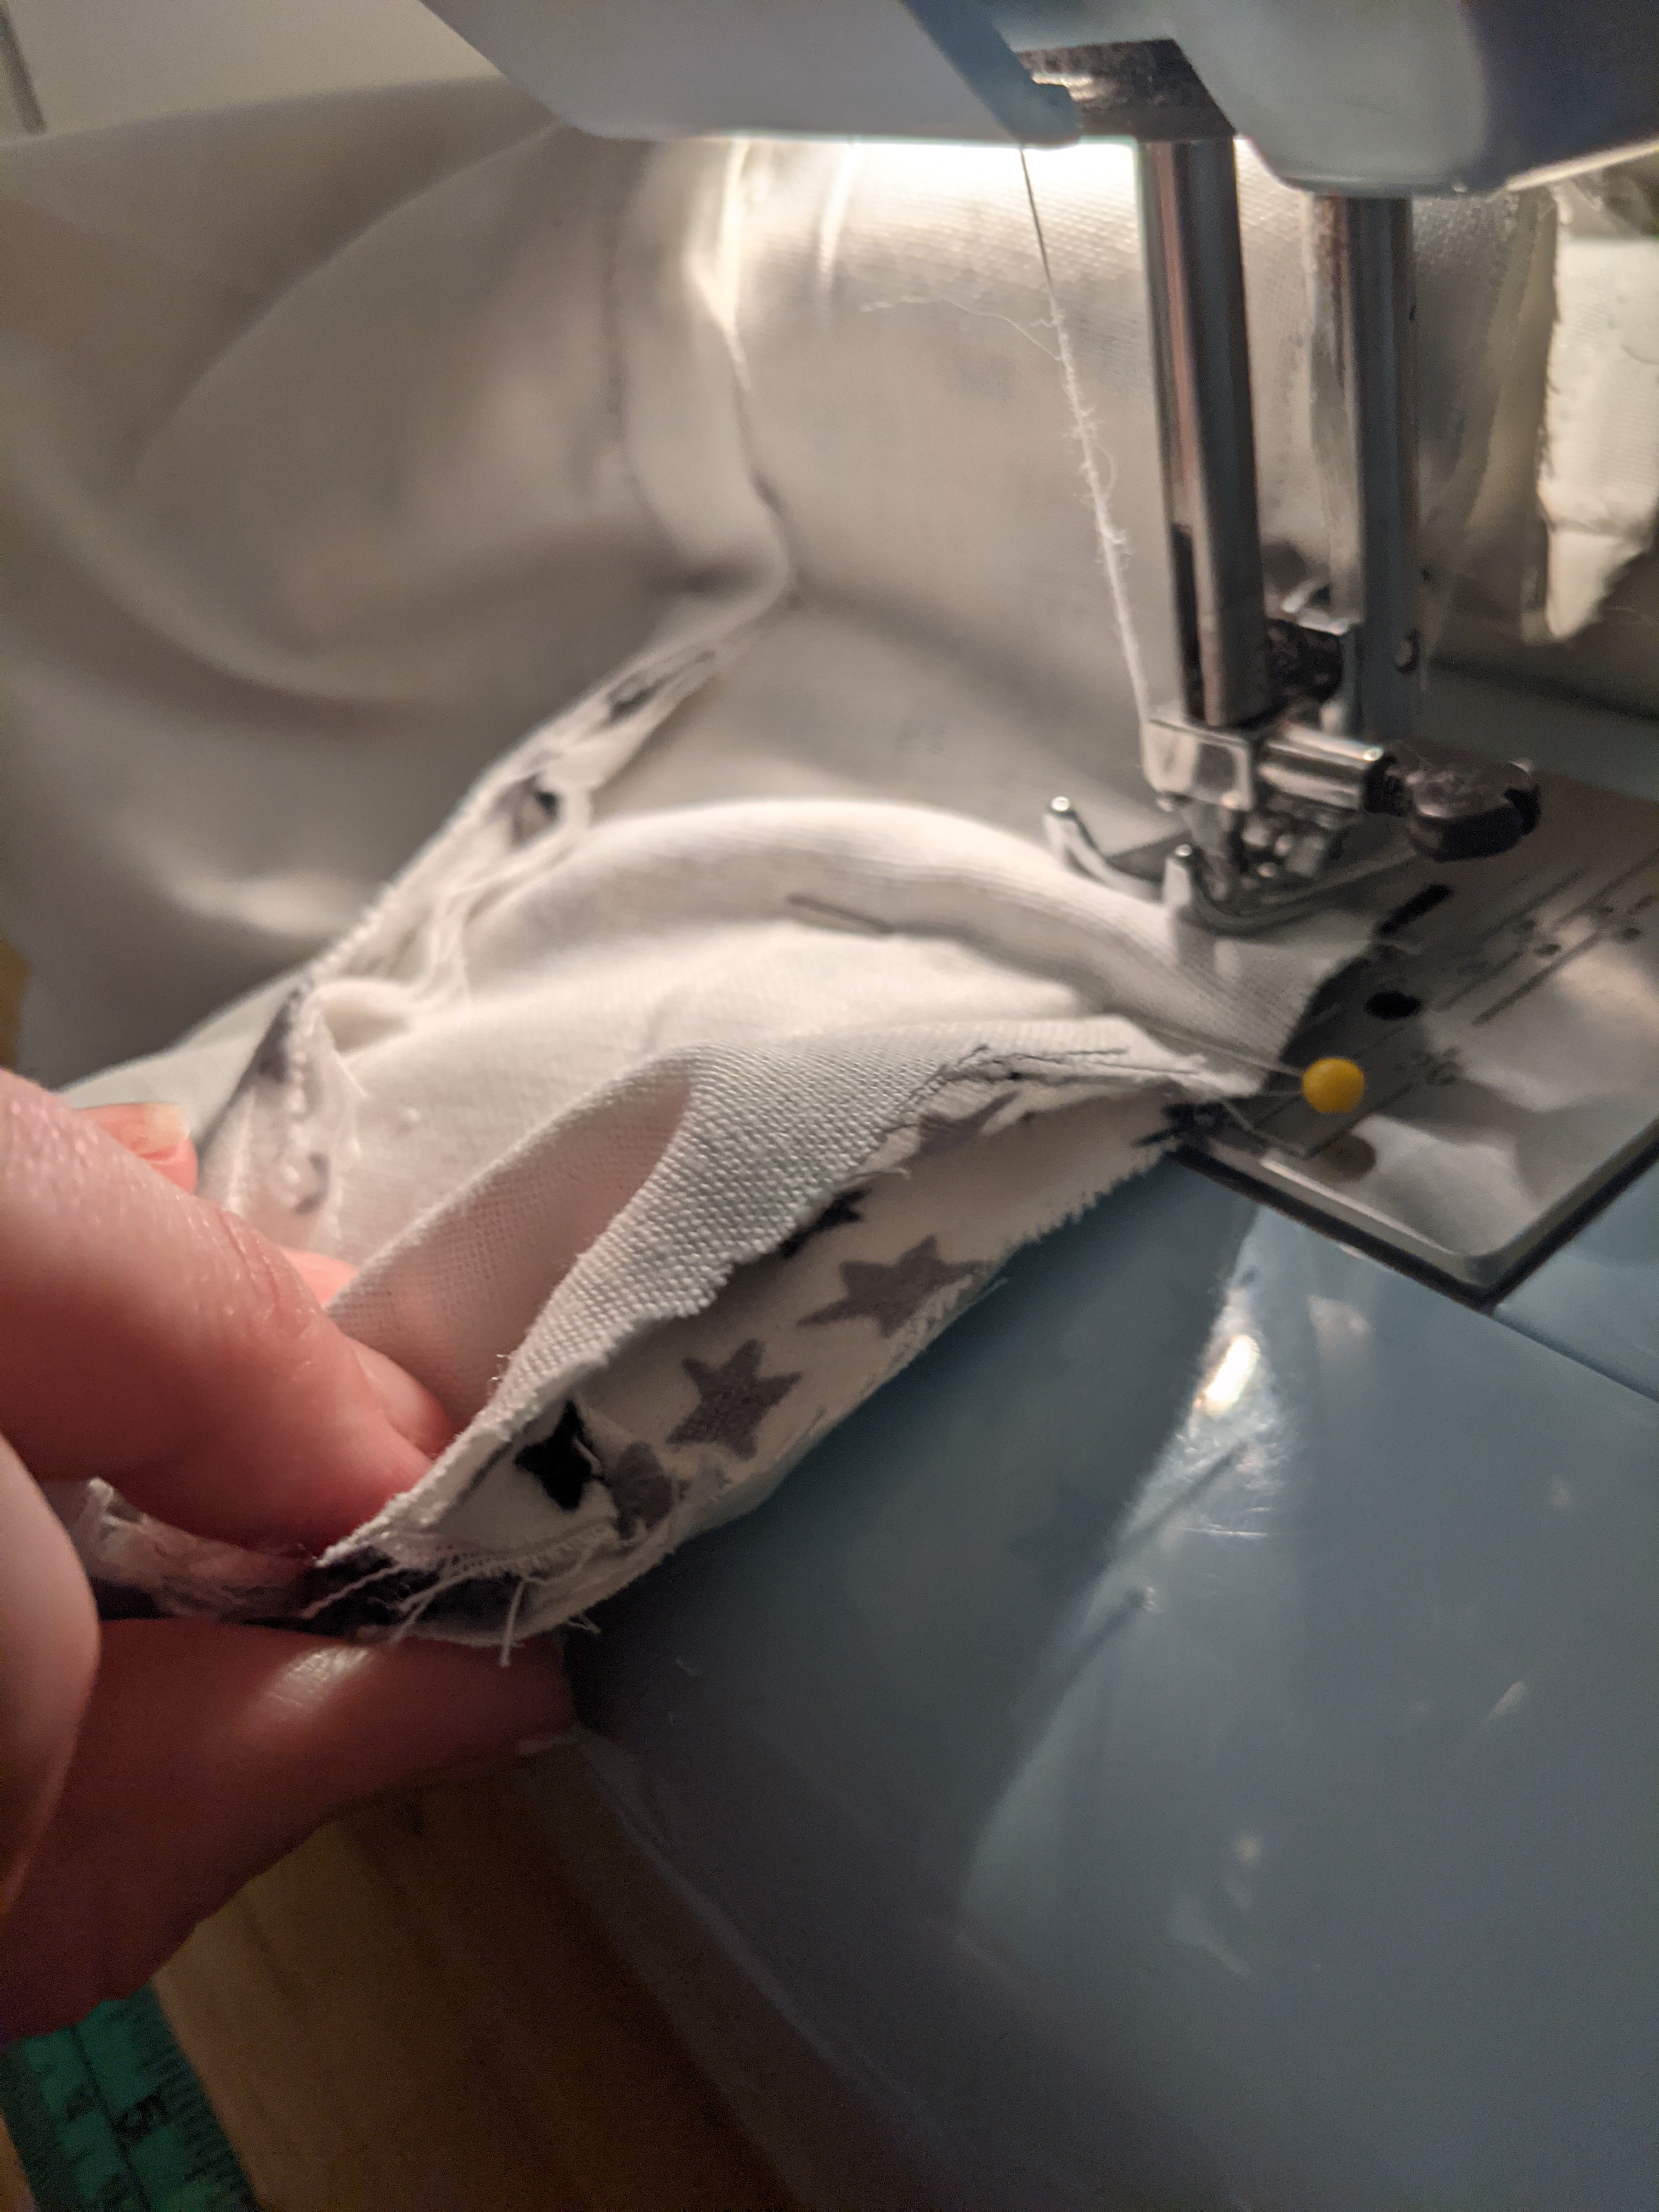
Wanting to avoid a wrinkle or ripping all those seams back out, I took the pins out and finagled the fabrics back into shape. One trick that I like to use when I have a lot going on under the needle is to remove the flat bed attachment, since that helps you go around curves (at least in my experience).
The last and hardest part was installing the zipper. I didn’t buy a new one because I simply could not find one the right size on the day that I went to Joann’s. Luckily the teeth were all pristine and there was no warping or anything.

If you’ve ever sewn a zipper, you know how thrilling it is to do it right on the first time. This was not one of those times.

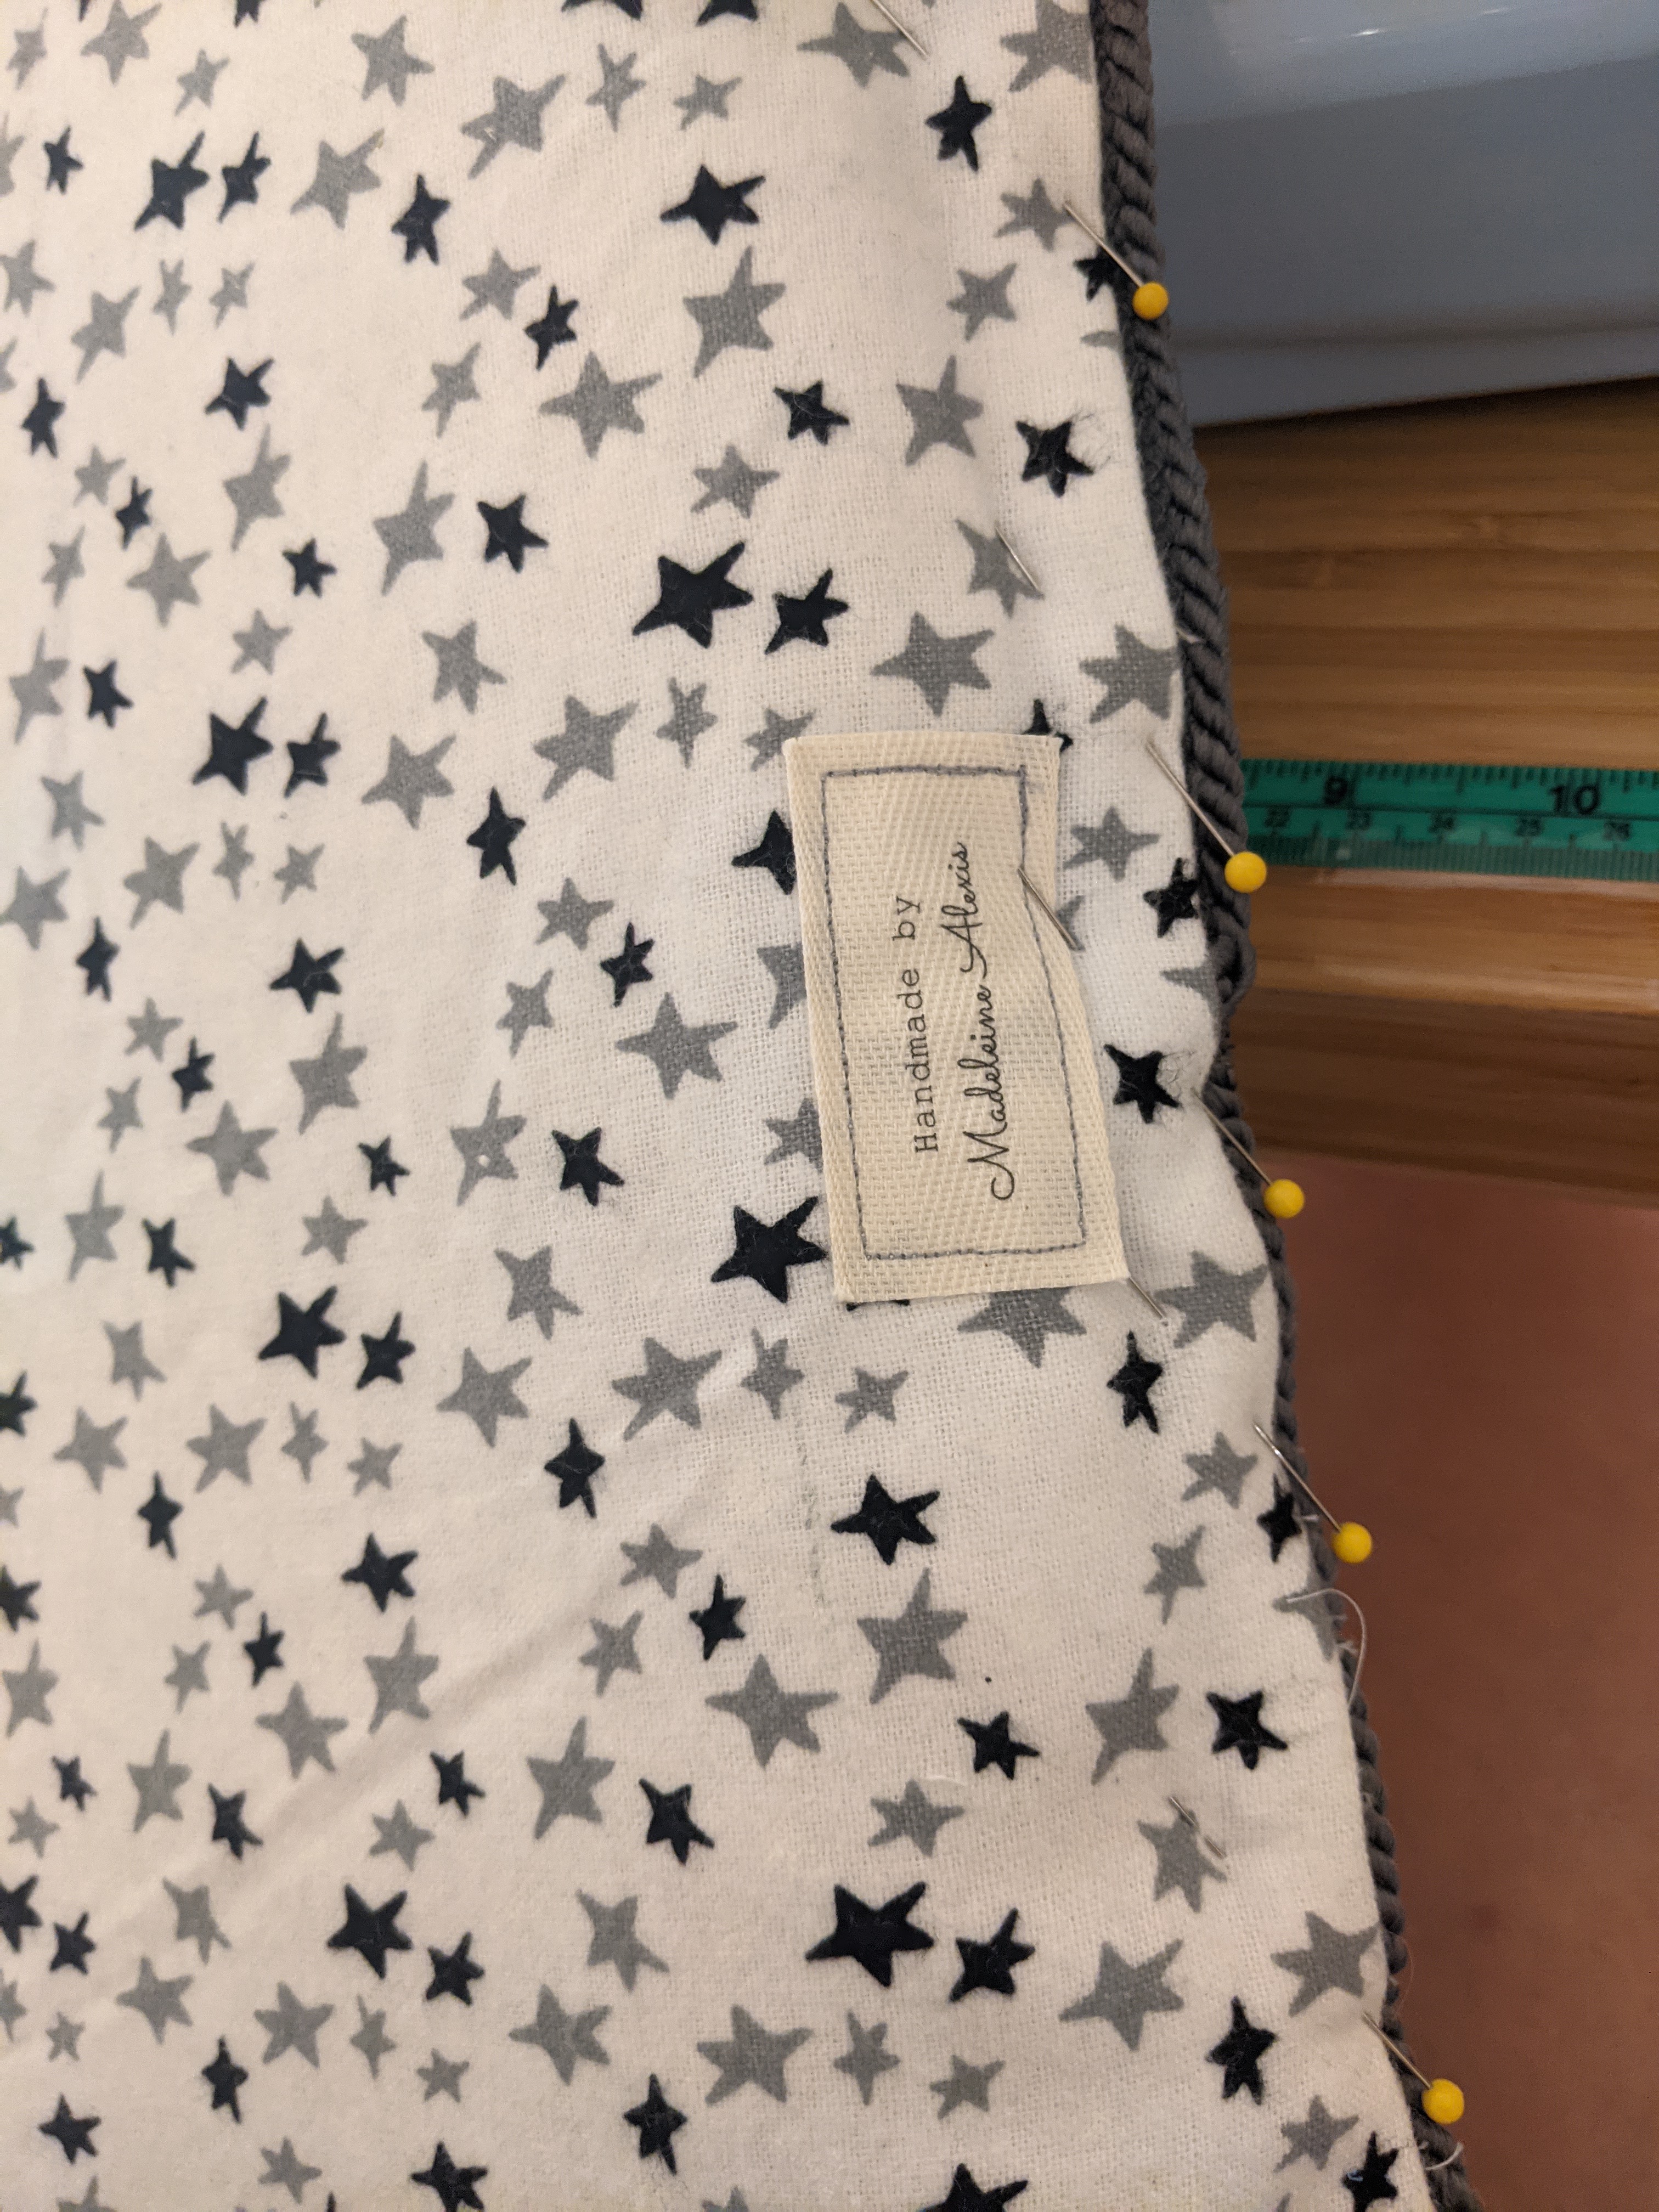
After changing the needle (twice) the zipper was finally, if not reluctantly, installed and in working order. All the seams were turned right side out, and as a final touch, I added my Me-Made tag.
With that, it was officially DONE!!! I brought it over to Jen’s and set it up in her nursery while she waited in another room for her “surprise”. Even though she knew what it was, she still wanted the thrill of seeing it in person. Similar to how one might feel when having a baby, I’m guessing.
So here’s how it turned out!
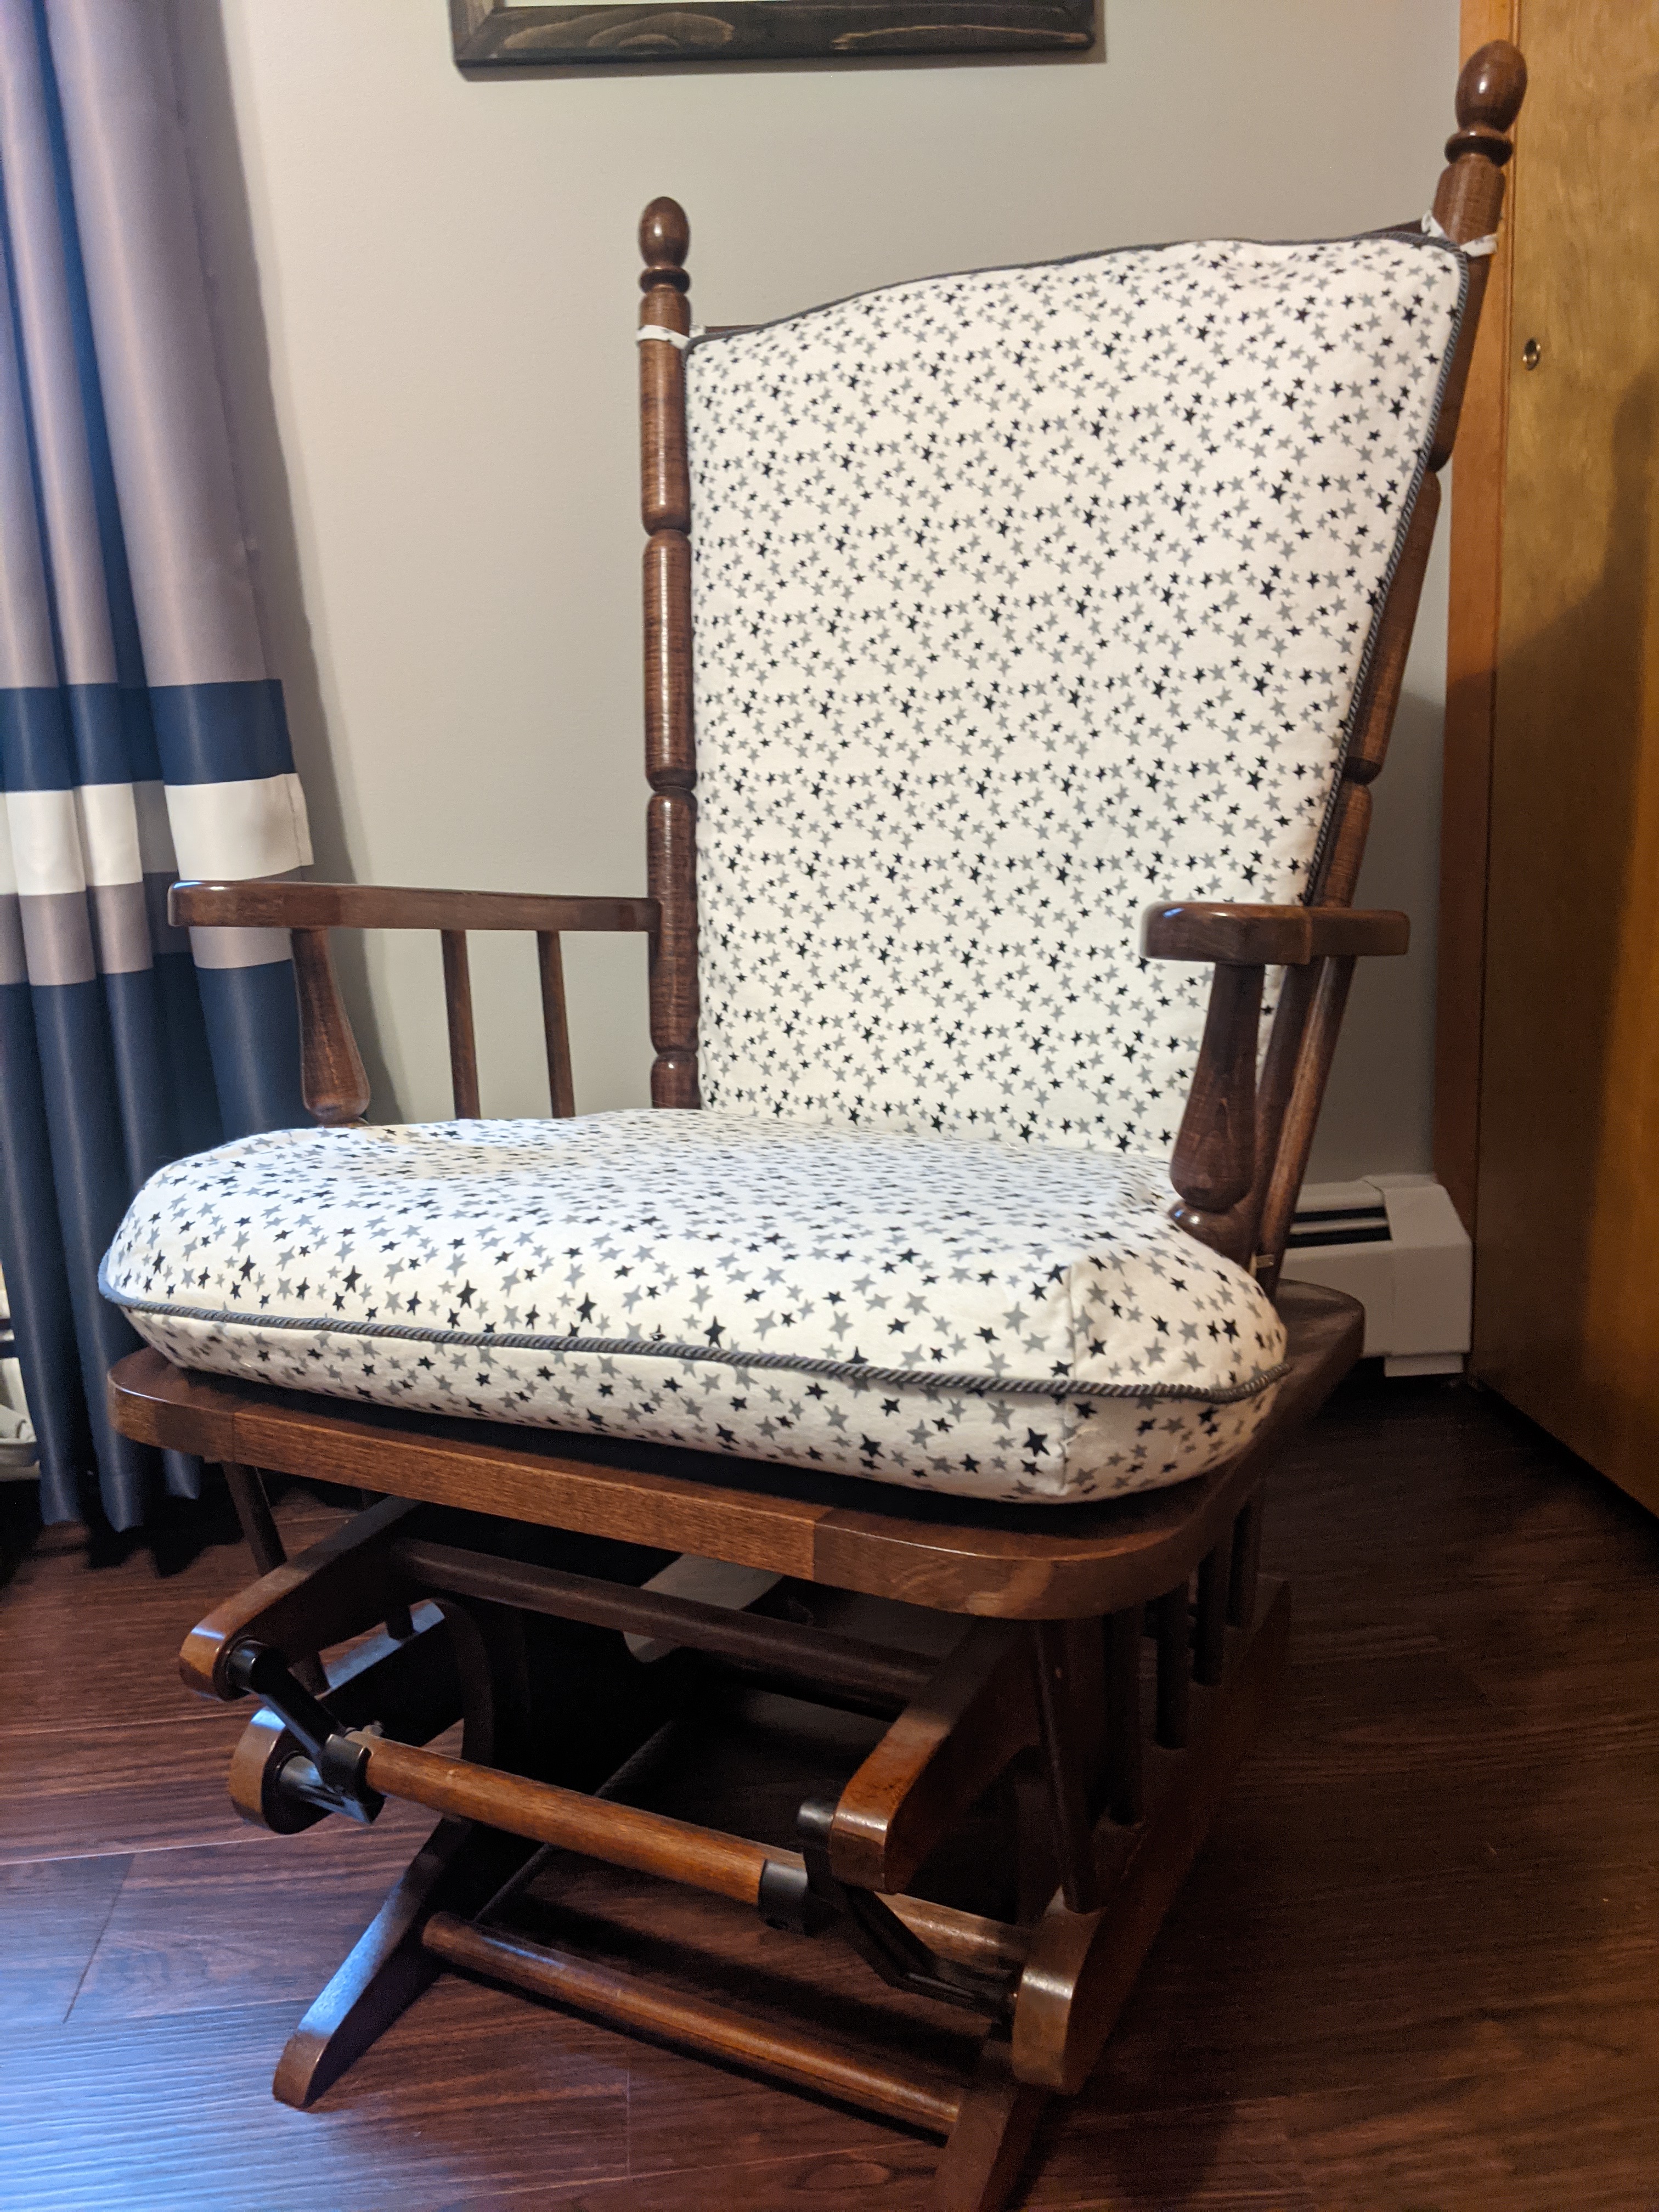
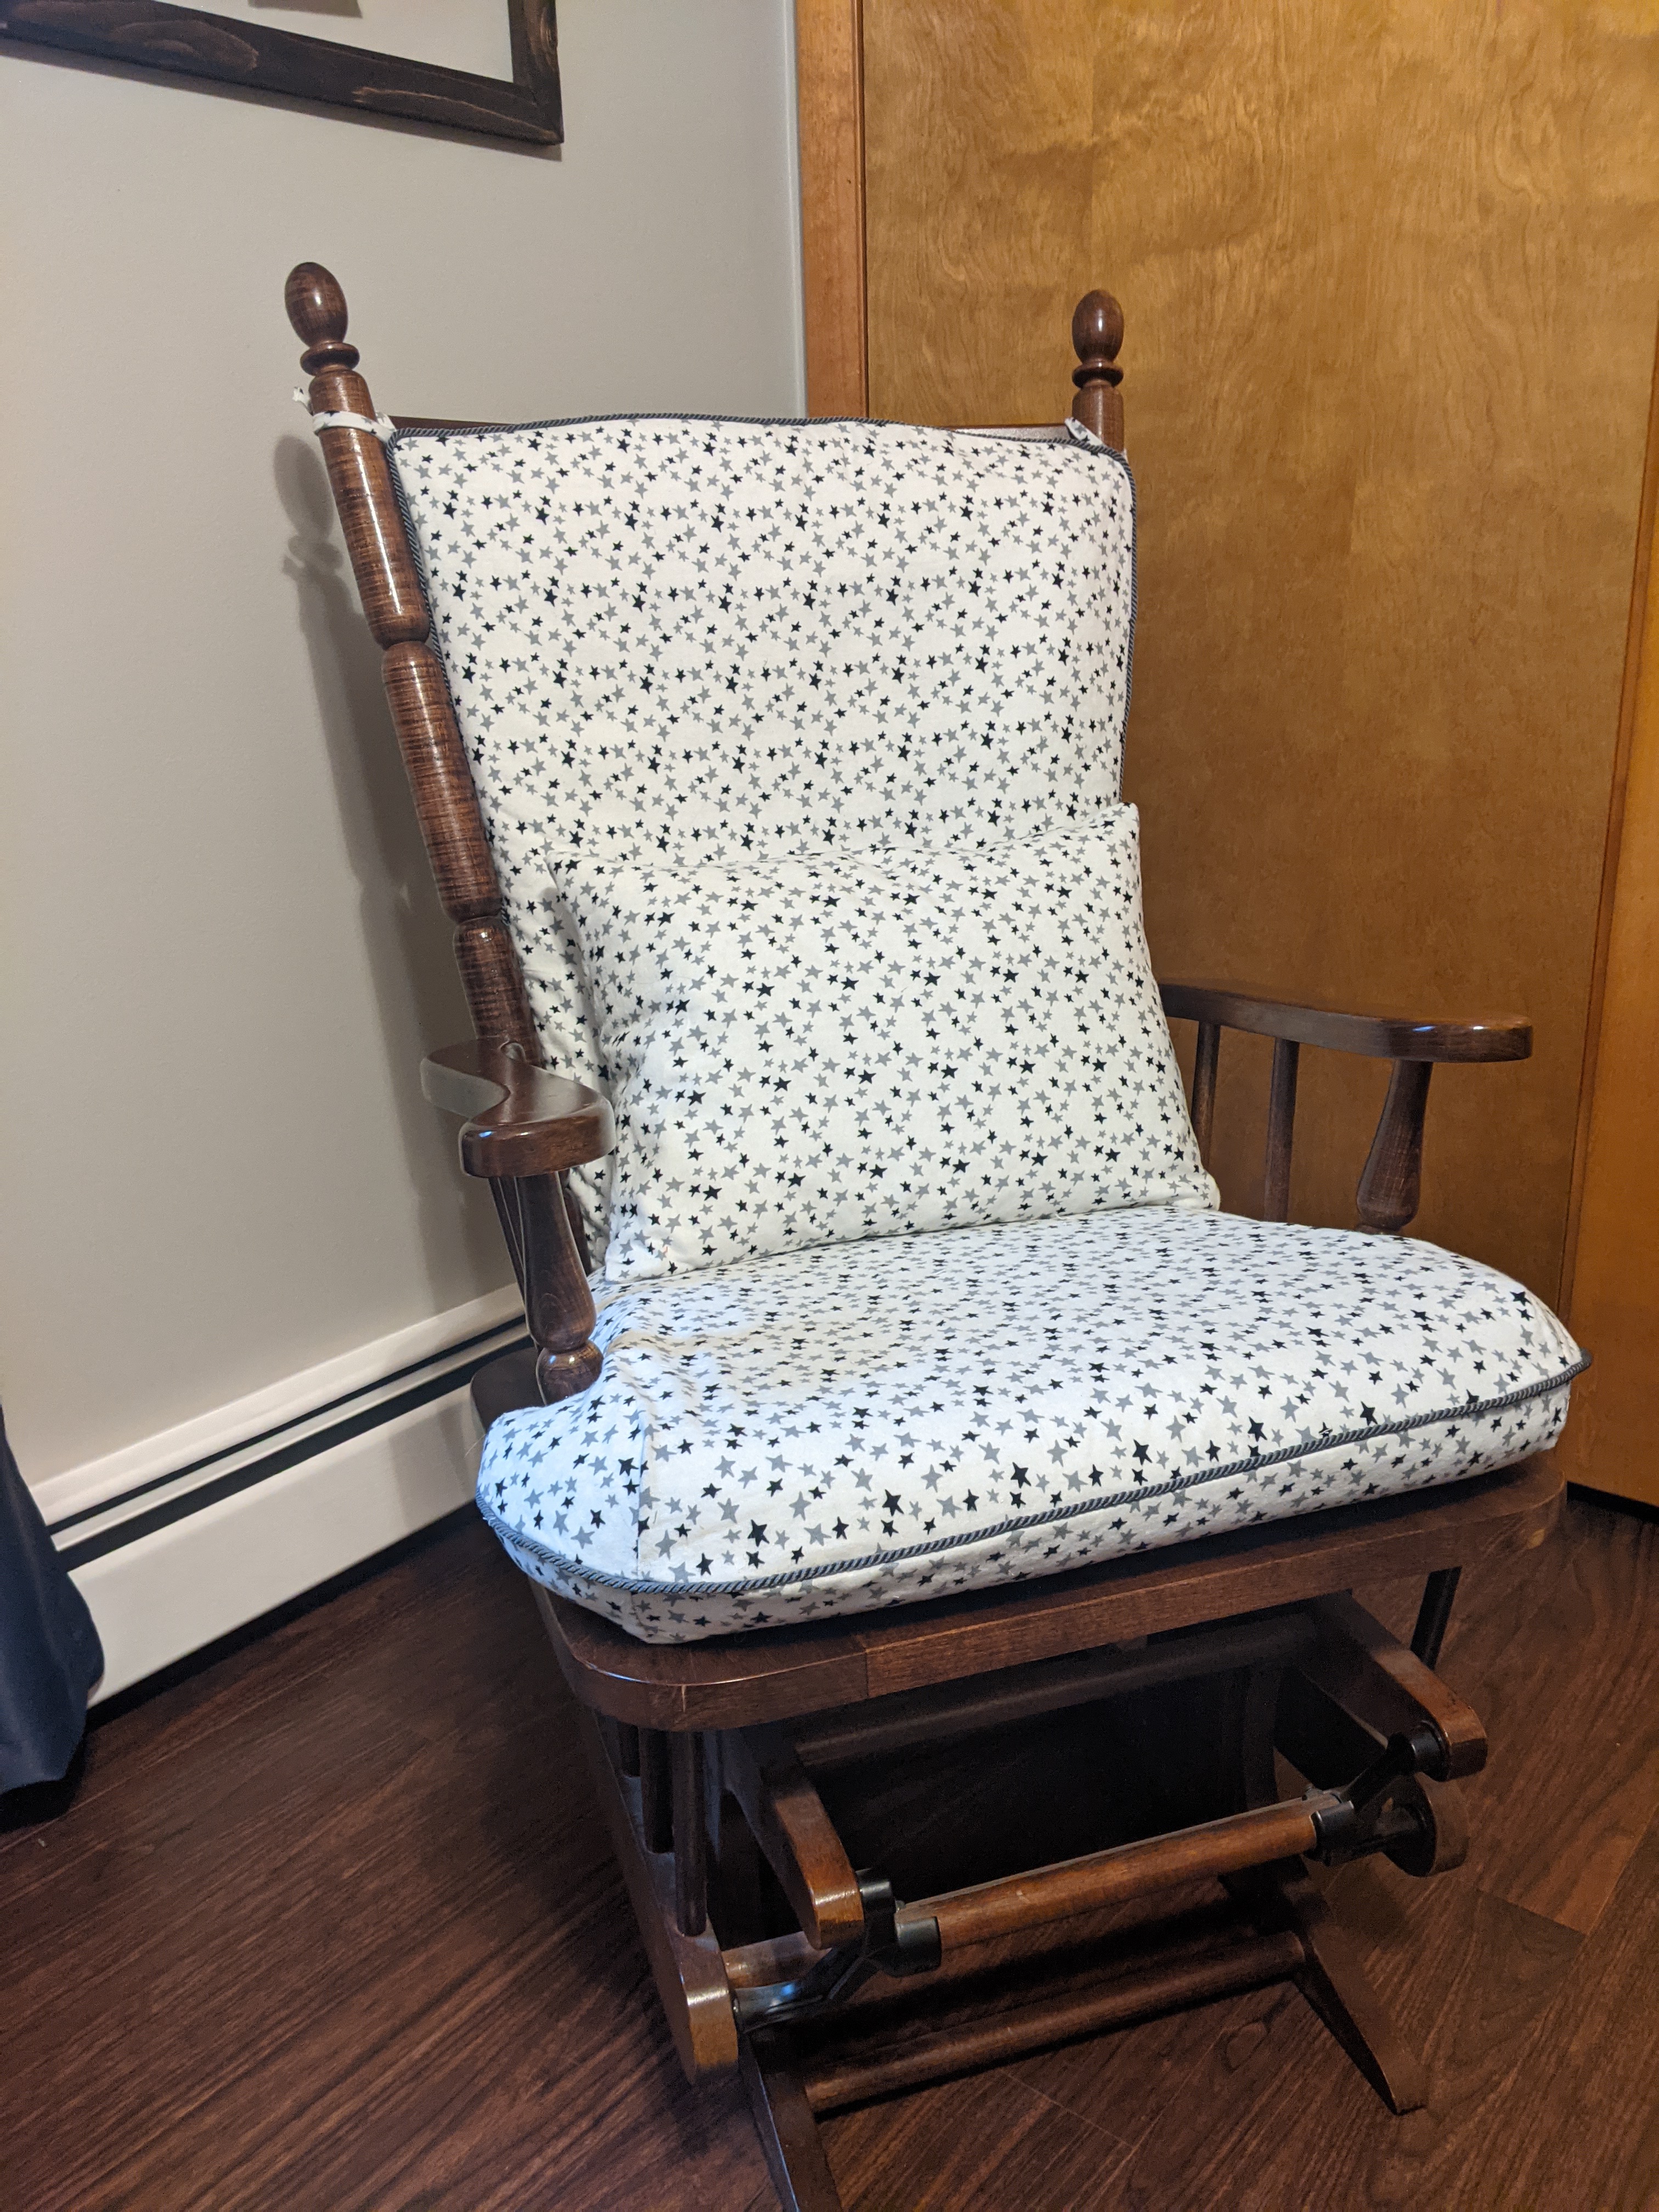

Thankfully, Jen and husband loved how it came out! I think New Person will also enjoy it.


You are so talented! The chair came out so fantastic. Billie Cat was a great shop manager.
LikeLiked by 1 person