

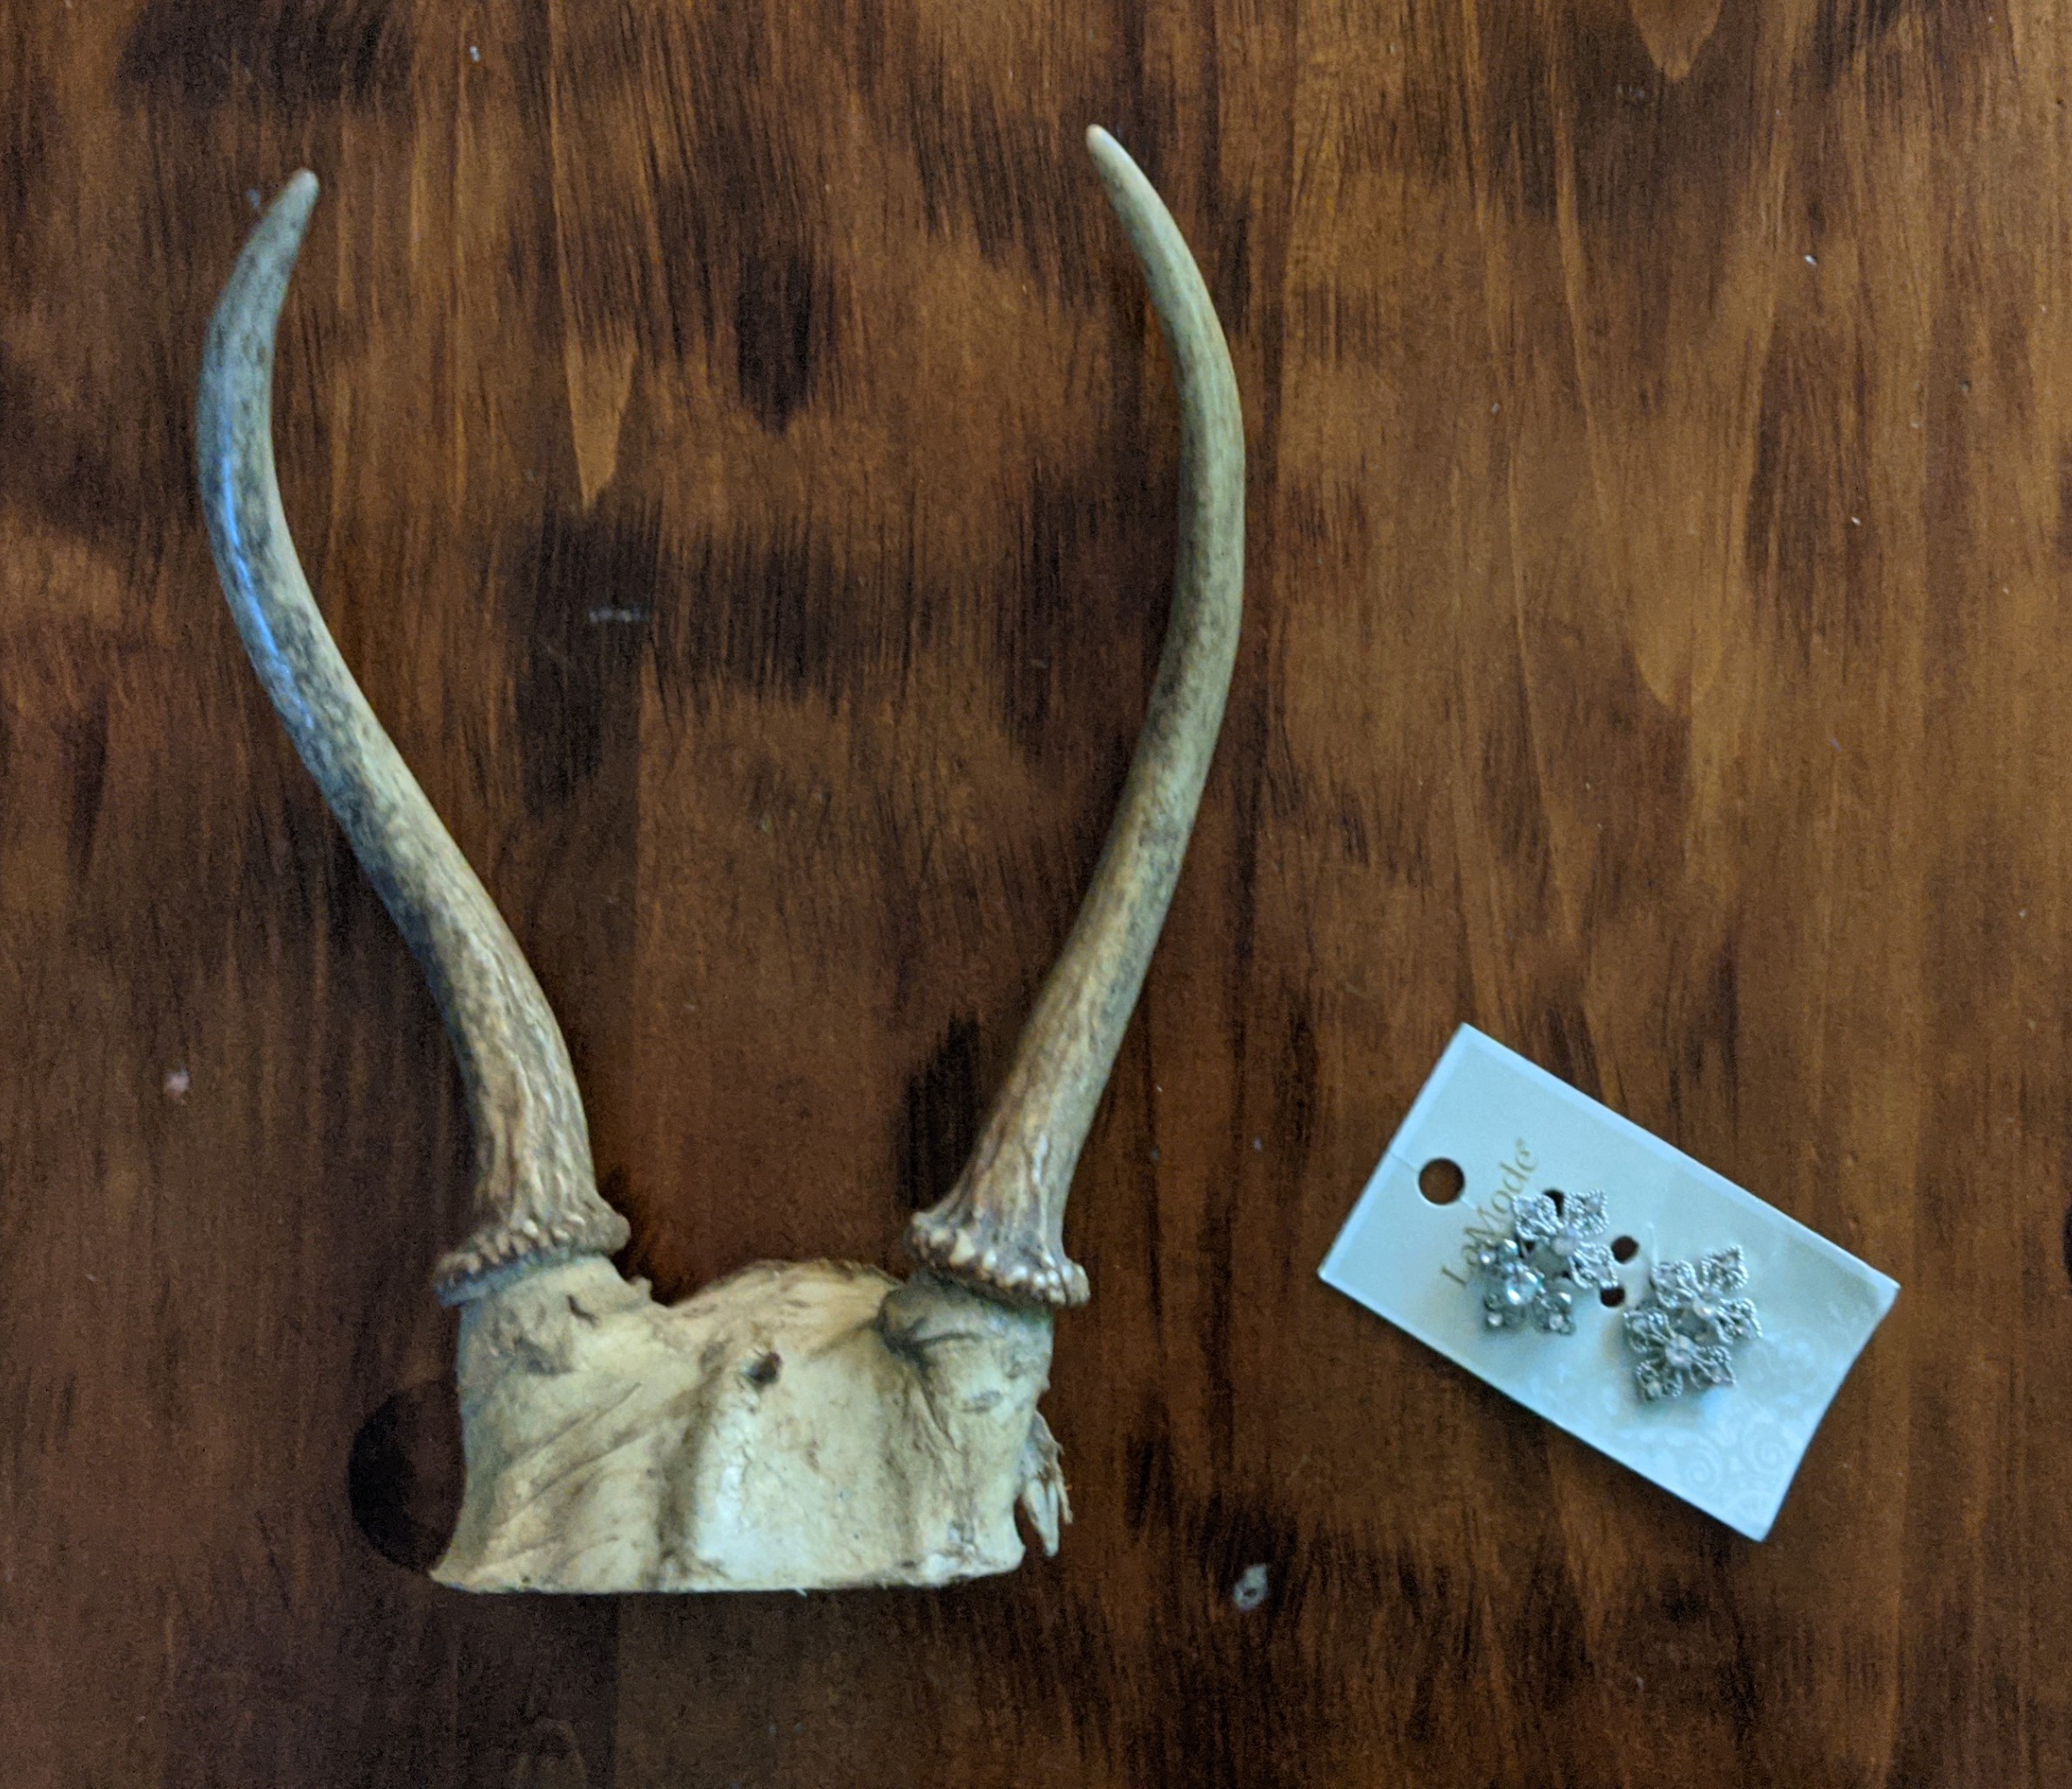
Welp, Christmas 2020 was one for the books, so let’s flashback to Christmas 2019, when my friend gave me the two animal skulls you see below.
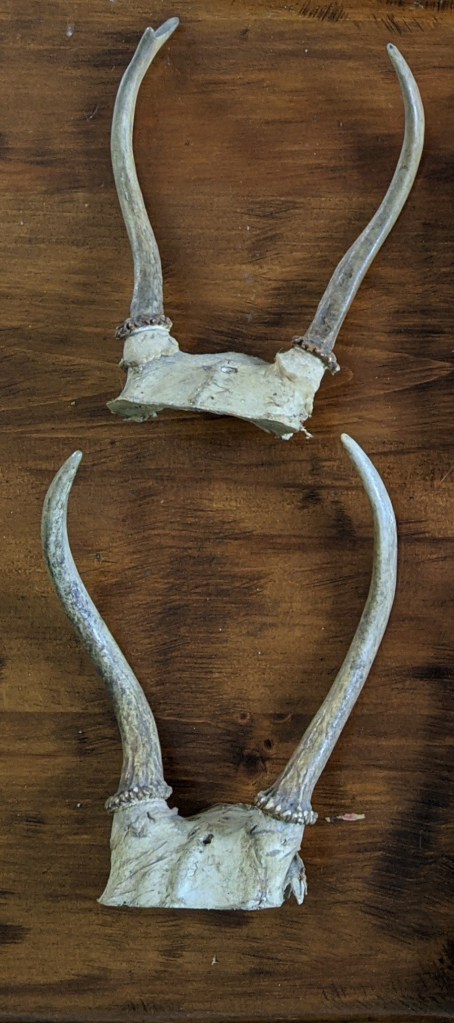
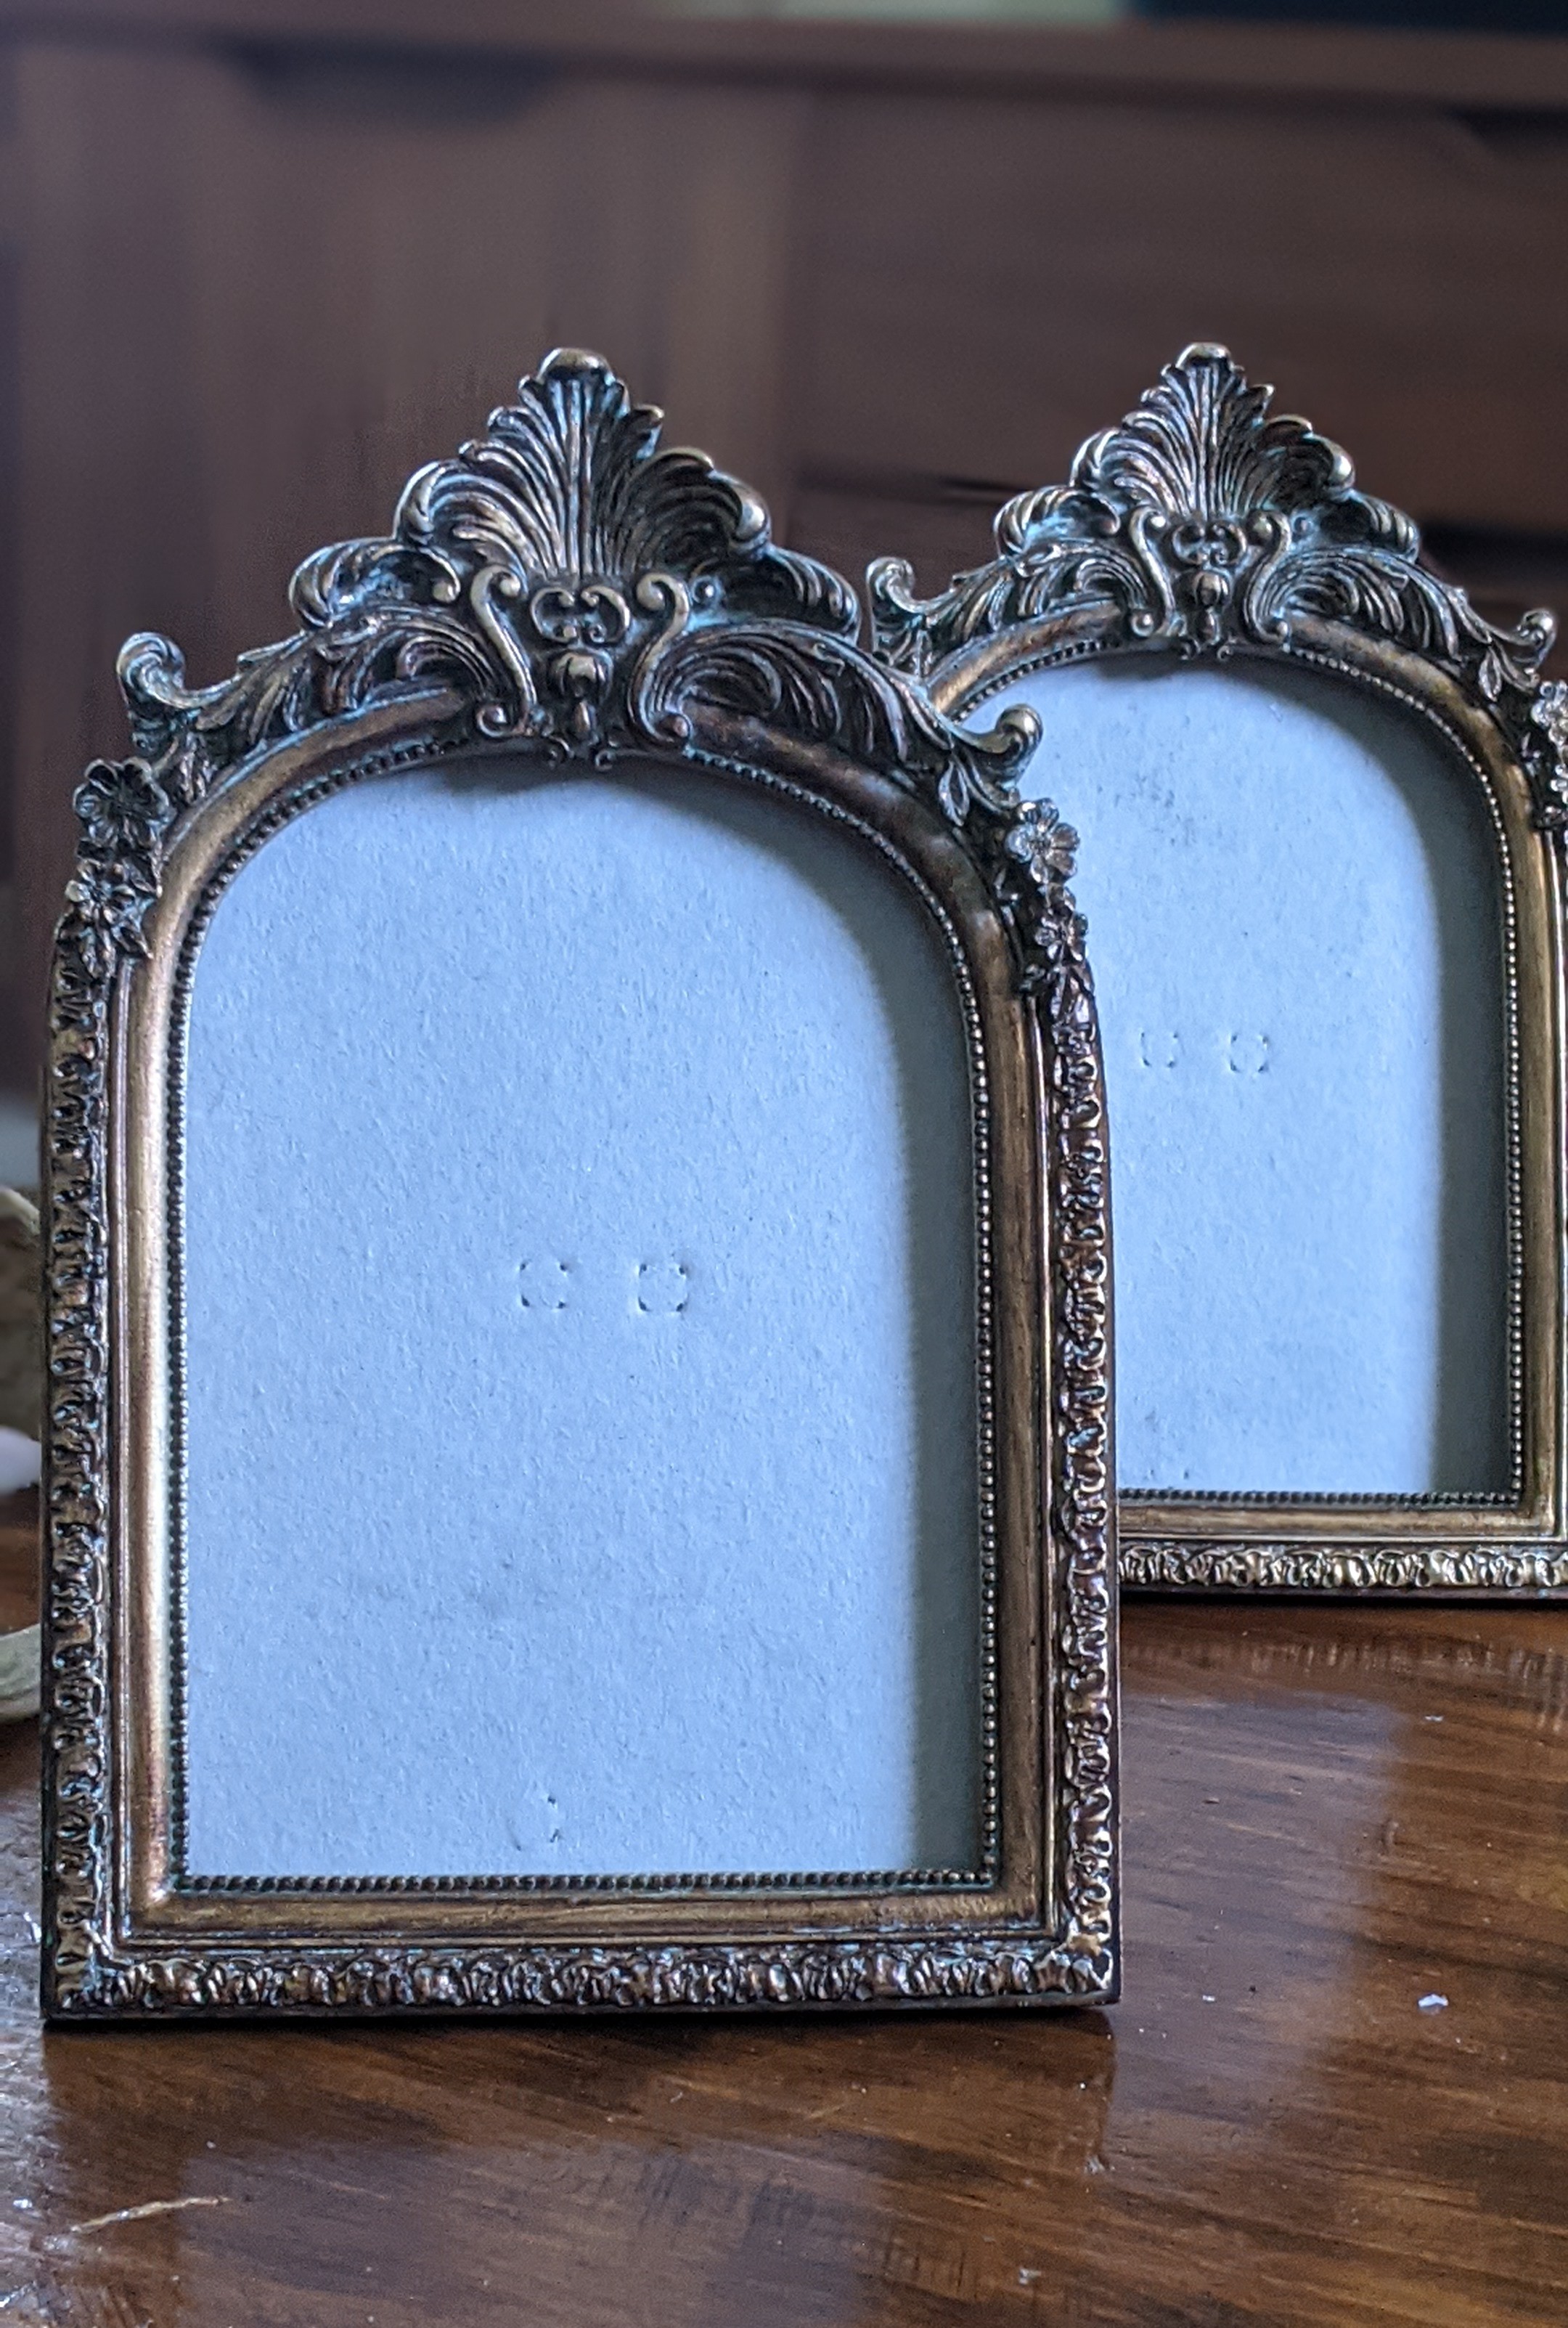
Once I got them, I immediately knew I wanted to make them into tea-light wall sconces. I found some matching spooky pictures frames on Etsy to house the skulls and tea-lights… And then waited an entire year to get started making them.
Flash forward to 2020! I realized that I hadn’t started the project because I couldn’t decide where to begin and was afraid I’d mess it up. Today while cleaning the guest bedroom, I saw them and thought, “just do one thing.” My one thing was to just collect the supplies and prep the stuff for eventually making sconces (spoiler alert: eventually became today!)

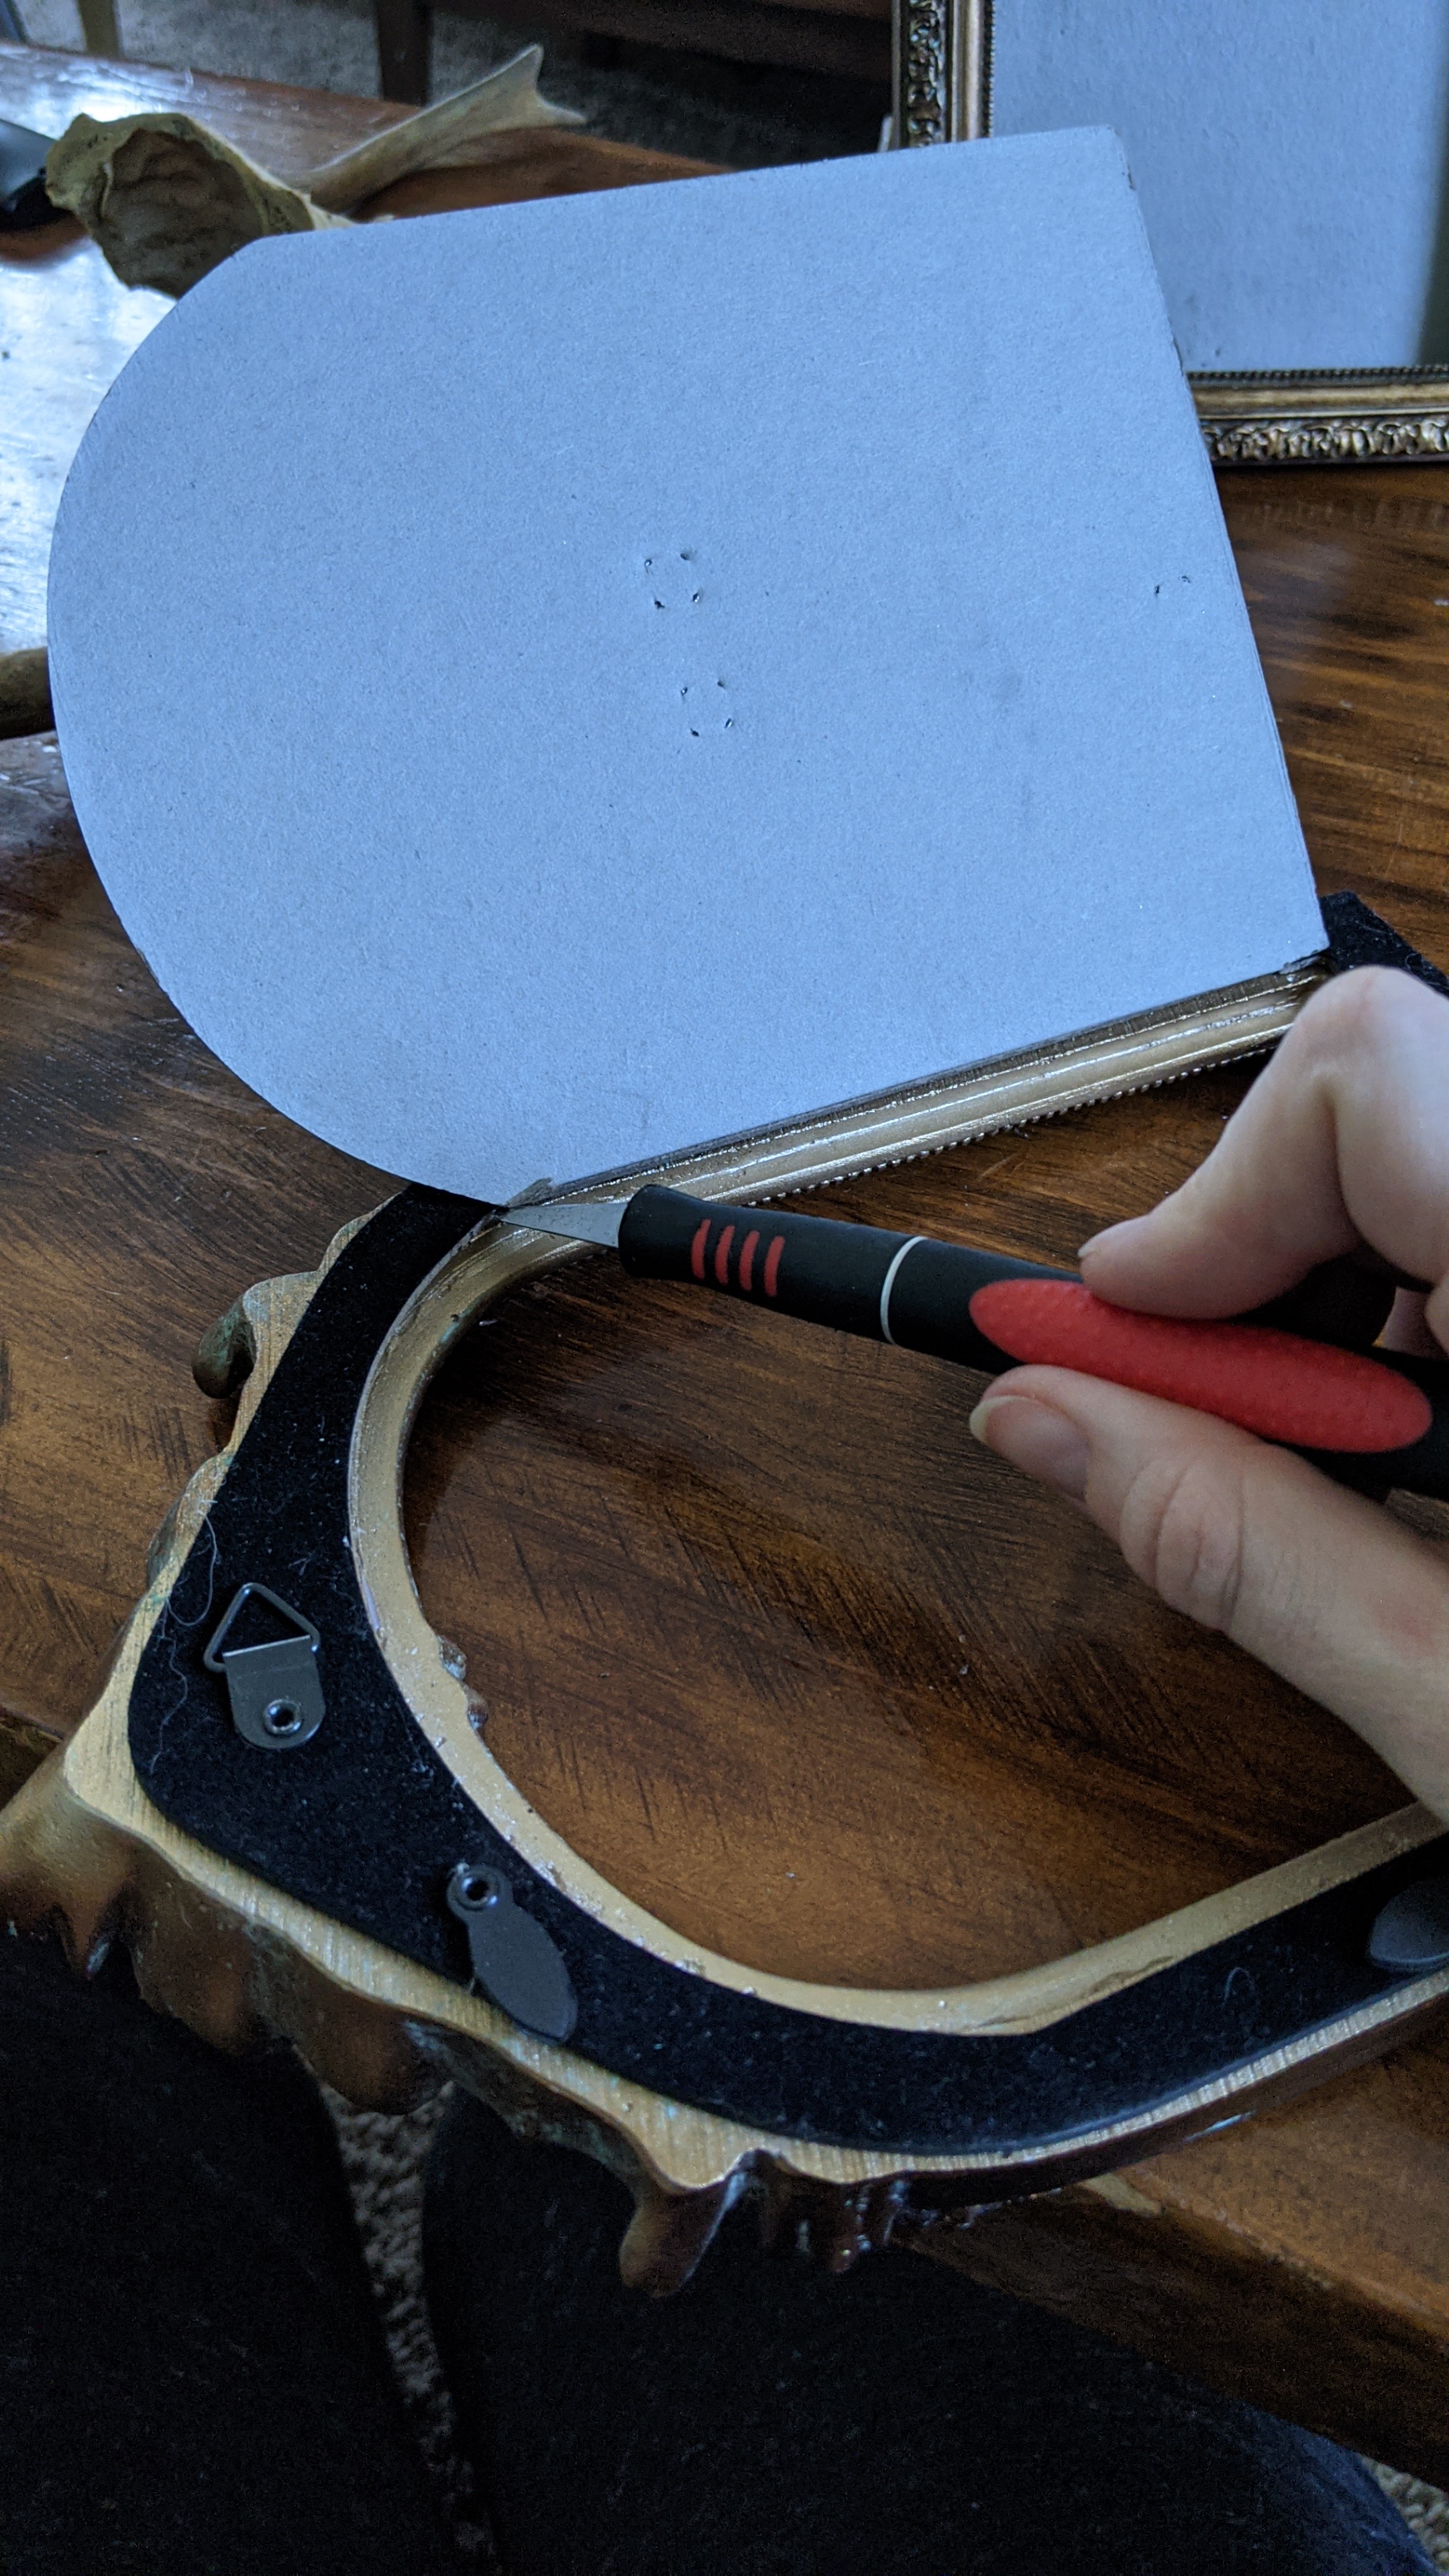
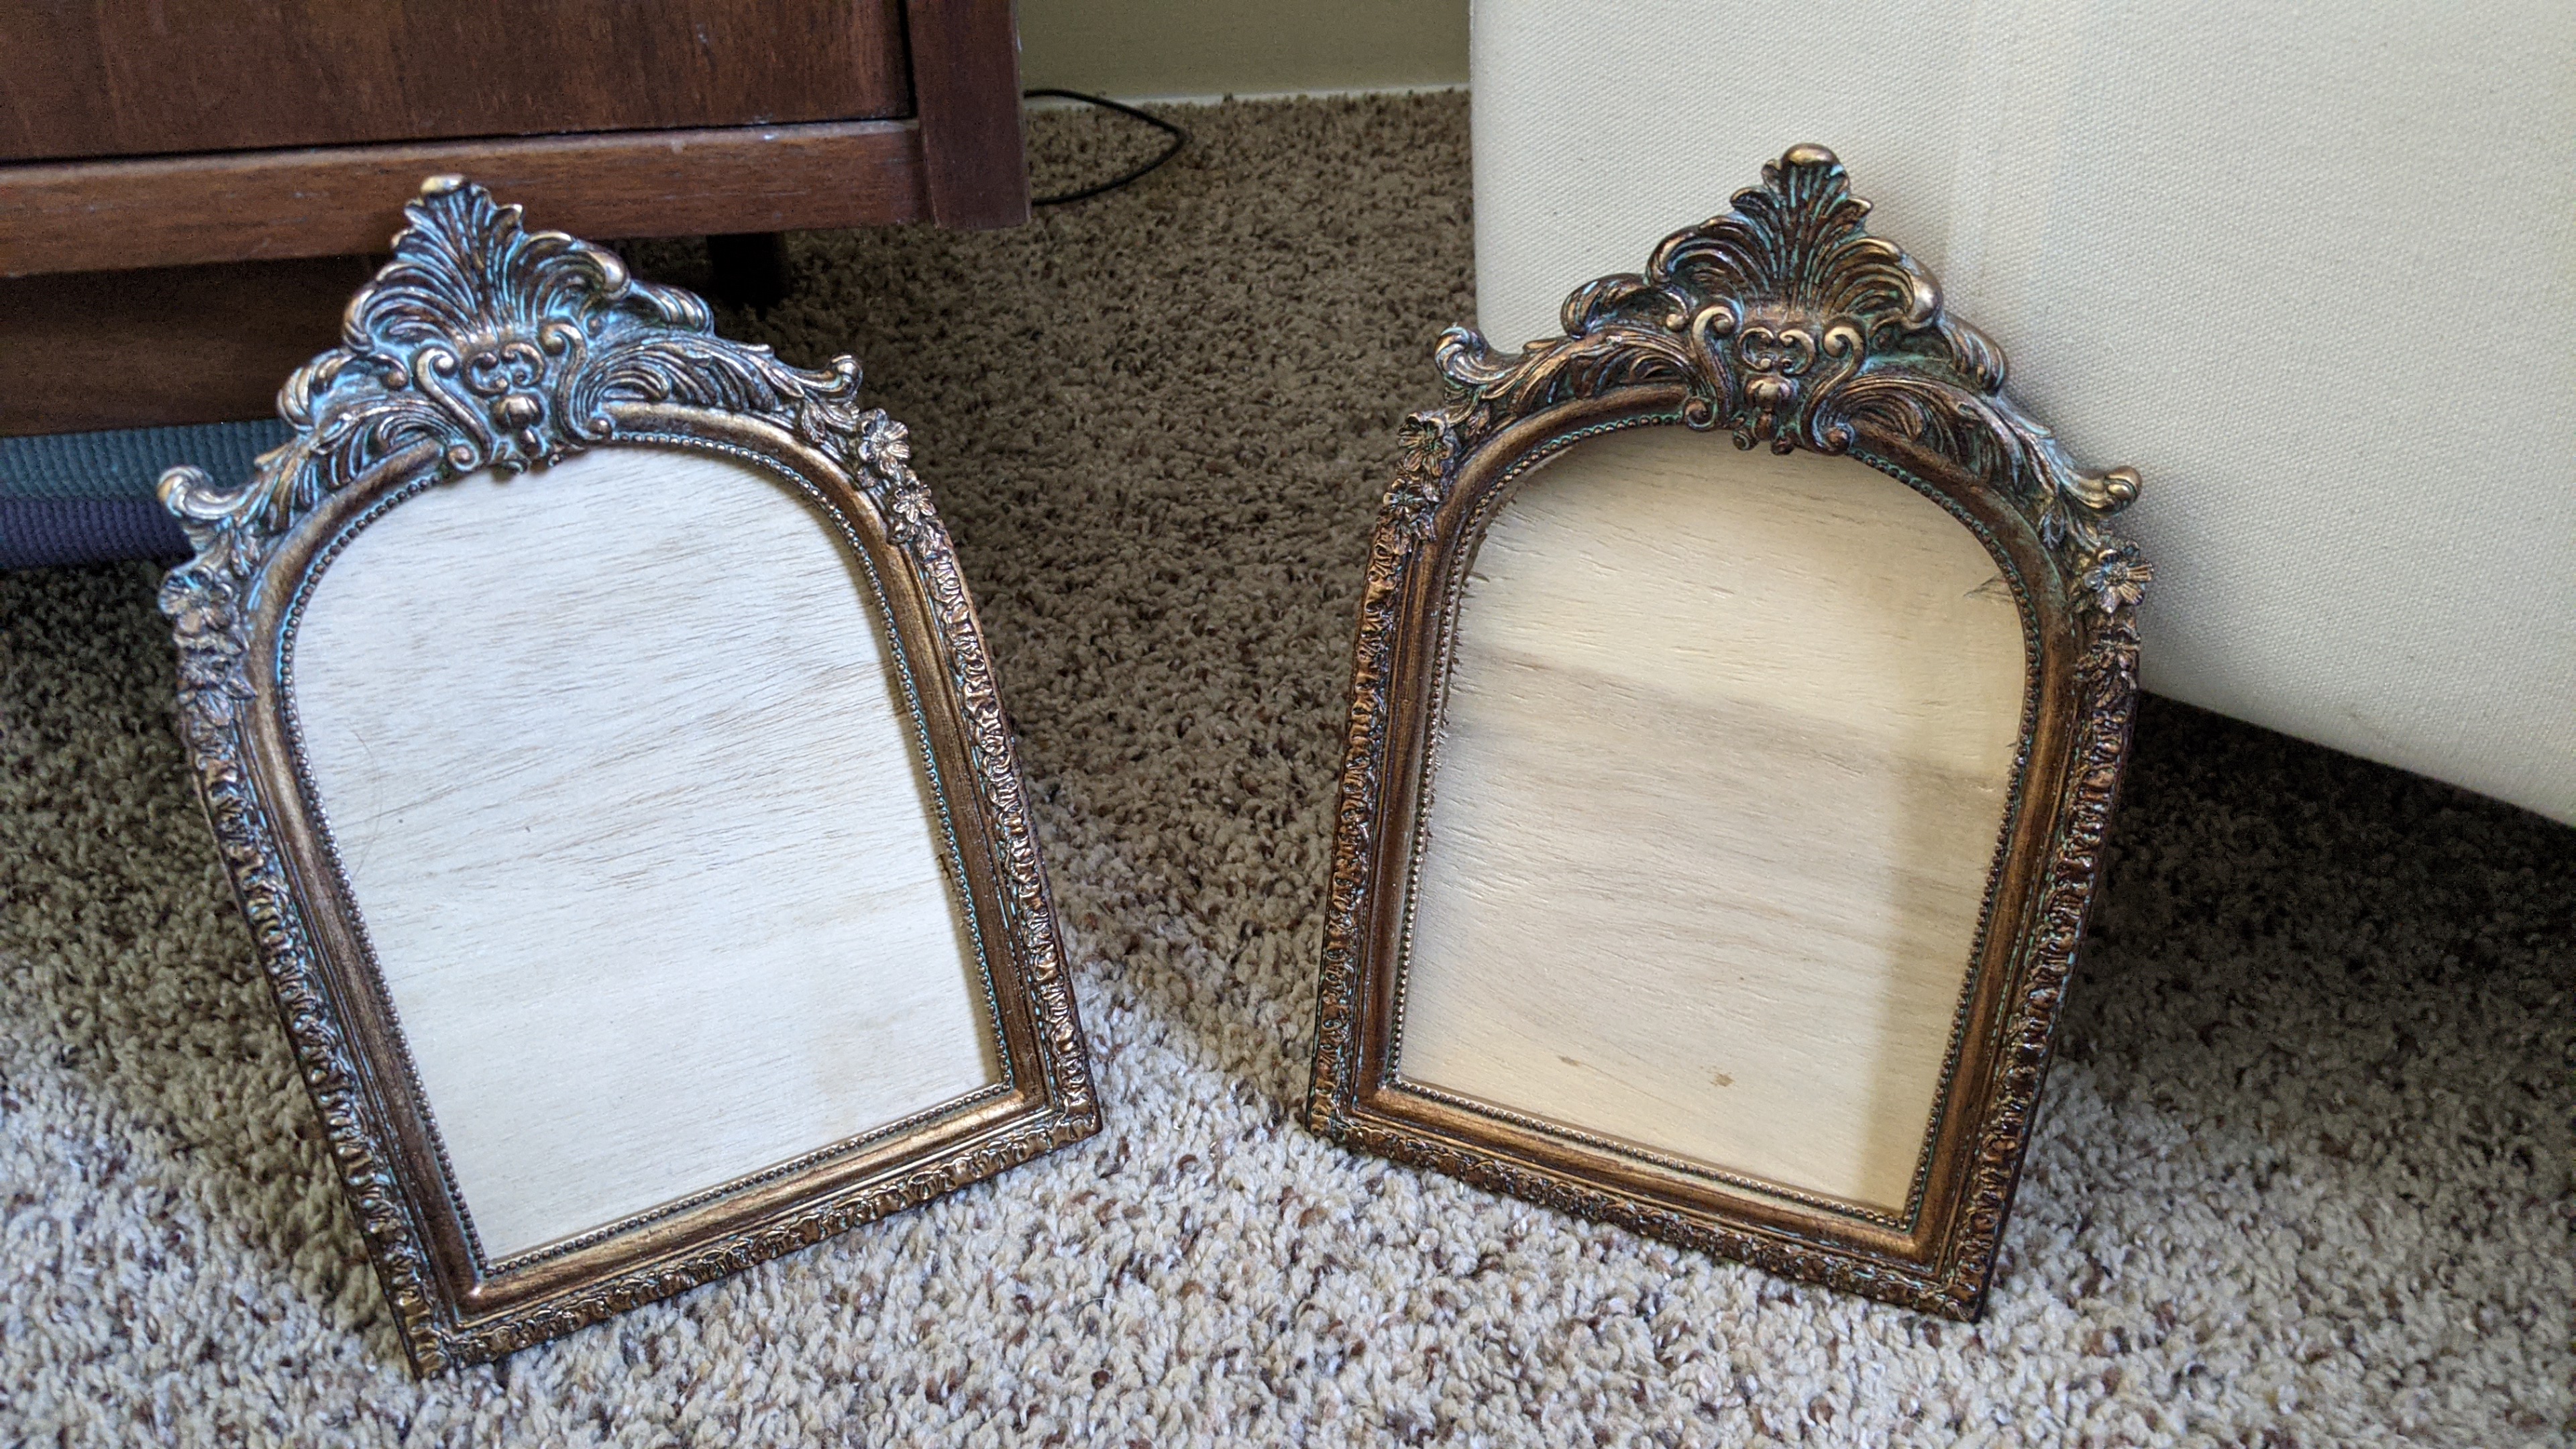
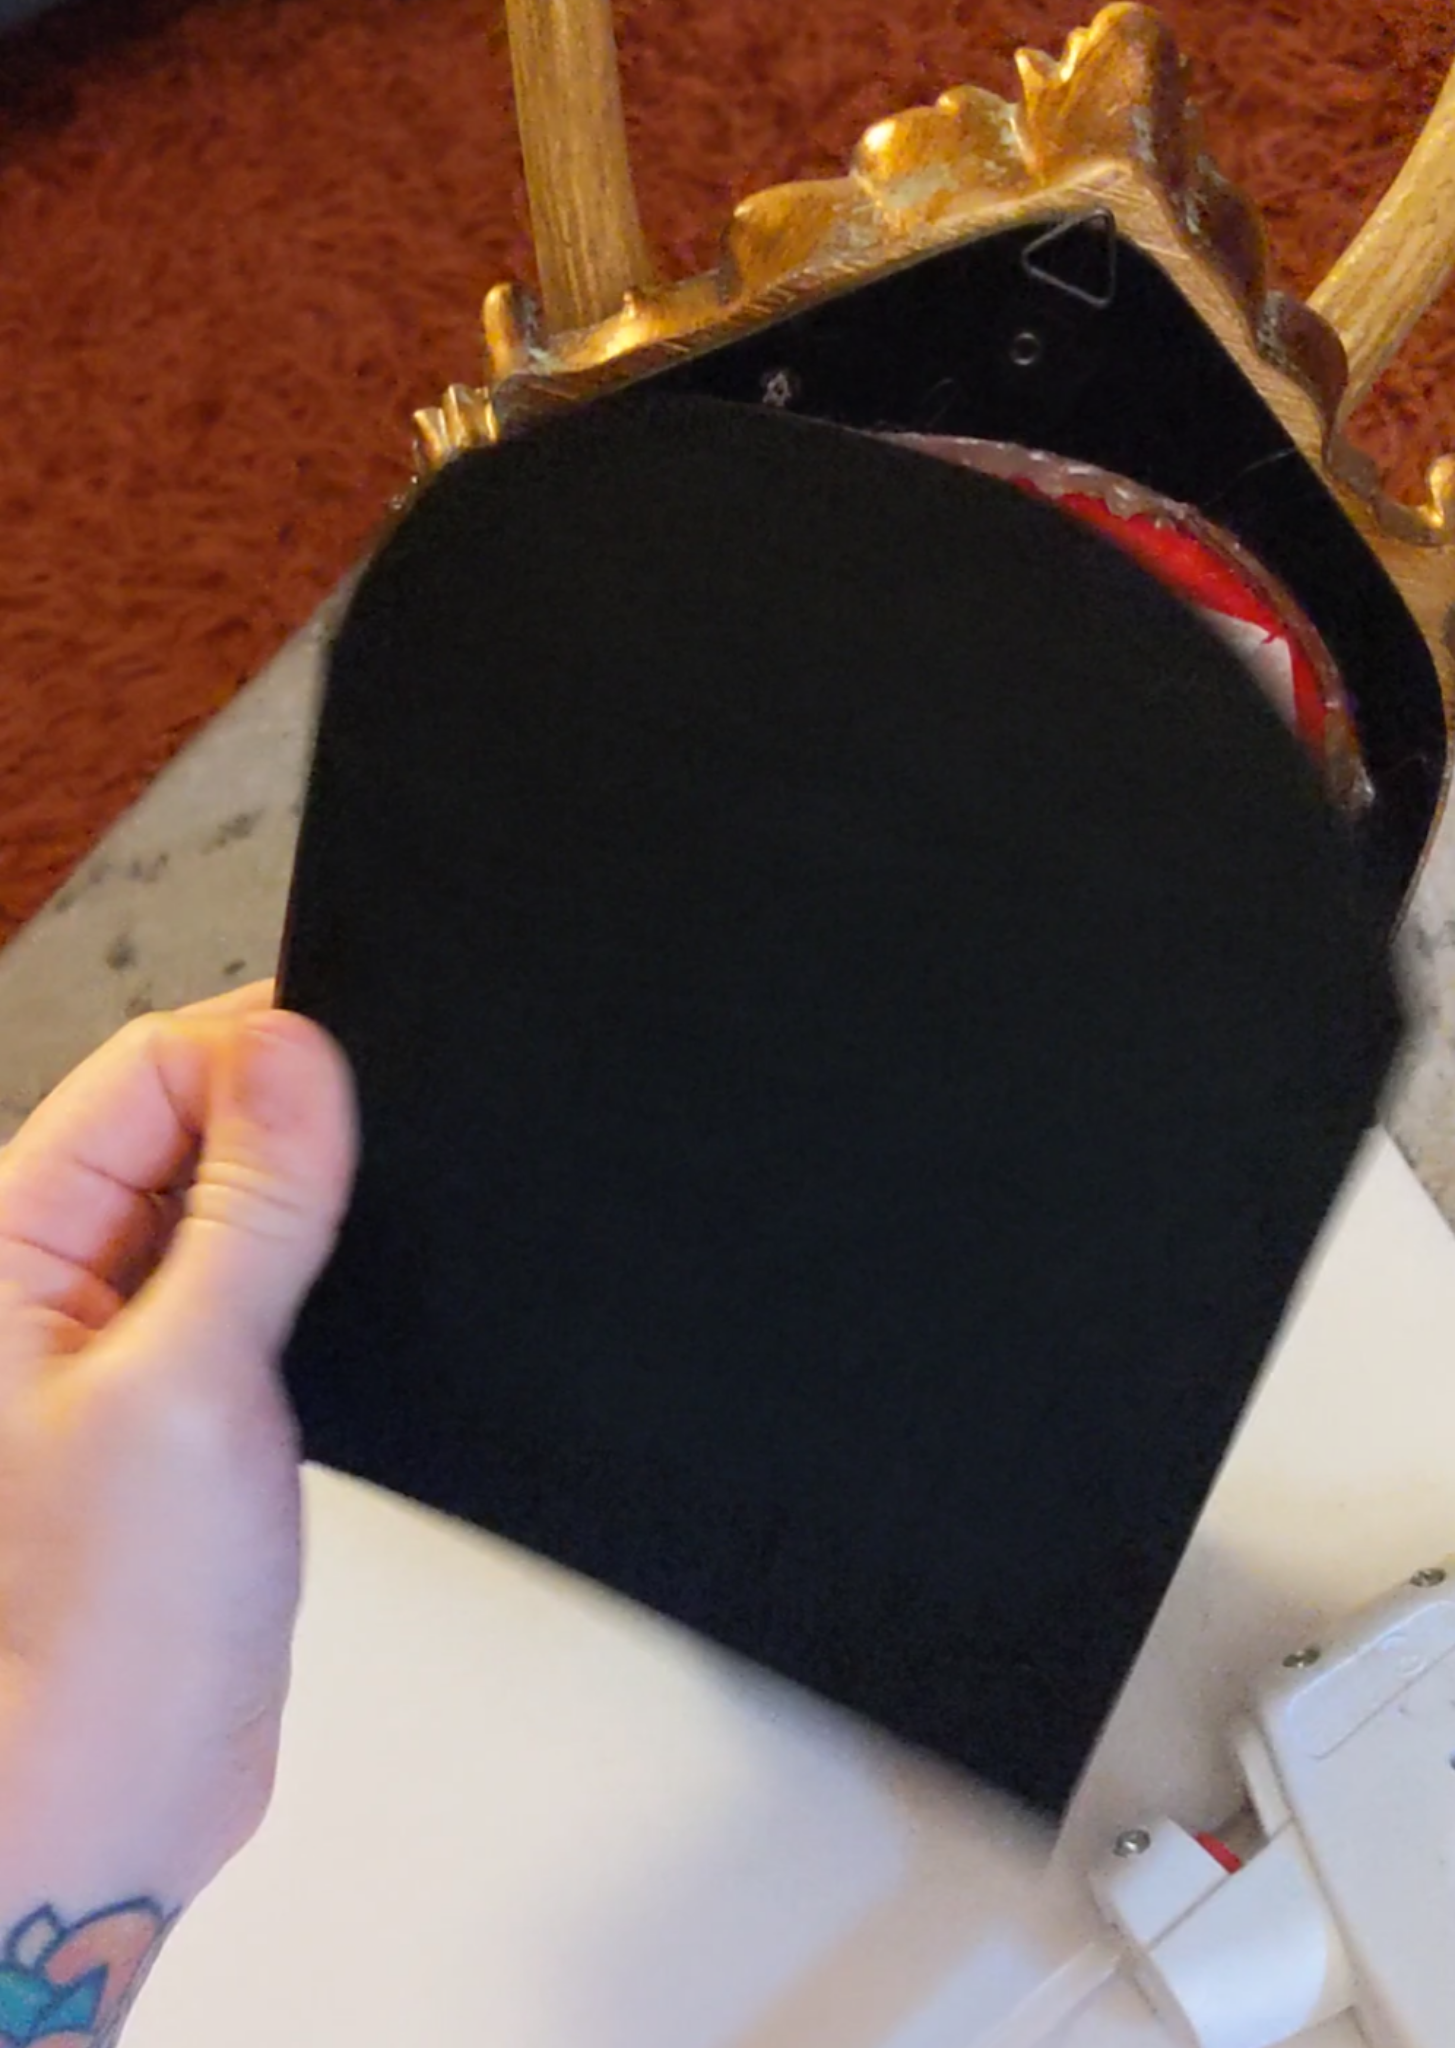
I took the backs off the picture frames because I knew that I’d be replacing the glass with wood. When I opened up the back of the frame, I can across my first roadblock.


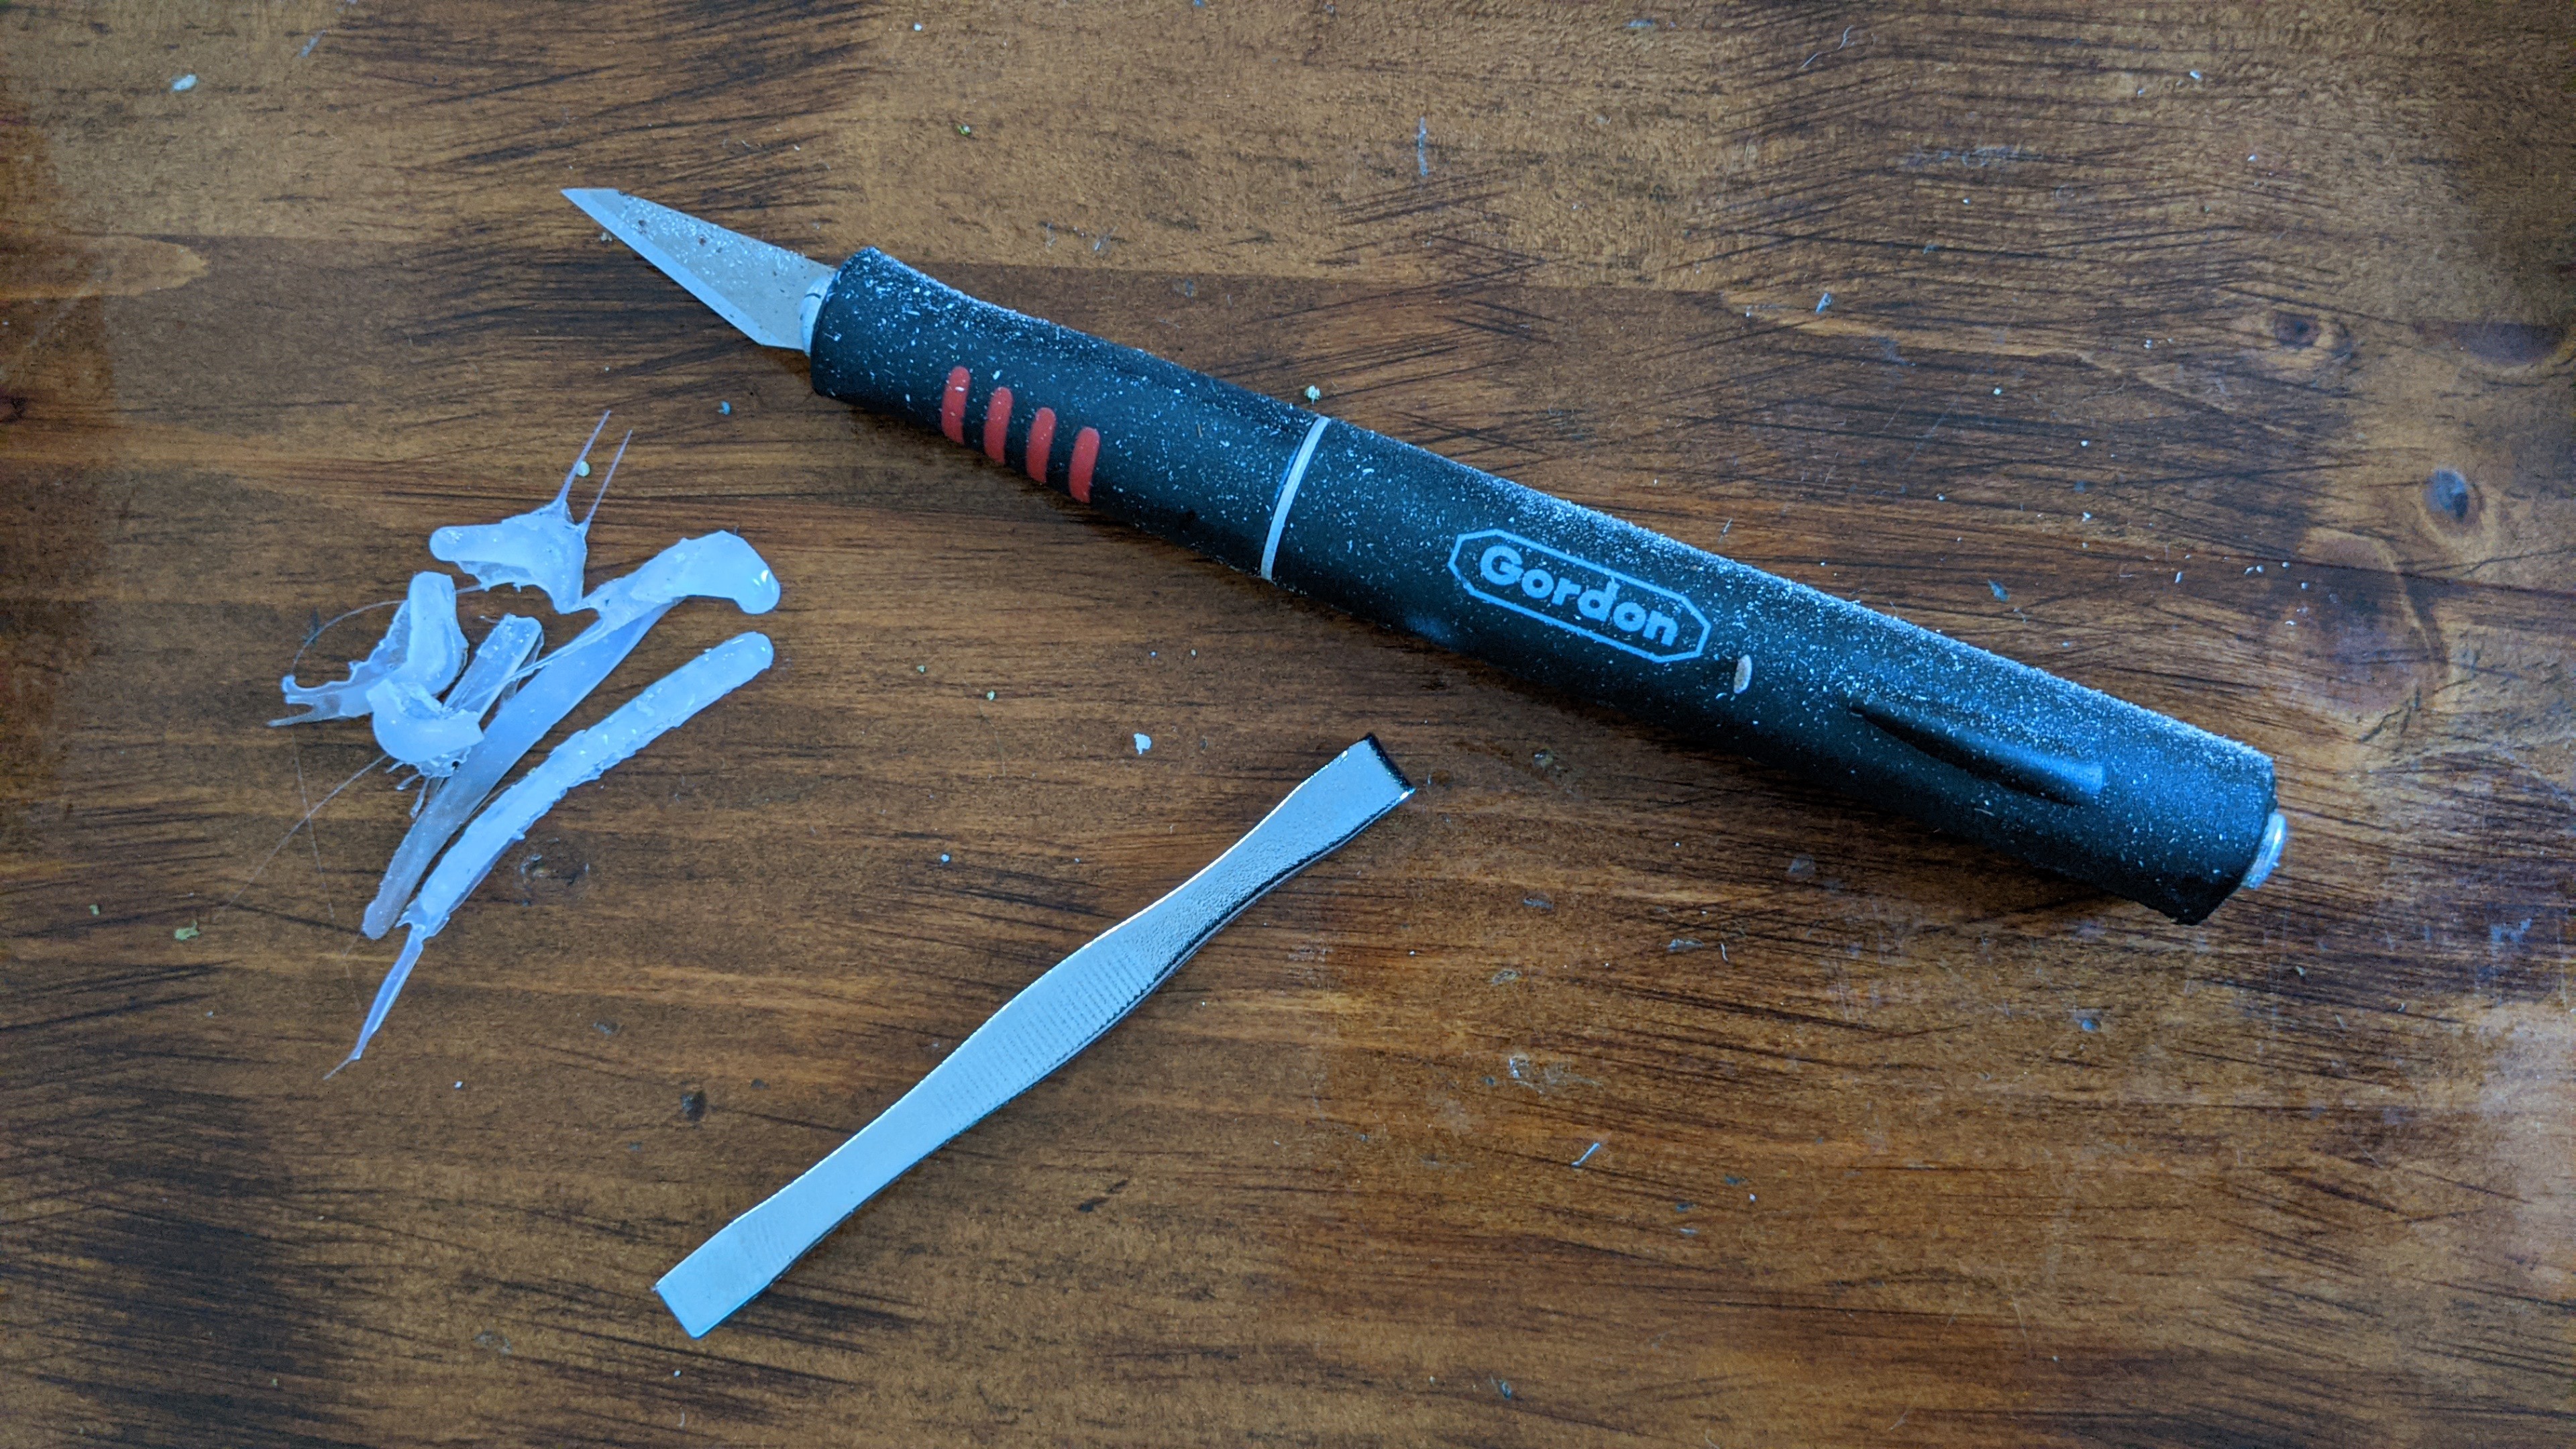
So before I could get started, I had to carefully scrape all the glue off with an x-acto knife.

Then I dug out the rest with some tweezers.
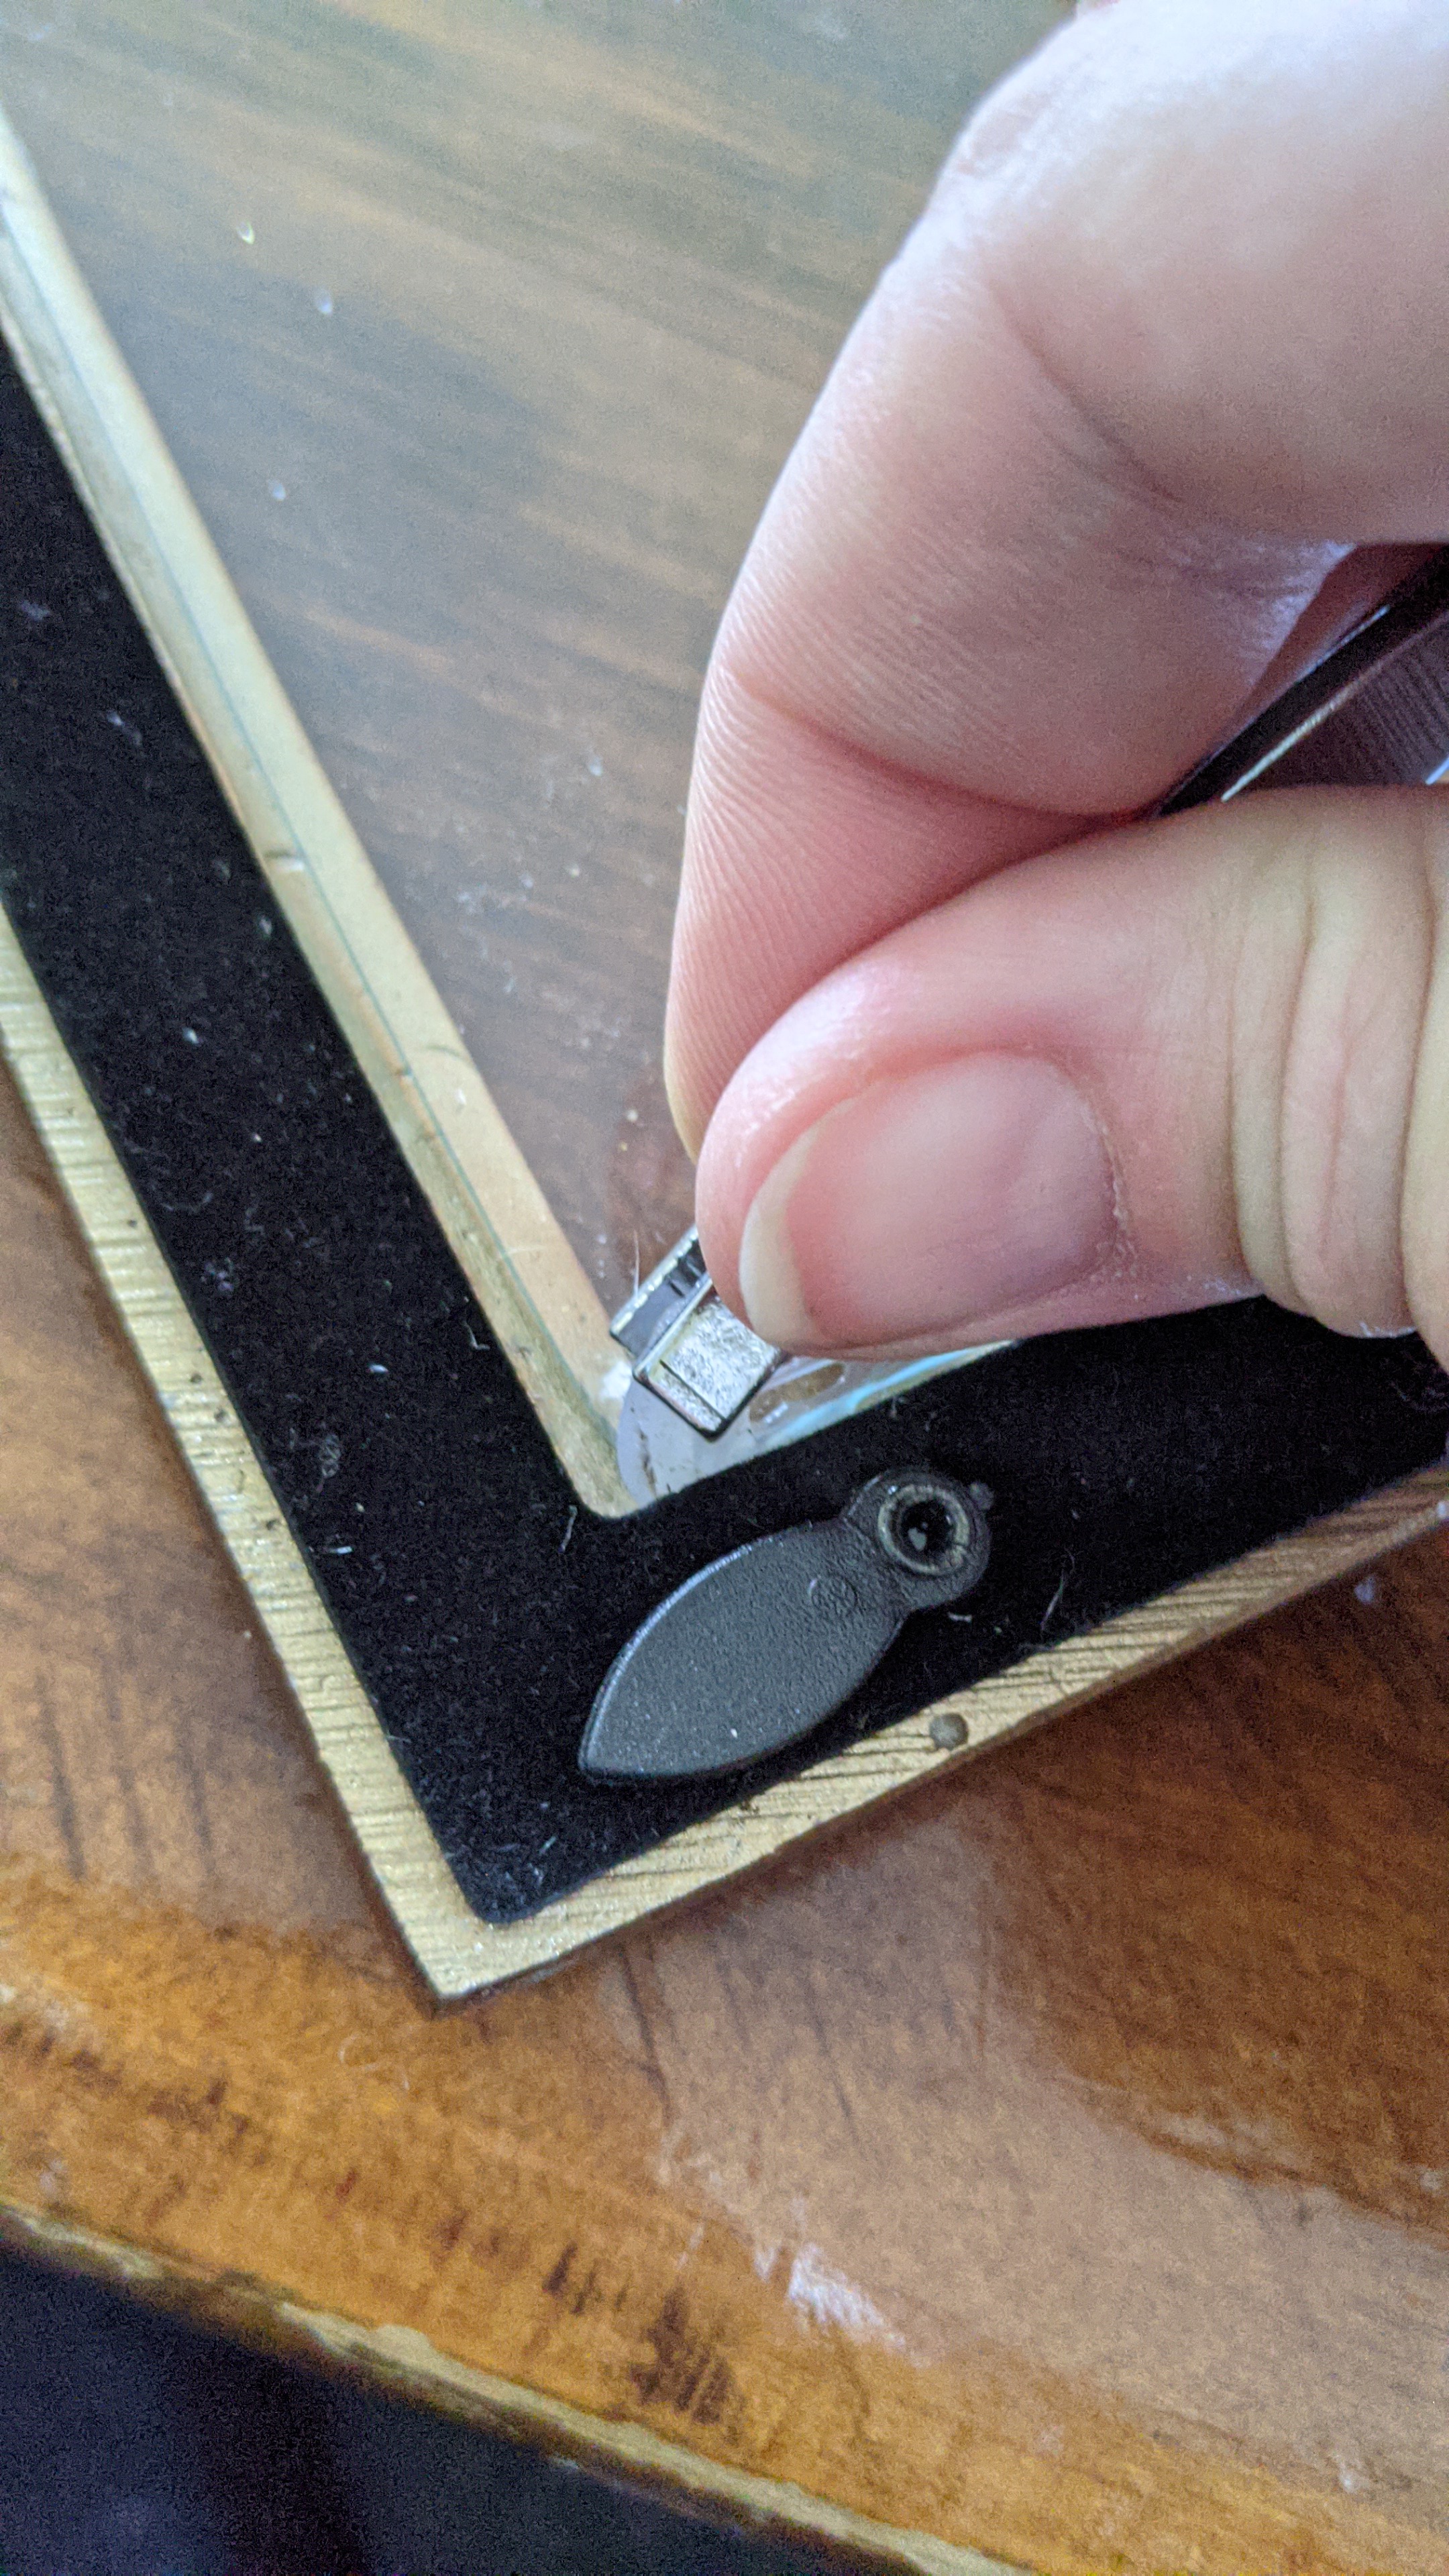
It took about 20 minutes, and this is what I have to show for it.
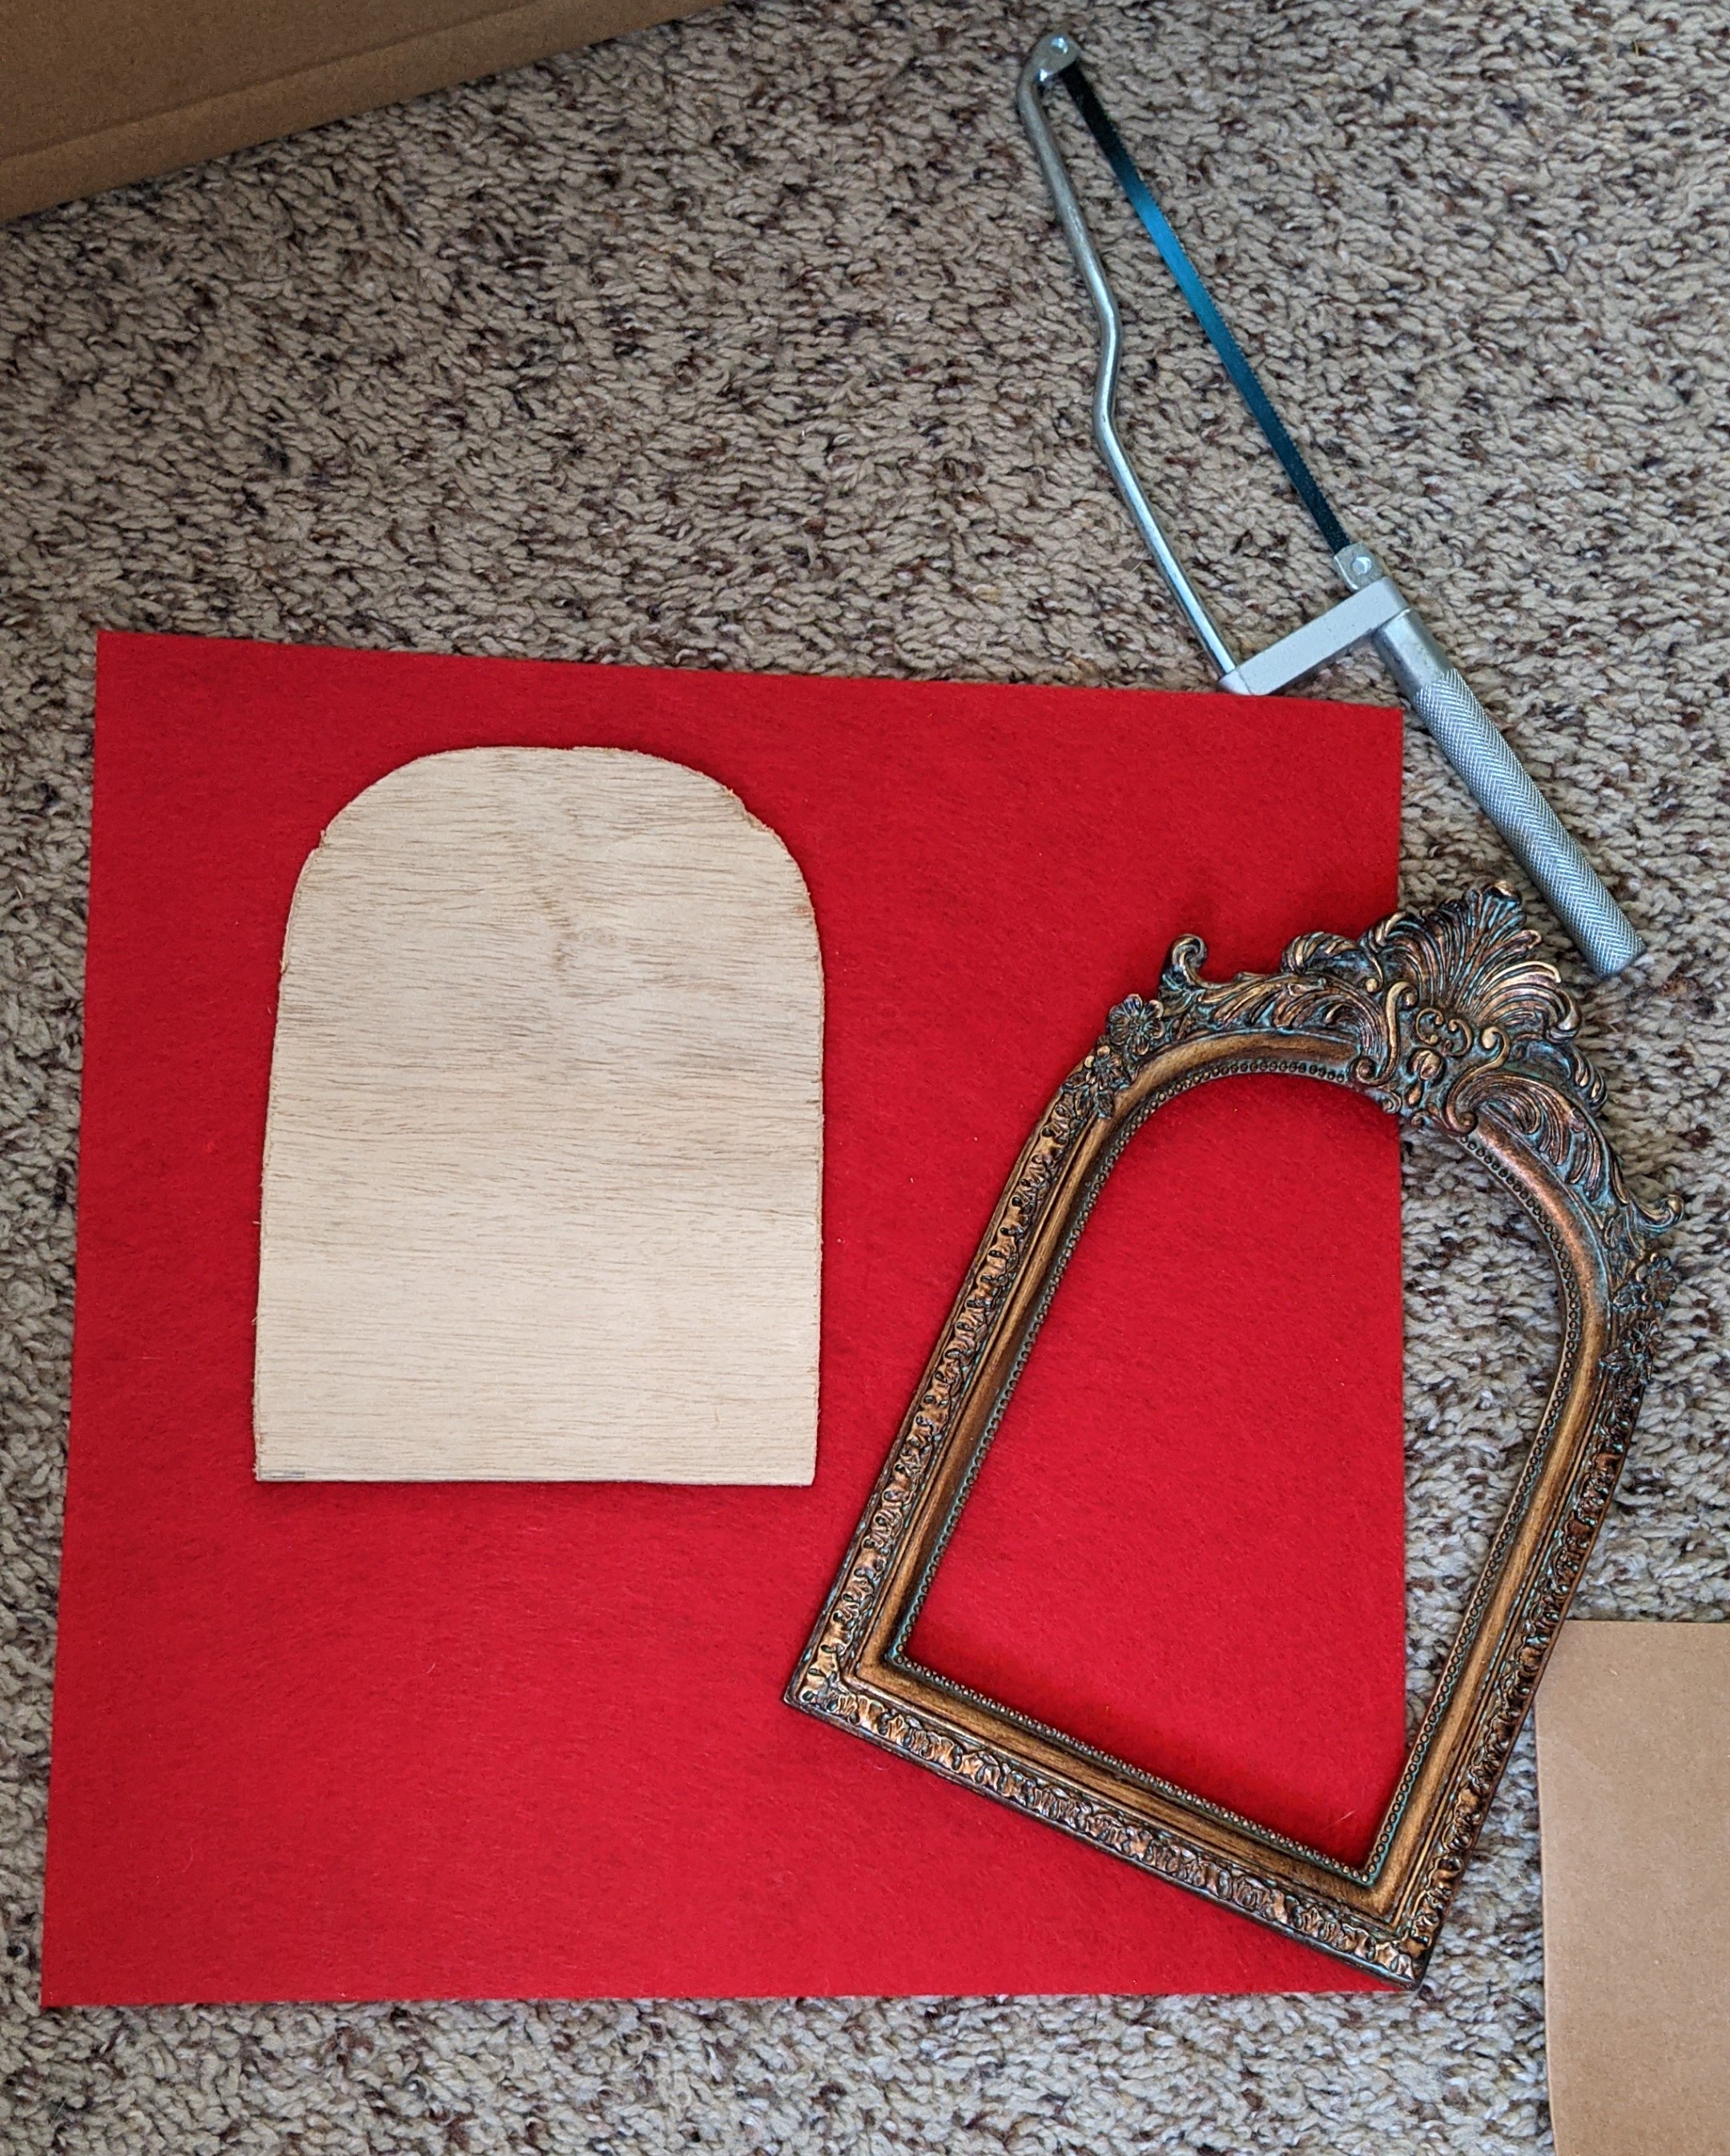
The next bit was a little easier. I took off the back of the frame, since we’ll be making a new one.
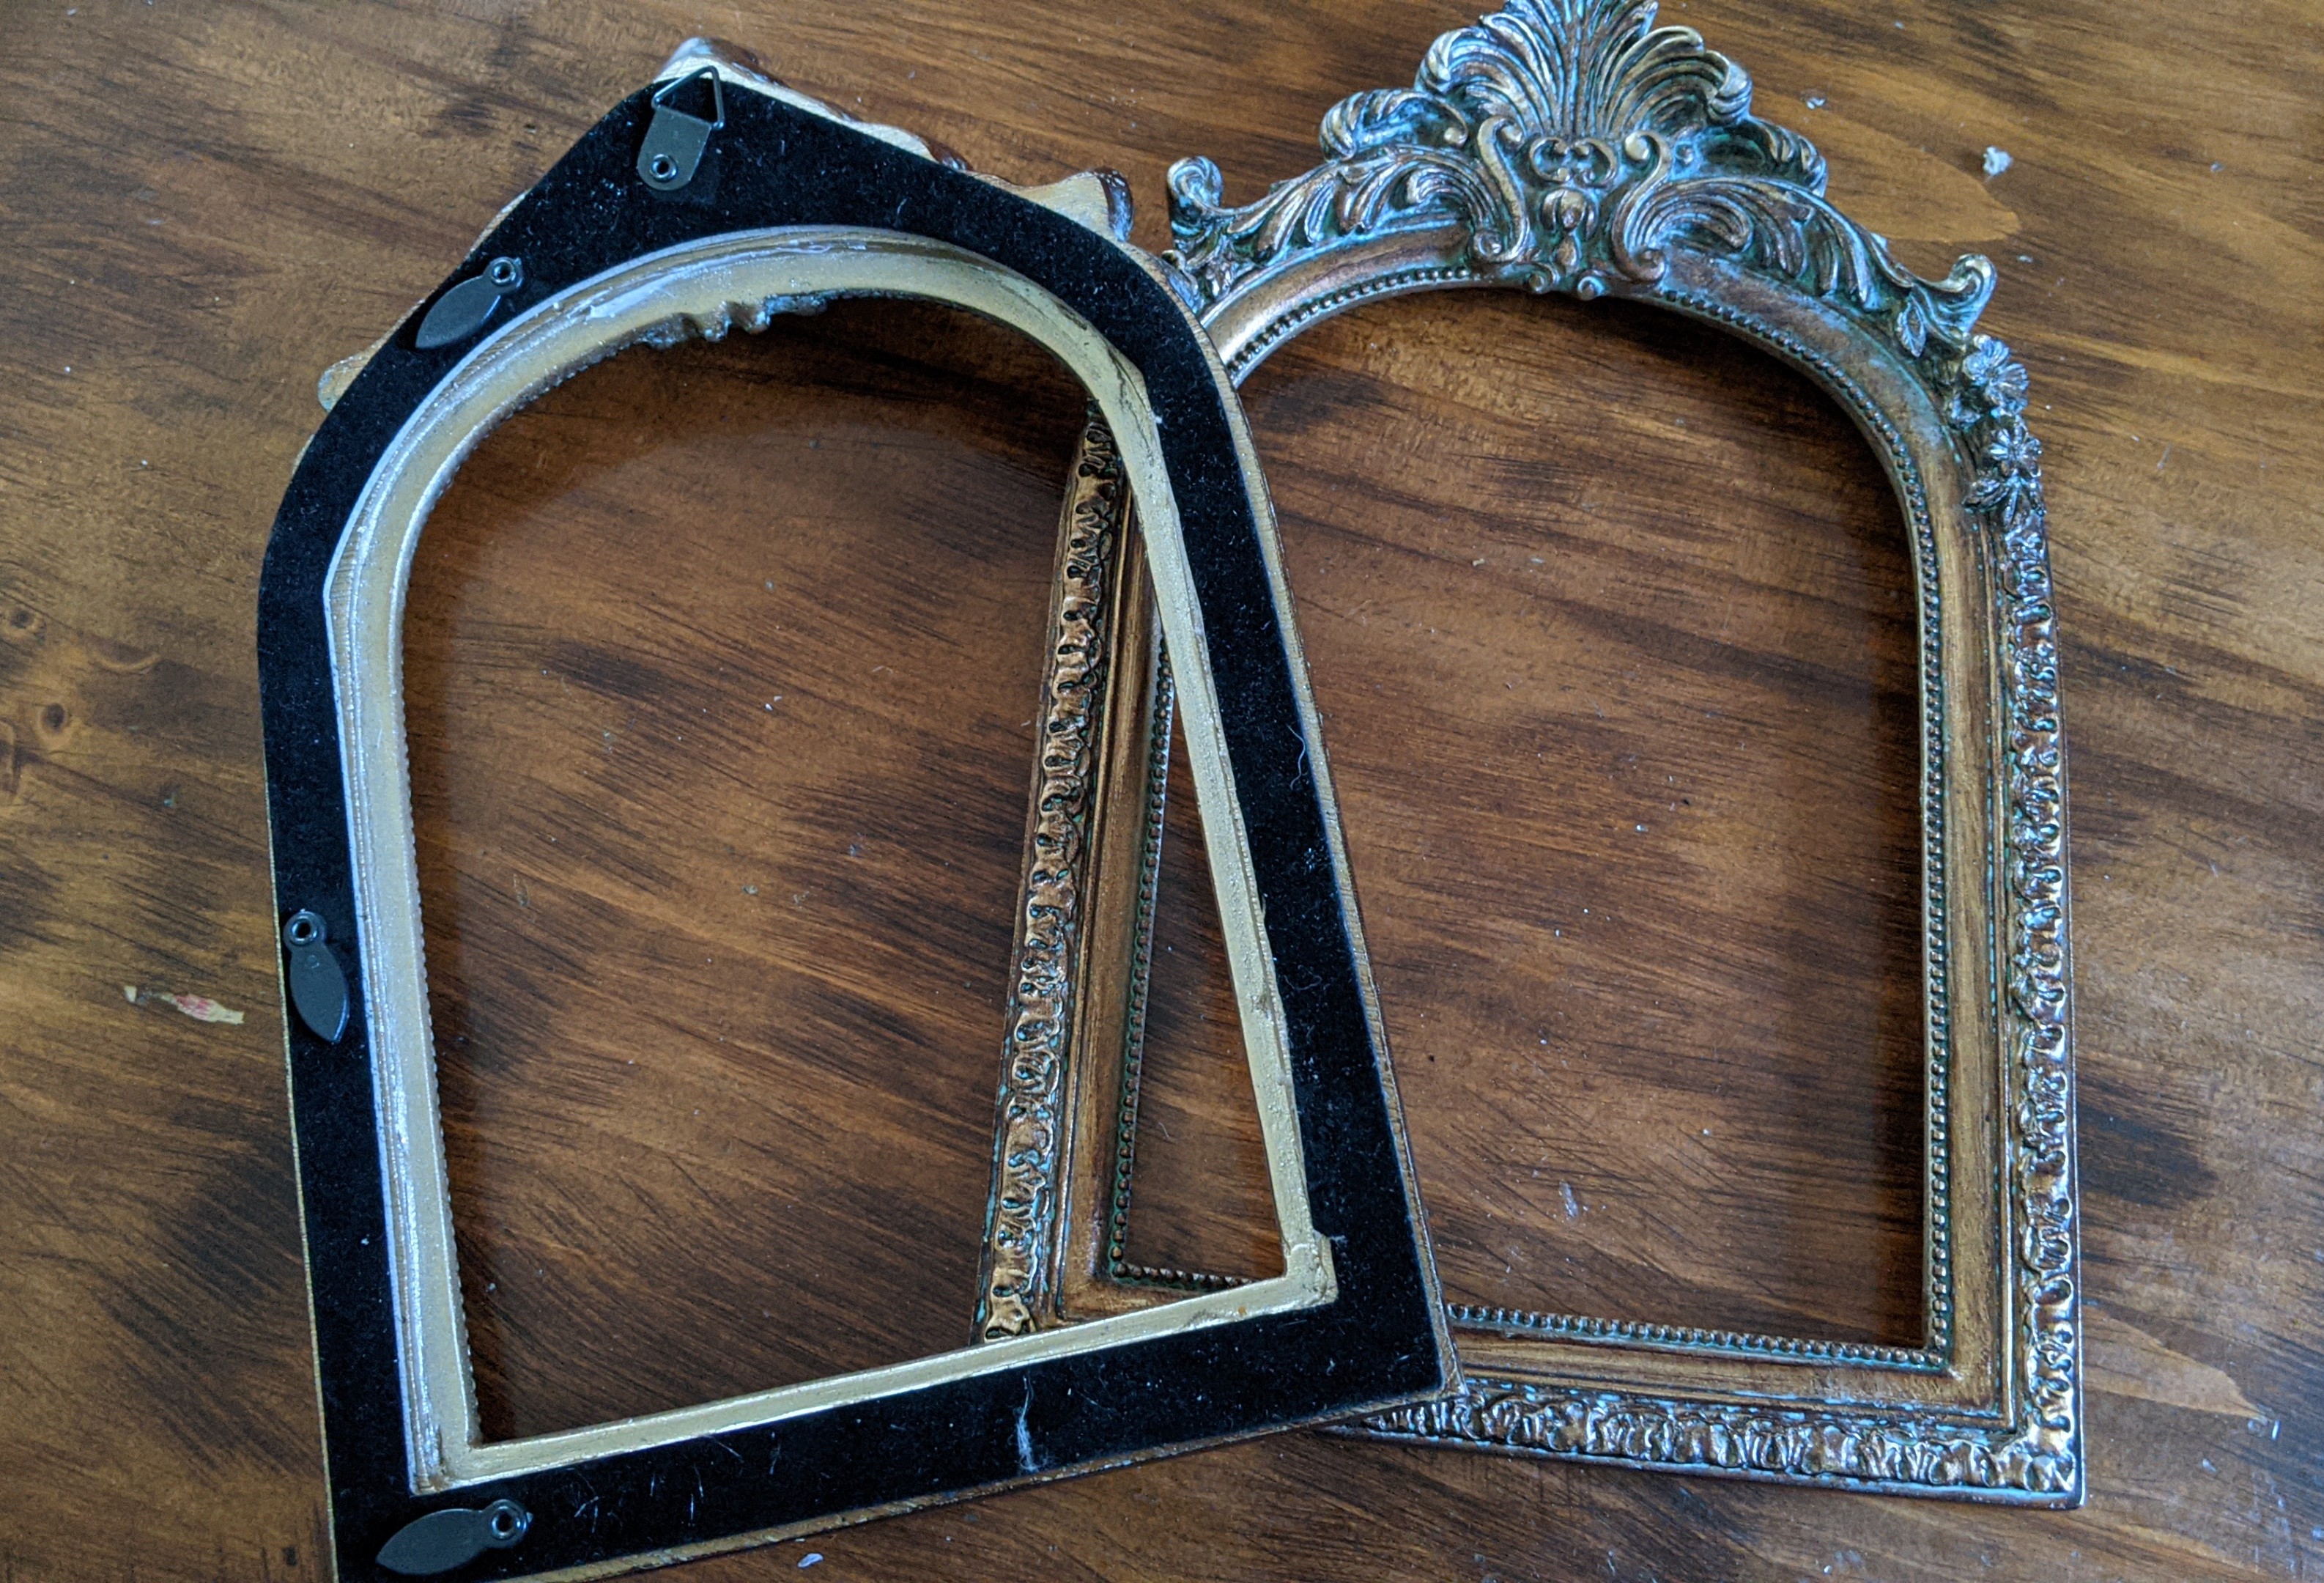
Next, I used the old frame back as a template to make a new back out of 1/4″ wood.

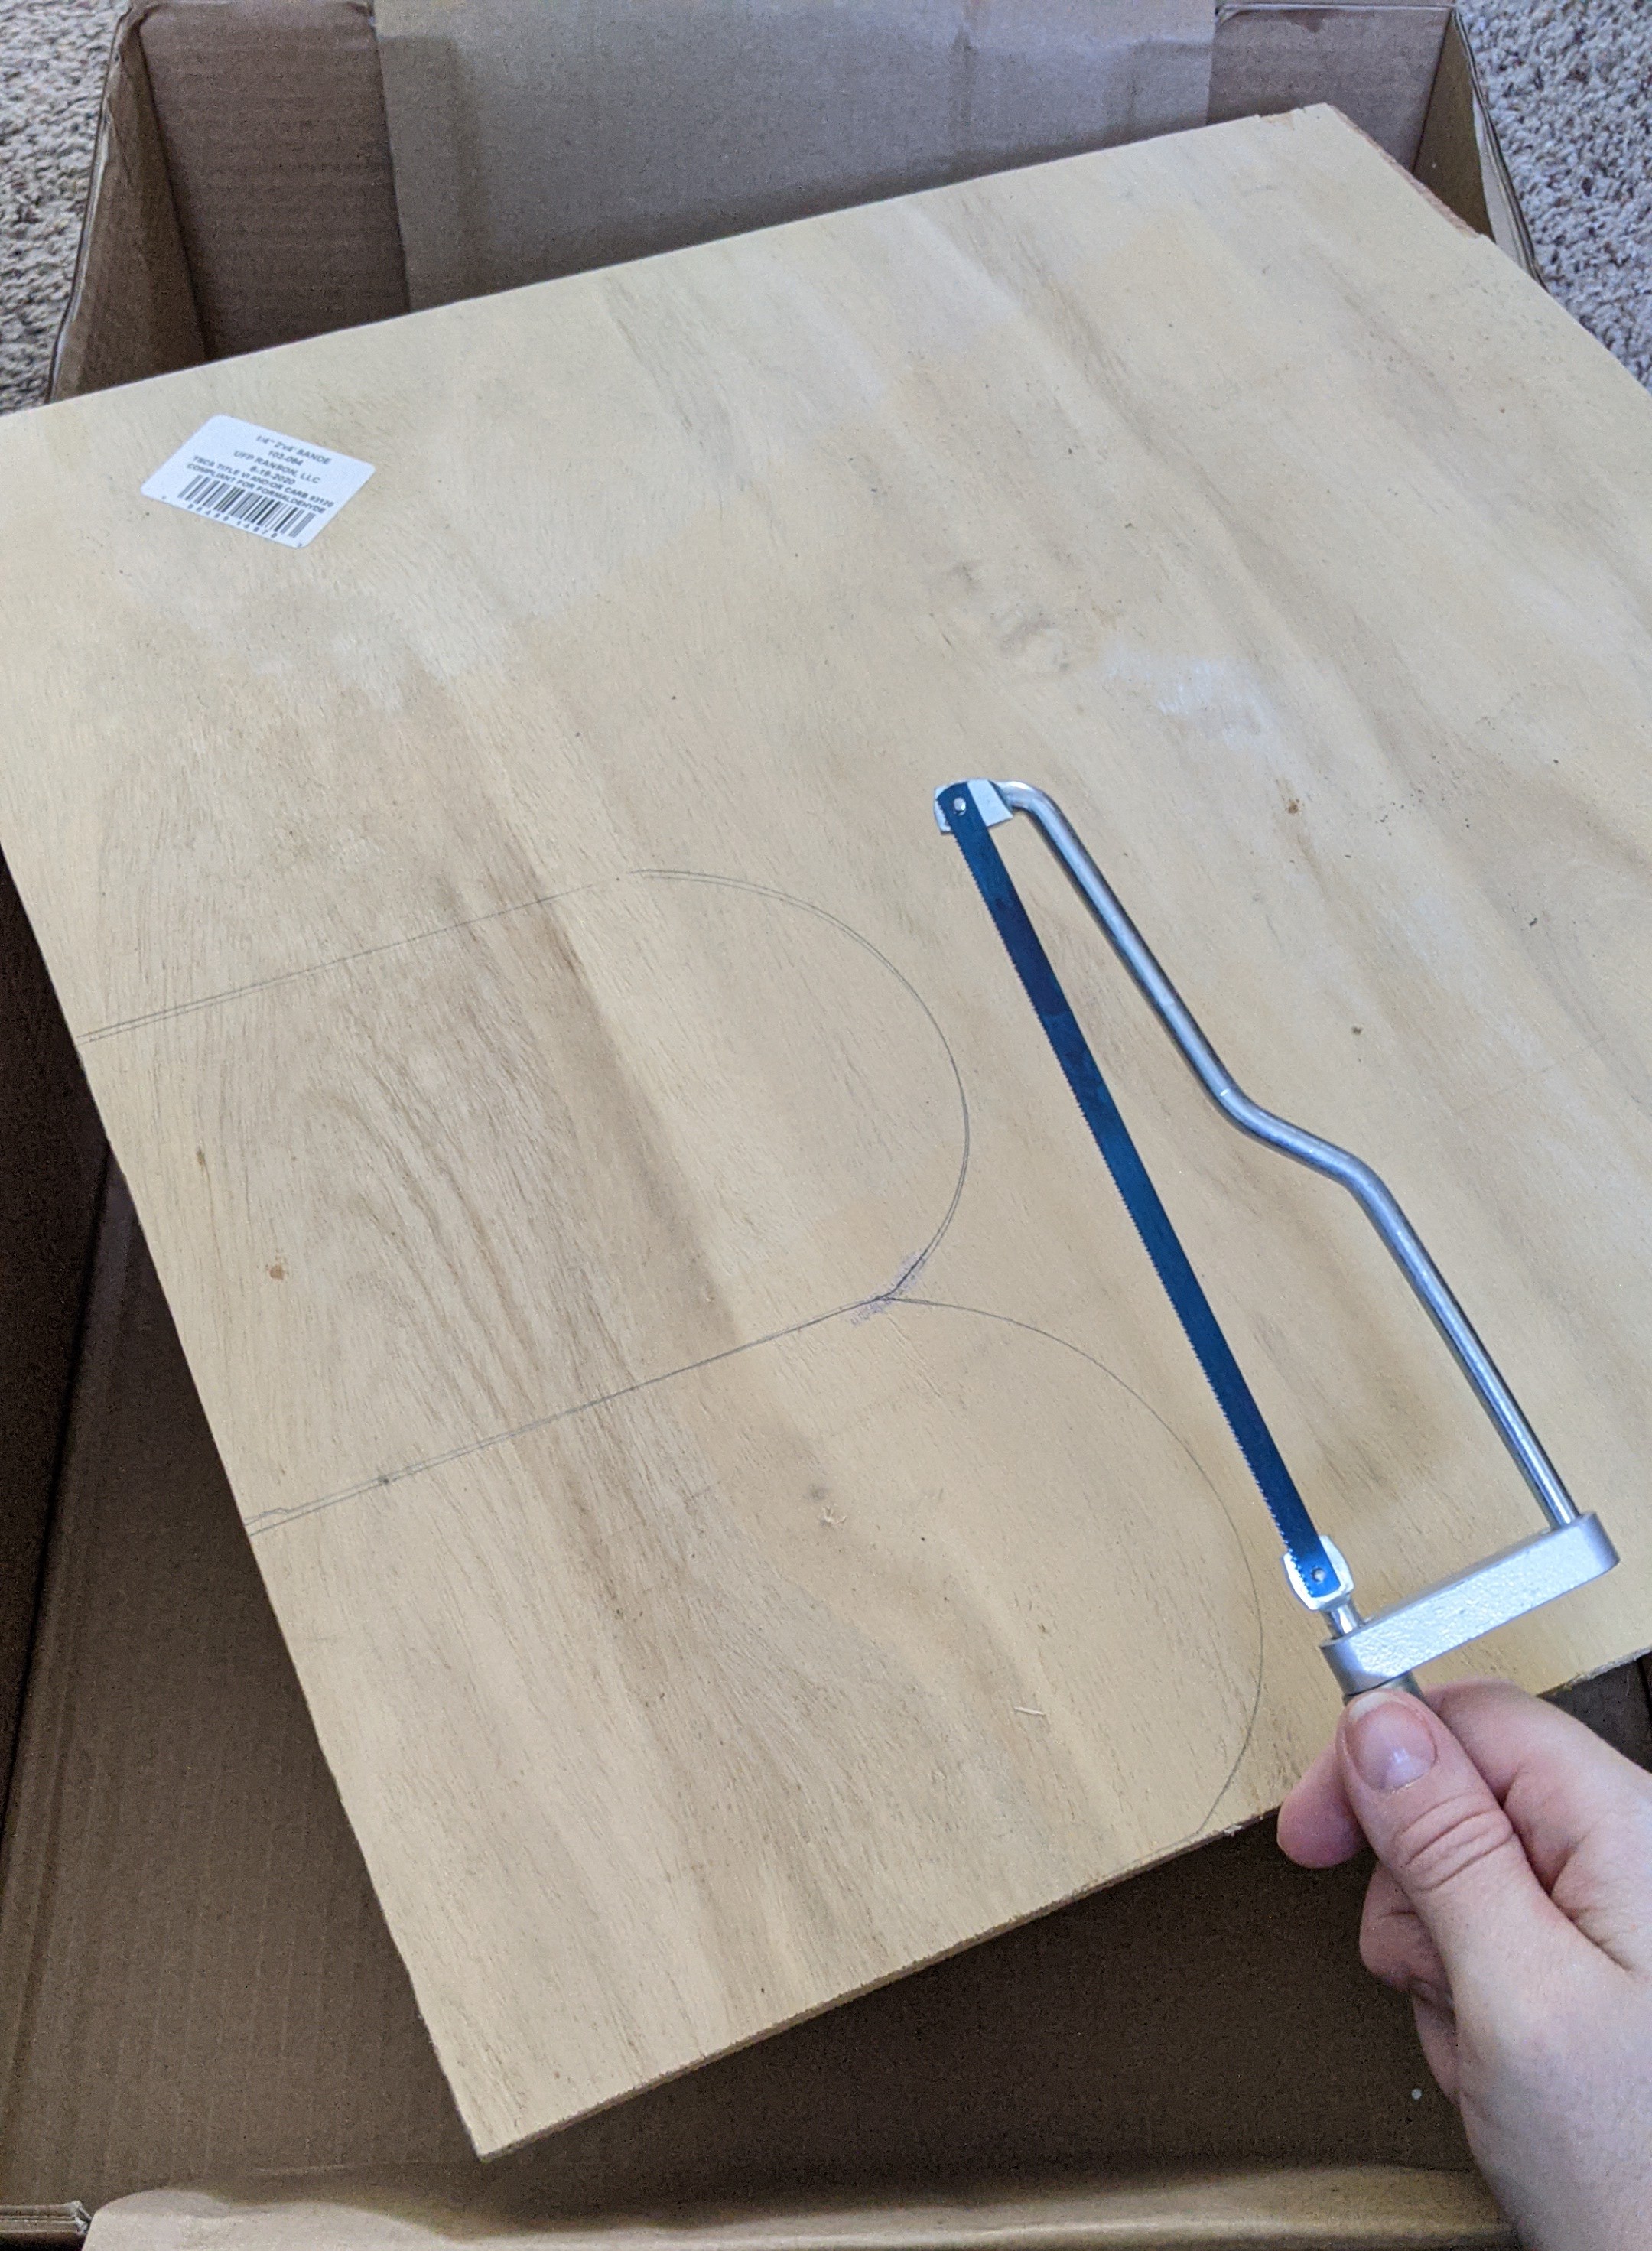
Now, I have done woodworking in the past and I’m not uncomfortable around saws and power tools, BUT SOMEBODY broke the jigsaw, so I had to cut the backs out by hand.
Things were going pretty okay, until ANOTHER roadblock popped up.

That little bar on the top of the little saw prevents me from going any deeper than 2″, and that simply will not do.
I shuffled around the garage til I found a bigger saw. The friend that gave me the skulls also happens to be my roommate, and ALSO ALSO happens to be a general contractor.
While the last saw was too small, this one is too big.
My roommate saw me wielding that saw and went out to his truck to try and find a better one. (Second spoiler alert: it was not).

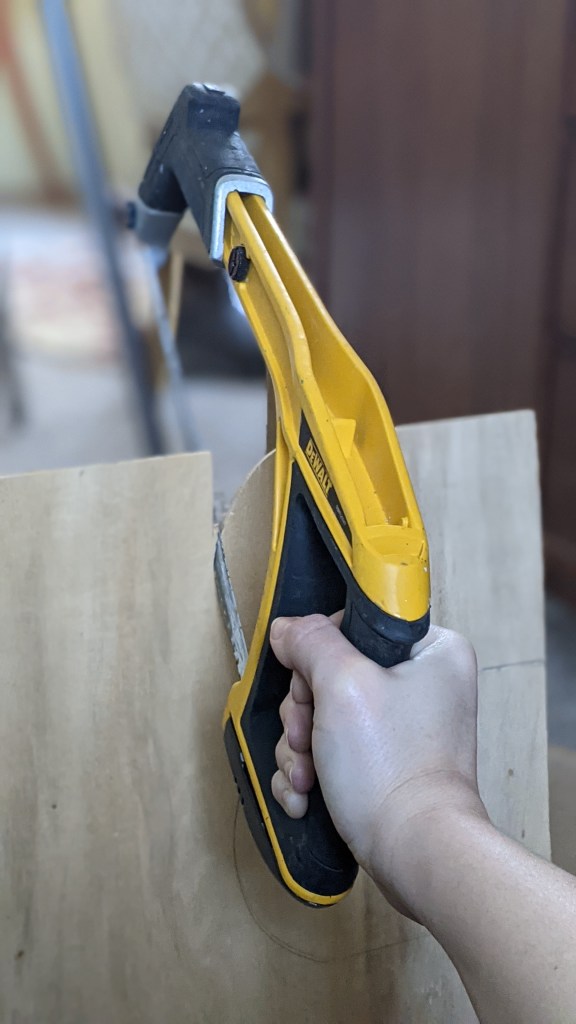
For some reason this new saw wanted to rip at an angle, rather than straight like I’d asked of it. This means the pieces came out a little… funky.
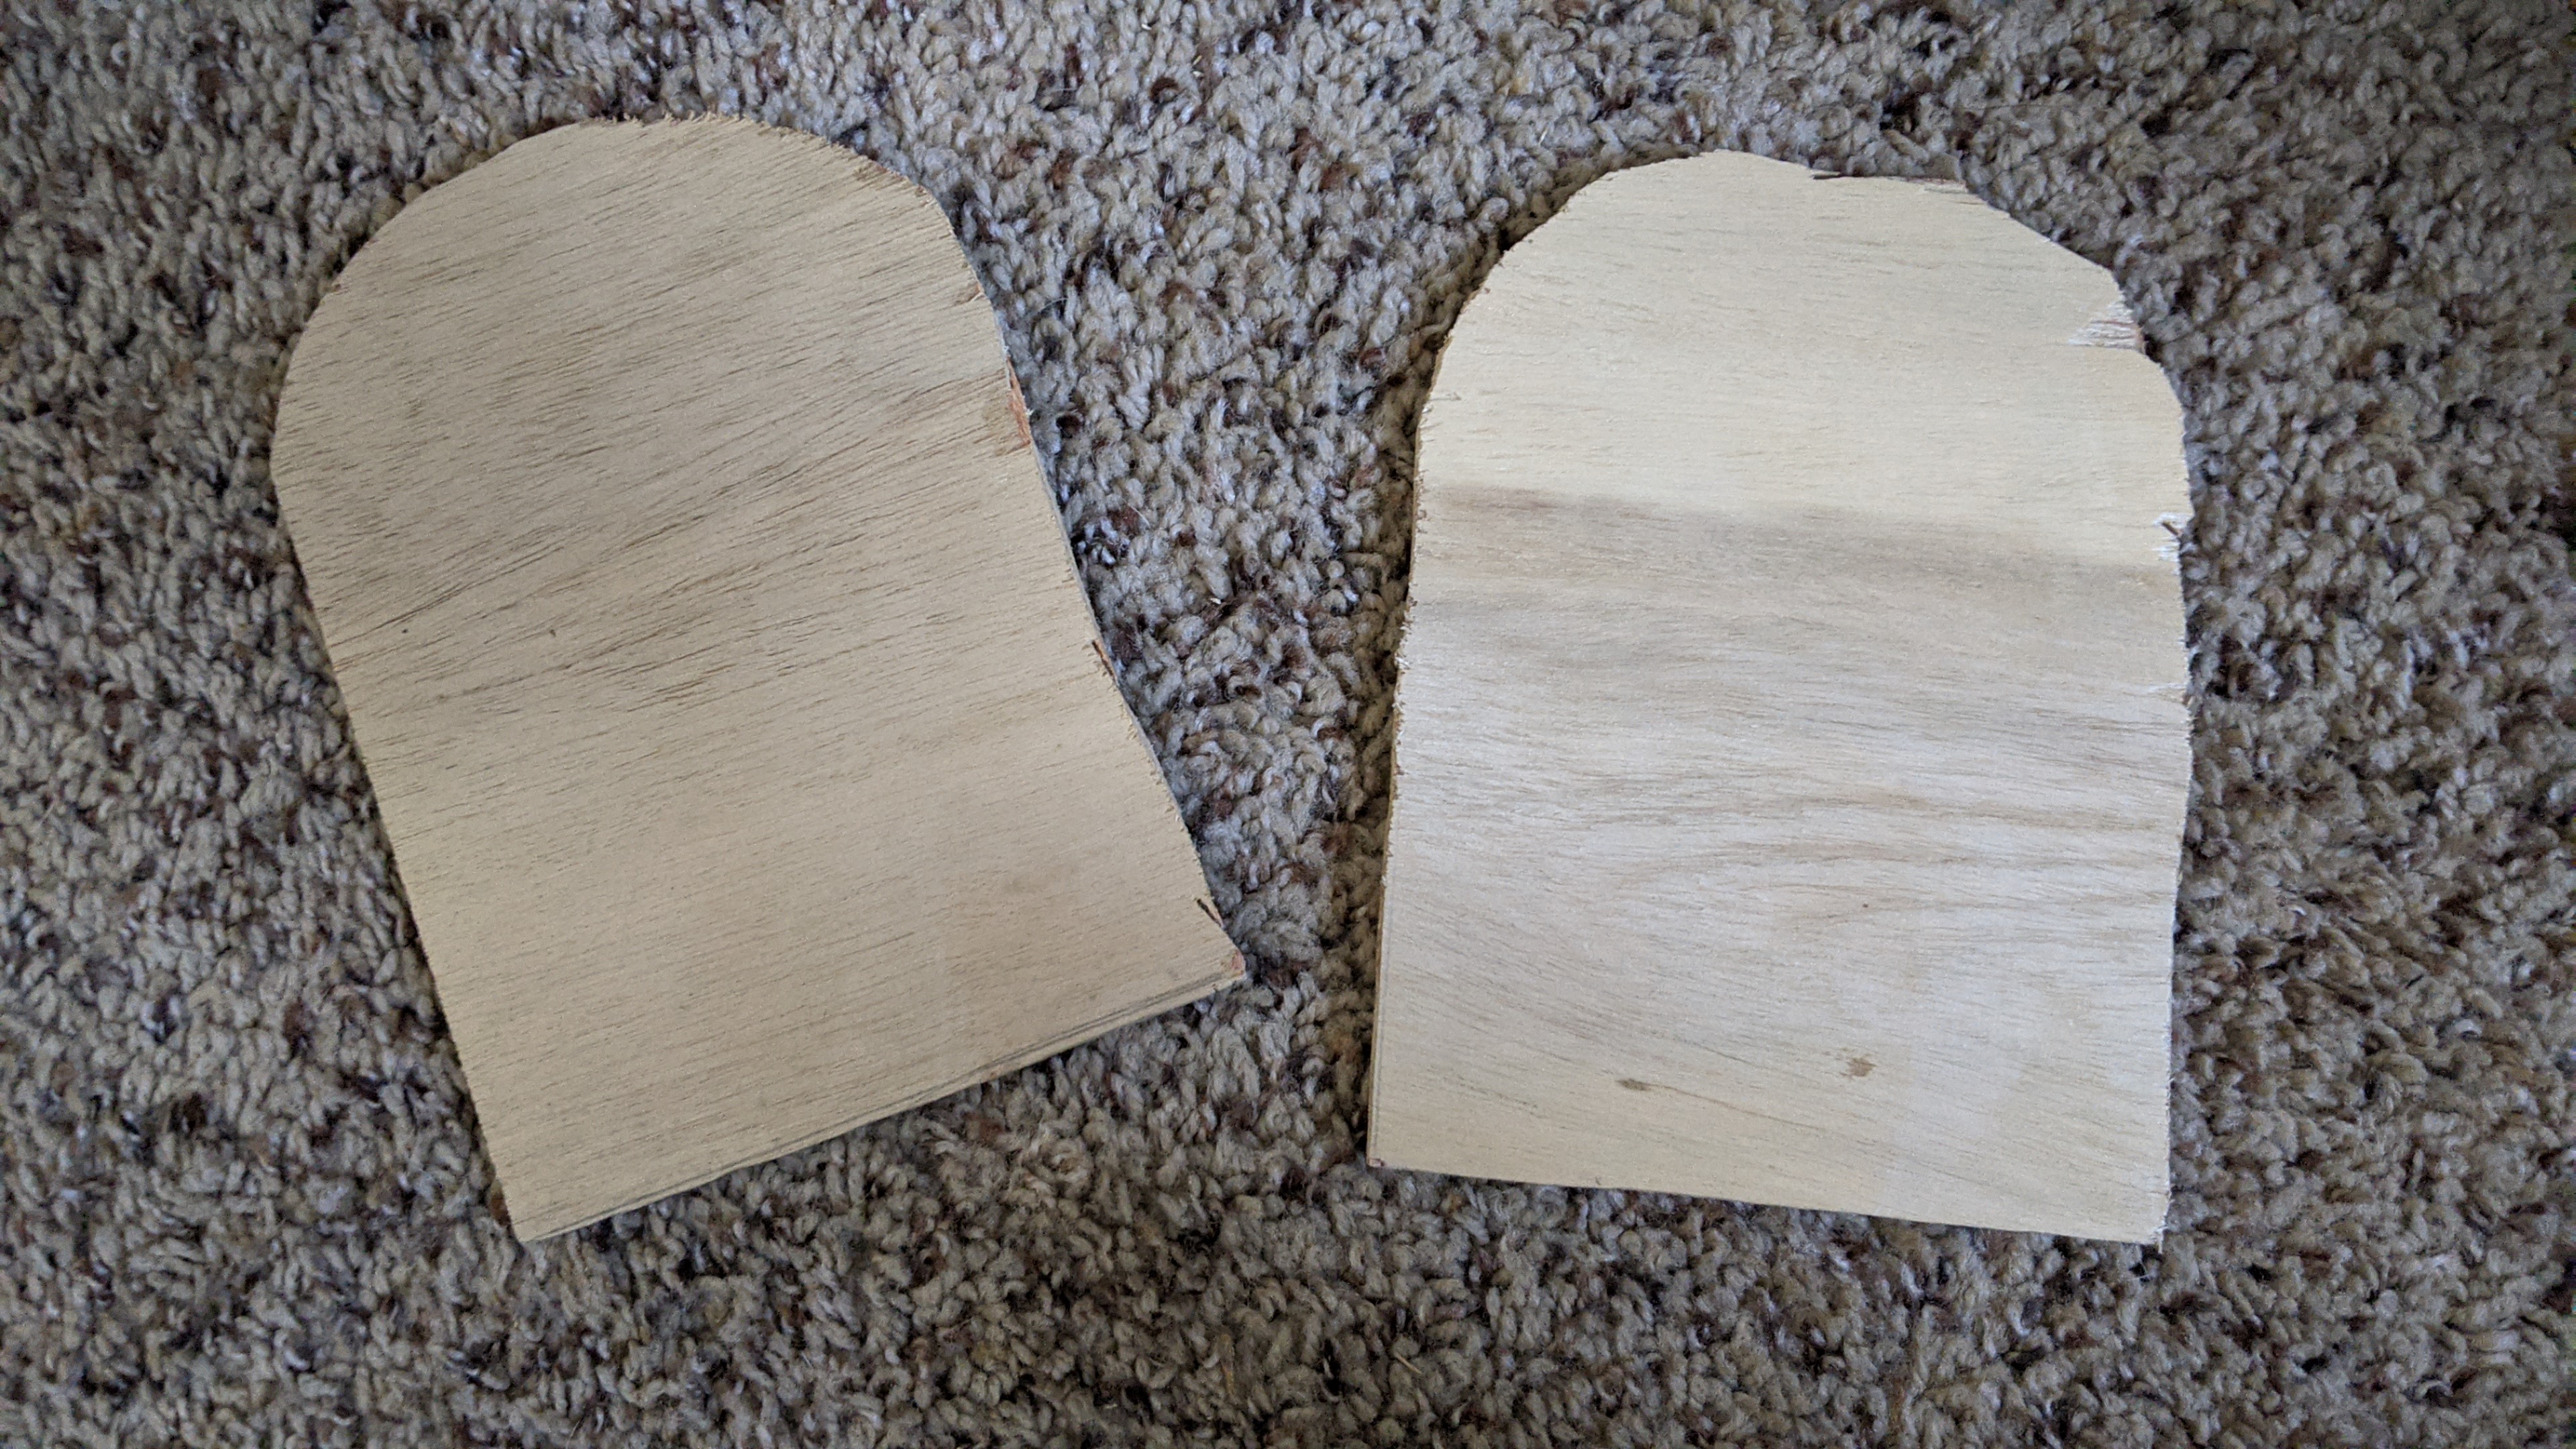
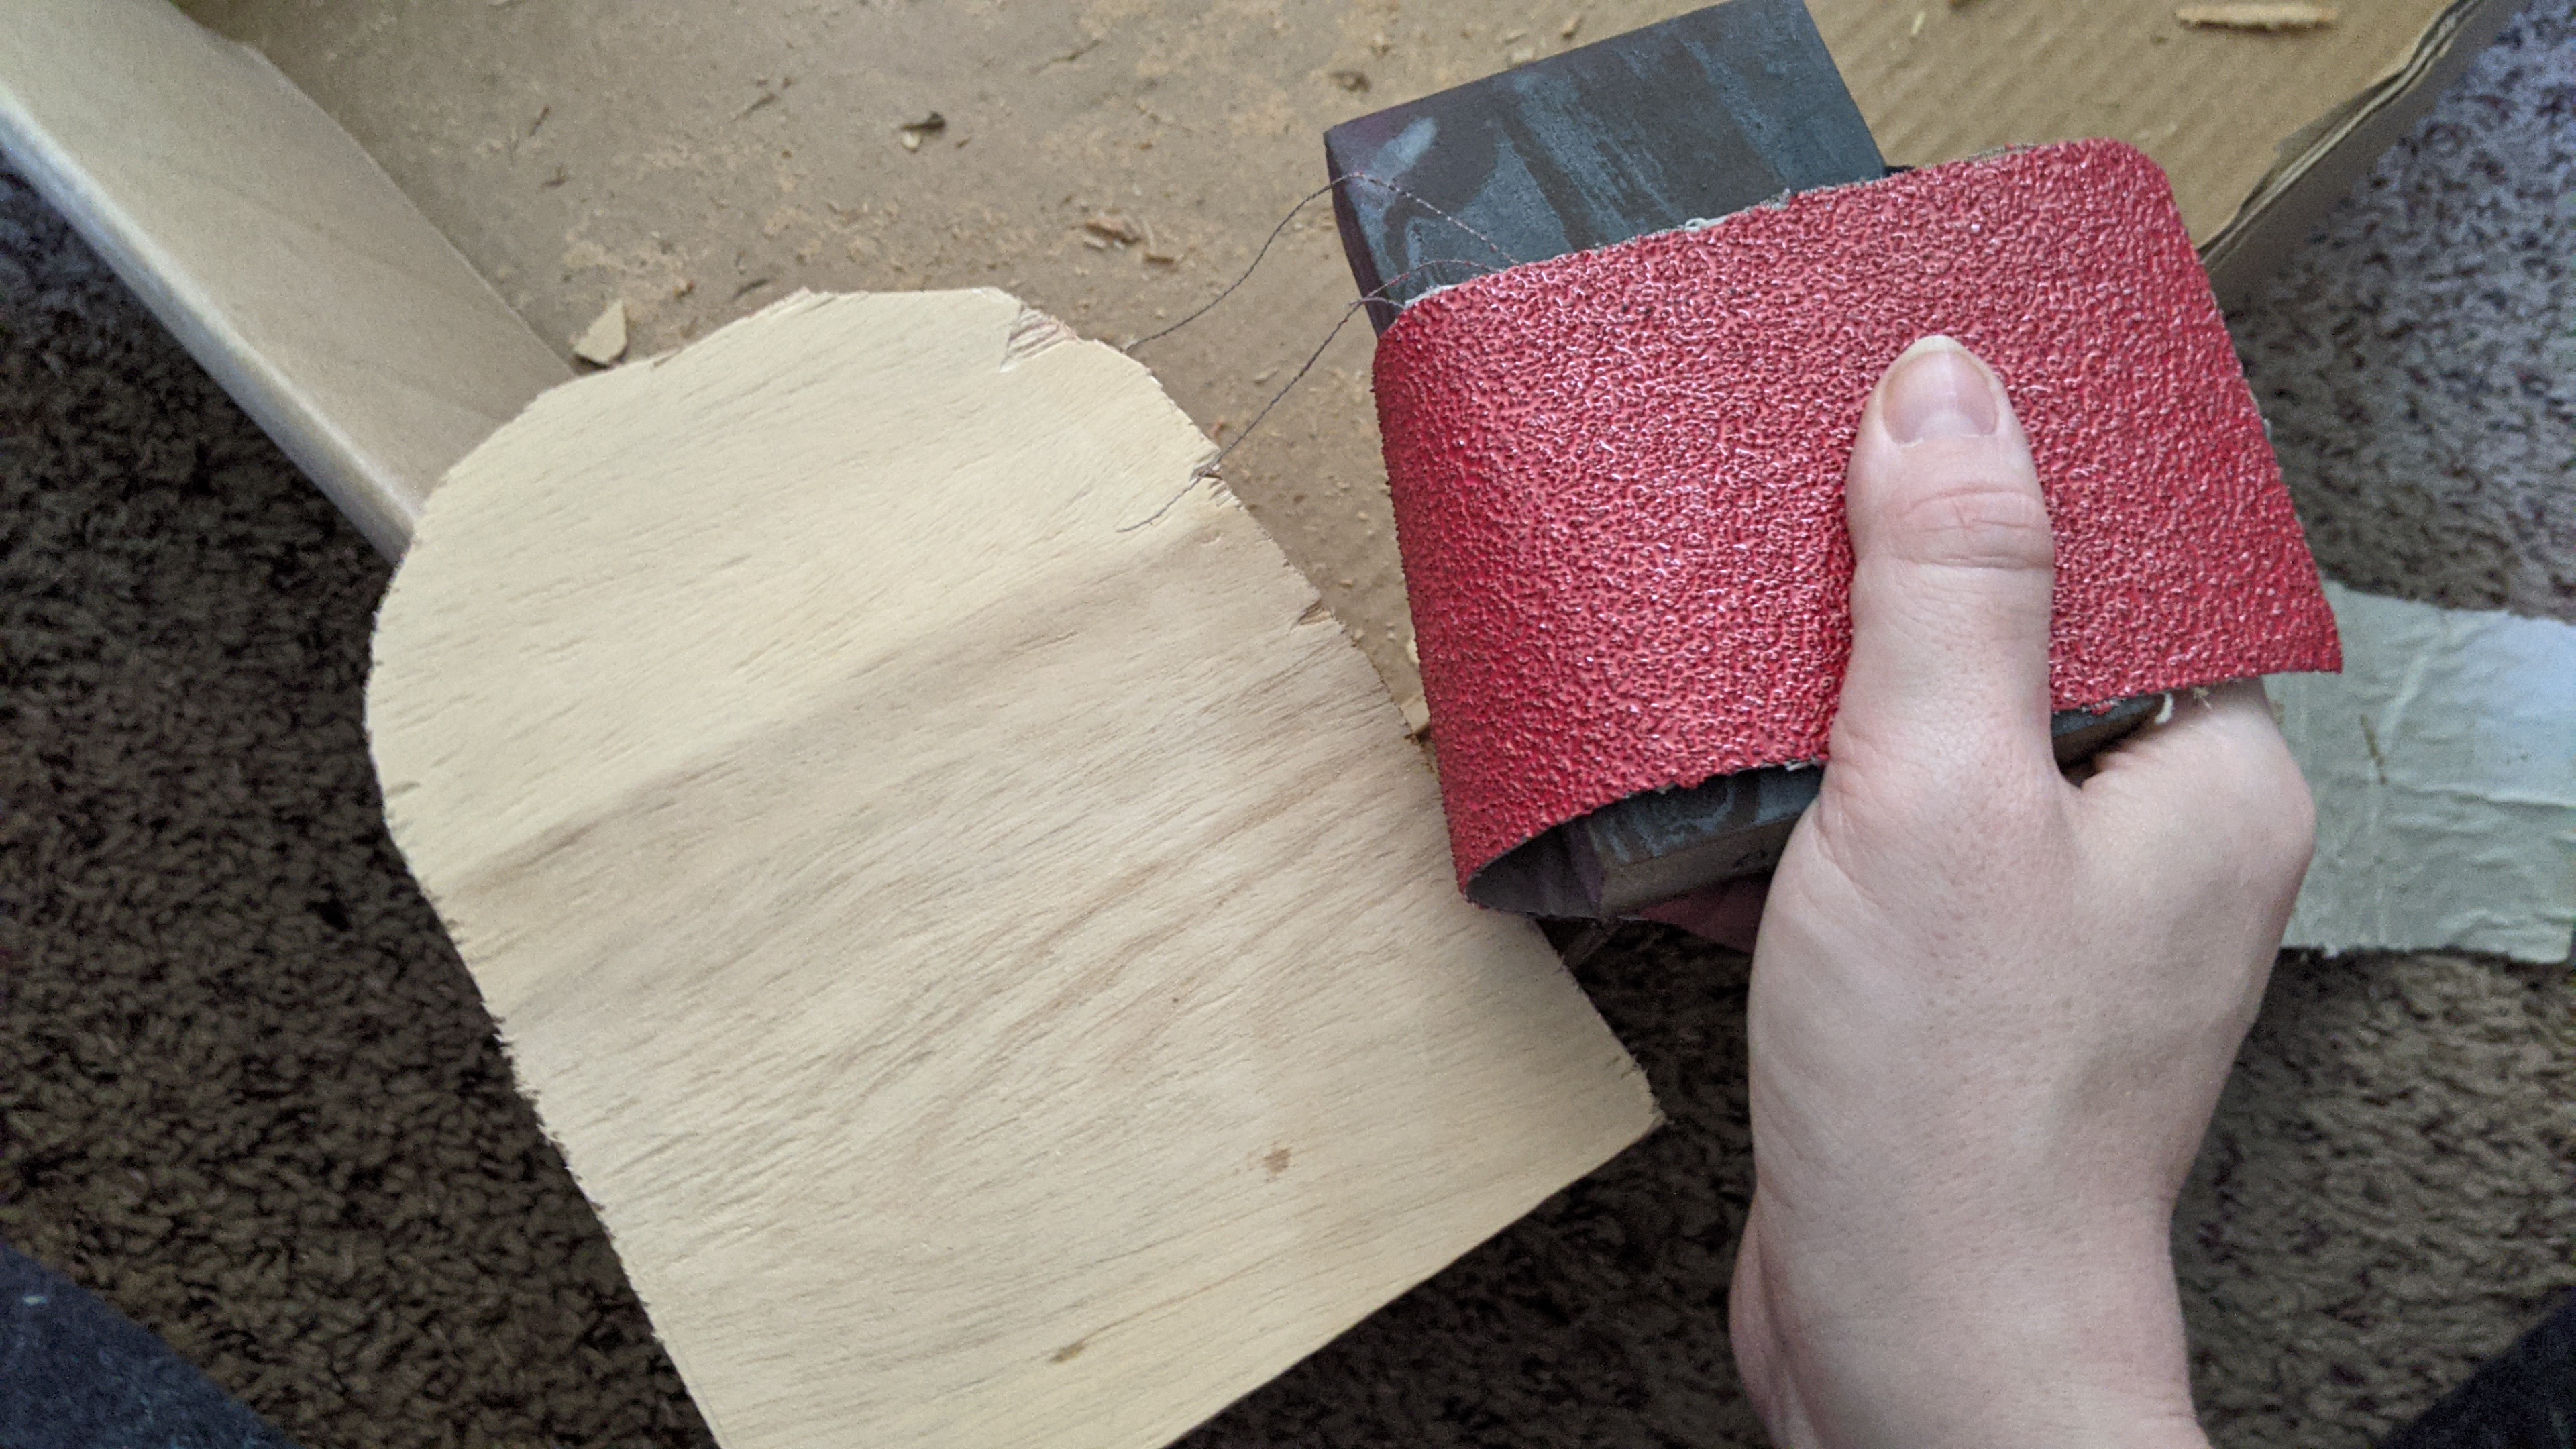
That’s alright though, because I needed to sand them anyway, and they turned out to be much prettier afterwards.
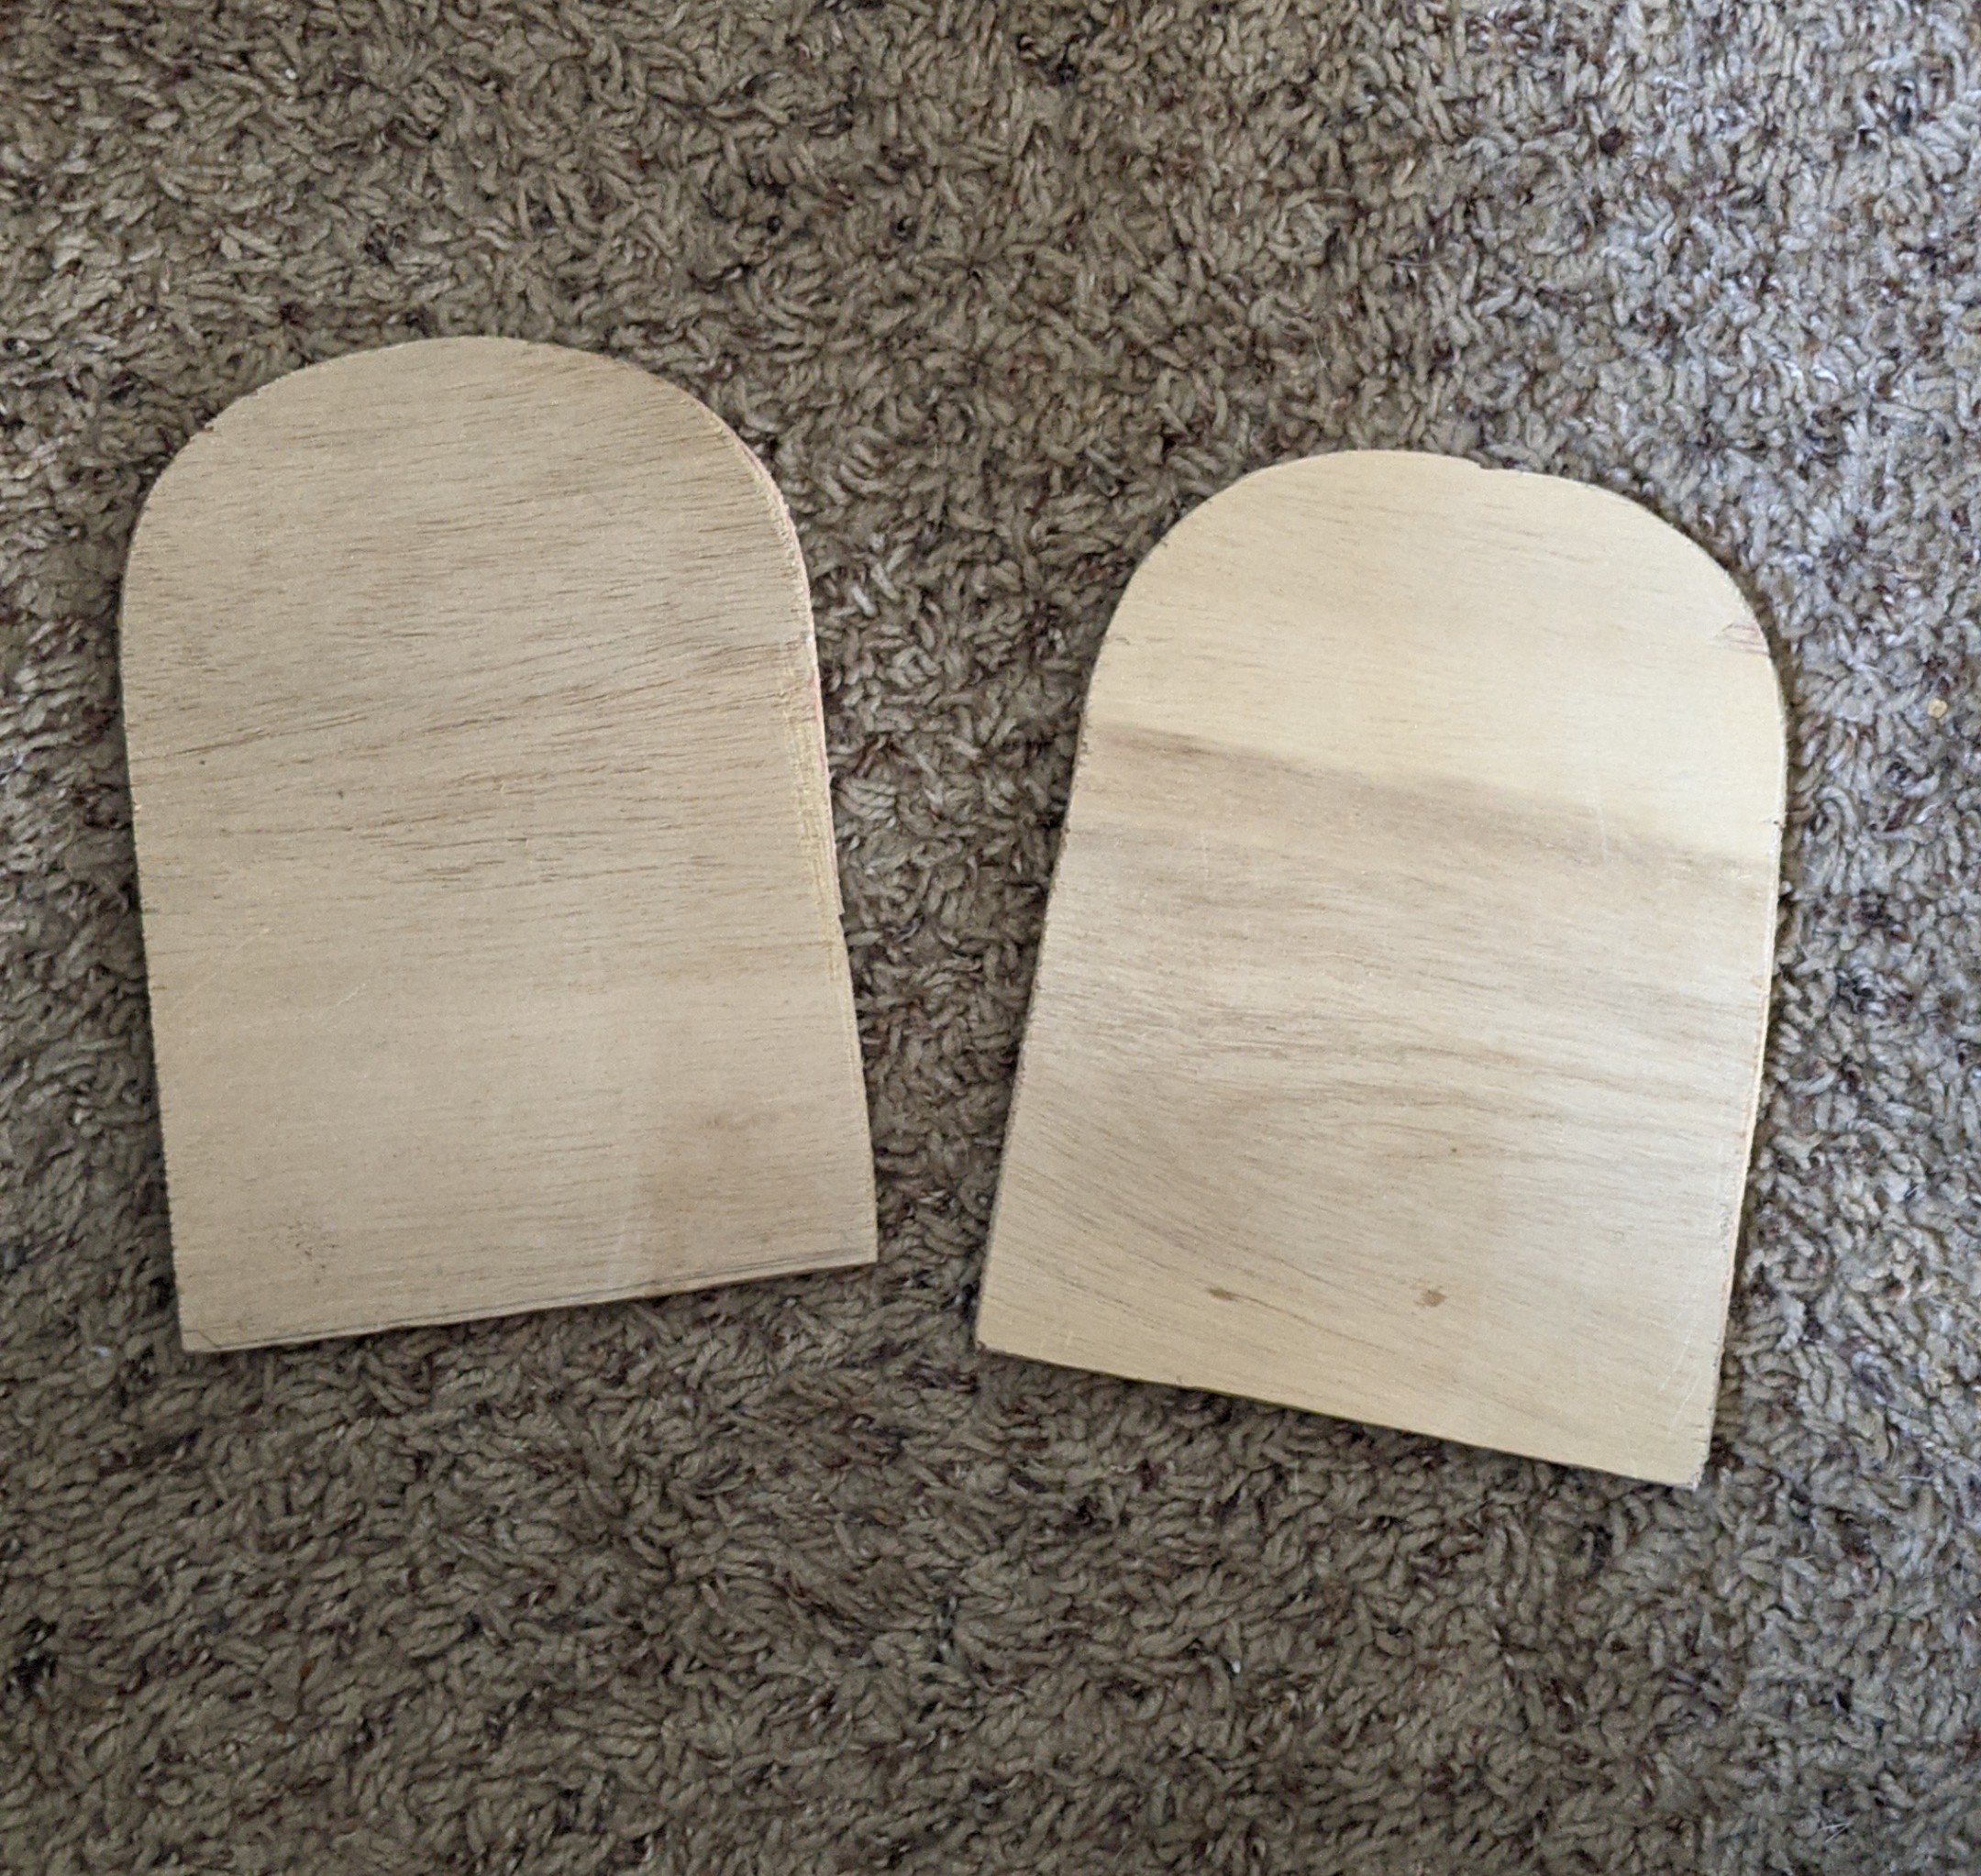
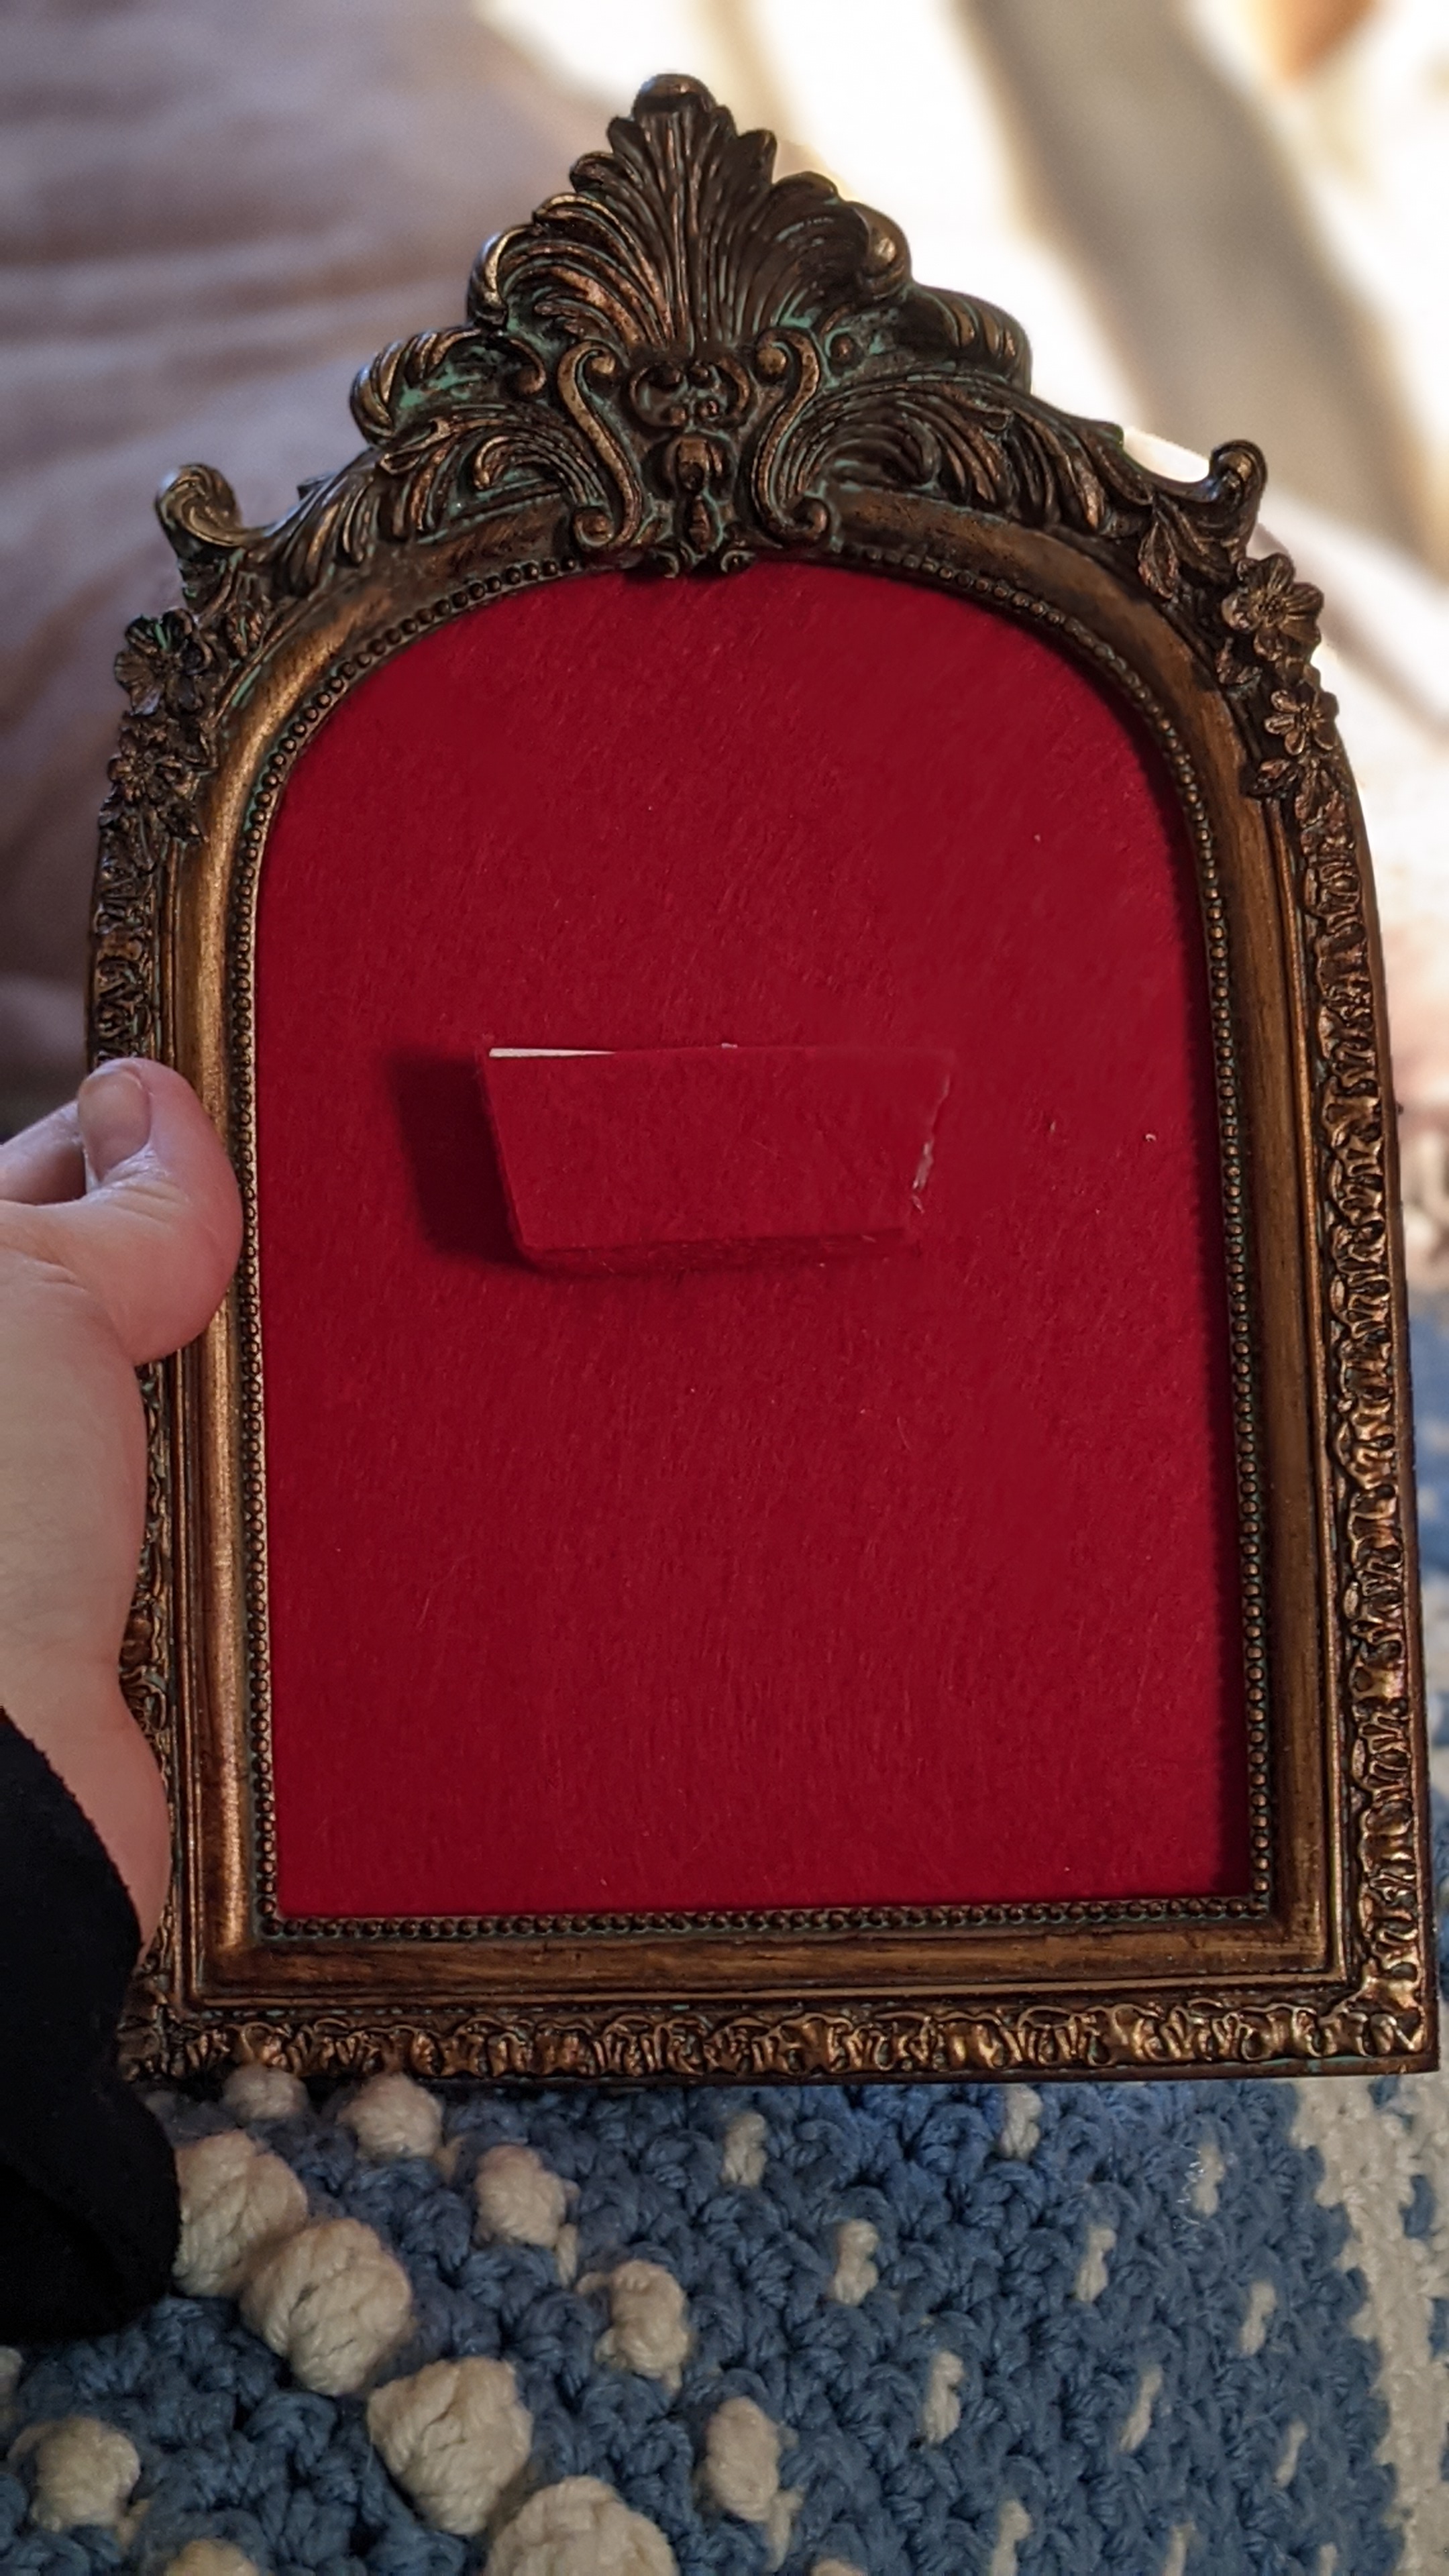
I checked to make sure they’d fit in the back of the frame with some space around the edges for me to fold some felt around them.
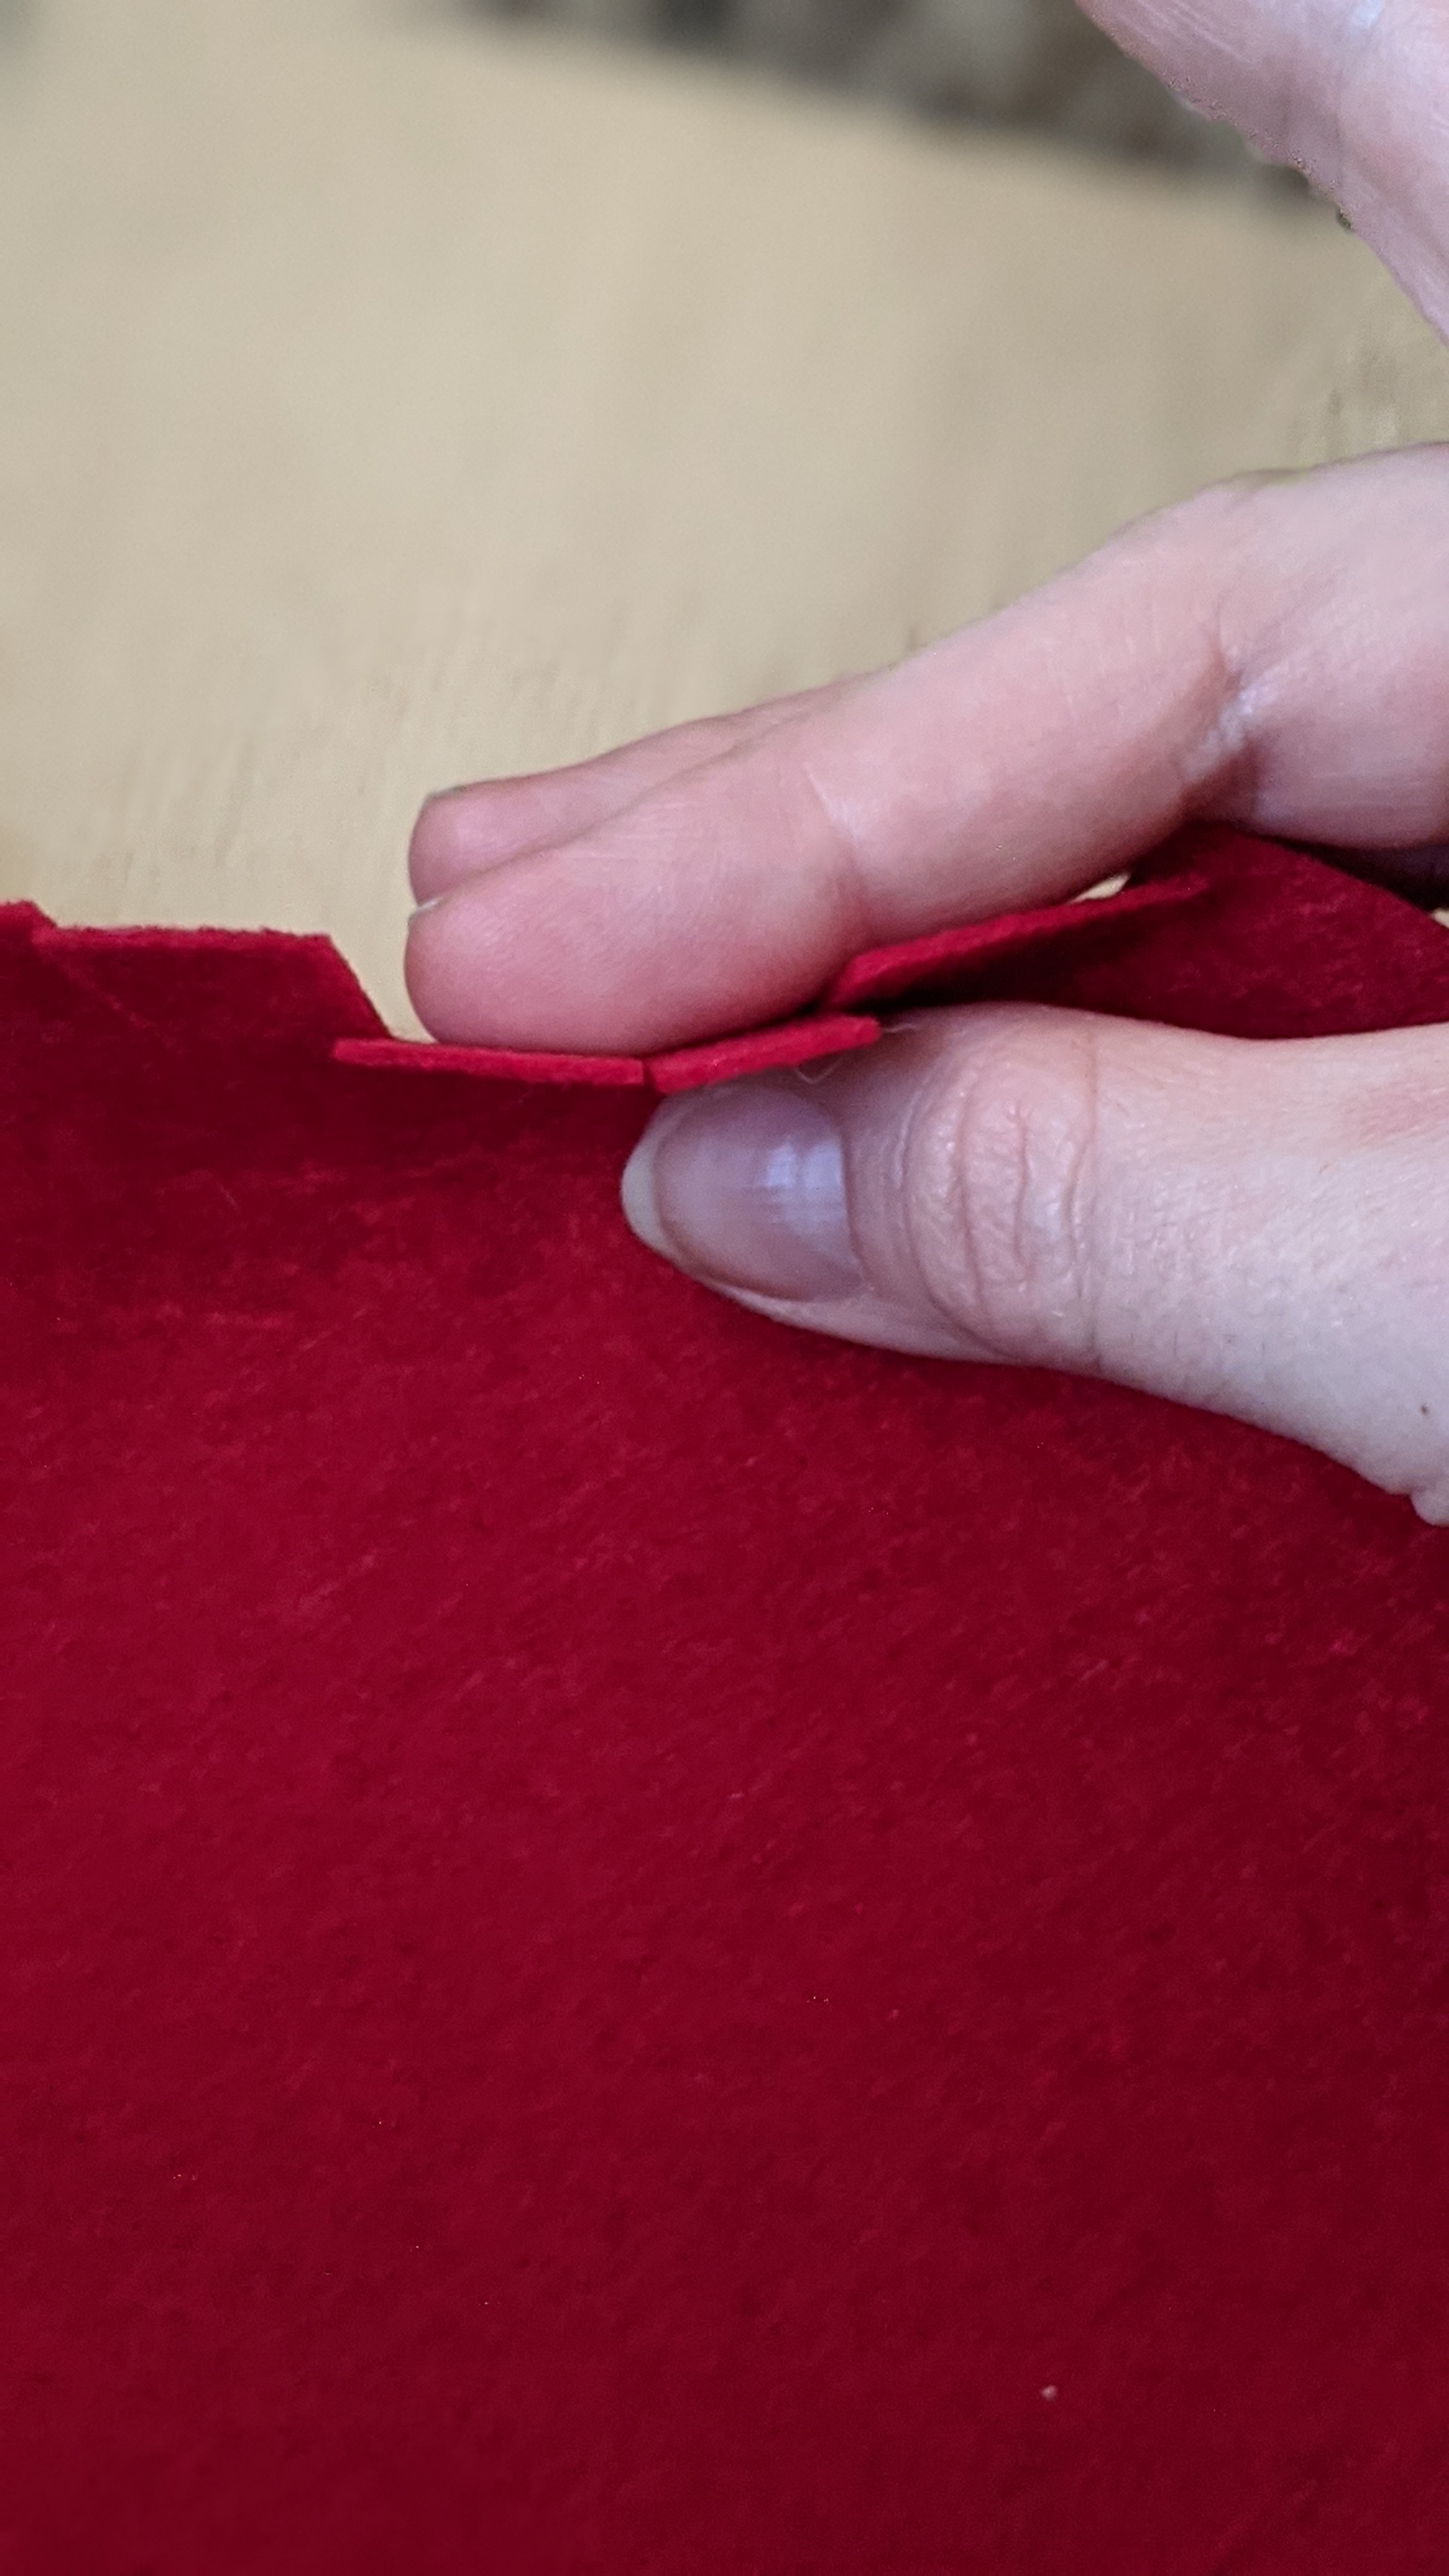
The next step was to wrap the wood in red felt and hot glue it down.
Just like with sewing, when you’re going around an arch, you have to cut notches. That way the fabric can fold more smoothly around the curve.

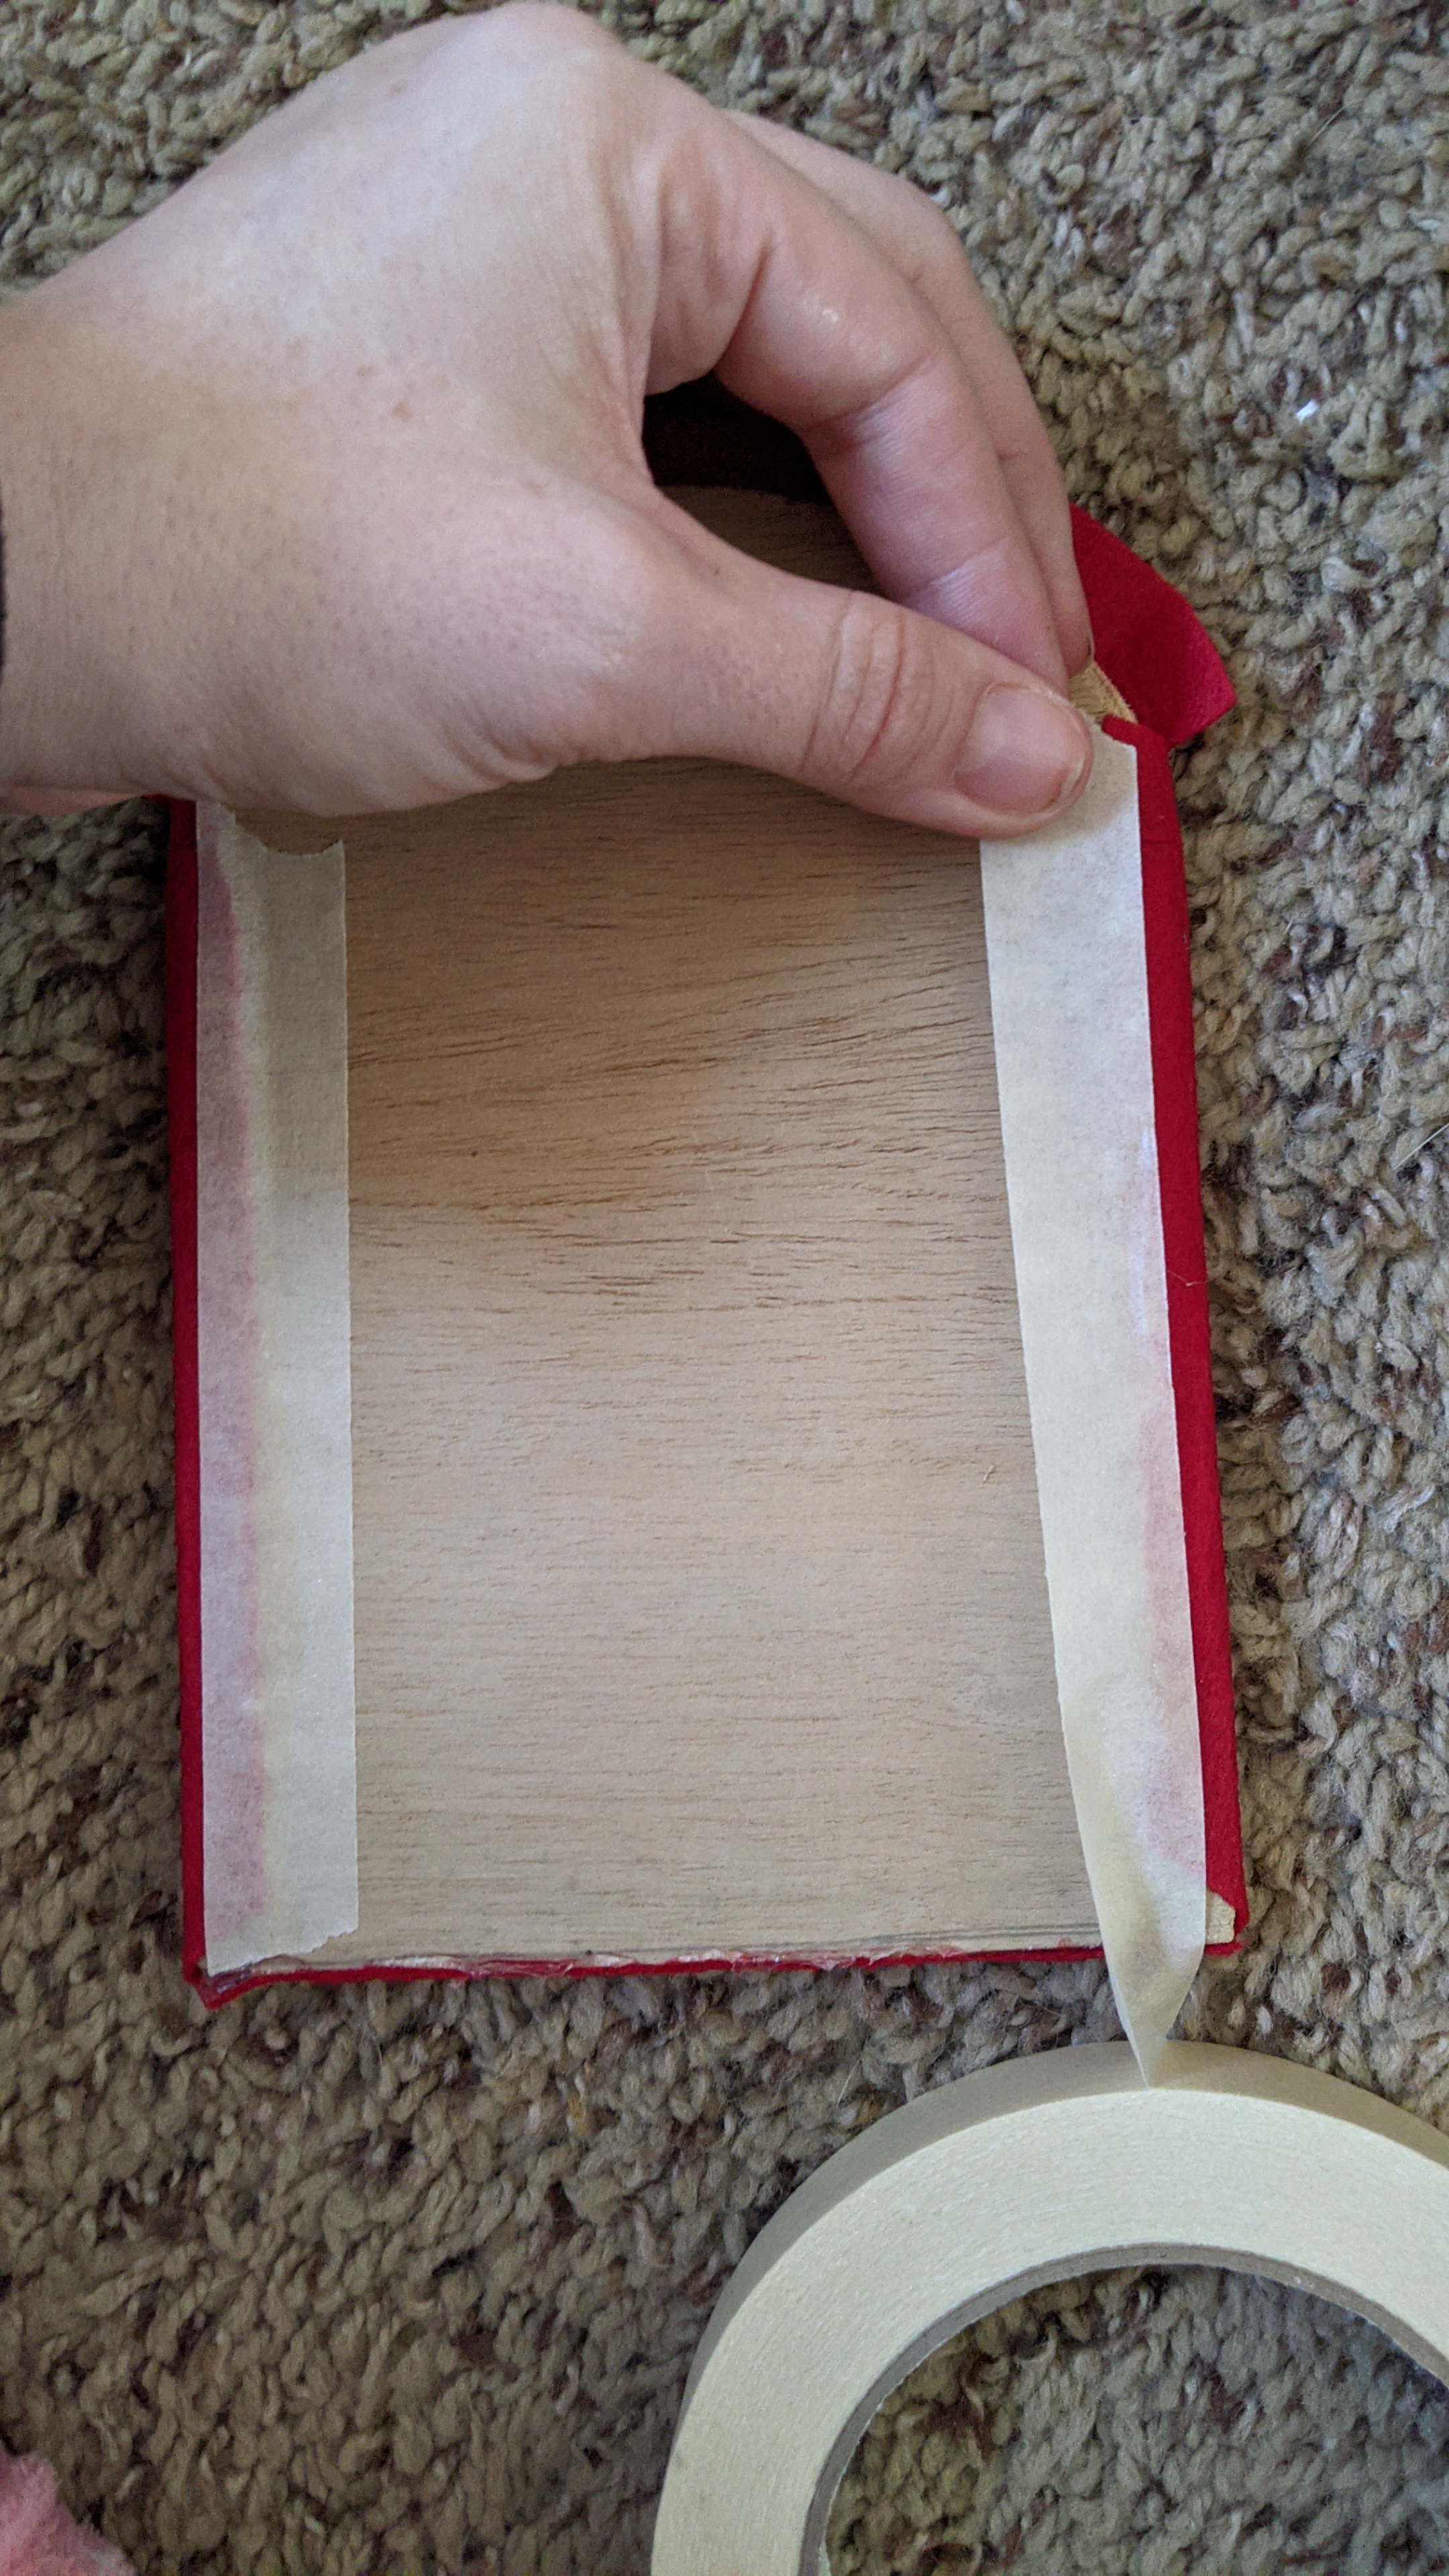
Once the felt was glued down, I put some masking tape over it to keep it from peeling up while it dried.
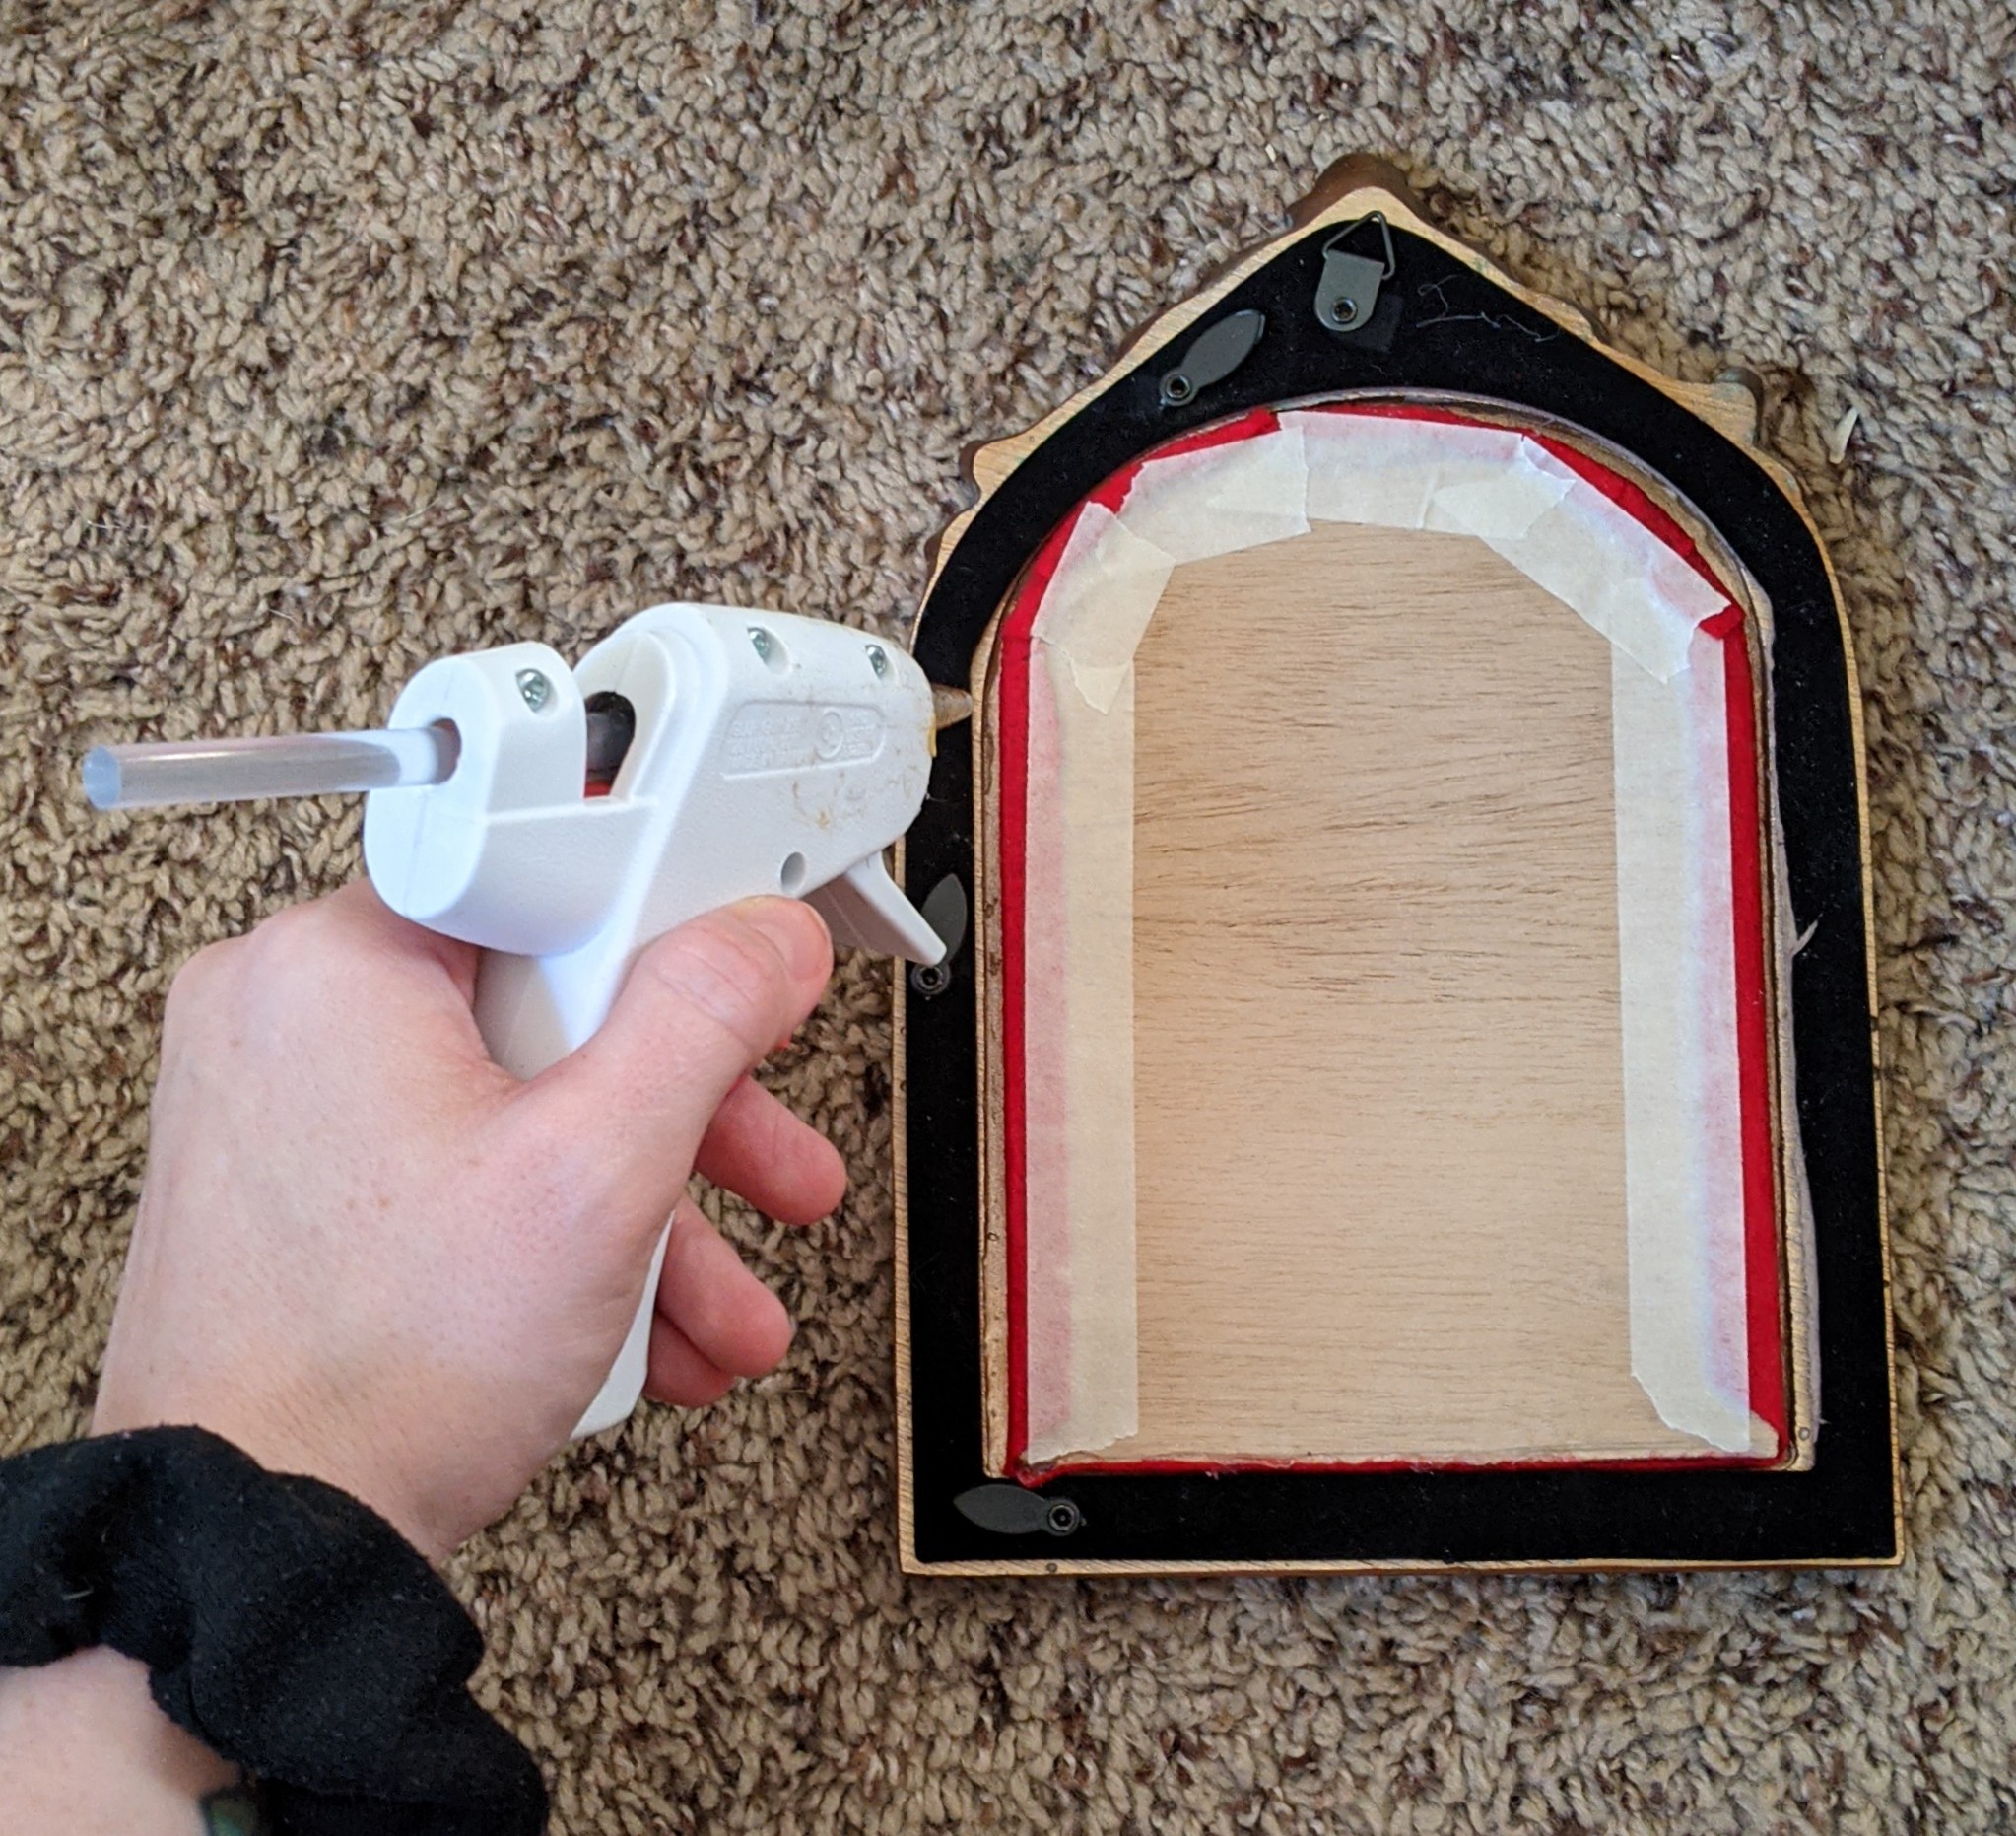
Then, it was just a matter of covering up all my dirty work with a piece of black felt.
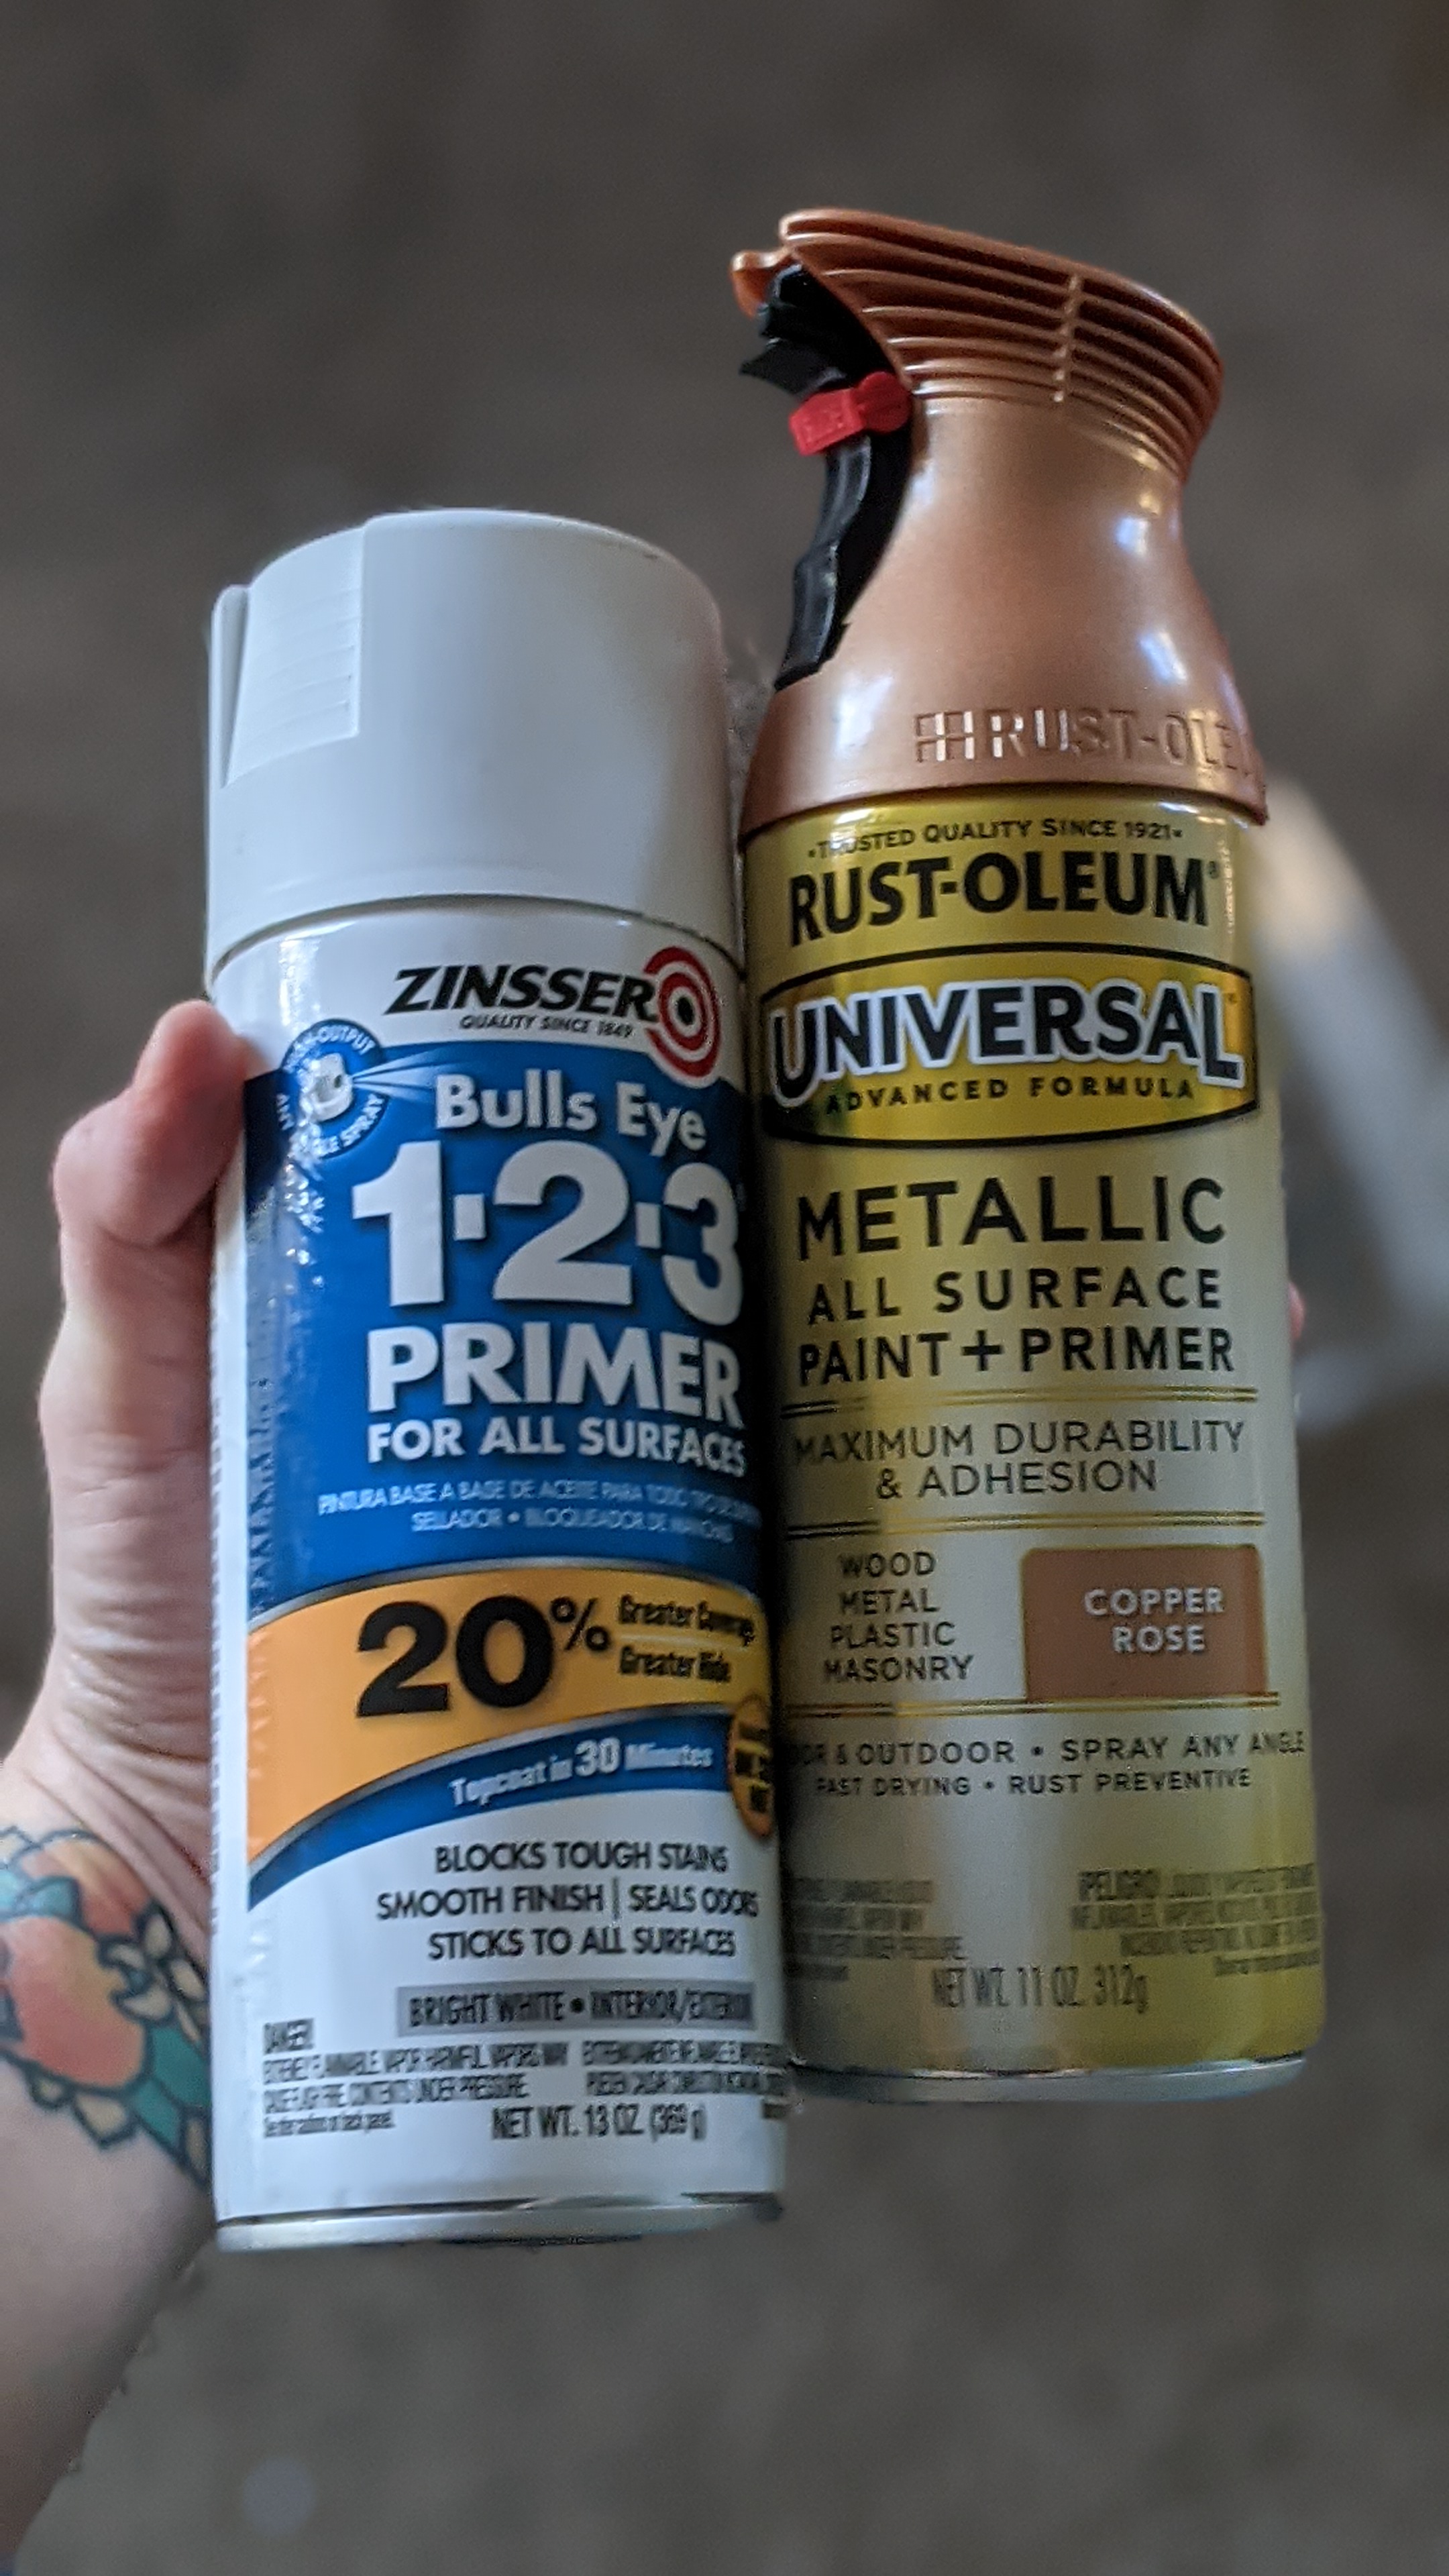
Now, it’s time for the hard part, or rather, the hardware part. Yep, I want this to hold a little tea light just below the horns, and since I alas can not cast metal, I’ll have to improvise.
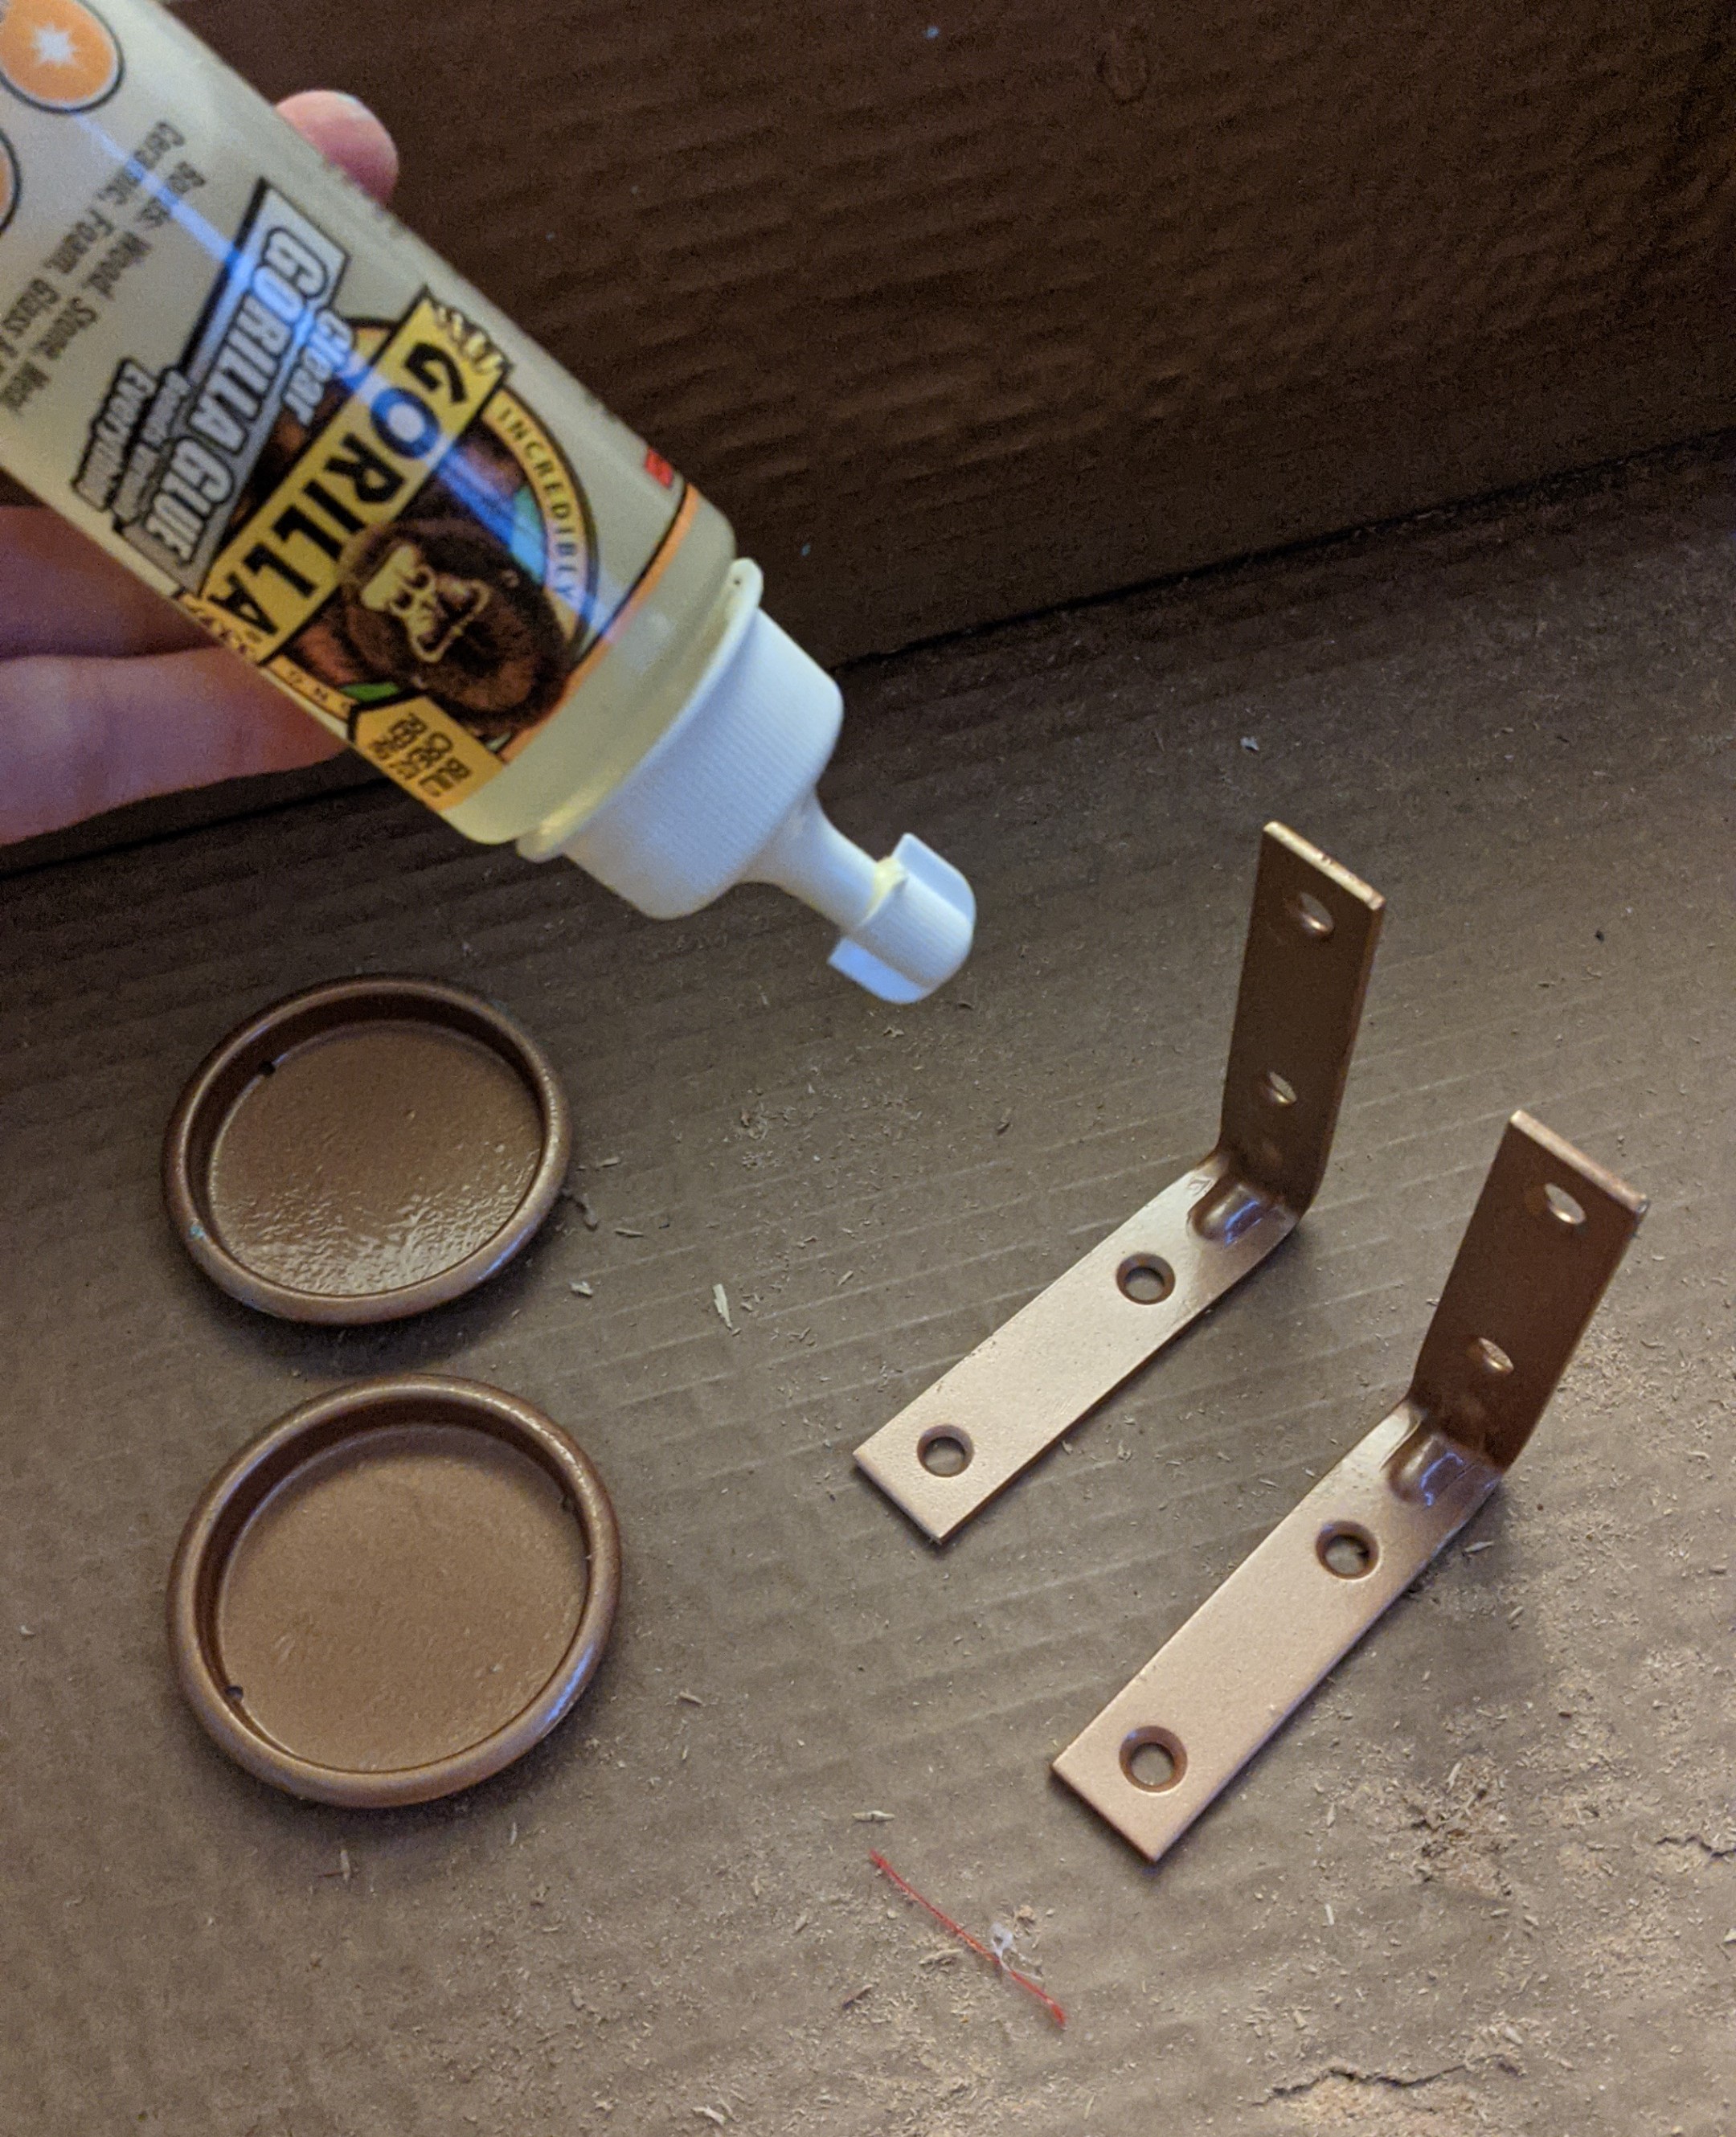
Using some 3″ L-brackets and sliding door pulls from Home Depot, we’re going to fashion a little arm with a cup for the candle to fit in nicely! They come in silver, but since the frame looks like an antique brass, I’ll have to paint them.
First things first, I sprayed them with Rustoleum primer and sealant. I had this copper rose metallic paint on hand already, so that’s what we’re going with.
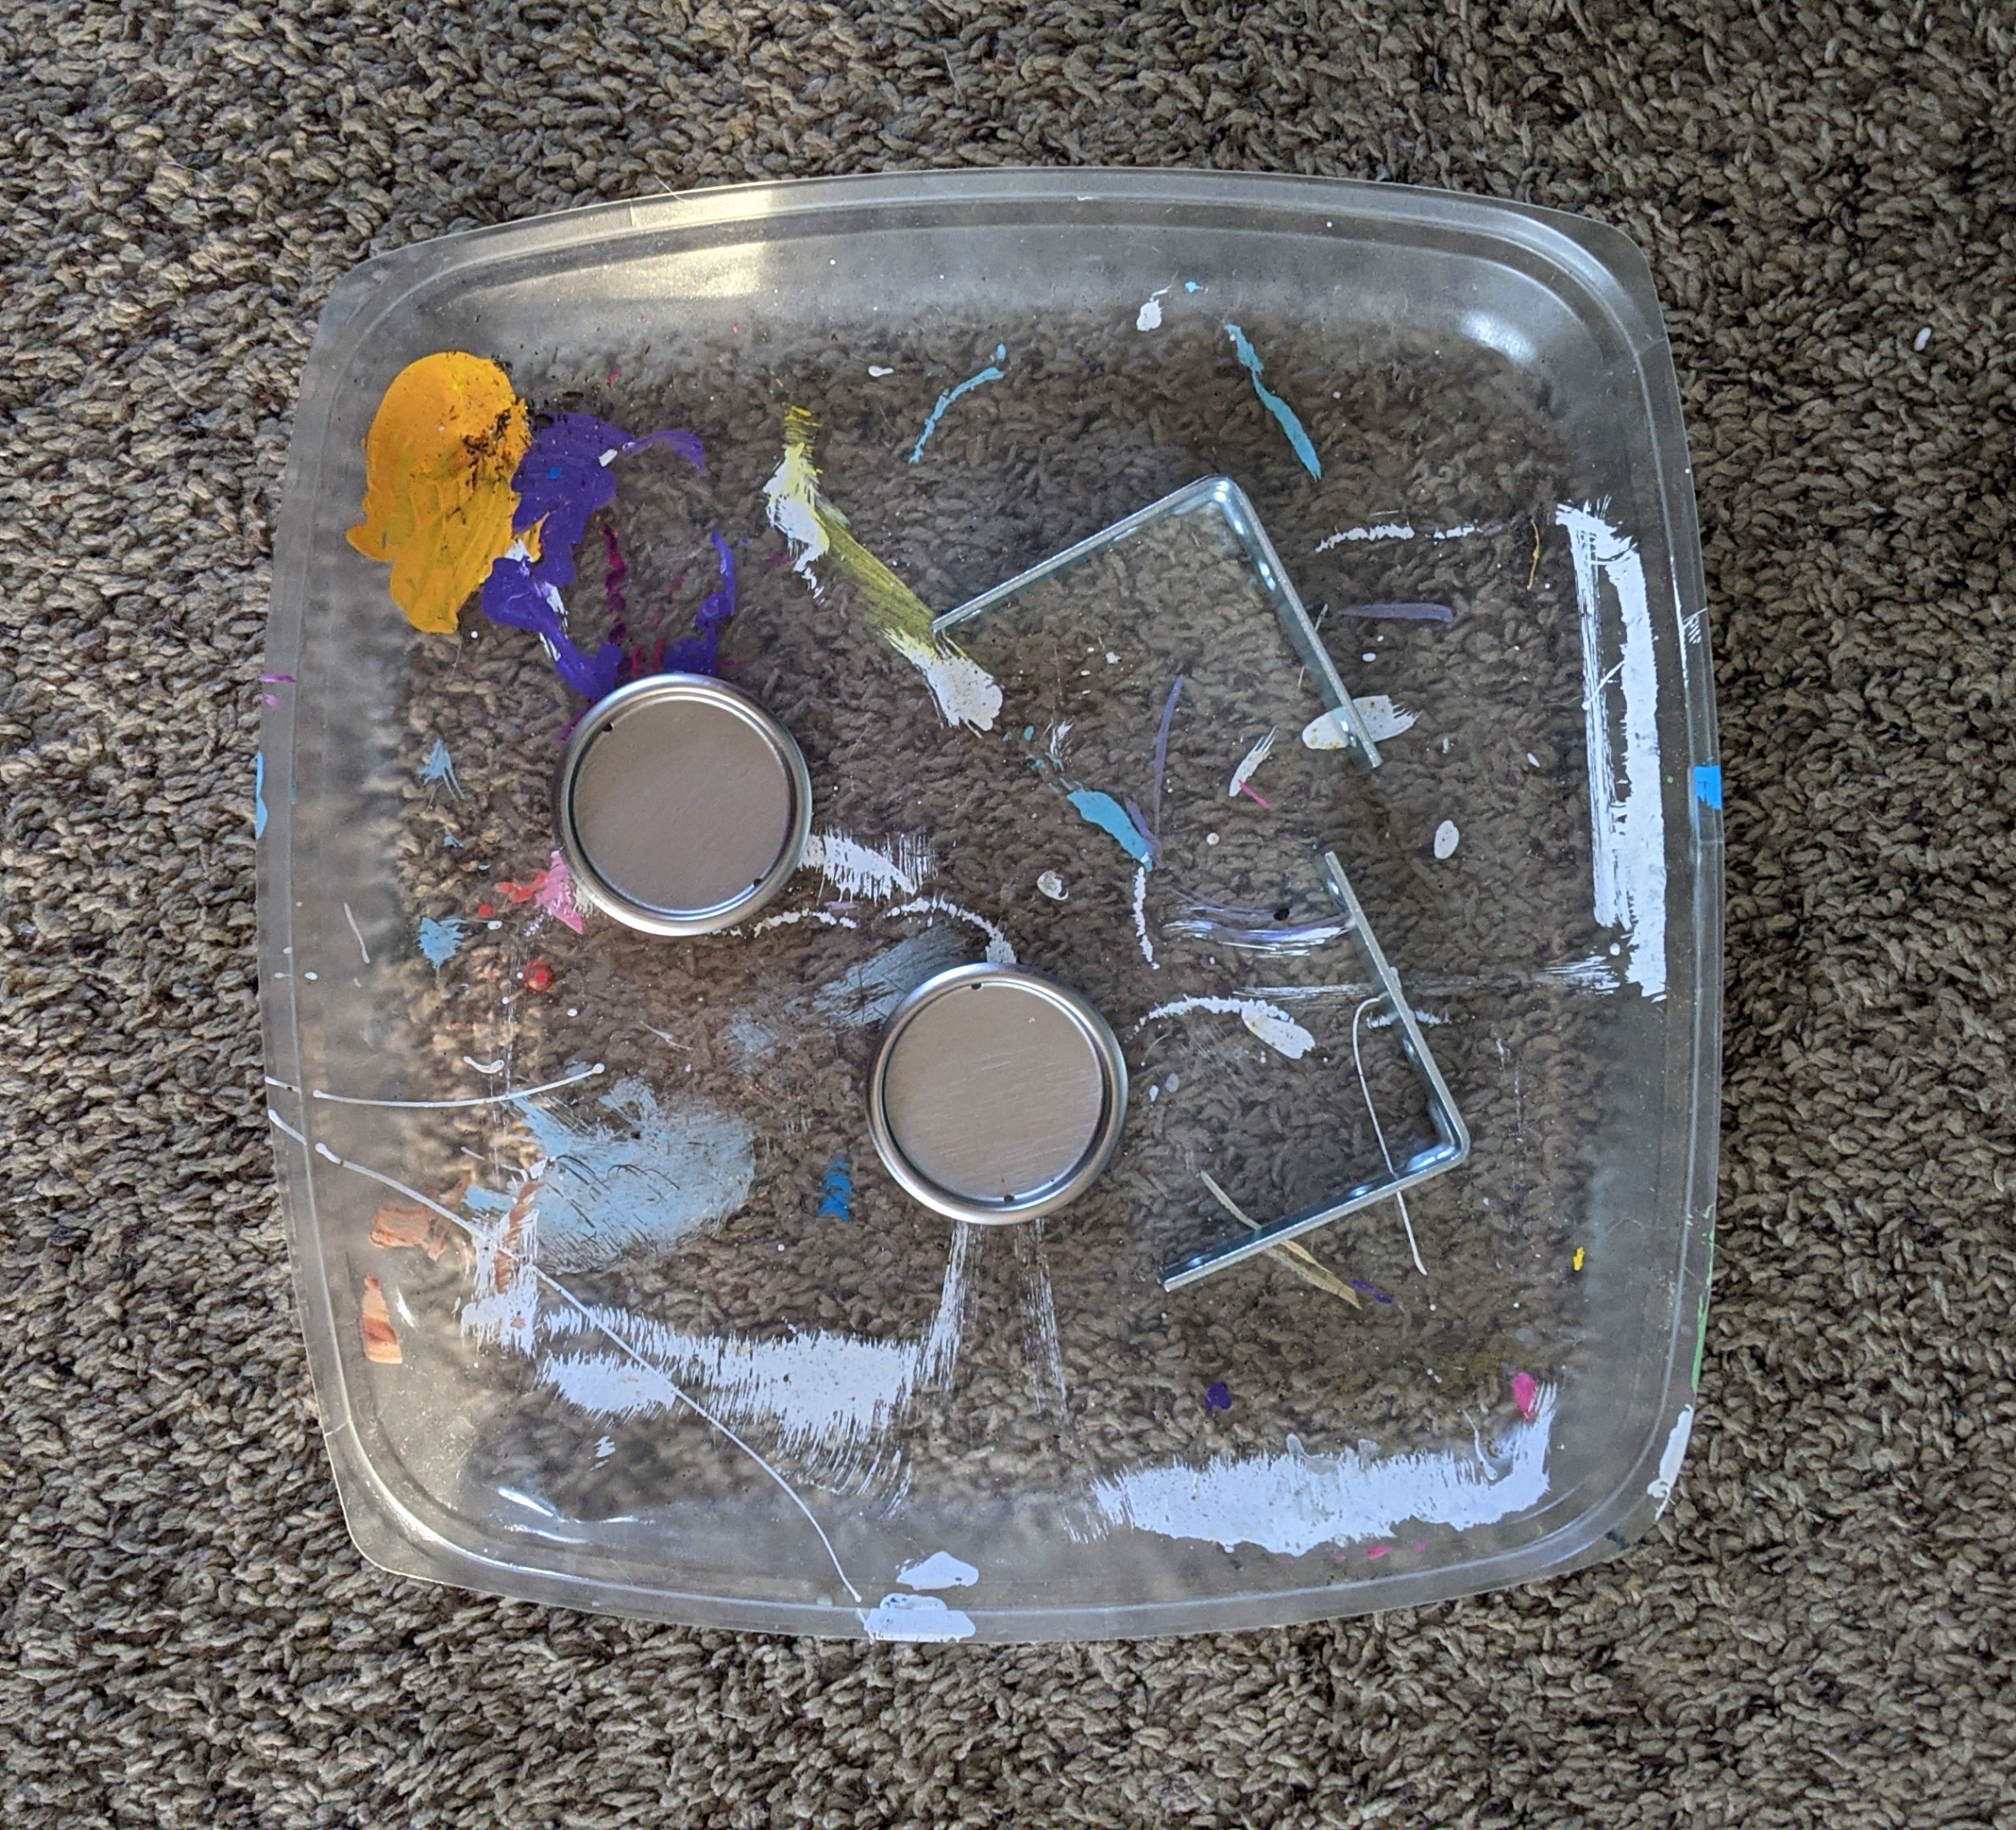
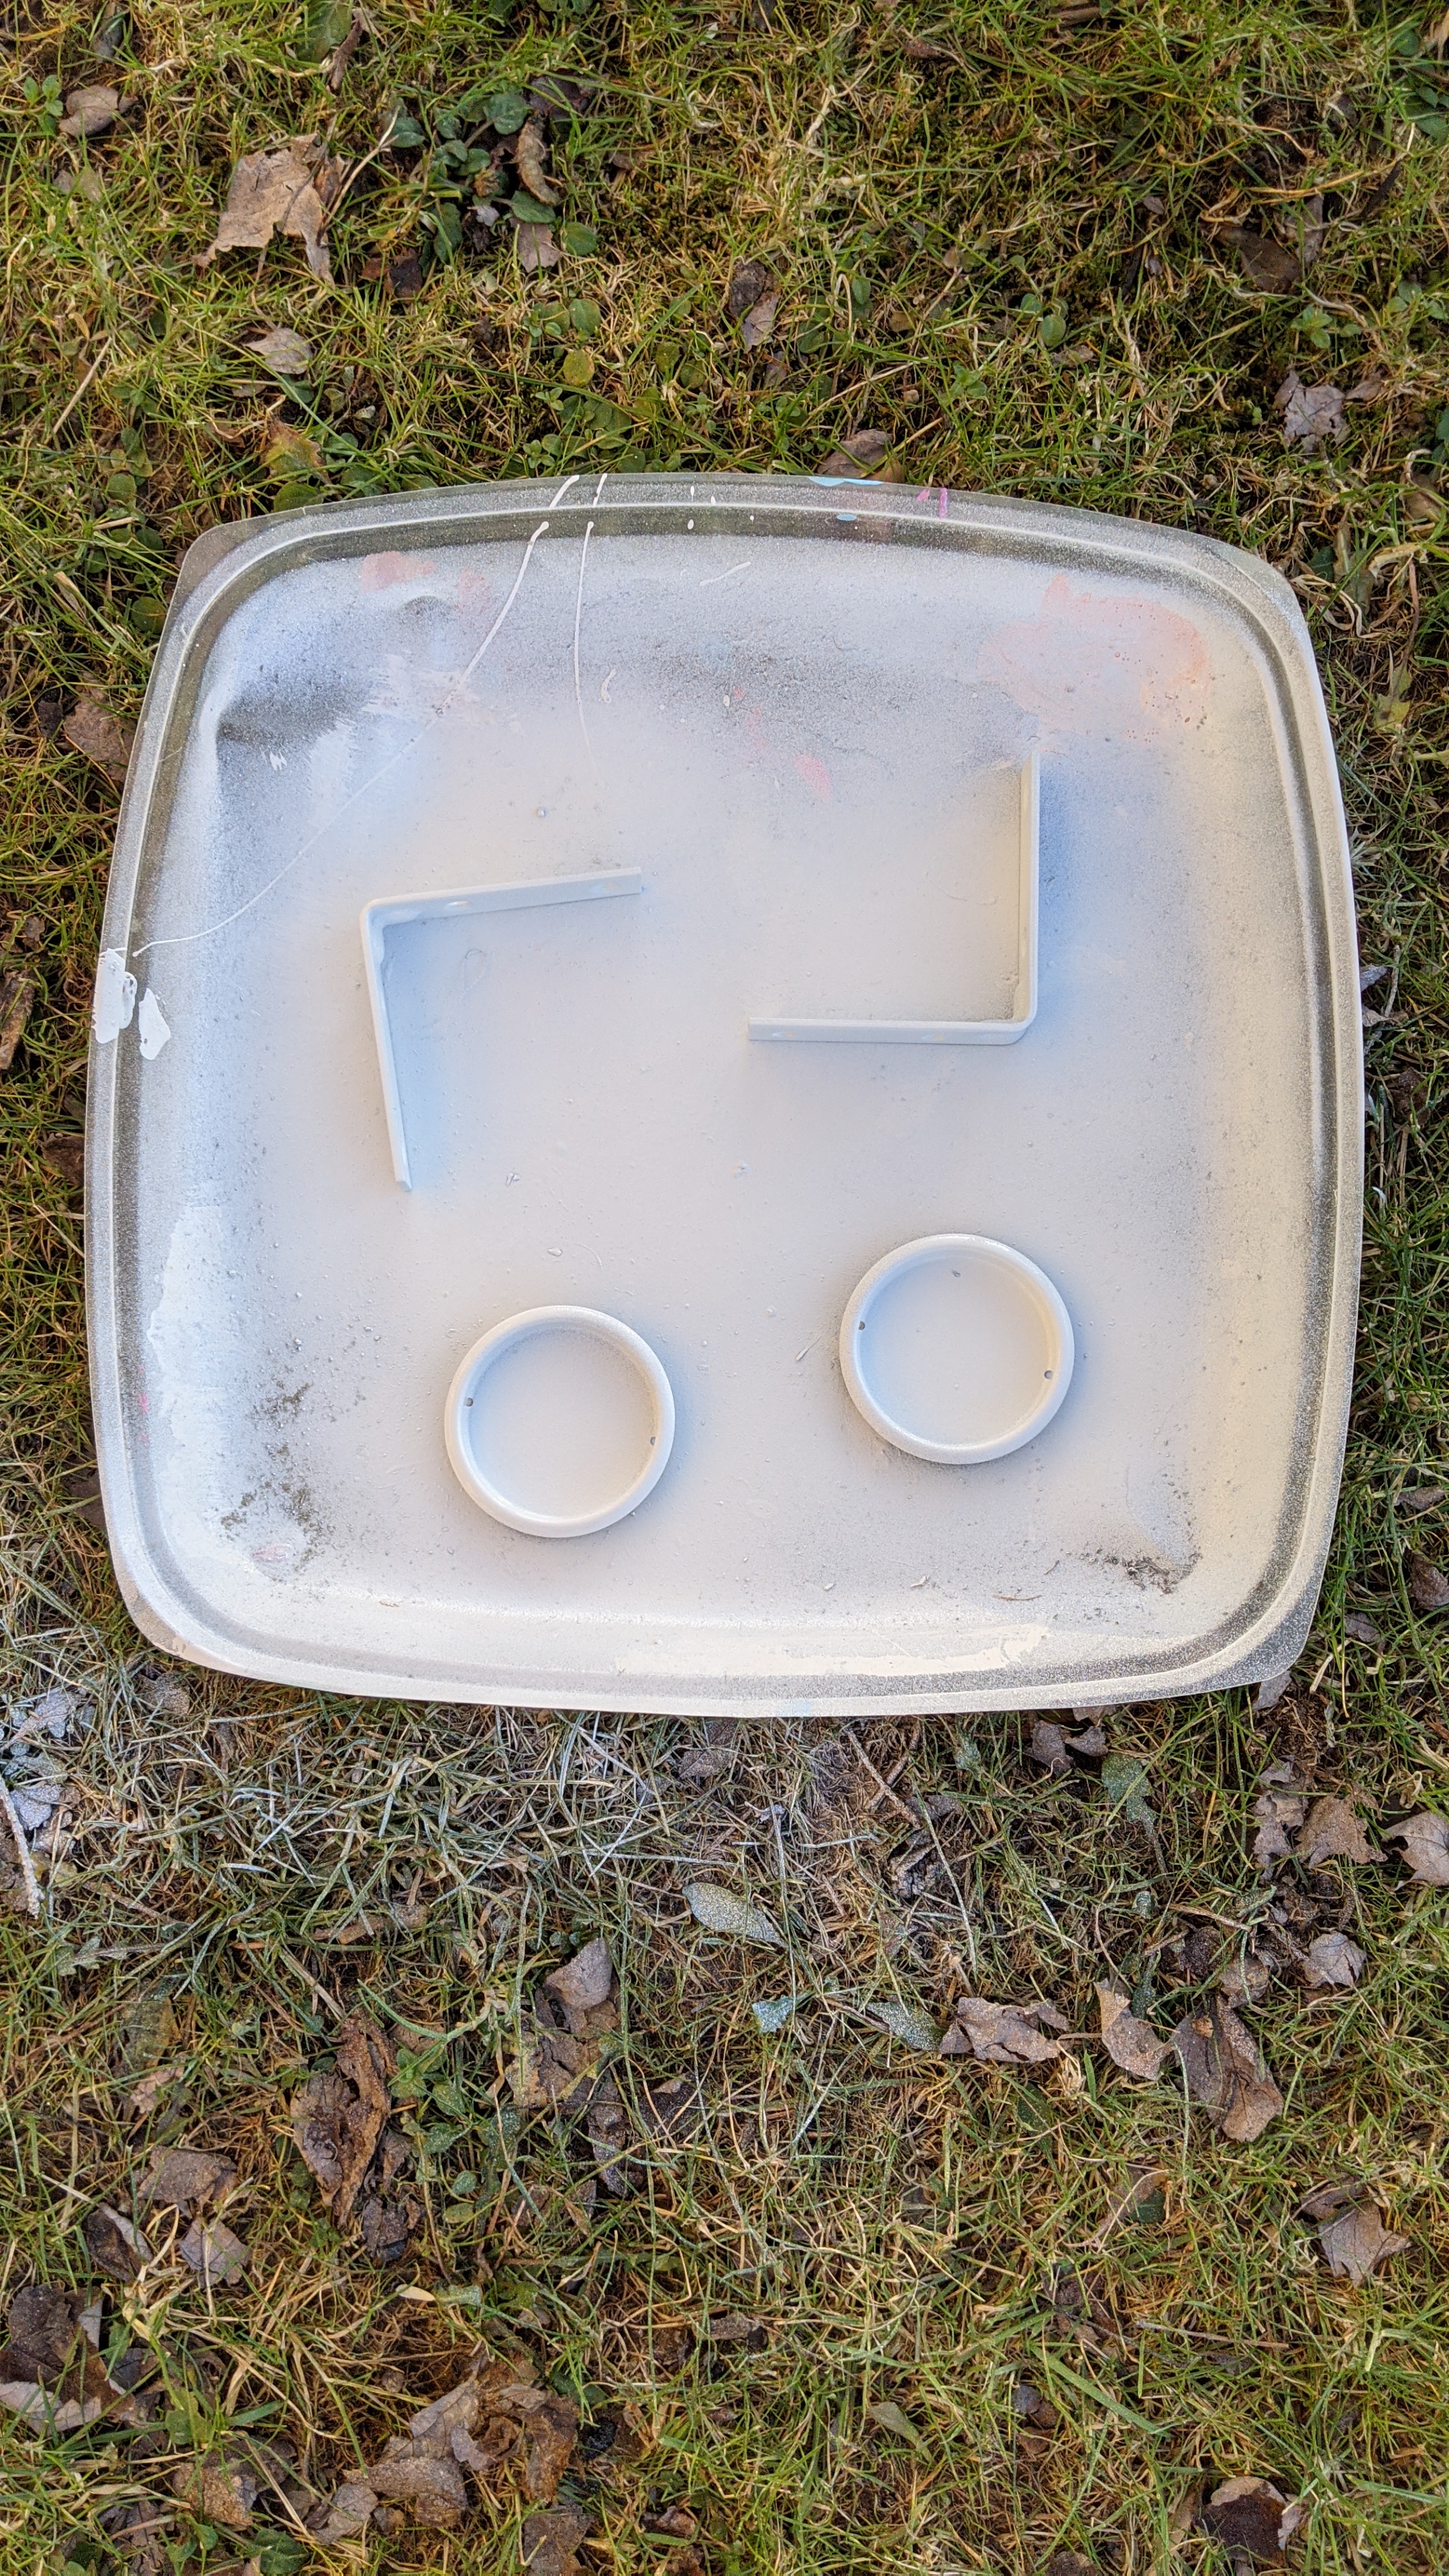
Then, it’s just a matter of letting those dry, and bonding them together with Gorilla glue. Make sure you read the directions because it will NOT be pretty if you don’t.
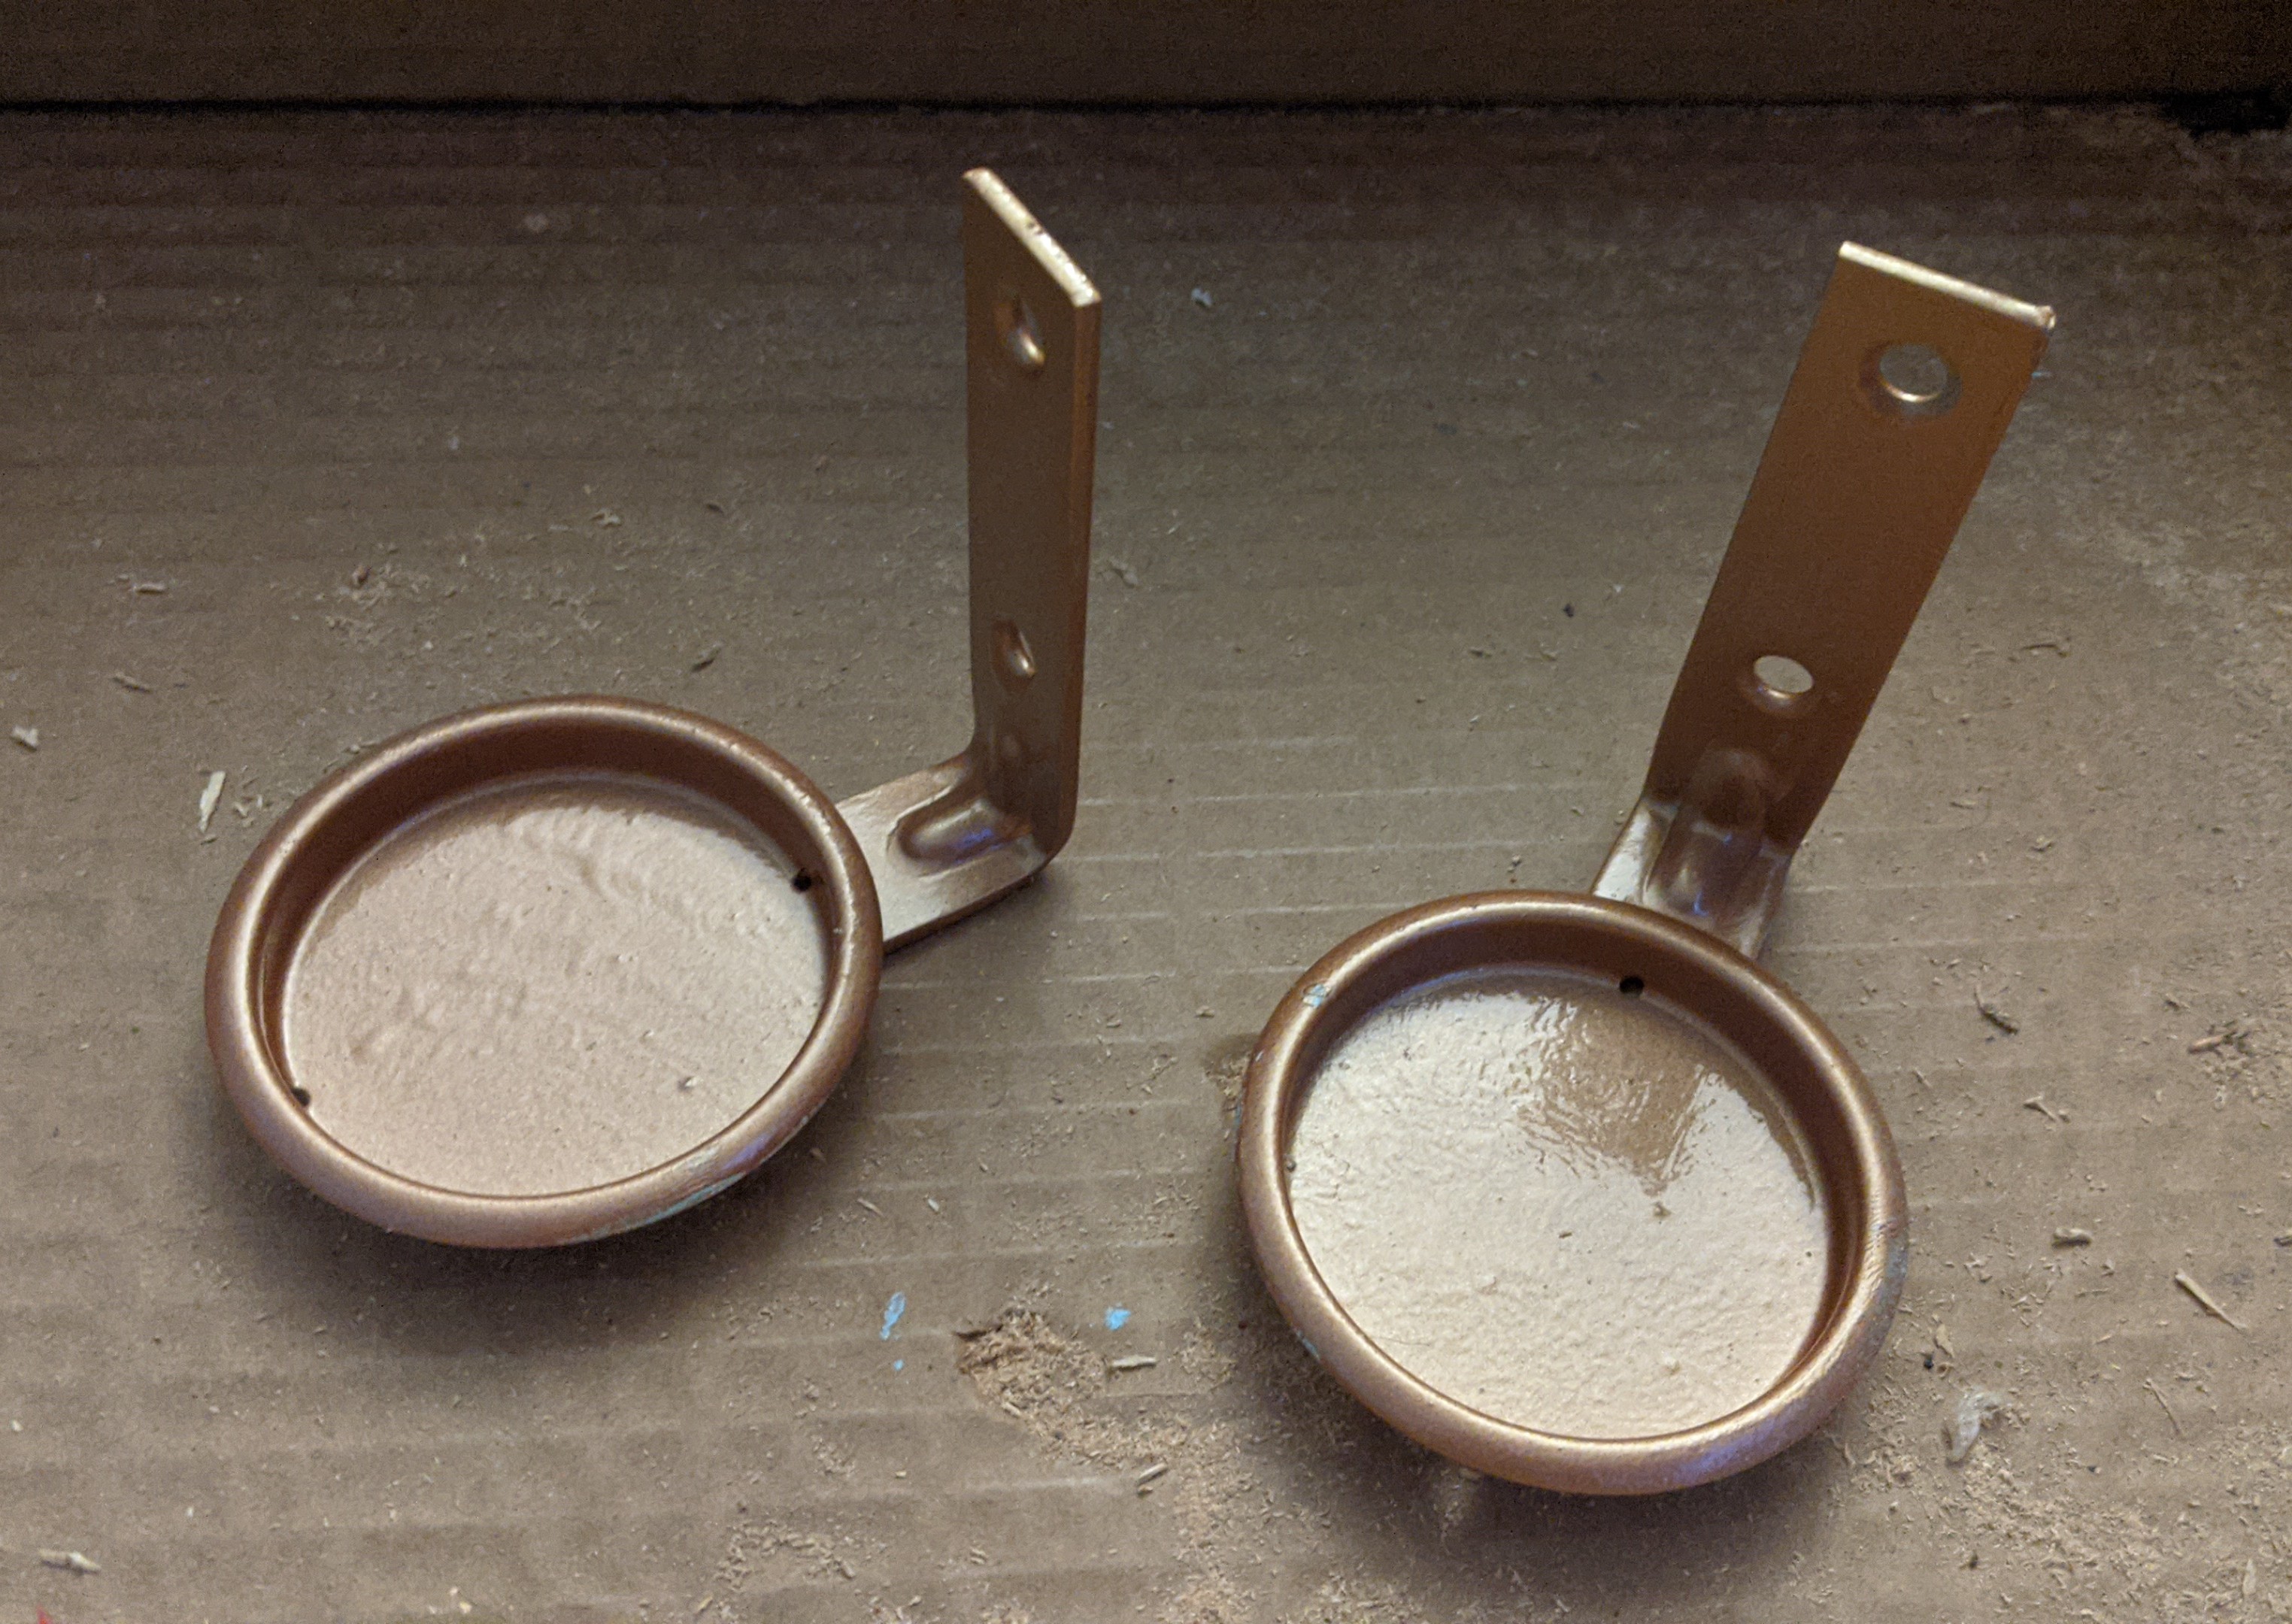
They had to dry for ~2 hours but they wouldn’t be cured for another 10 hours. In the meantime, I used some old buttons to cover the holes that the previous own had drilled into the forehead region of these skulls. My guess is they were going to make a craft out of them, but never got around to it. I wonder what it would have been?
The skulls wouldn’t stick effectively to just the felt, so I wanted to put a little block inside them that they could rest on, which would be drilled into the back of the frame for support. However, my hands were getting shaky at this point because sometimes when I’m crafting I forget to eat. While I grabbed a snack, roommate Ryan drilled the little blocks in for me!
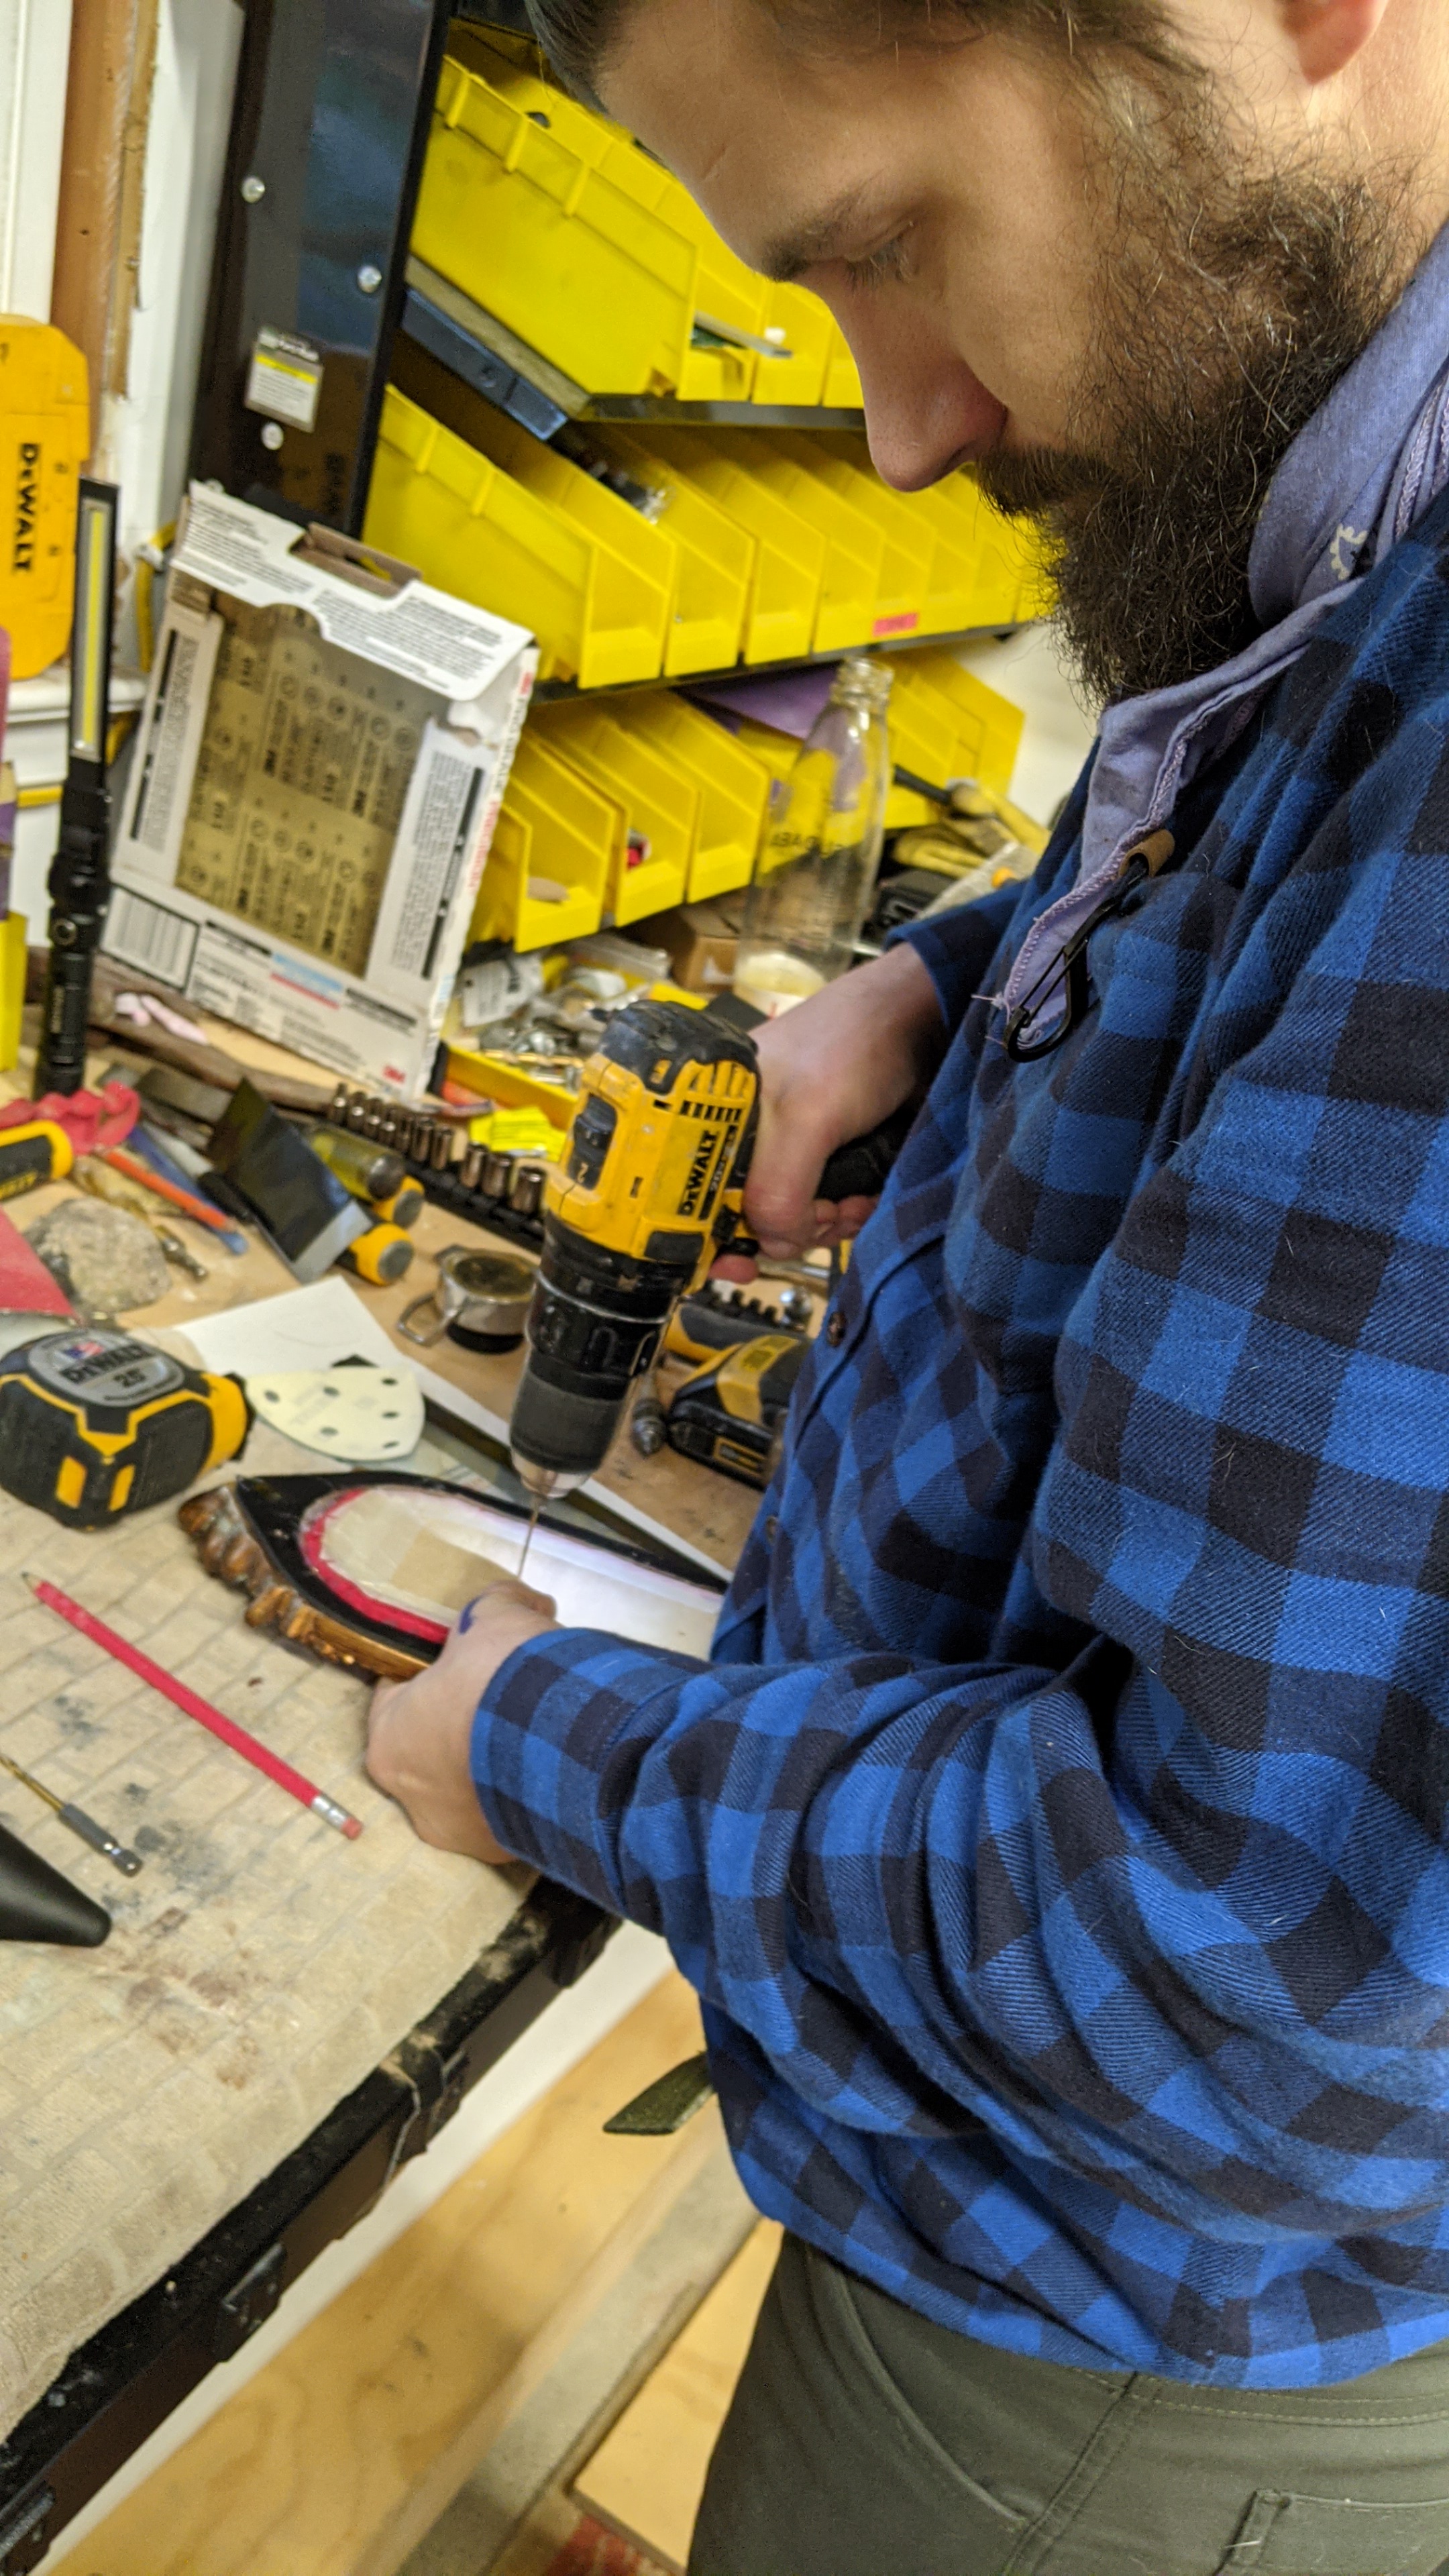
I covered the little imperfect wooden block in felt, and it was finally ready to have the heads mounted on.
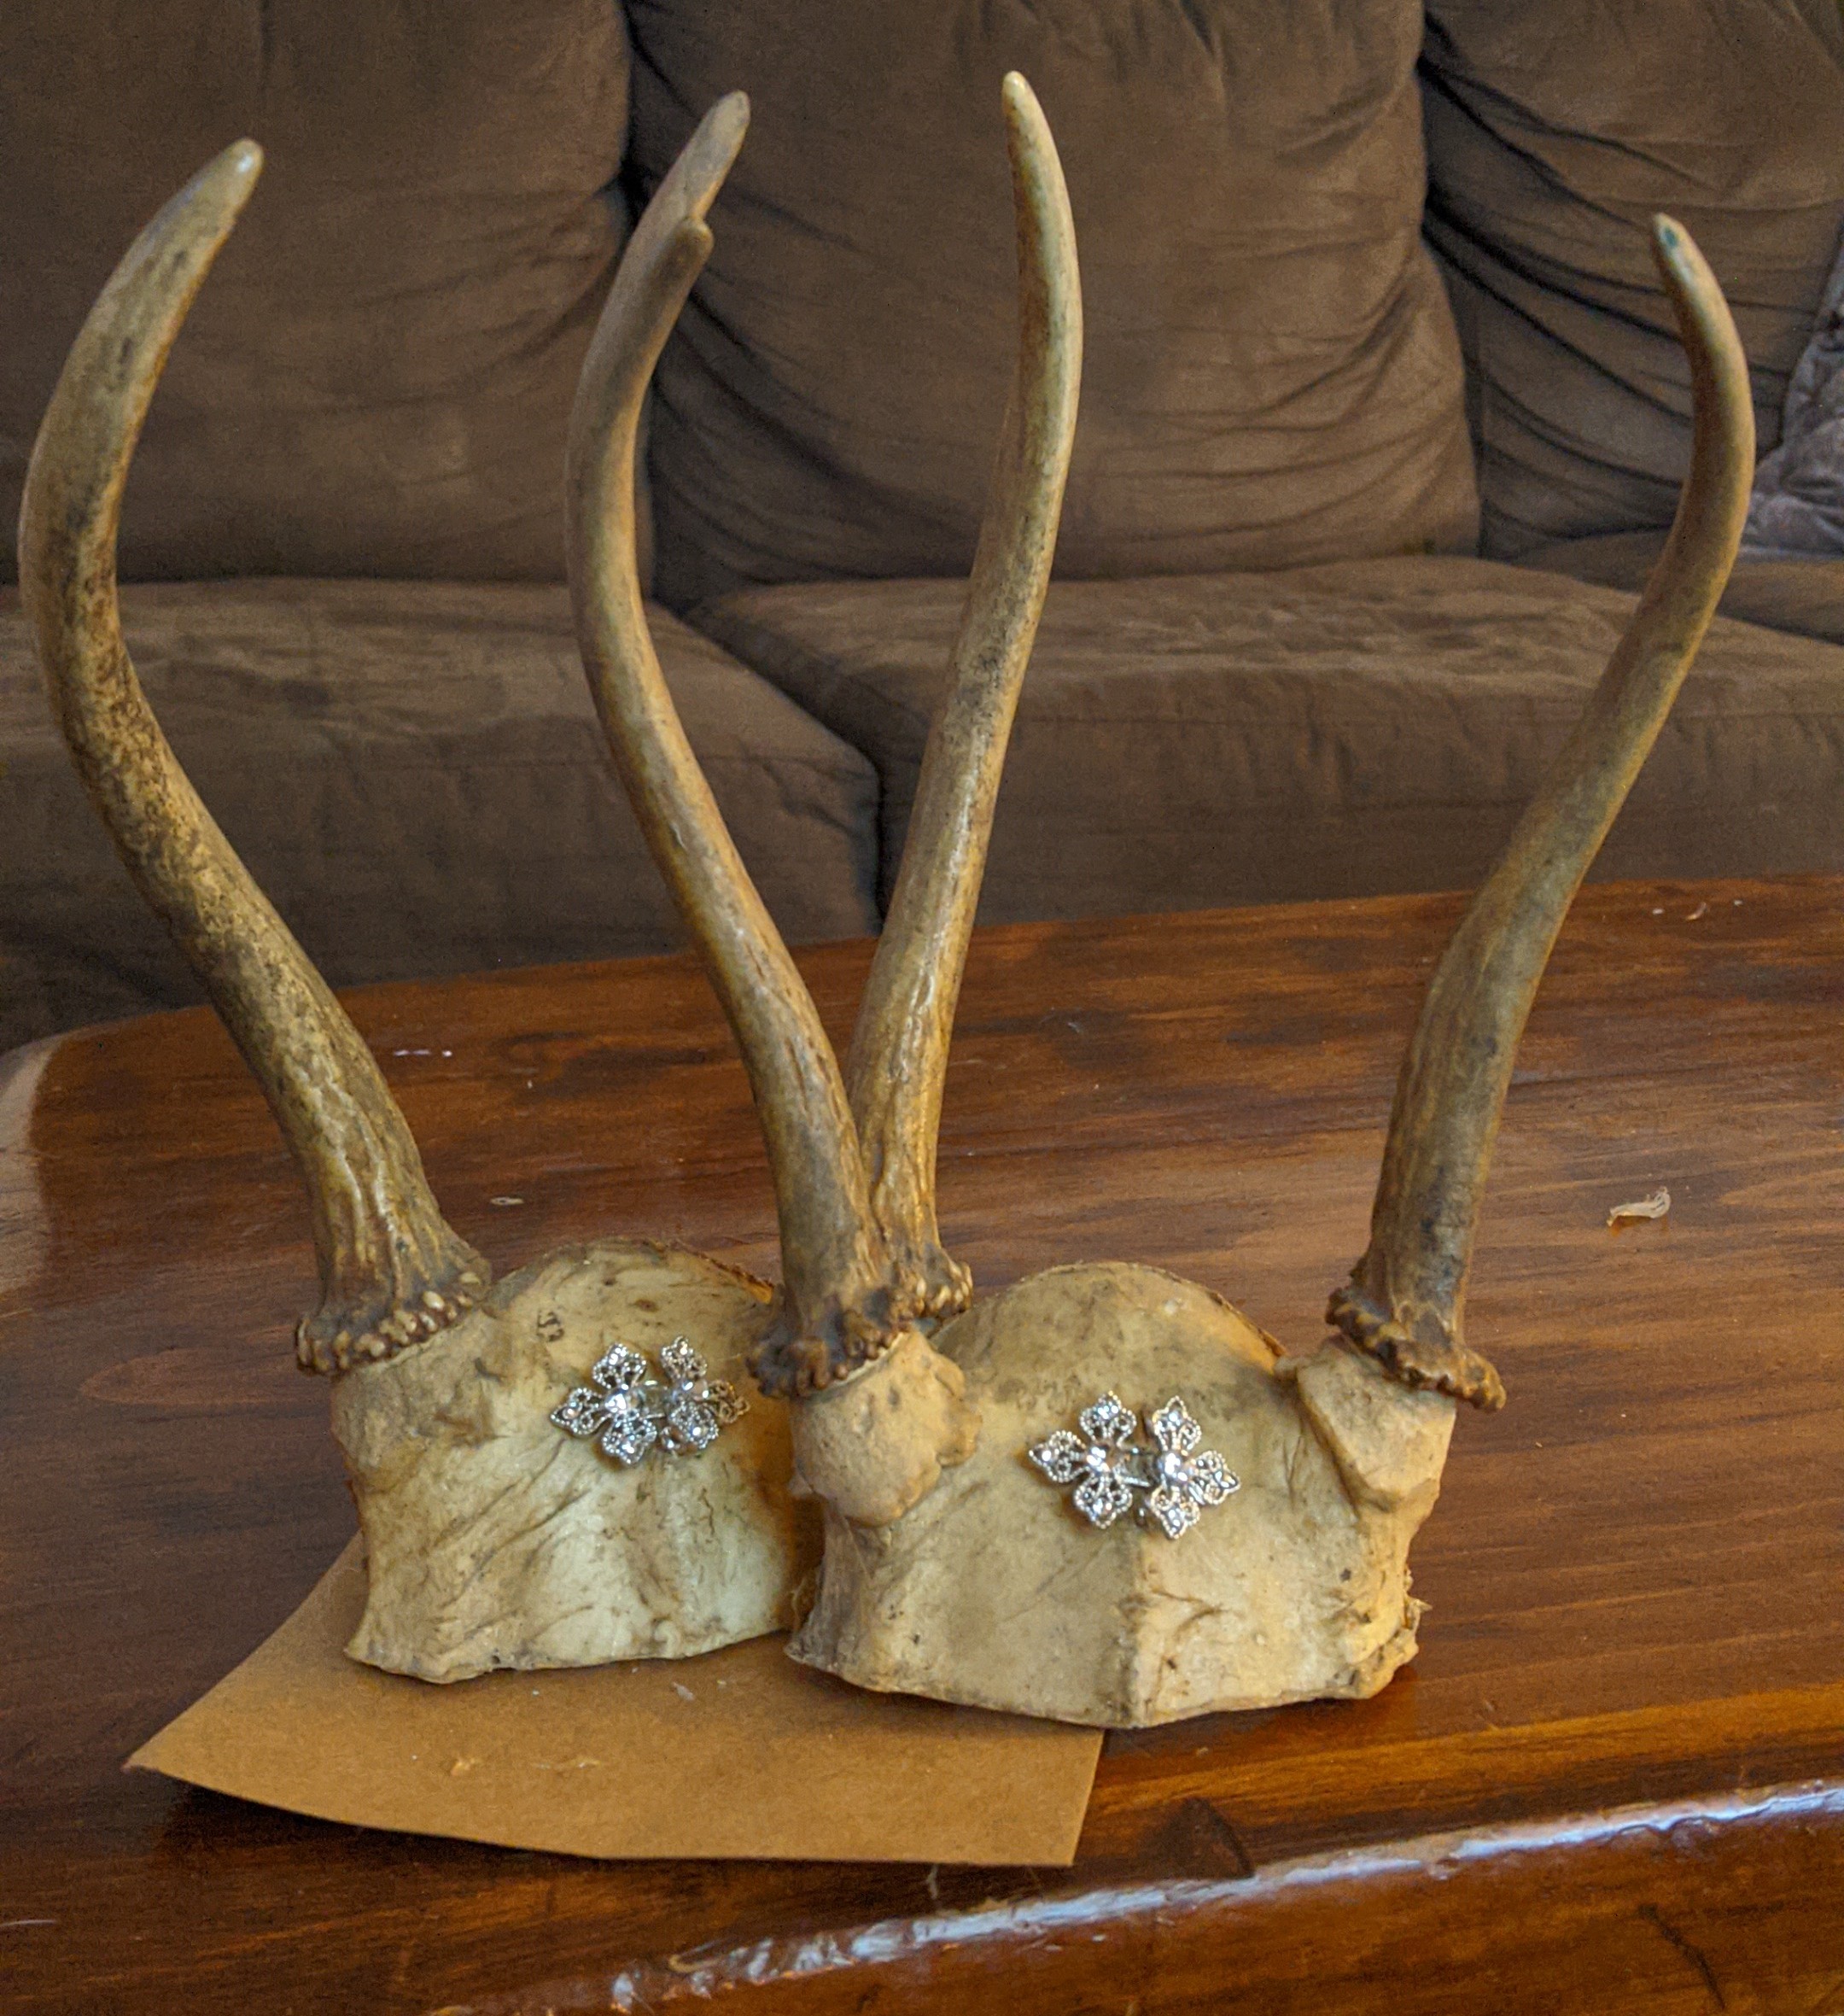
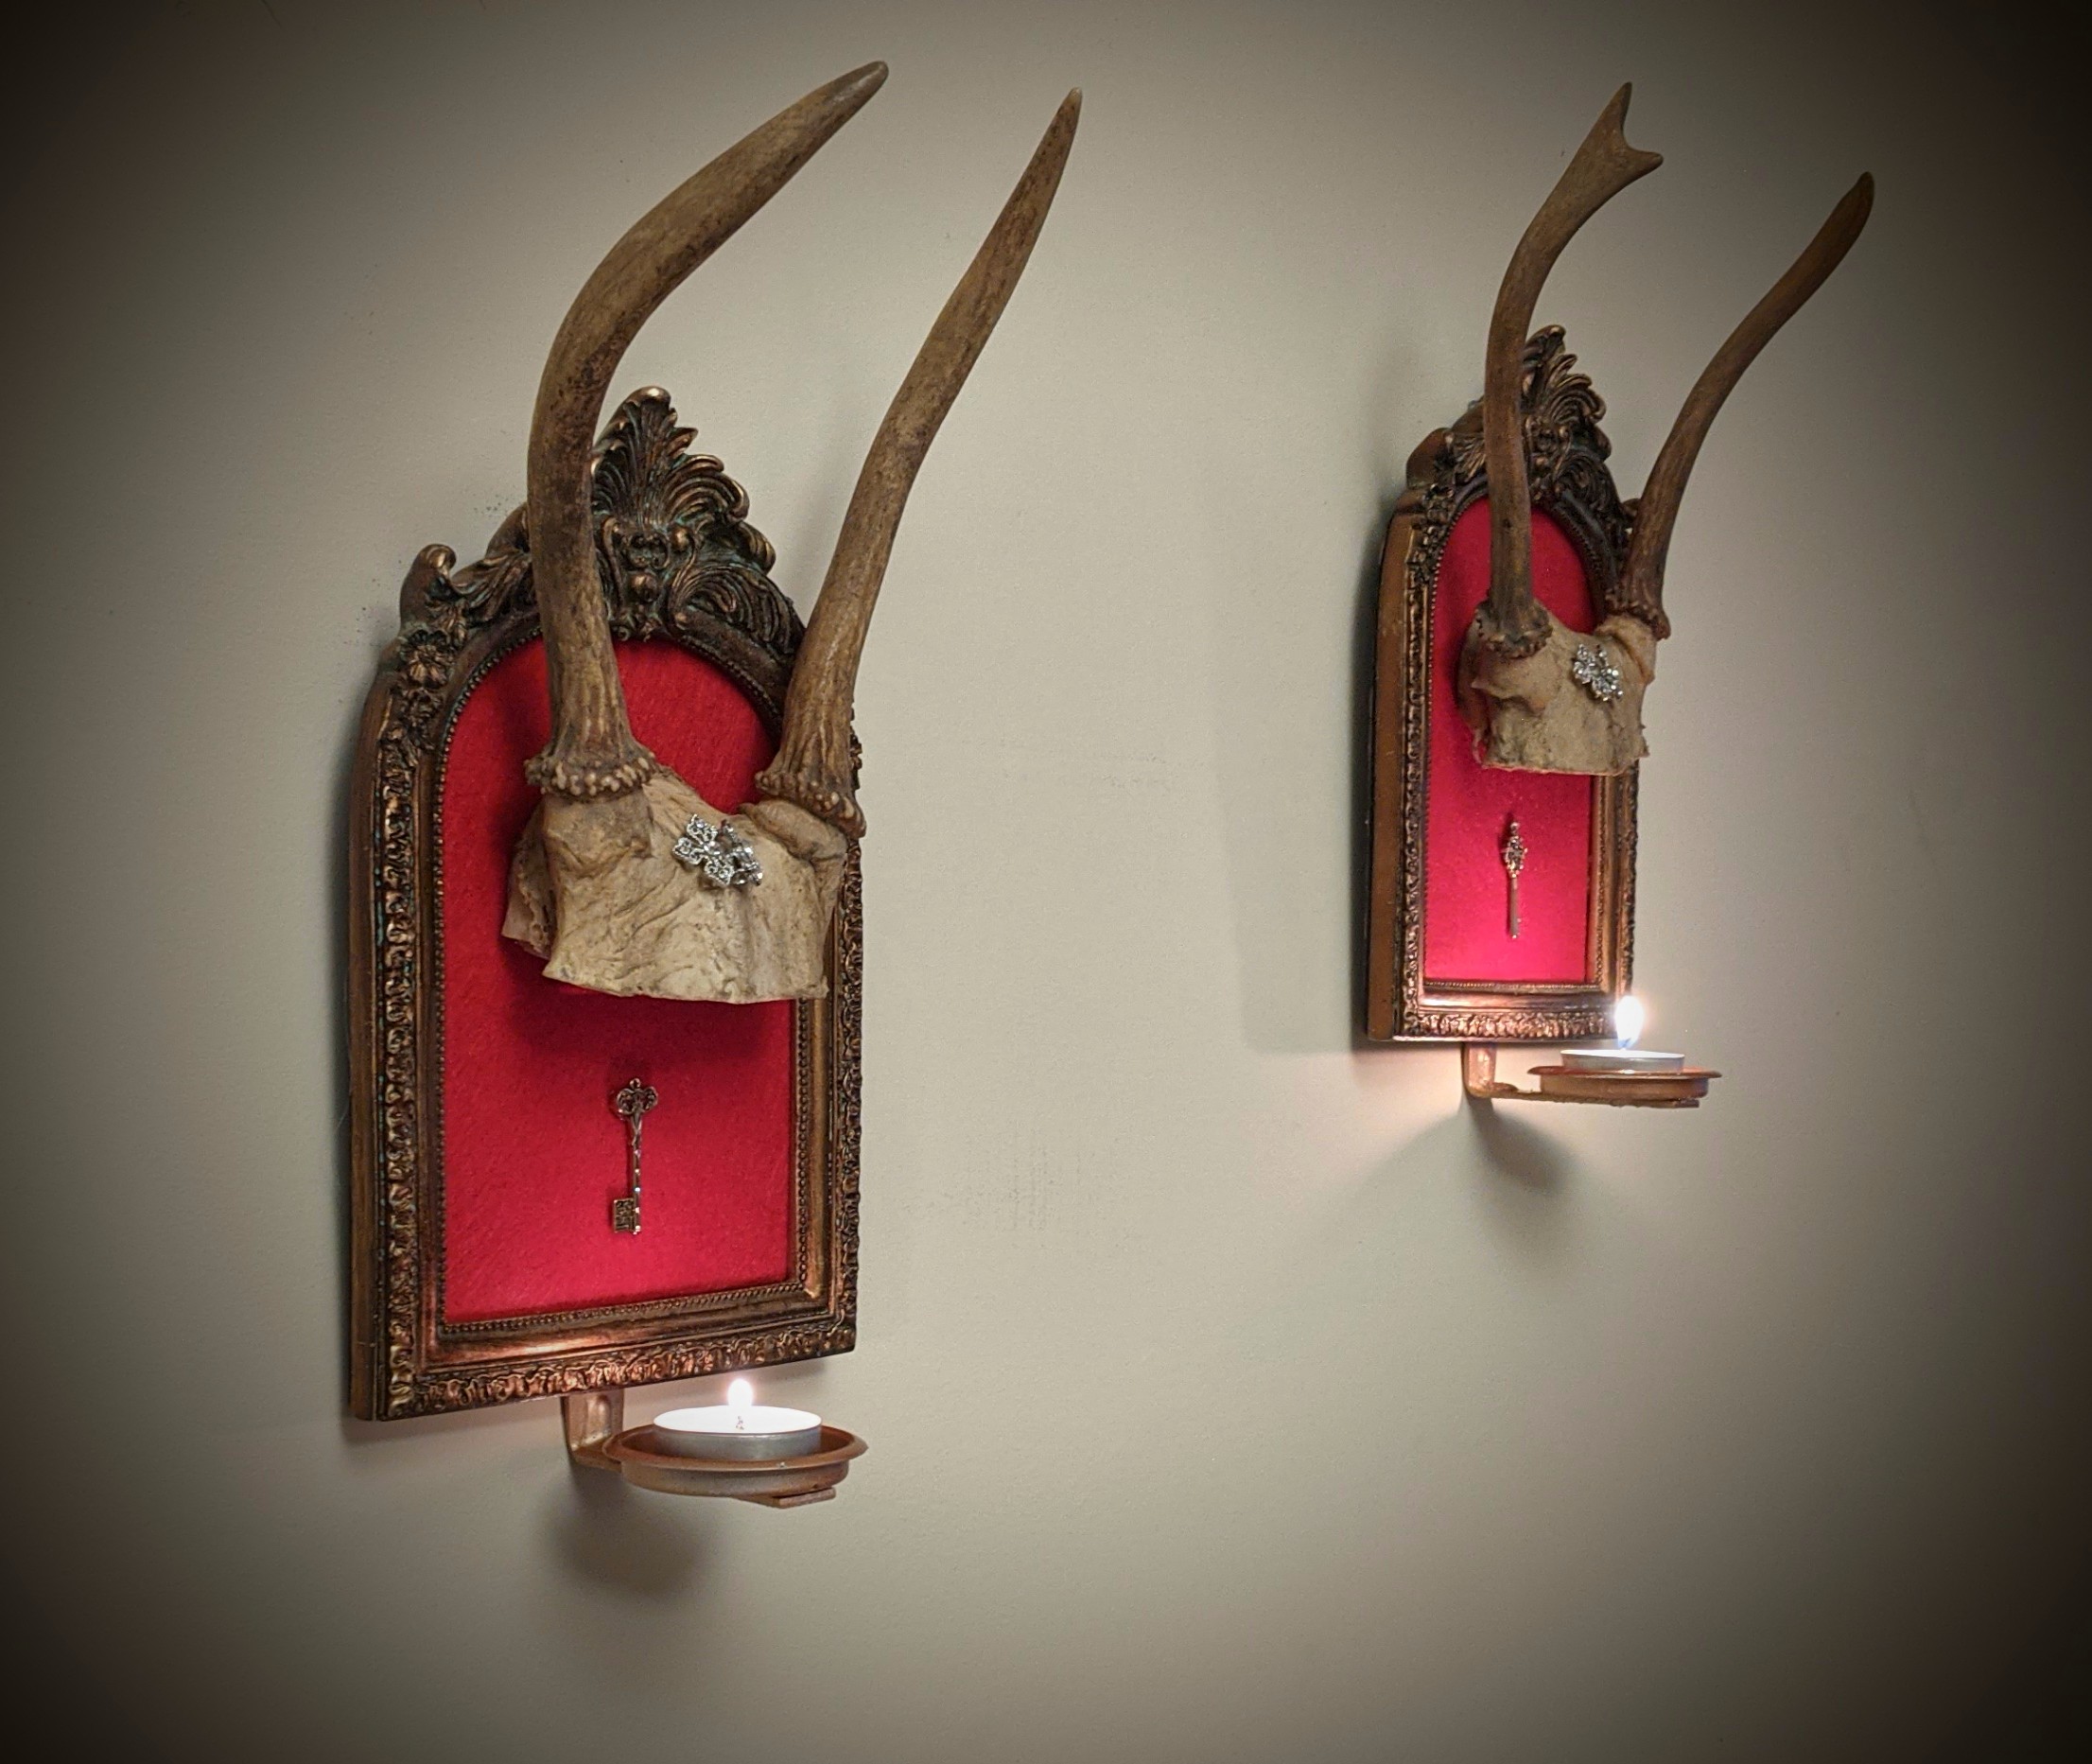
After Gorilla glueing the tea light holder arm thingies to the back of the frame, and letting it cure overnight, they were ready for their big reveal!

Ahhhh, they’re so pretty I wanna scream! And they came out exactly as I envisioned them, which almost never happens to artists. I forgot to mention that I added some little key looking charms to them that I’ve had in my craft bin for eons, and I like the creep factor they add to the whole piece.
Wanna see them again?
This whole venture only cost me about 10 hours of life, $25 for the frames and metal bits from Home Depot, and everything else was just lying around the house waiting to be made into something. They are exactly the haunted Victorian house vibe that I wanted, and they were far easier to make that I had worried they’d be. The “just do one thing” philosophy has been making me less scared to try things out that I’ve been putting off, and I was richly rewarded with these awesome sconces.
What is something you’ve been putting off? Maybe try doing only one step today, and see if that gives you the boost you need!
Later everyone!
~Madeleine
