


Look at this outfit. Sometimes I wanna dress ethereal and feminine, and sometimes I wanna dress TOUGH. This outfit made me want to do the latter. I’ve been looking at Goodwill’s and Salvation Army’s and other thrift stores, but I couldn’t find anything like it! Either the wrong size, or shape (I don’t care for bodycon), or very cheaply made. So, this one would have to be made from scratch!
That’s right. We’re using a pattern. This pattern.
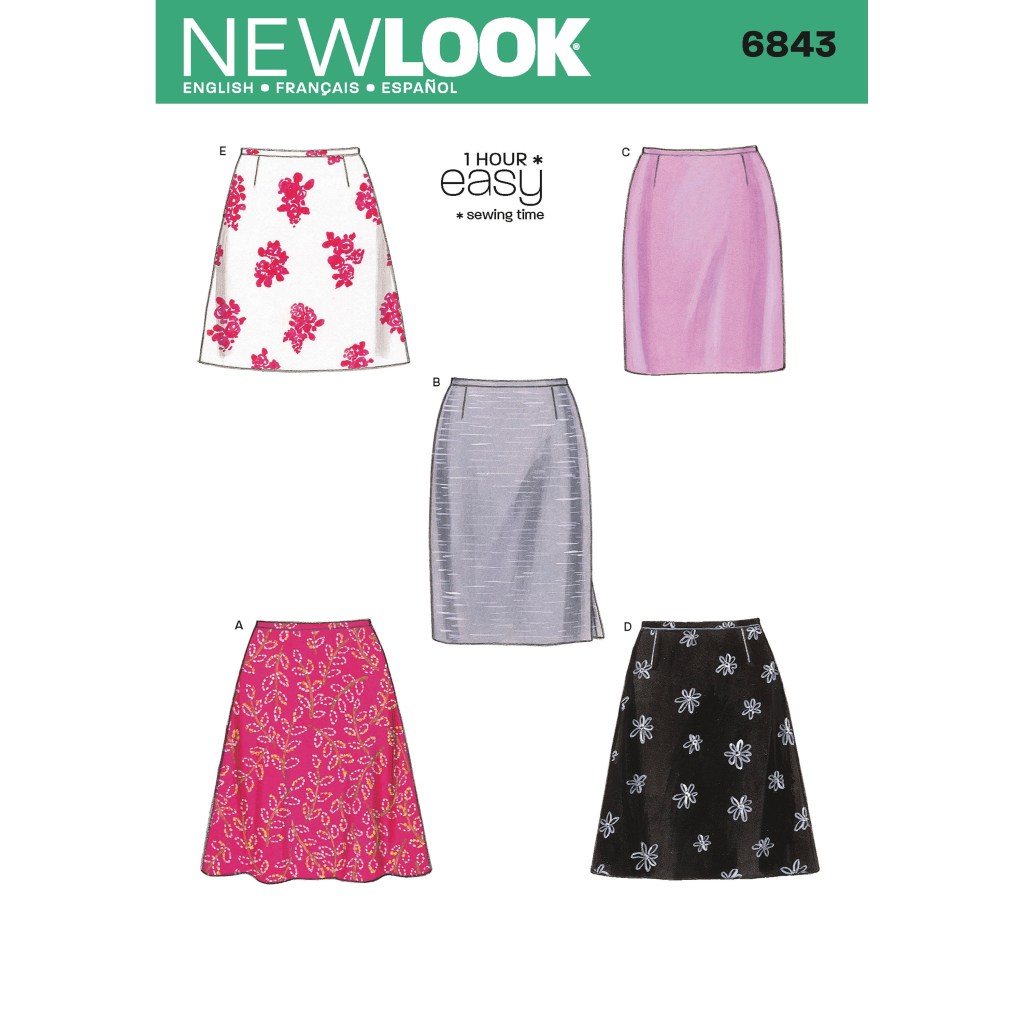
I don’t sew from patterns often because it’s more costly and time consuming than tailoring a thrift score. Fabric is not cheap, and neither is my time. But this is a NewLook pattern, which is a great brand of patterns for sewing beginners. If I had to rank commercial patterns by most difficult to easiest, I would say:
- Burda (Expert)
- Vogue (Highly Skilled)
- McCall’s / Butterick / Simplicity (Intermediate)
- NewLook (Beginner)
- KwikSew (Novice)
Even though this pattern says “1 hour,” I’m going to go ahead and letcha know it took 3 days. That’s because I cut the pattern out the first day, then wandered off to eat dinner or walk the dog or something. Day 2 was the major assembly day, but I kept starting and stopping because it’s the middle of summer and running the iron was killing me. Day 3 is when I sat still to iron and sew the hem and then take pics.
But let’s go back to the beginning. I have a couple tips for you if you want to make anything from a pattern:

It’s very easy to work with a pattern, but also very easy to mess up
When buying your pattern, you’ll want to know your exact measurements. As many of us are aware, you can’t trust women’s clothing sizes. I’m a size 6 on the whole, but I have a pair of size 2 pants and a size 10 dress; there’s no method to the madness. Patterns, however, are based off of the fashion industry’s “Standard Size 2”. Basically, after WWII, in an effort to standardize women’s ready-to-wear clothing (since things weren’t being hand-made as much), a bunch of white women were measures around the bust, waist, and hips. The measurements were then averaged together, to get the standard size 2. Why they chose “2” is a mystery. You can read a little bit more about it here: https://time.com/3532014/women-clothing-sizes-history/
That said, the package will say something like, “sizes 6-8-10-12-14”, or “14-16-18-20-22”. Like I said earlier, I’m generally a size 6 (for all that’s worth), but on a pattern package, I’m a size 14. Read the back of the package and you’ll see a grid that explains which size you would fall under, and how much fabric you will need to buy to make your garment. I got 2 yards of this cotton tiger print fabric at the JoAnn’s discounted fabric section (they gave me the second yard as a remnant), so I think it was like, $7 total?

So once you know your size, and you have your fabric, you’re ready for the next step!
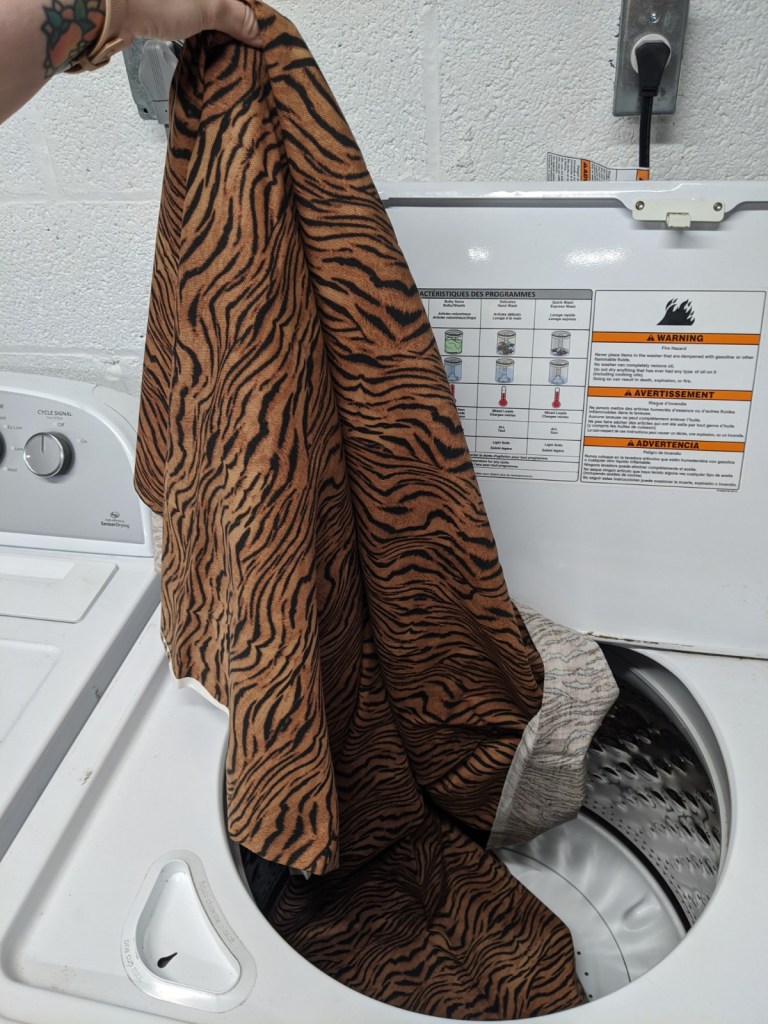
Don’t skip this step.
When you get new fabric, it has not been preshrunk. You have to do the shrinking. The way to do this is you’ll have to wash and dry the fabric the way you will care for it once it’s assembled. I washed it on regular with warm water and dried it on the cotton setting.
Fold the fabric back together along the length, matching the selvages, like so:
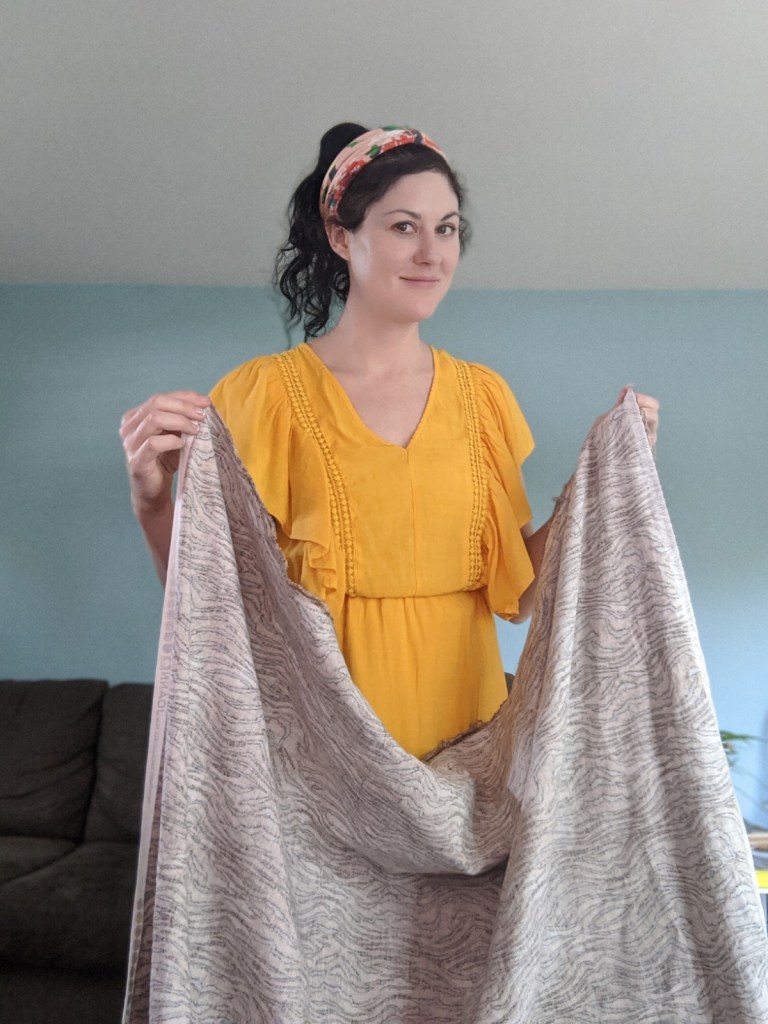

Now that your selvages are together again, go ahead and iron the whole piece so that you have a clear center fold. Really, you should always iron your fabric before sewing, so that you know you’ll have clean seams! Now on to the cutting…
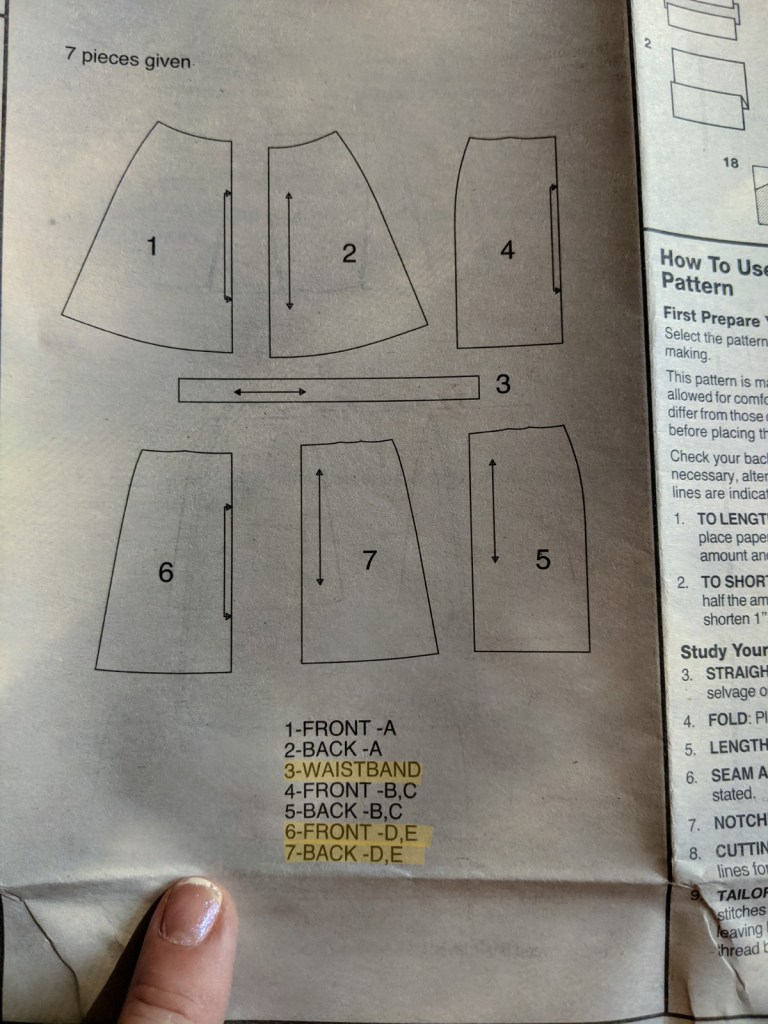
Read the directions once all the way through before you do anything
This goes for anything in life, whether it be an Ikea dresser or a defibrillator. Allow yourself 5 minutes to read through so you can save yourself time and heartache later. Since I knew I wanted to make option E, I highlighted the pieces I’ll need. This helps my brain process what I’m about to do.
I cut out the pattern first with paper scissors, and then pin them to the fabric to be cut out with fabric scissors. But that’s just me, I try to keep my Ginghers pristine. If I had Guggenhein or Clauss scissors, I wouldn’t even utter the word ‘paper’ near them.

Pro-tip: Cut your notches, but not your darts


Next things next, we sew the darts. Stop about 1/8″ away from the end of the dart so you don’t get a weird pucker!

Once all the darts are sewn on the front and back pieces, it’s time to do one of the most difficult things in the world. There’s: figuring out world peace, creating a sustainable fuel source, and then there’s installing an invisible zipper. I know I’ve never specified here, but I’m actually not an influential member of the UN, so the first two will have to wait. The invisible zipper is on deck today.

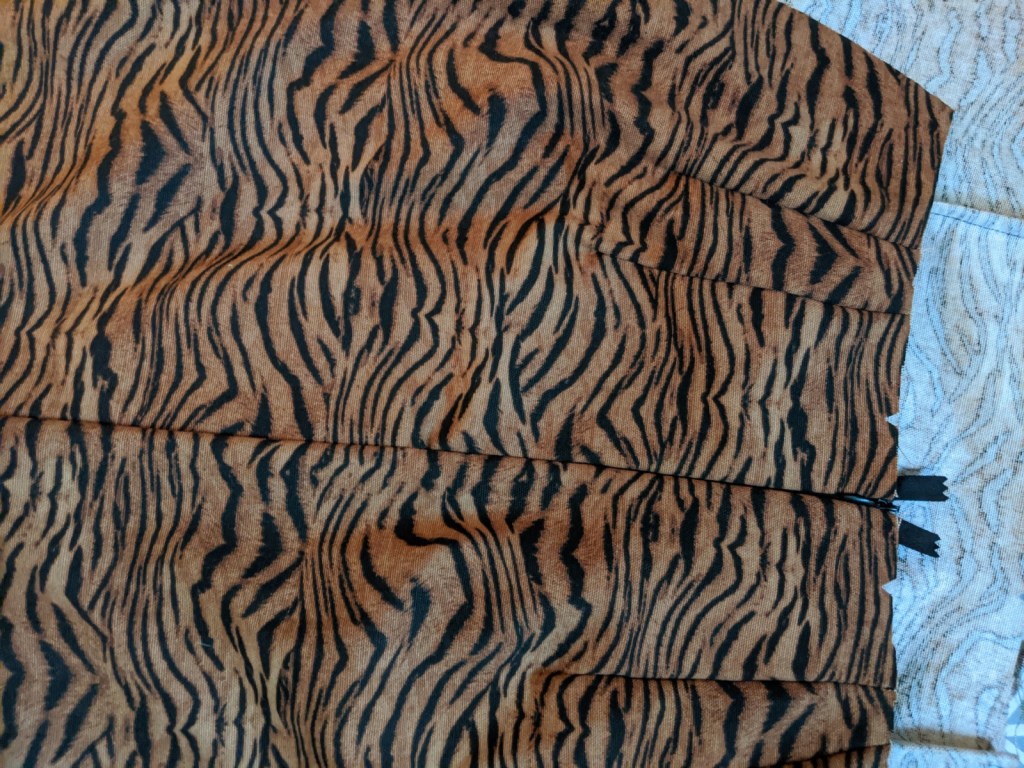
The top of any zipper will have about a 1/2 inch of extra fabric at the top past where the zipper itself ends. Line that up with the edge of your fabric to make sure you’ll get an even zip once the agony is over all is said and done. (You’ll see this on the picture below).
An invisible zipper is essentially a regular zipper with the little pull tab attached on the back side, which is just a fun little fact. Anyway, when you open the zipper package, the teeth will be facing upright. Now, you can’t just start sewing or your zipper won’t be invisible. You’ll want to flip the teeth out and iron the whole zipper on the lowest setting so you don’t melt the teeth. There will be a tiny line where the teeth were laying that is now visible (thanks to ironing). This is where you’ll sew, which is what we call a “stitch in the ditch”.

Once you’ve got the zipper done, congratulate yourself! Buy yourself some fancy shoes and lip gloss because you earned it. The worst is over!
The next bit is just to match the front and back pieces up by the notches, and stitch them down with a 5/8″ seam allowance. Why 5/8″ is the industry standard is a mystery to me, but my guess is it’s more ravel-proof than a 1/2 inch, yet conserves more fabric than a 3/4 inch. Plus you can let out the seam if you happen to need.
Now that the base construction is done, all that’s left is the hem and the waistband! You’ll notice that the inspiration skirt has a slit by the knee, while my pattern does not. But you know what? That doesn’t mean we can’t make one! In the next post, I’m going to show you how to make a simple modification that will allow you to make slits, keyholes, scalloped edges, and so much more (hint: we’ll be using a “facing”).
To be continued!!!🐯
