

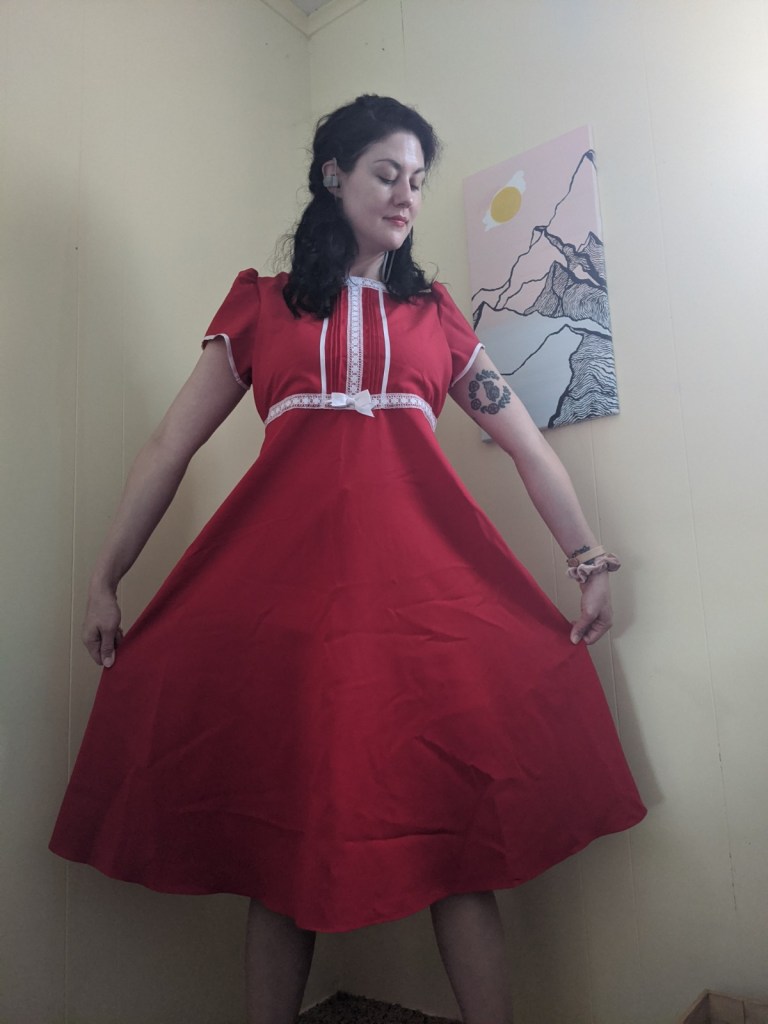


Check this out. This dress must have been made for a costume party or a local production of “Annie,” otherwise, there’s no excuse for it. It was about $5 at a Salvation Army in New Orleans, and I just liked the color and neckline, so I wanted to make it work!
However, the poofy sleeves, the little belly bow, and white lace are just too much in unison, so the first step was to remove the sleeves. I used my embroidery scissors to carefully remove them.

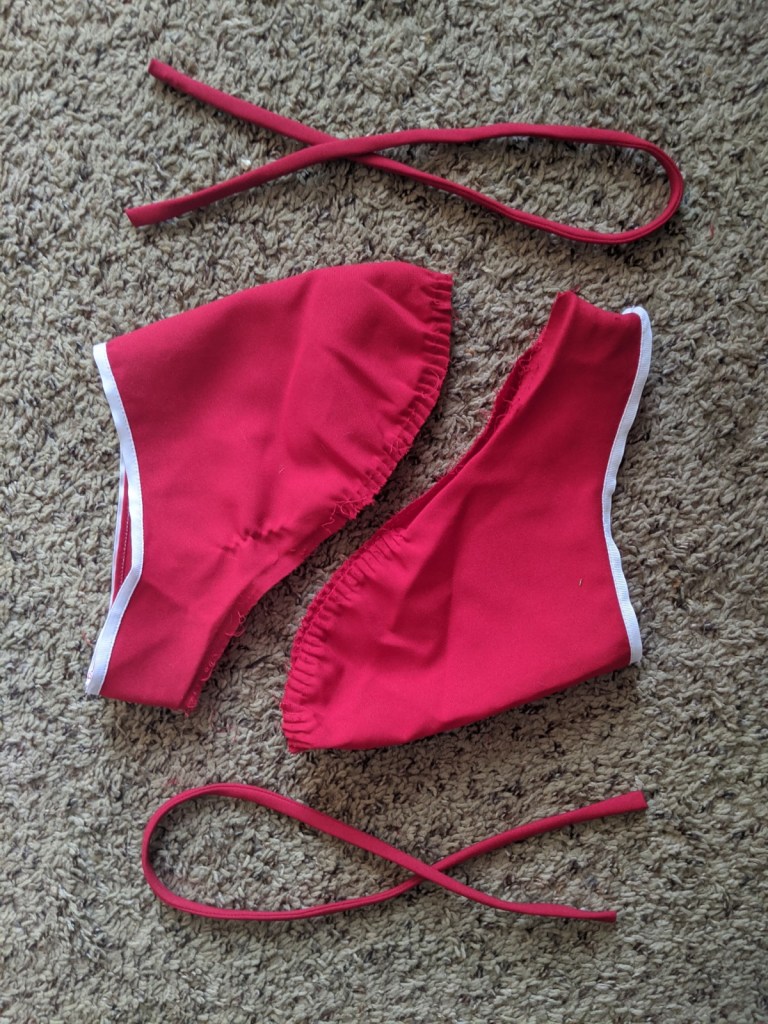
Once the sleeves were gone, my sister put the dress on so I could pin it in the right places. When you remove sleeves to make something sleeveless, you will have gaps under the armpit area. This is the “armscye ease,” which is the extra area given to a sleeved garment so that your arms can move around (you may even have to make a dart on the bust to make up for the extra roominess). Er go, when fitting the dress, I had to take it in under the arms and on the waistline.
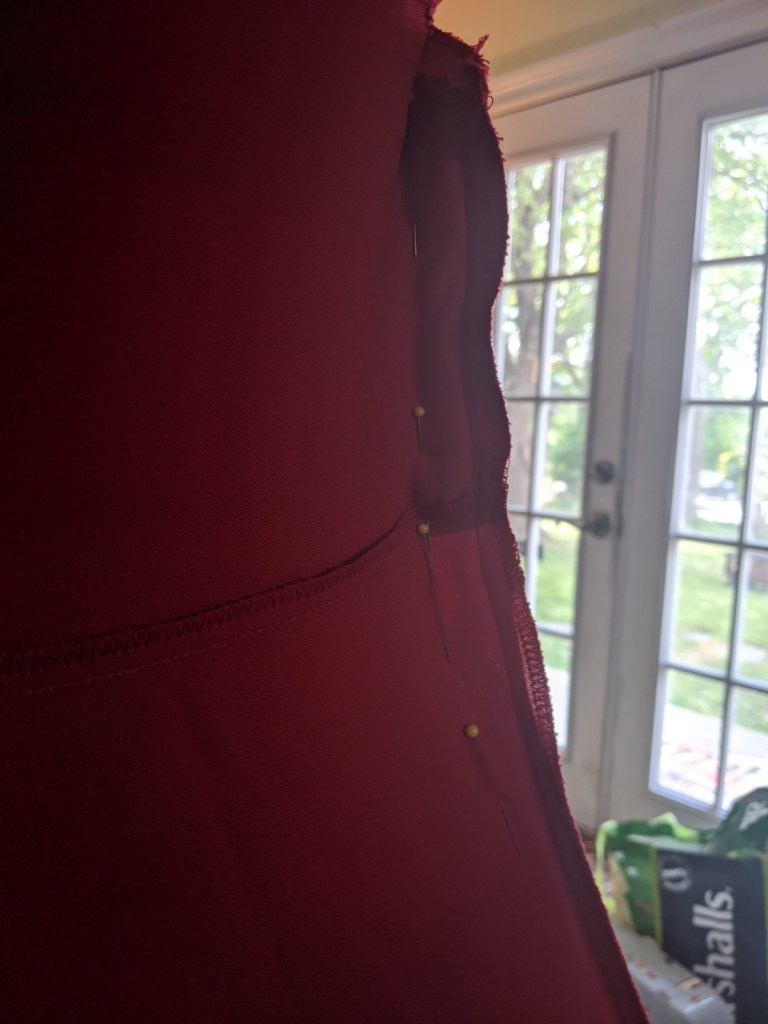
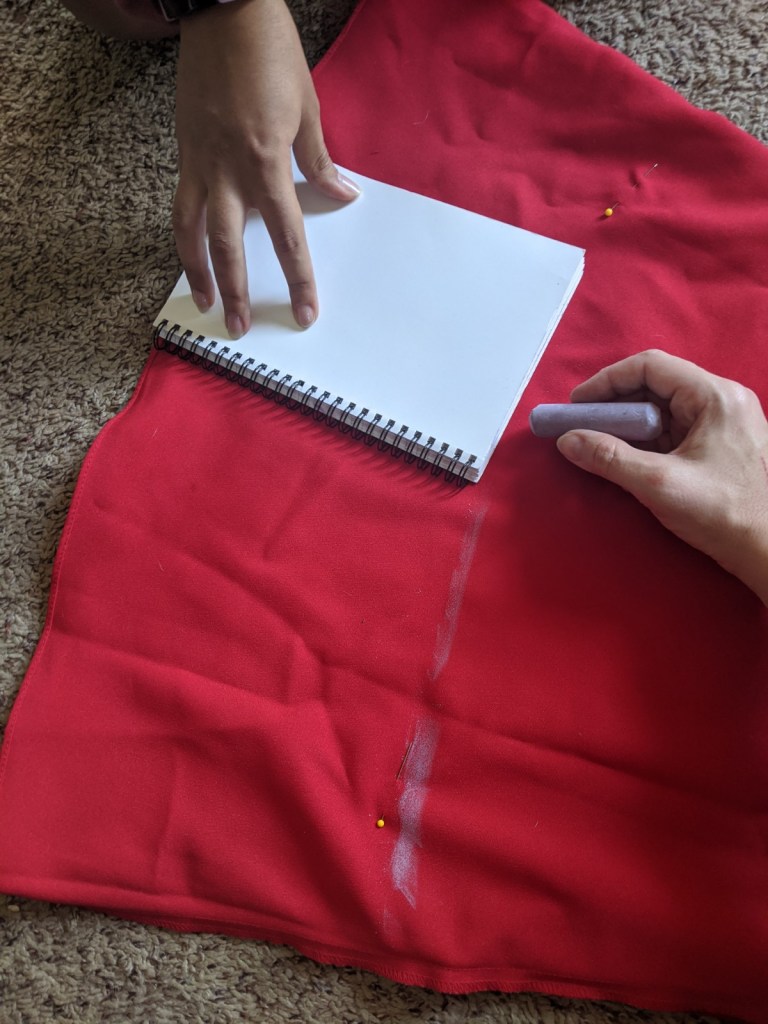
Once pinned, my sister and I marked the dress with a piece of chalk to make the seam easier to see. Once you’ve been sewing a while and you’re comfortable, you won’t necessarily have to do this anymore, but my sister is interested in learning (yay!) so I’m showing her alllllllll the ropes. She’s also sewing much of this refashion, so we’re taking our time with this one.

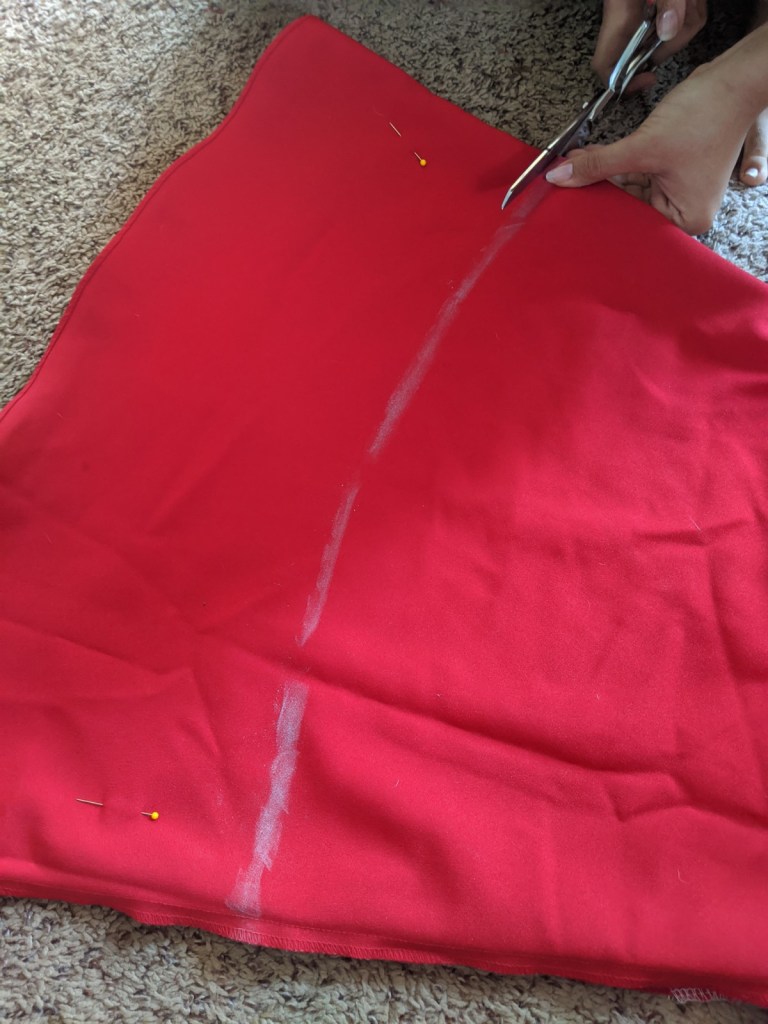
Rather than sew and then serge the side seams we were taking in, we decided to simply serge it. A serger is a wonderful machine that you can use to give a professional finish to your seams, plus if you ever want to get into sewing stretchy knit fabrics, like bathing suits and dance costumes, you’ll need this machine.
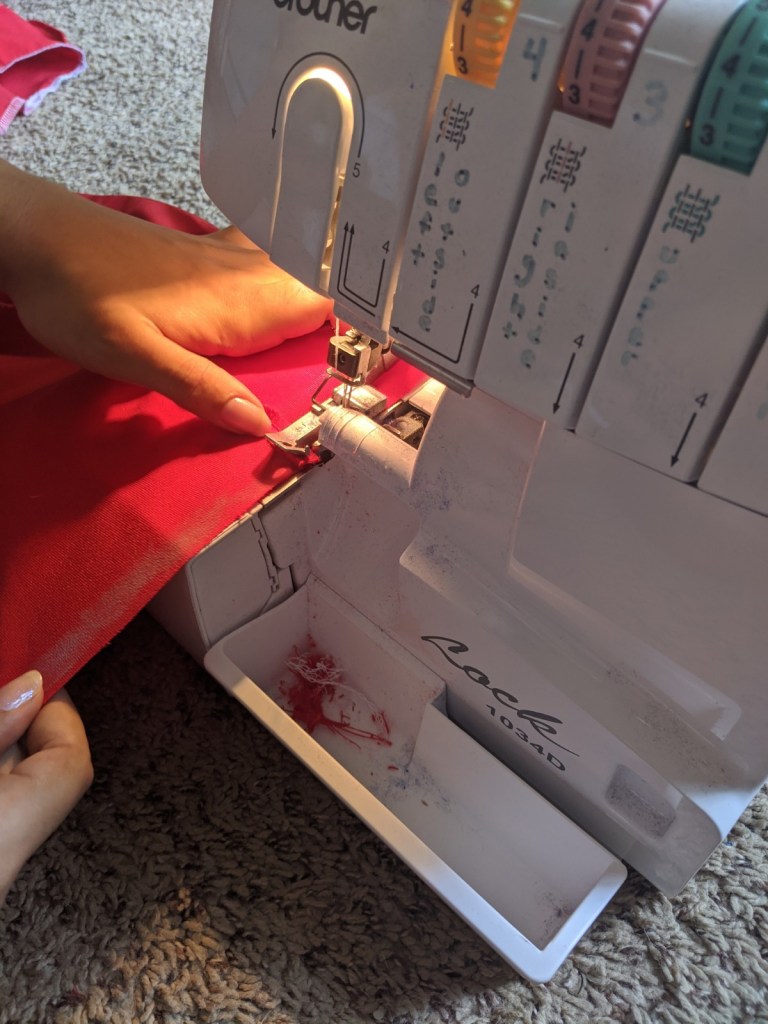
We also serged each of the armscye (arm holes) so they wouldn’t unravel. Now that those things were out of the way, it was time to raise the hem. Claire-Marie once again put the dress on (inside out) so that we could mark how high to raise the hem. I pinned it and then we marked it with chalk, using a very sophisticated measuring tool:
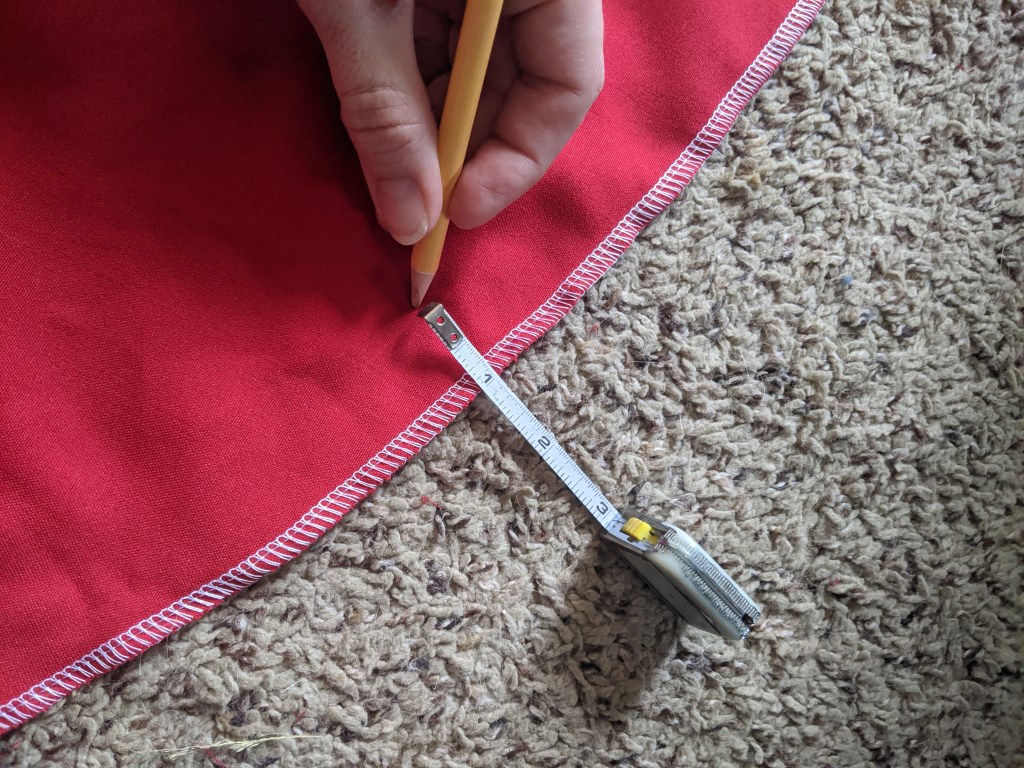
Next we serged them hem, and used a tape measurer to add 1″ of seam allowance. There are tools for sale that can help mark your hem. They’re pretty cheap. Here’s one on Joann’s website for about $3.50: https://www.joann.com/dritz-sewing-gauge-6in/1052844.html?utm_source=google&utm_medium=cpc&gclid=Cj0KCQjw3ZX4BRDmARIsAFYh7ZJADviT7ToN8PFa-Bg4XsOJblIVAnGqCPDx_HXhsC6rVLqTZPWzCWIaAnuSEALw_wcB
But… I don’t use them. I don’t want extra things that are “one trick ponies,” as it were. I can make do without them. Does that go for you too? Maybe, maybe not. But it works for me.
Here comes the difficult part: When hemming a circular skirt, the fabric you tuck under will never fold flush to the skirt. The longer the seam allowance, the more you’ll have to finagle it to make your hem even. Just like everytime you sew a hem, you’ll have to iron it first… which is what we did!


Once it’s all ironed and pinned, it was time for a trip under the sewing machine. I threaded the top with the last of my red thread, but left the bobbin white, because I didn’t have enough thread to wind a red bobbin.
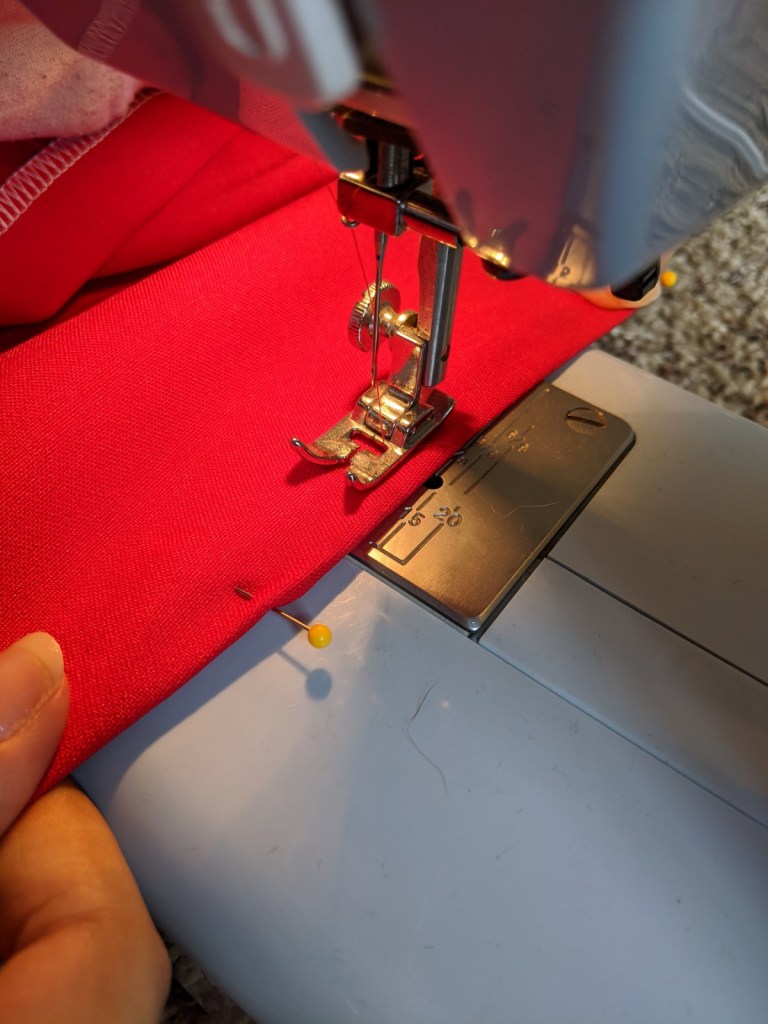
Claire-Marie followed the 4/8th inch line (see to the right of the presser foot above) and then I went over it on the 5/8th inch line, to make sure the folded under material wouldn’t make an un-welcomed appearance. The double seam also gives the dress a more professional looking hem.
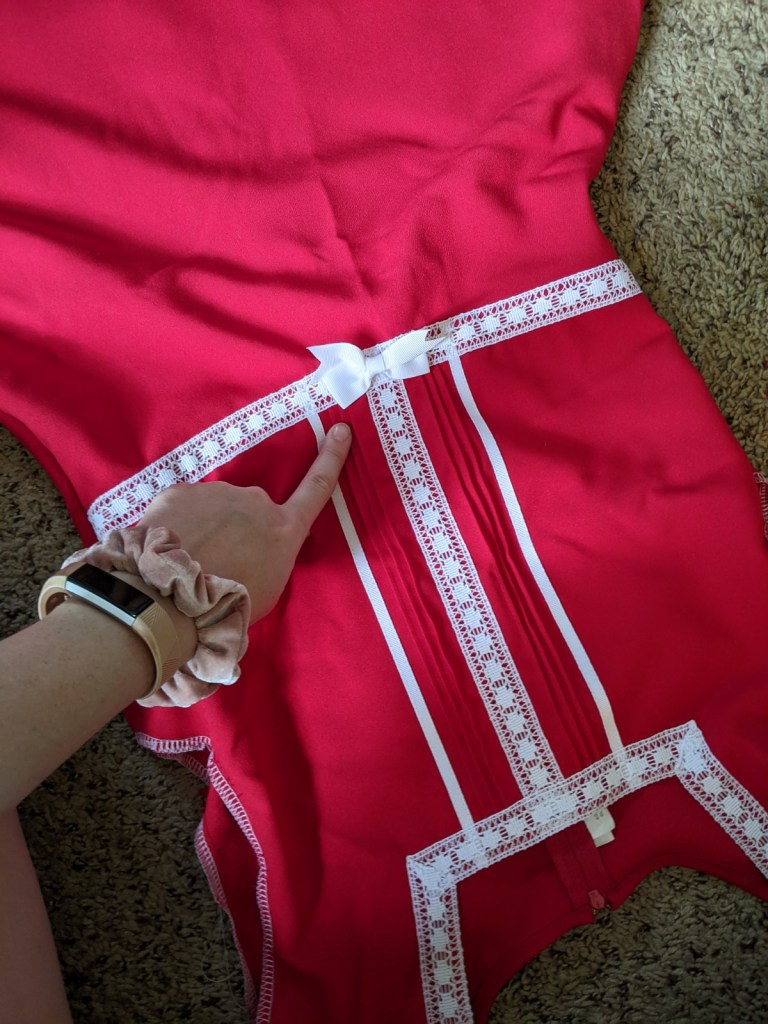
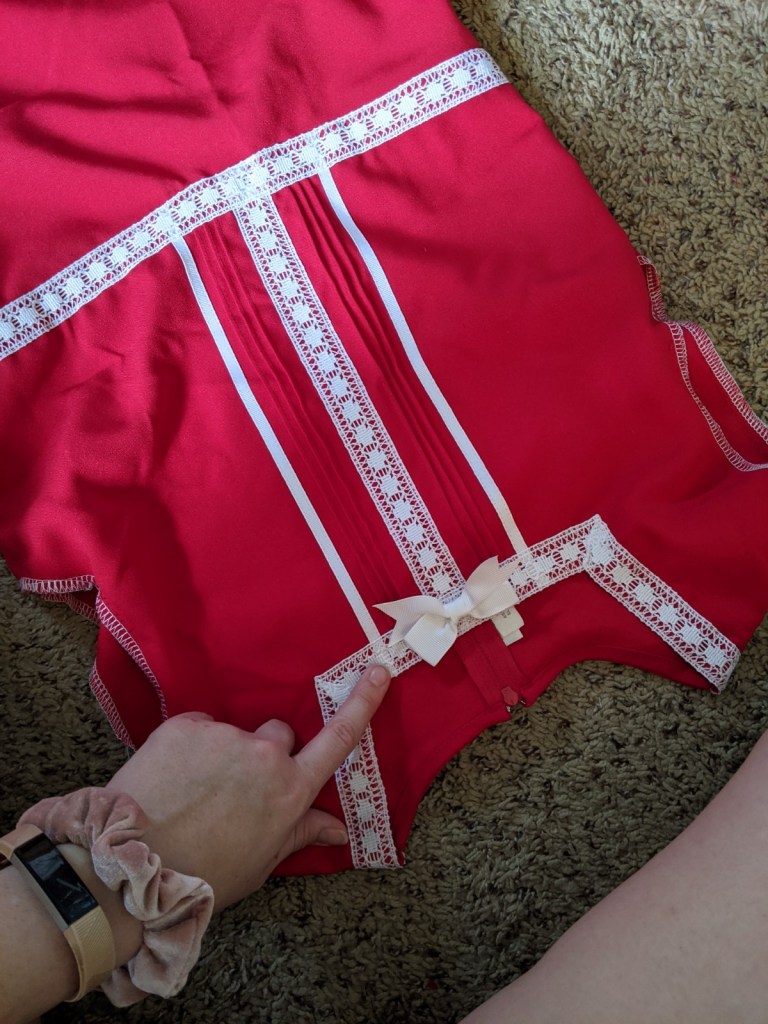
The last thing was to move that bow from the stomach to the collar. I think that takes the dress from Sunday school to a sweet late 50s/early 60s vibe now.
Once everything was stitched down, we went to the back yard for a photo shoot!


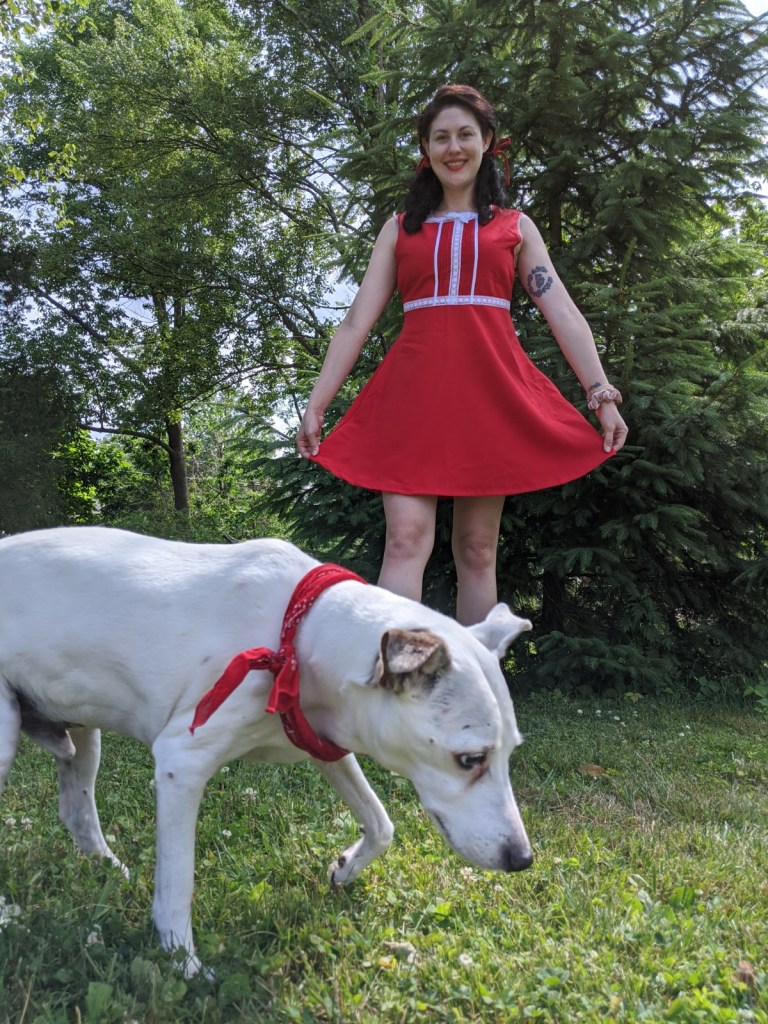

So that’s it! What do you think? Claire-Marie wants the sleeves reattached, but I’m on the fence. At least the hem isn’t so dowdy anymore!
Til next time!
~Madeleine
#refashion #reddress #ecofashion #red #moddress #mod #upcycling #madeleinewelch #madeleine #madeleinealexis #sewing #seamstress #sew

A lot of thanks for sharing Post, A Good Thing !!!
LikeLike
Thank you very much, that’s so kind of you!
LikeLike
Wow its so beautiful you have so many amazing ideas you are genius
LikeLike
Thank you so much! I’m glad you liked it 😊☺️😊
LikeLike